Configure Funnel Connections in NexaEra Dashboard
What if every lead who filled out your form got a personal call and email within minutes — automatically? That's exactly what a funnel connection does. In this video, you'll build one from scratch and grab the link that makes it all work.
Written By Fred Yalmeh
Last updated About 2 months ago
Go to www.nexaera.com
1. Introduction
Here's the goal. We're going to link an outside funnel — like ClickFunnels, GoHighLevel, or Typeform — to your dashboard. Once it's connected, every new lead gets followed up with automatically. It only takes a few minutes.
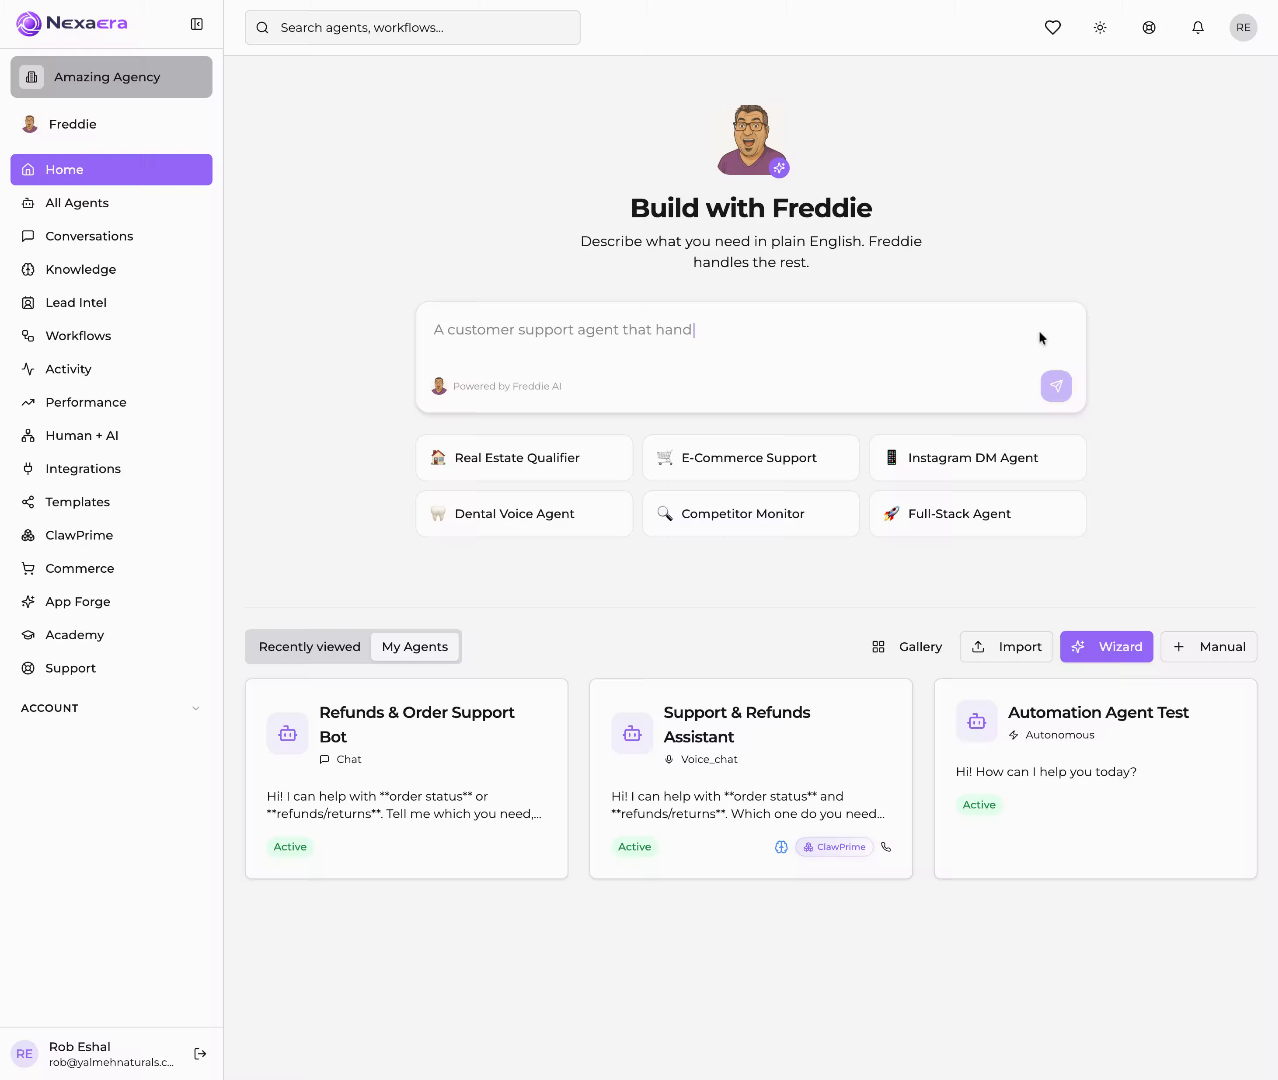
2. Access Lead Intel Section
First, head to the left sidebar and click "Lead Intel." This is your built-in CRM, and it's home to all of your lead and funnel tools.
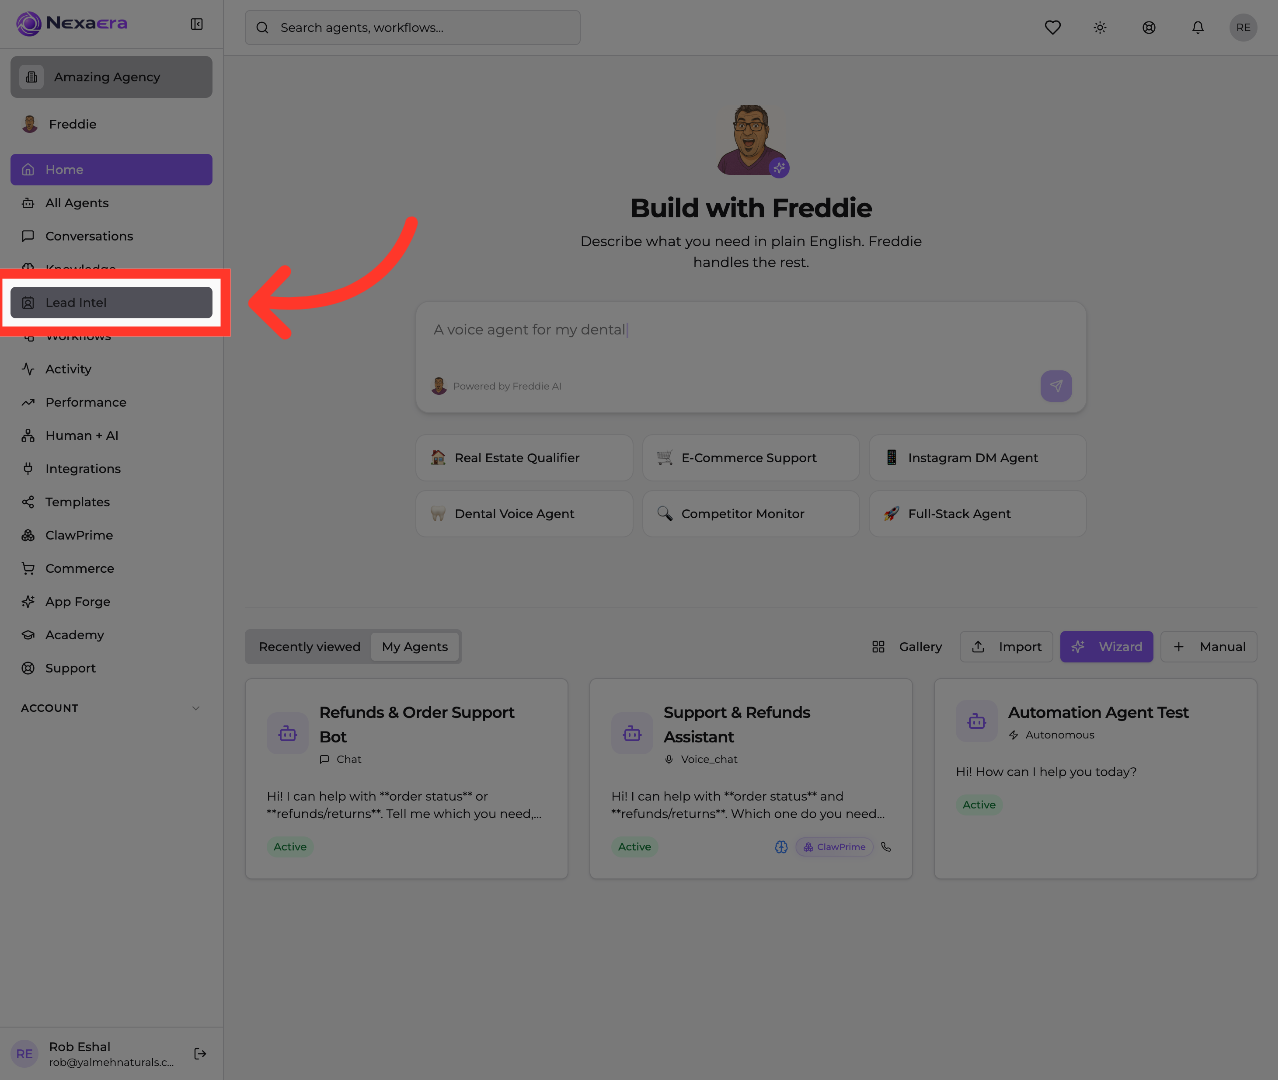
3. Open Funnel Connections
Along the top, you'll see a row of tabs. Click "Funnel Connections." This is where you link outside platforms so their leads flow straight into your system.
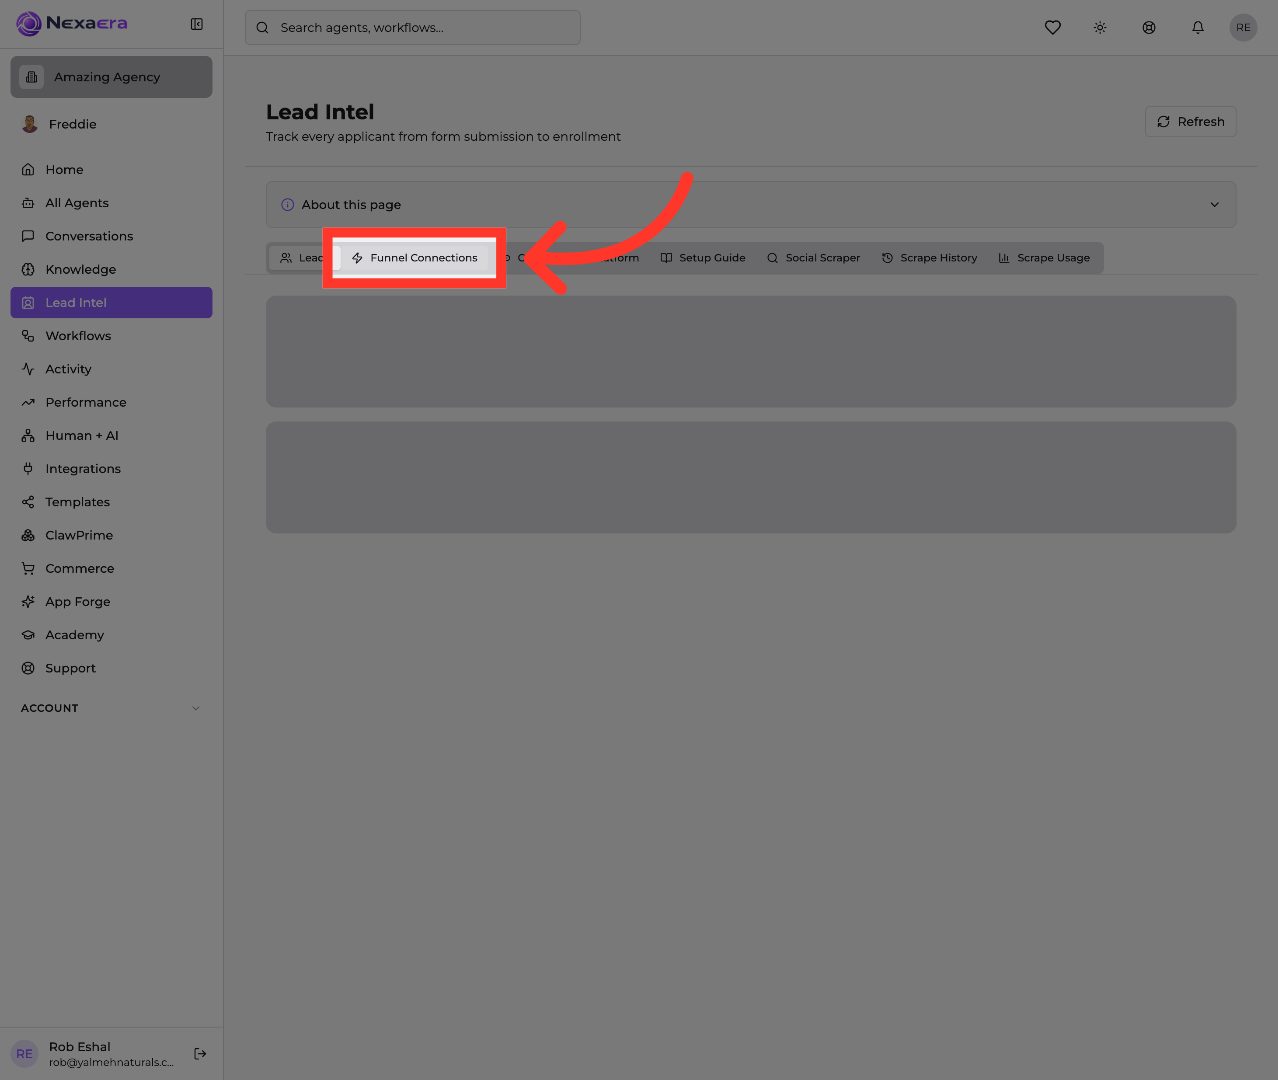
4. Initiate New Connection
If this is your first one, you'll see a short explainer and an empty list. Go ahead and click "Create First Connection." A setup window will pop open.
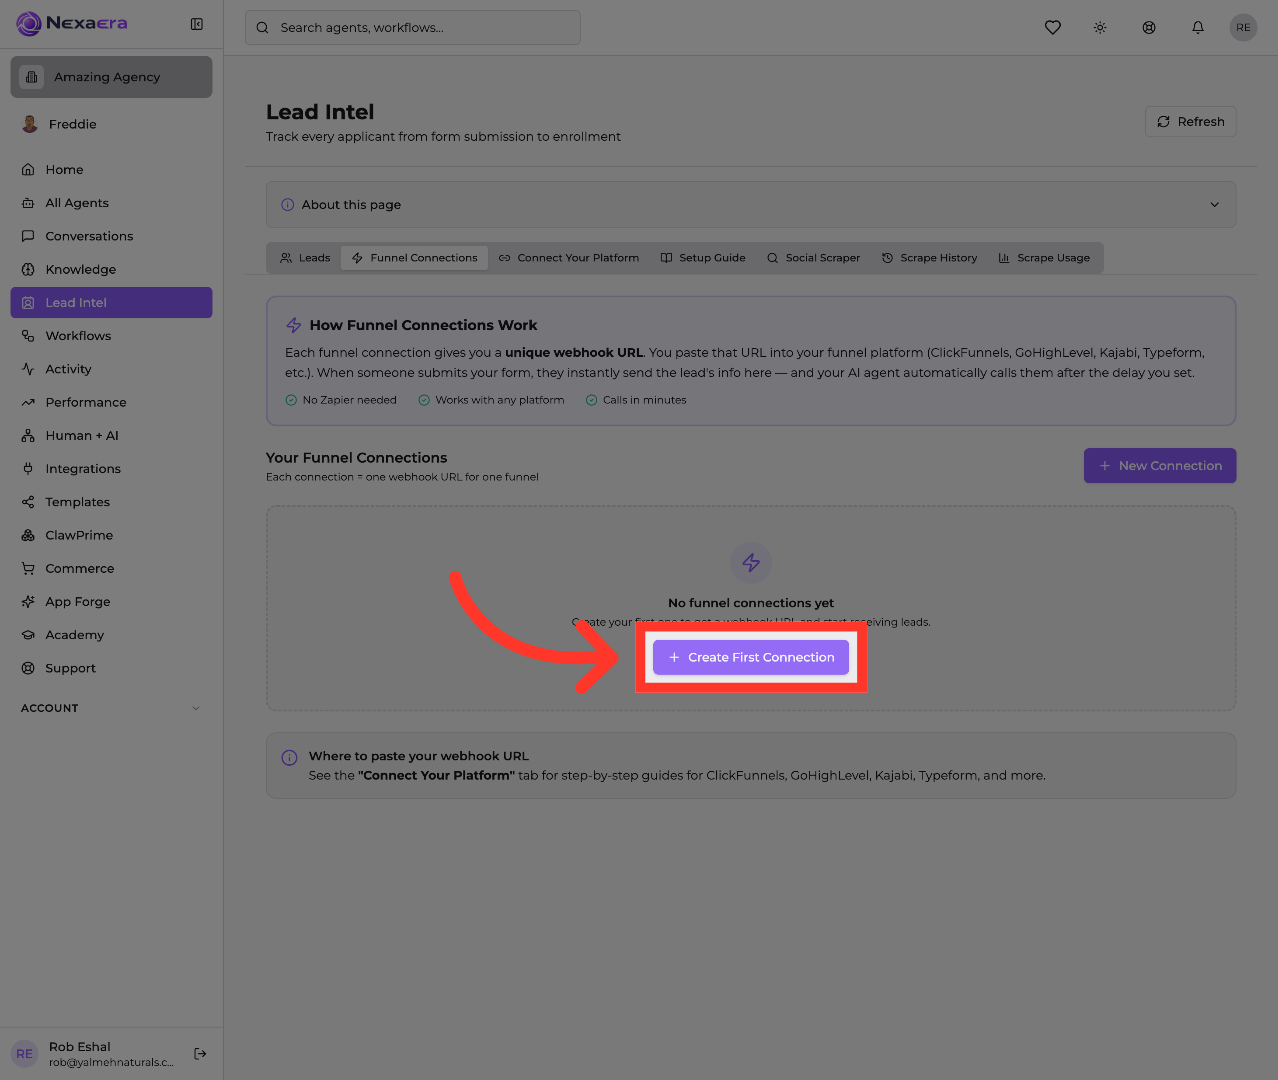
5. Select Support Assistant
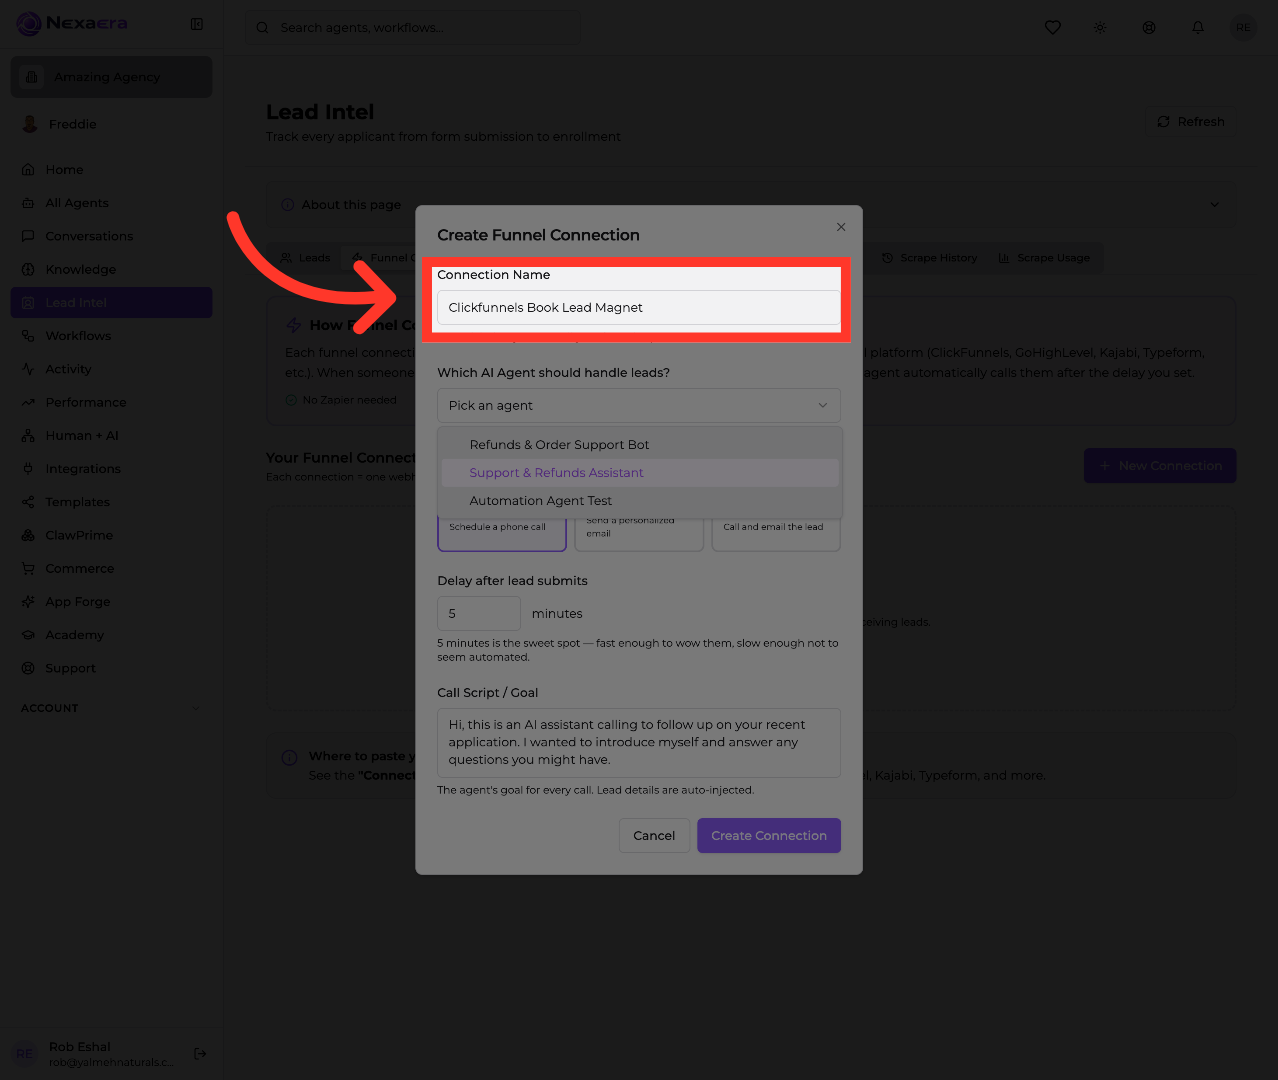
First, give your connection a name. This is just a label for you, so make it descriptive. In our example, we'll call it "Clickfunnels Book Lead Magnet" so it's easy to recognize later.
6. Select Support Assistant
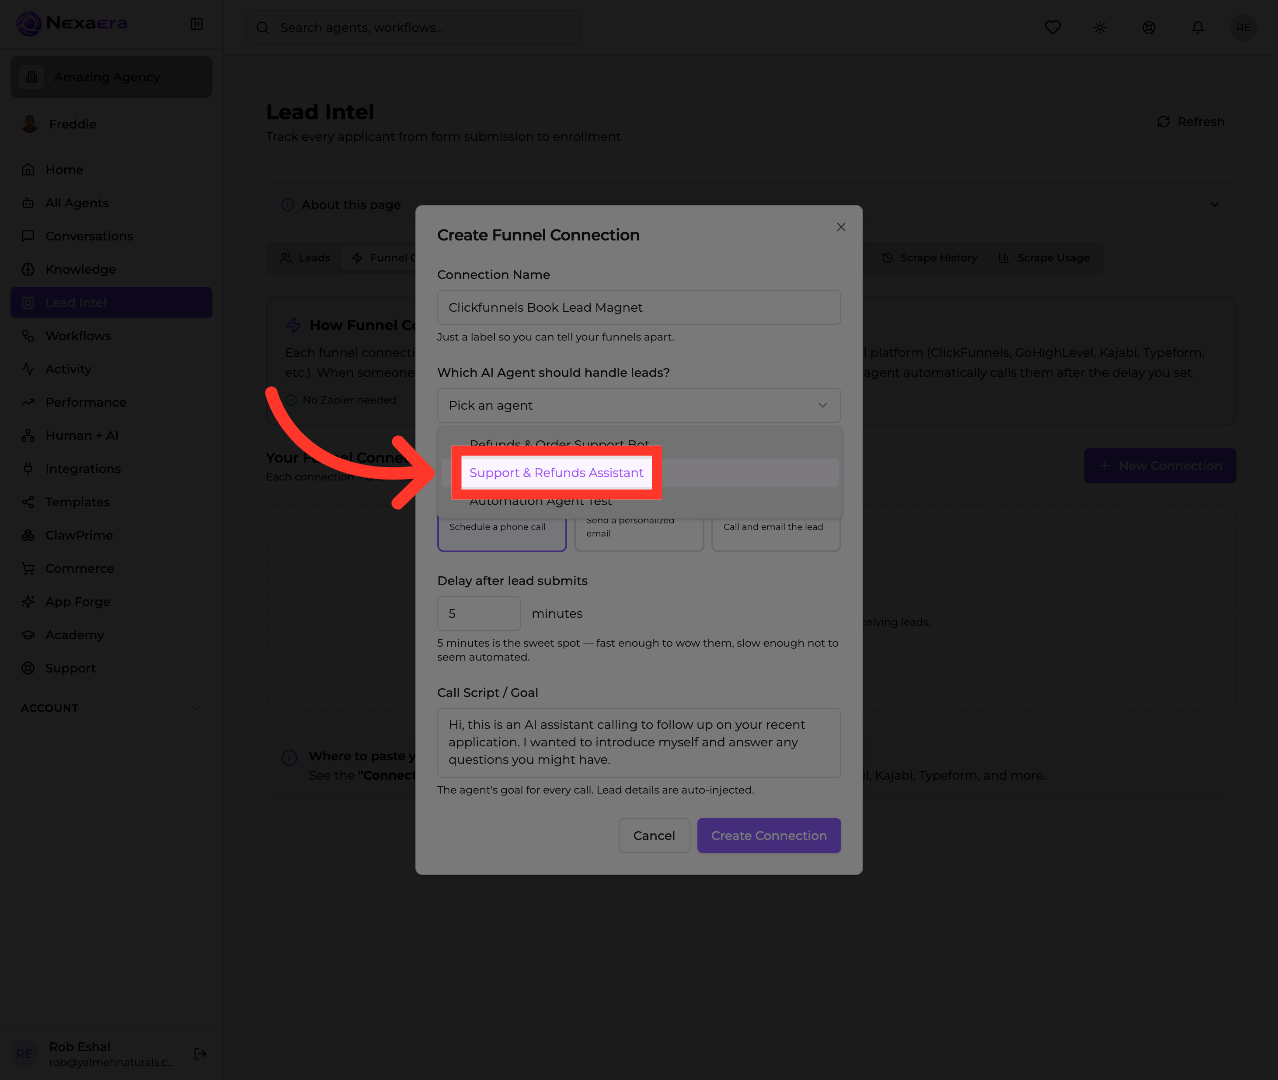
Next, choose which AI agent handles these leads. Open the dropdown and pick your assistant. Here, we're selecting the "Support and Refunds Assistant." This is the agent that will actually call and email each new lead.
7. Choose Call Only Option
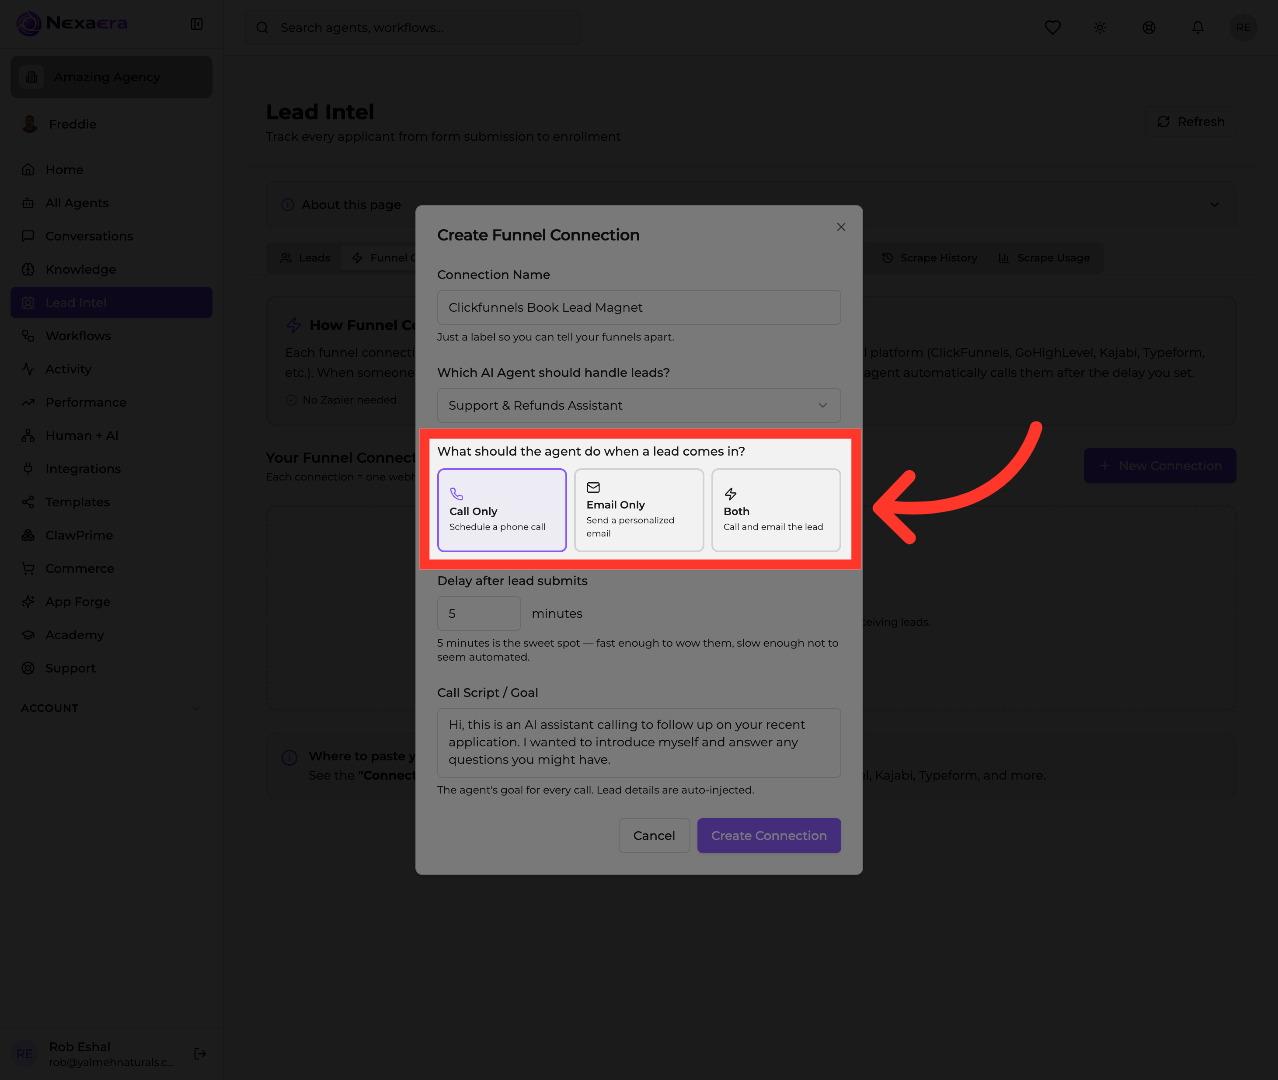
Now decide how the agent reaches out. You've got three choices — Call Only, Email Only, or Both. We'll pick "Both," so every lead gets a phone call and a personalized email. That's maximum follow-up.
8. Configure Lead Submission Delay
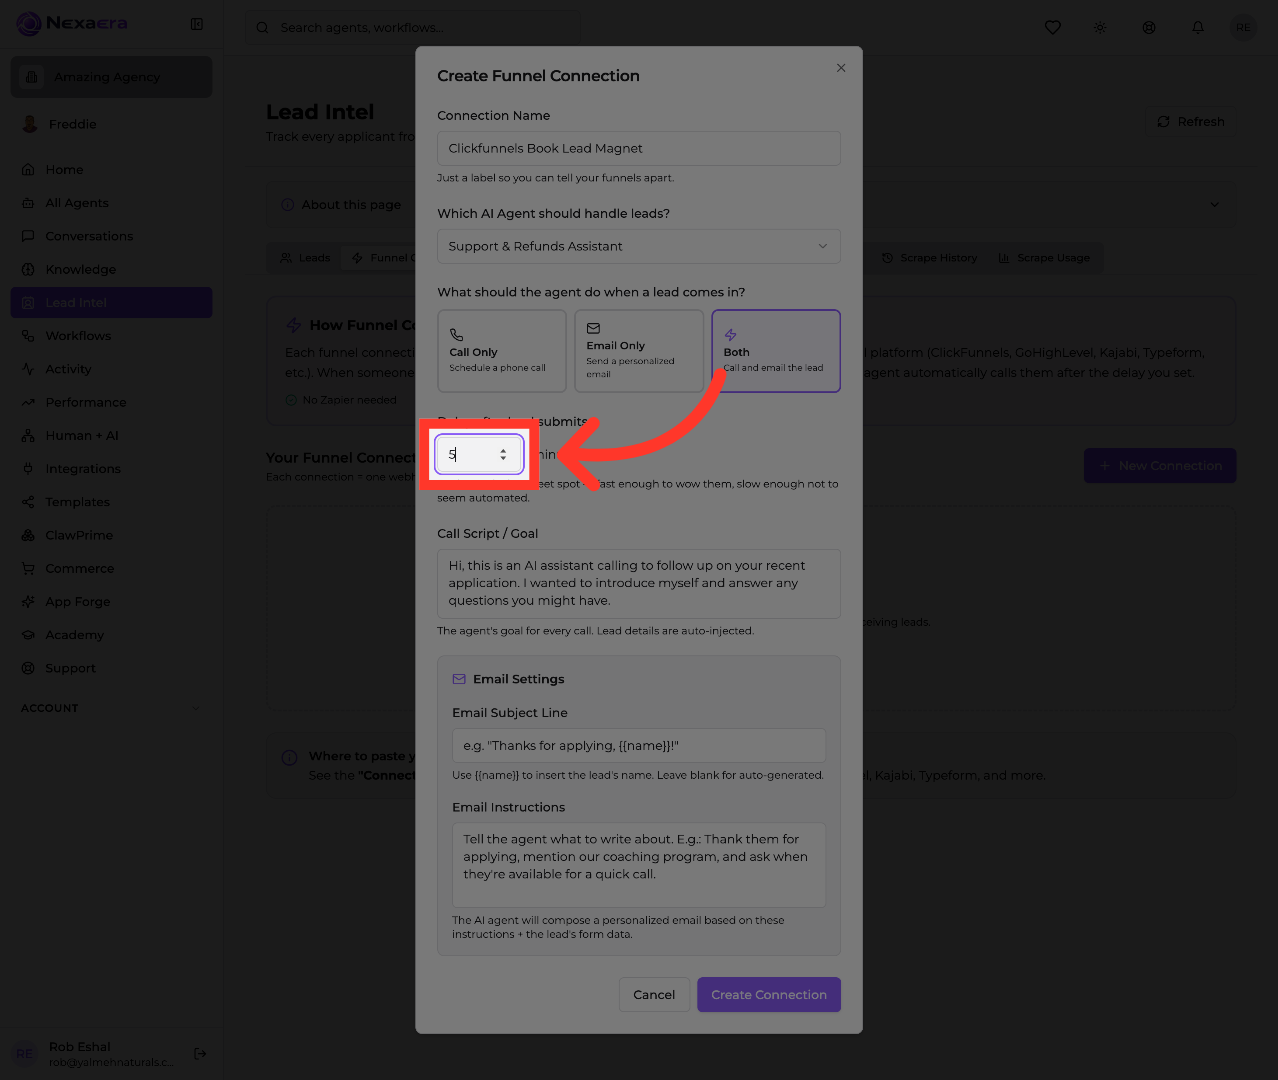
Set how long the agent waits before reaching out. The sweet spot is about five minutes. That's fast enough to impress them, but not so instant that it feels robotic.
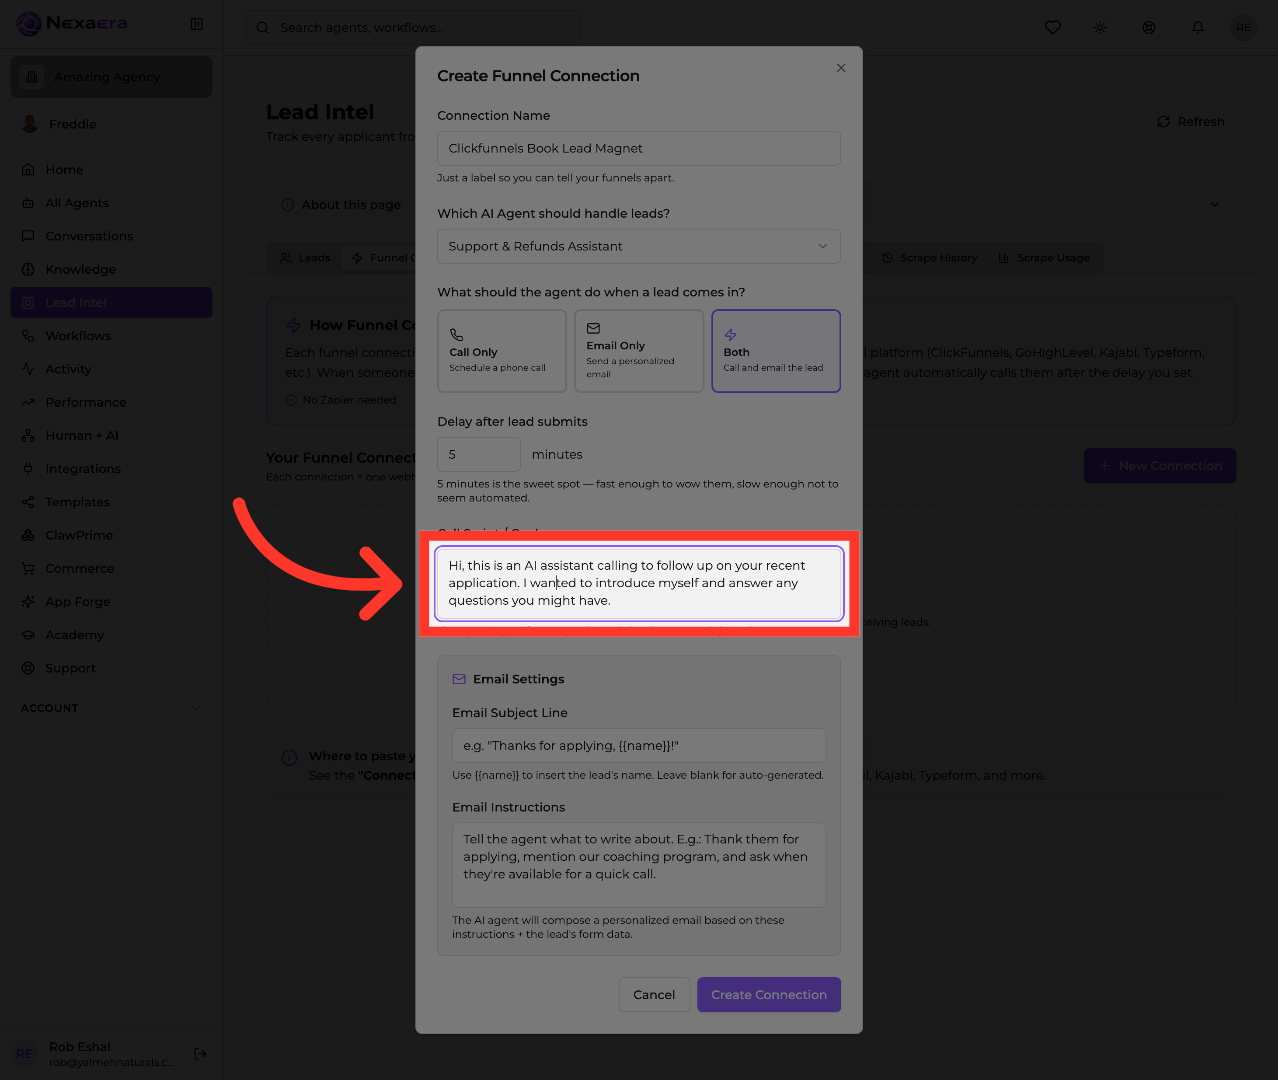
9. Define Call Script and Goal
Now tell the agent what to say on the call. Write a short script or goal — like introducing itself and offering to answer questions. Don't worry about the lead's details; those get filled in automatically.
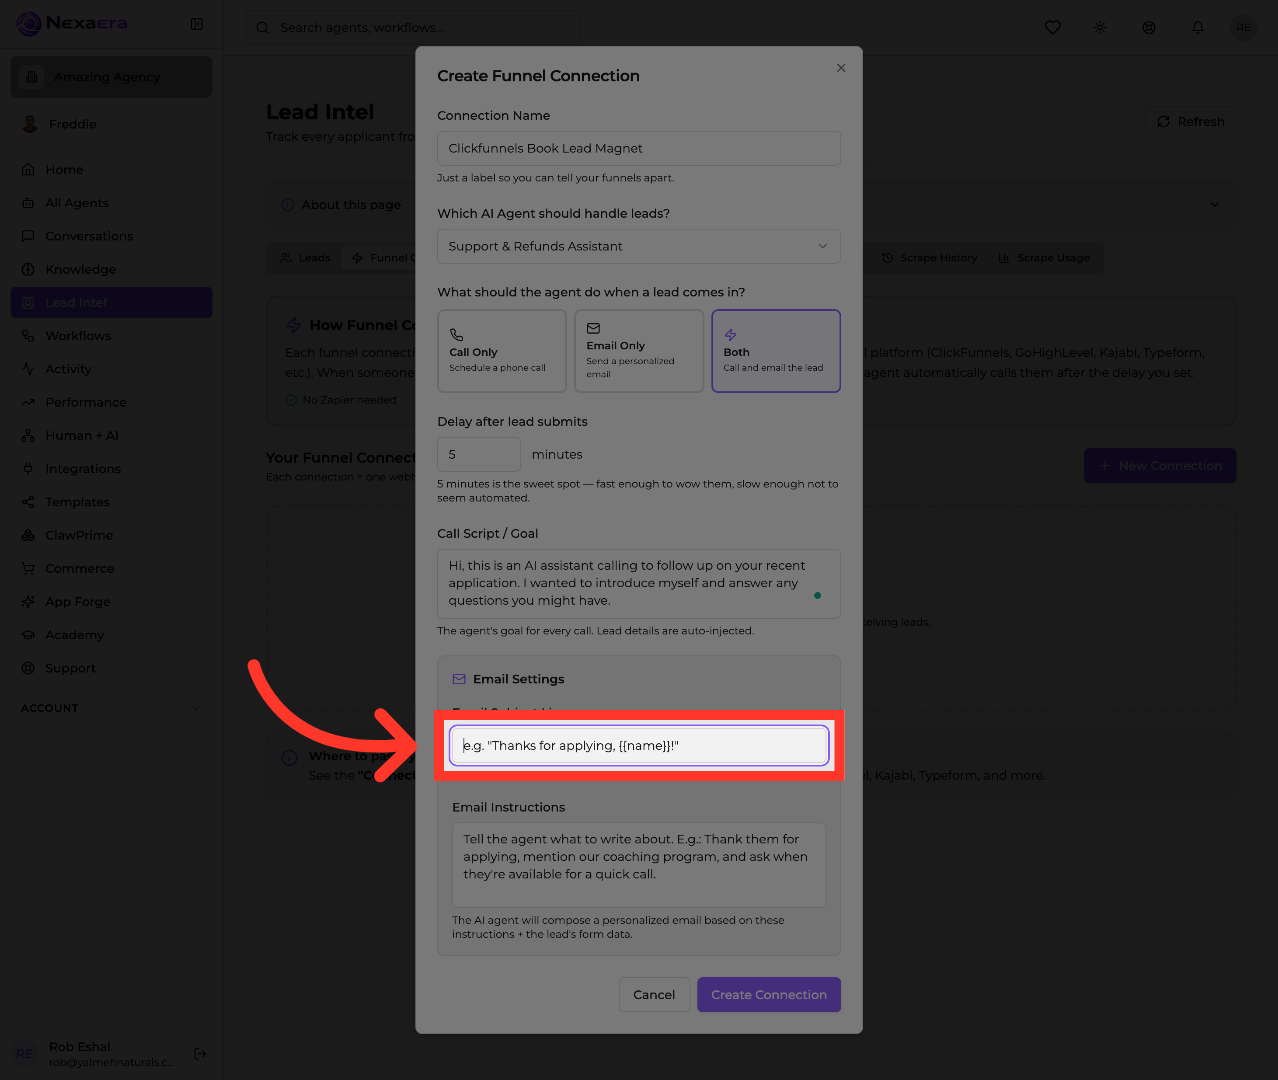
10. Set Email Subject Line
Since we picked "Both," let's set up the email too. Start with the subject line. You can drop in the lead's name using the name tag, or just leave it blank to auto-generate one.
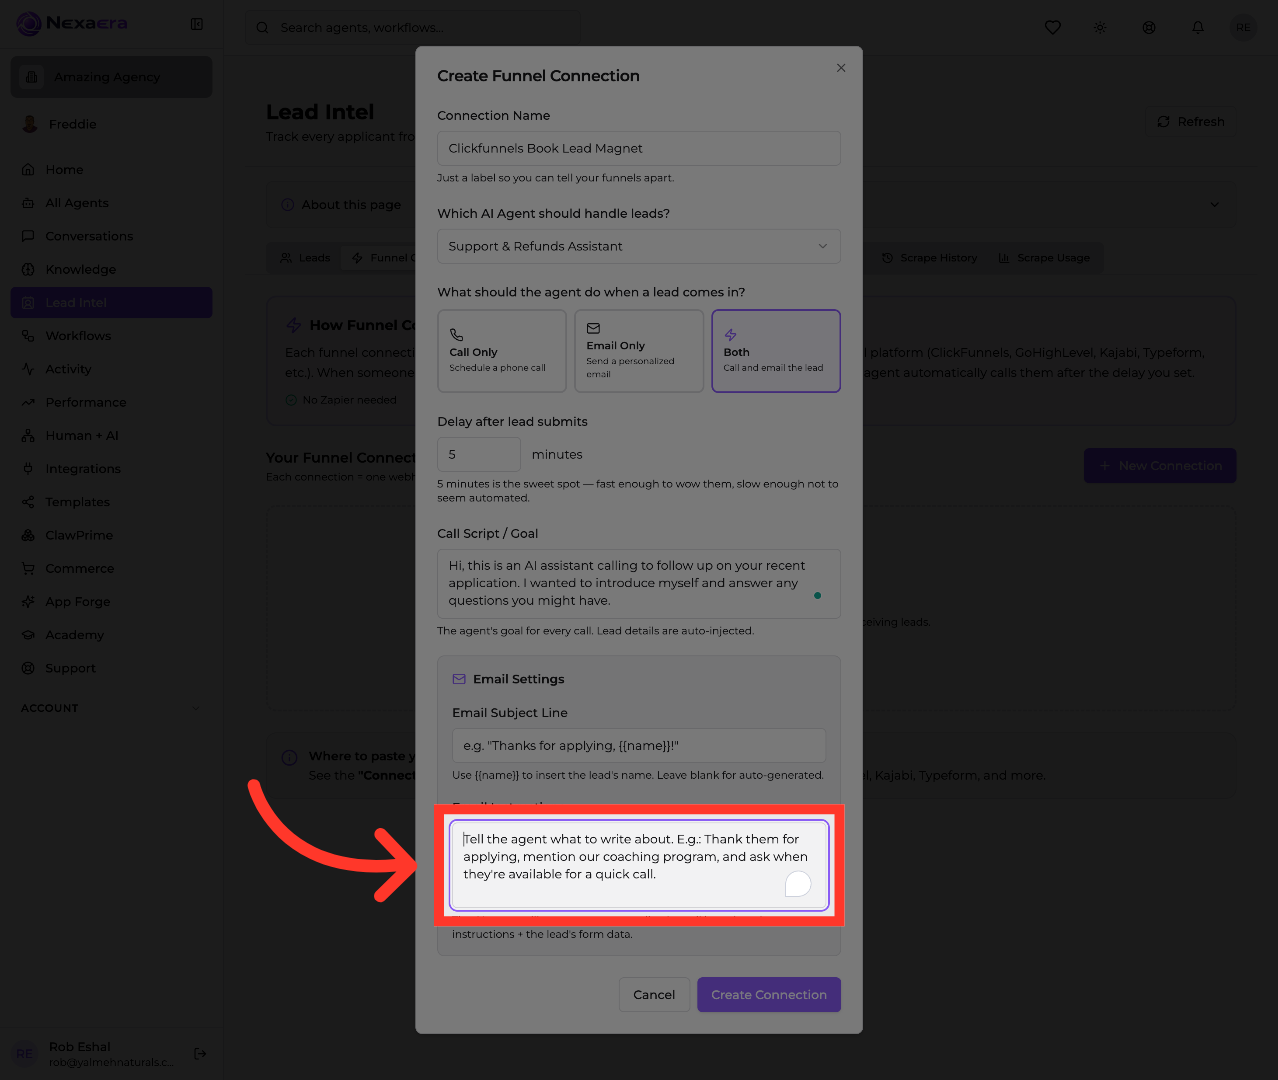
11. Add Email Instructions
Next, tell the agent what the email should cover. For example — thank them for applying, mention your program, and ask when they're free for a quick call. The AI writes the rest using your notes and their form info.
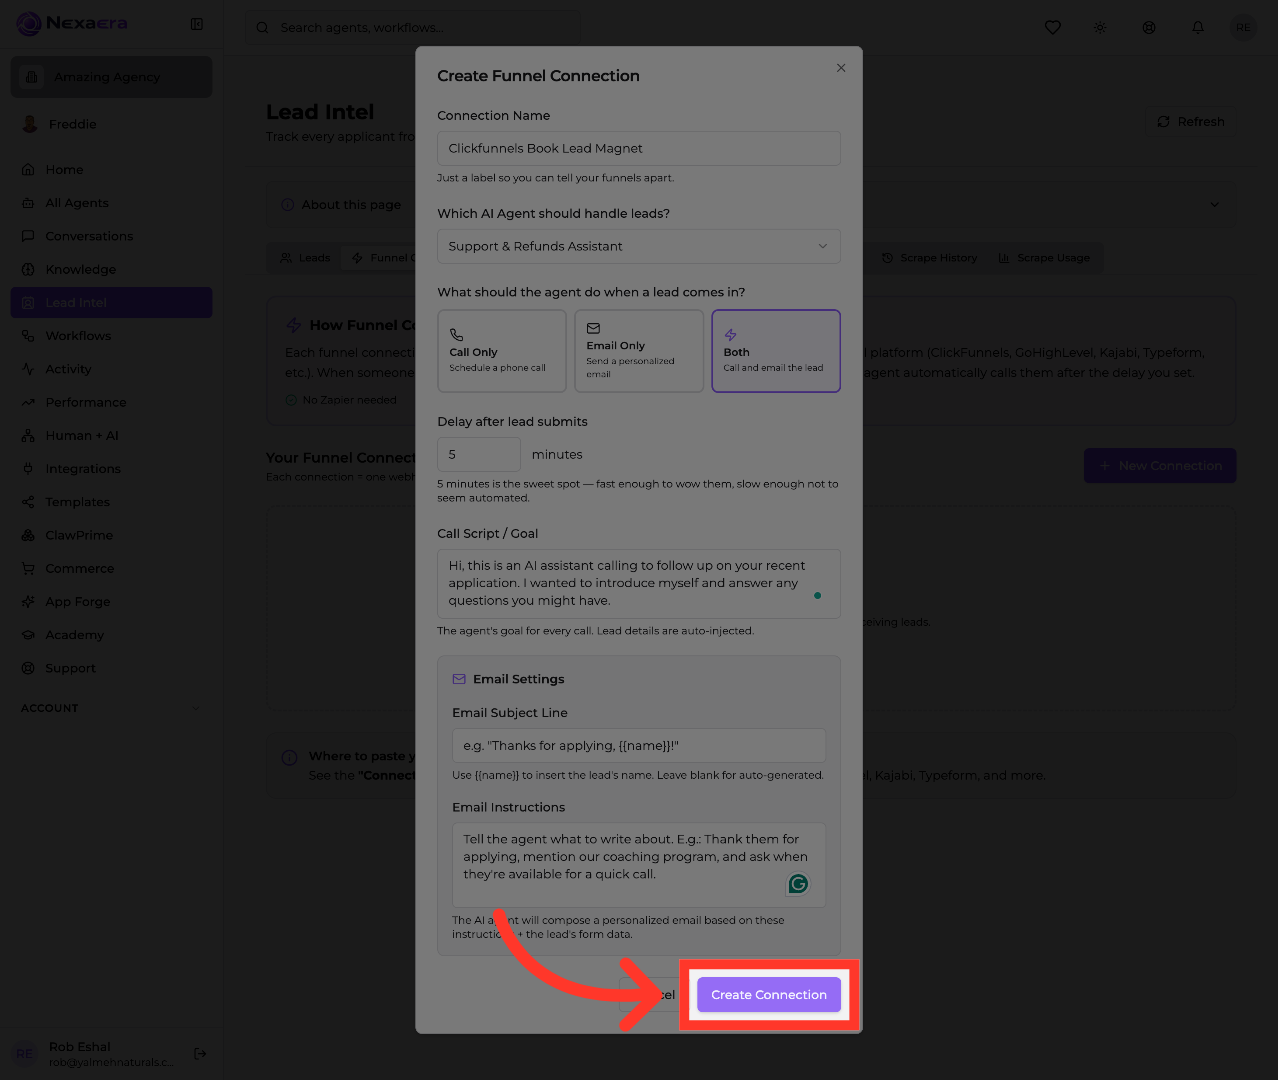
12. Create Funnel Connection
Everything's set, so let's save it. Click "Create Connection" at the bottom. This locks in your settings and generates your unique webhook link.
13. Copy Webhook URL
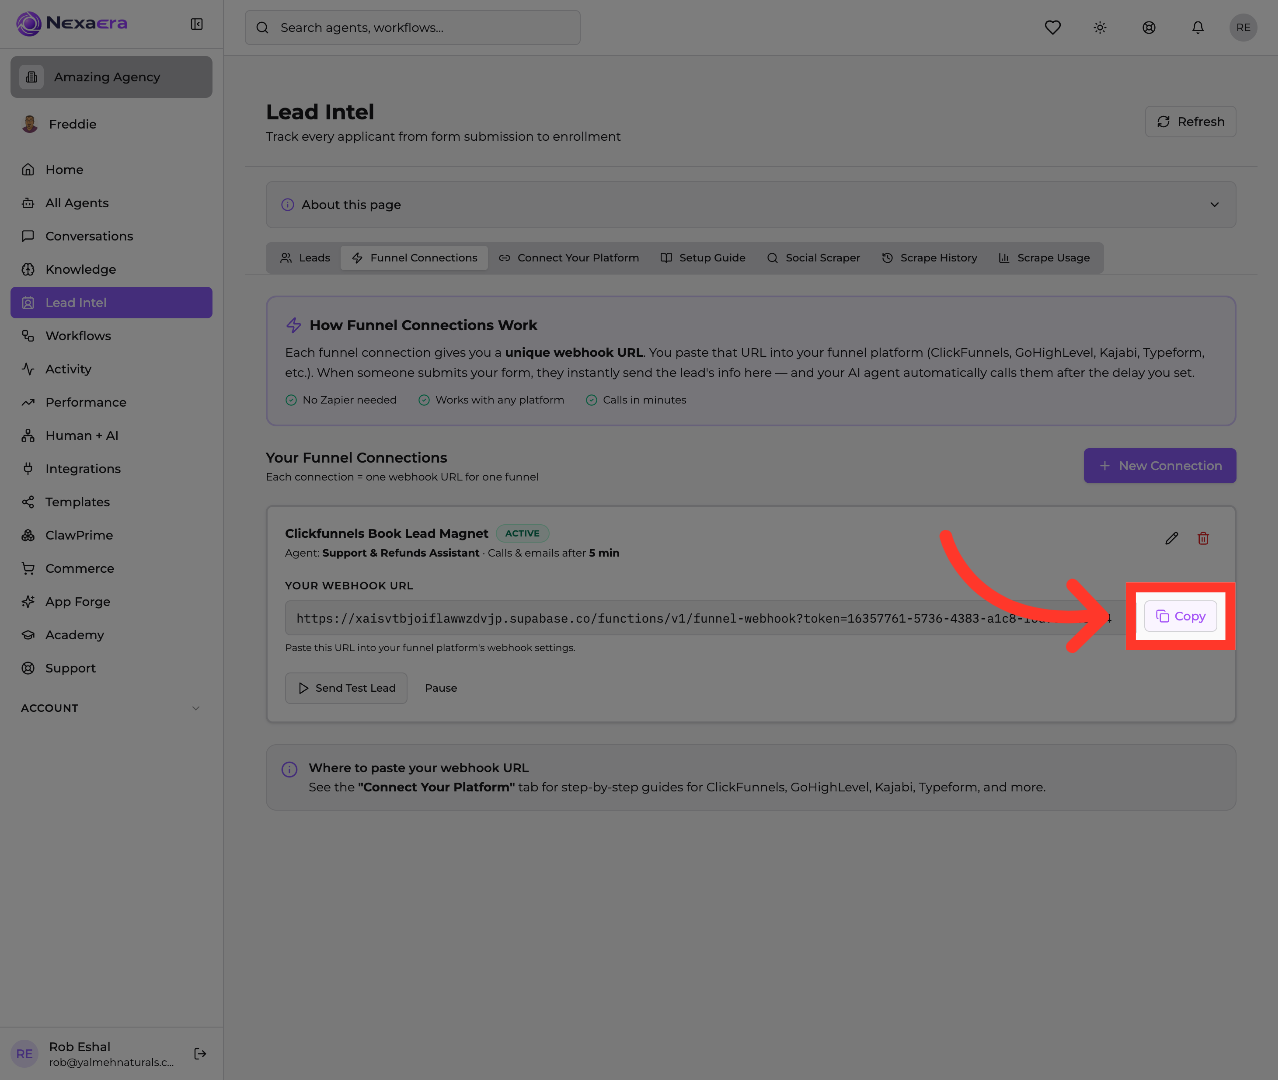
Last step. Your connection is now live, and it has its own webhook URL. Click "Copy" to grab it. This link is the bridge between your funnel and your agent.
And that's a full funnel connection, done. Your agent is ready to call and email new leads automatically — you just need to paste that webhook link into your funnel. Set it once, and let it run. See you in the next one.
Still need help? Ask the team