Configure Website Crawling Settings In NexaEra Dashboard
"Your website already holds most of the answers your agent needs — so let's feed it in. NexaEra can crawl your site, pull the content, and turn it into training your agent uses to answer questions. In this walkthrough, I'll show you how to set up a crawl, control exactly what gets pulled in, and start it."
Written By Fred Yalmeh
Last updated About 2 months ago
Go to www.nexaera.com
1. Introduction
"Here's what you'll be able to do by the end: point NexaEra at a website, choose how much of it to crawl, set page limits, include or exclude specific paths, and add it all to your agent's knowledge."
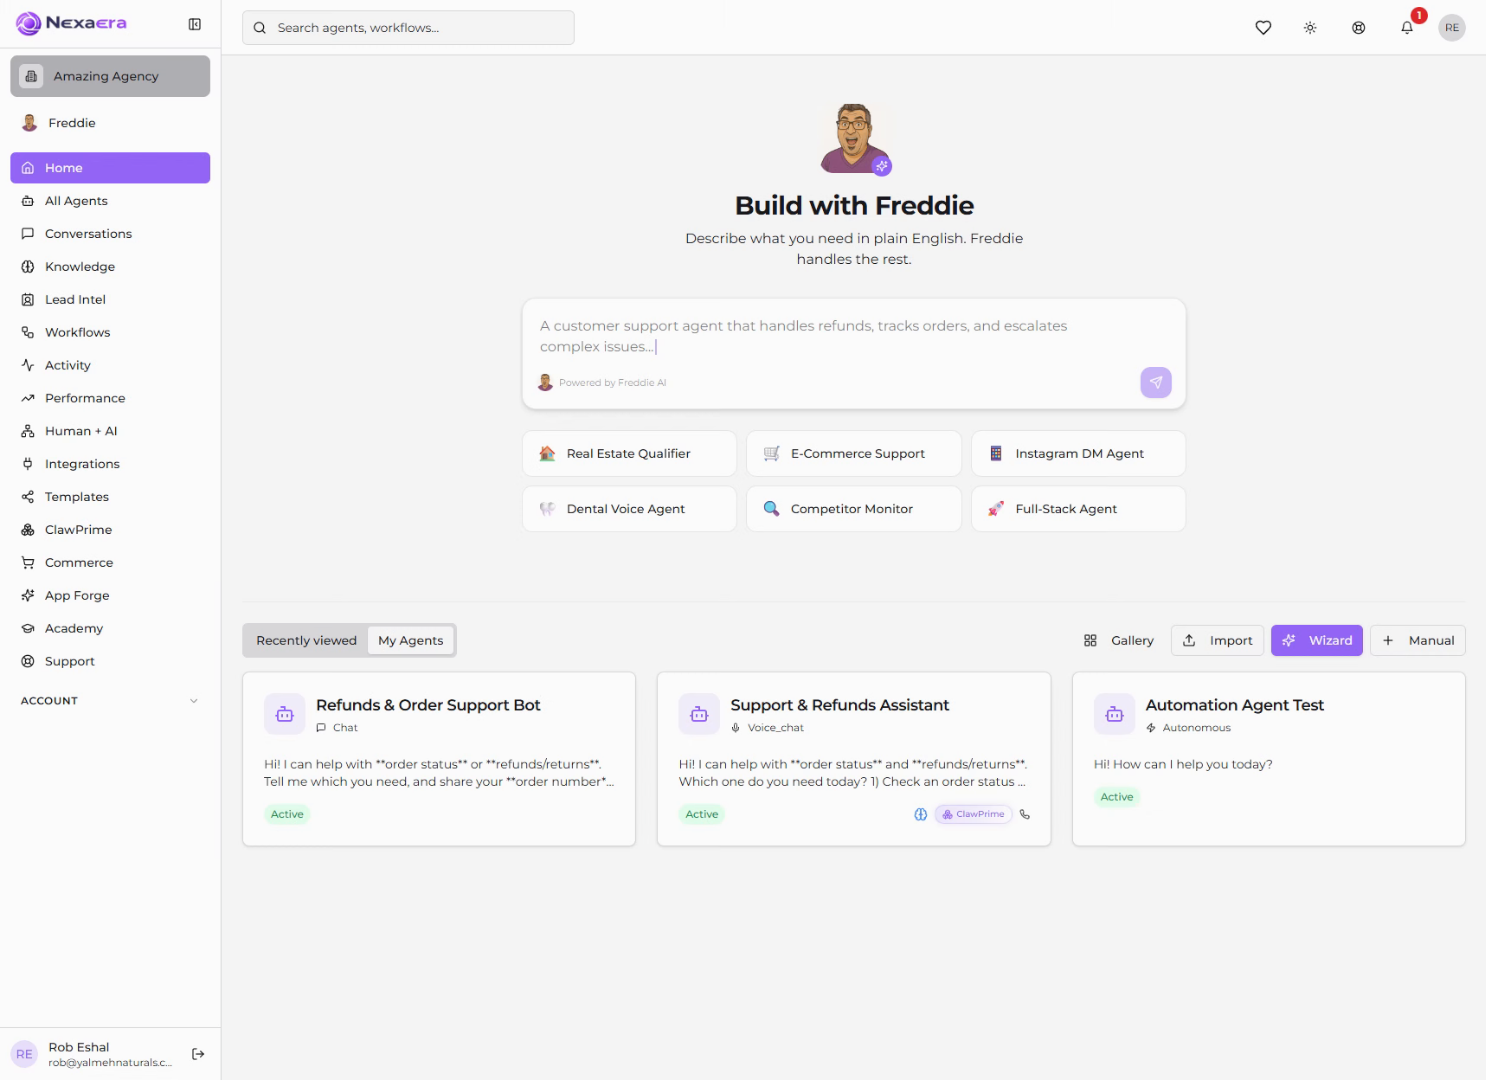
2. Access Knowledge Section
"Start by clicking 'Knowledge' in the left menu. This opens your Knowledge Base, the central hub where you train your agents on your own content."
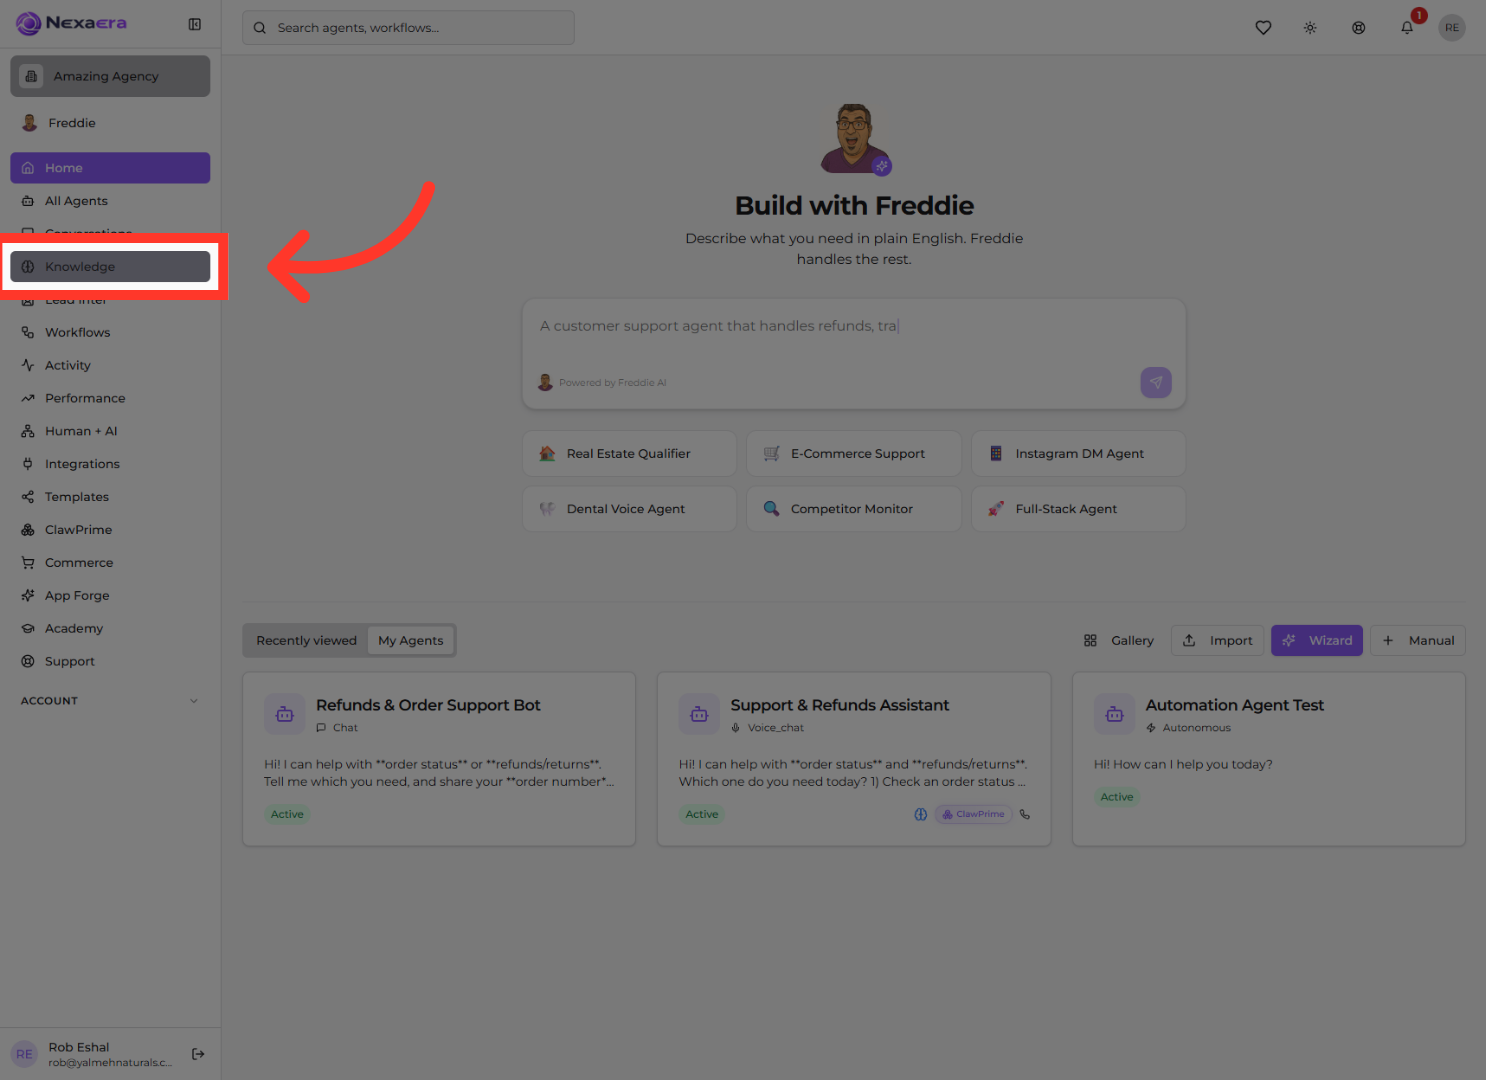
3. Open Website Settings
"Under 'Add New Training Data,' click the 'Website' tab. One quick heads-up: website crawling runs on Firecrawl, so you'll need a Firecrawl API key connected under Integrations first — without it, imports will fail. It's free to set up."
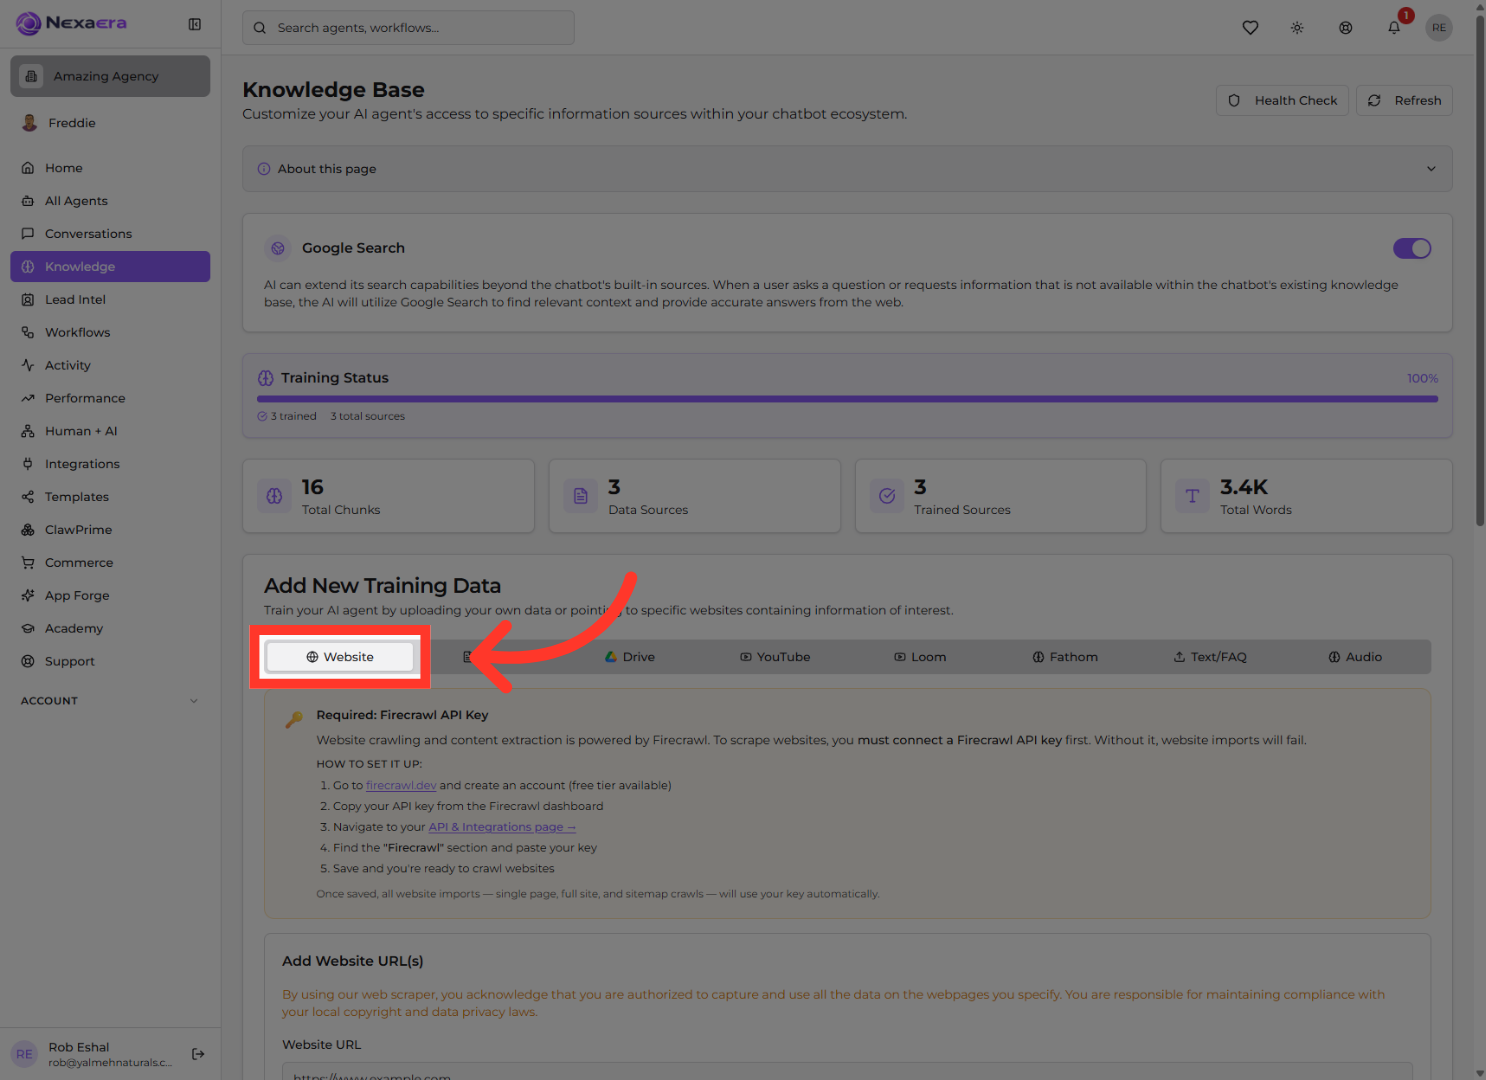
4. Select Website URL Field
"Click the 'Website URL' field and paste in the address you want to crawl — something like https://www.yourcompany.com. This is the starting point for the crawl."
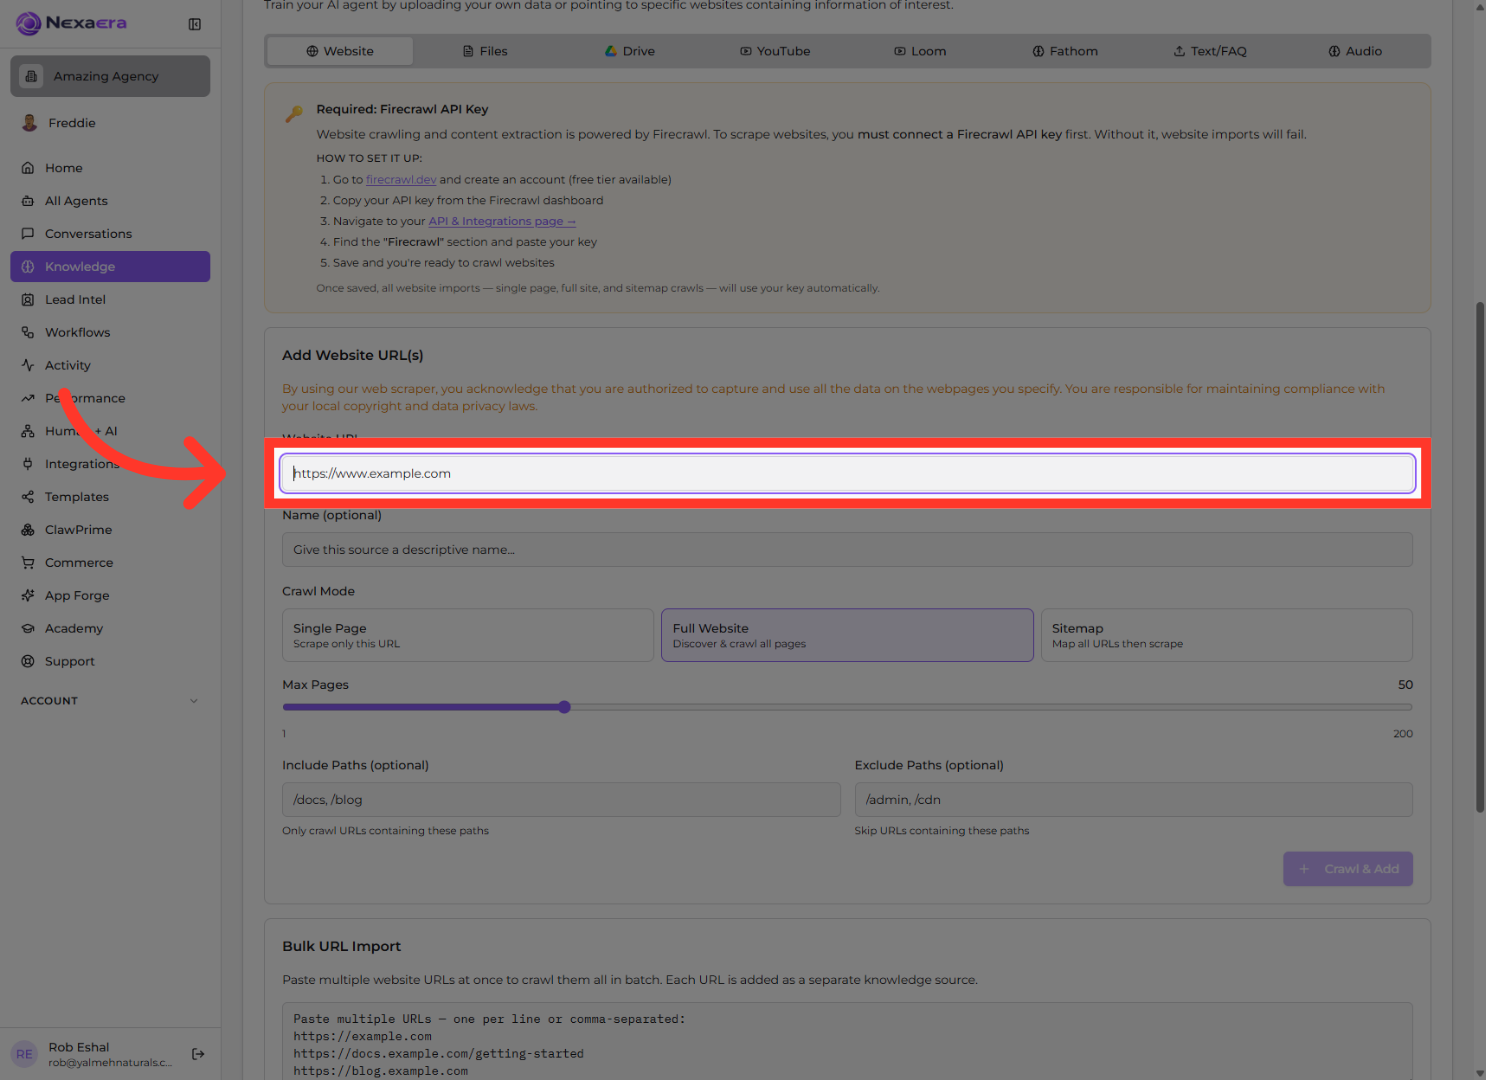
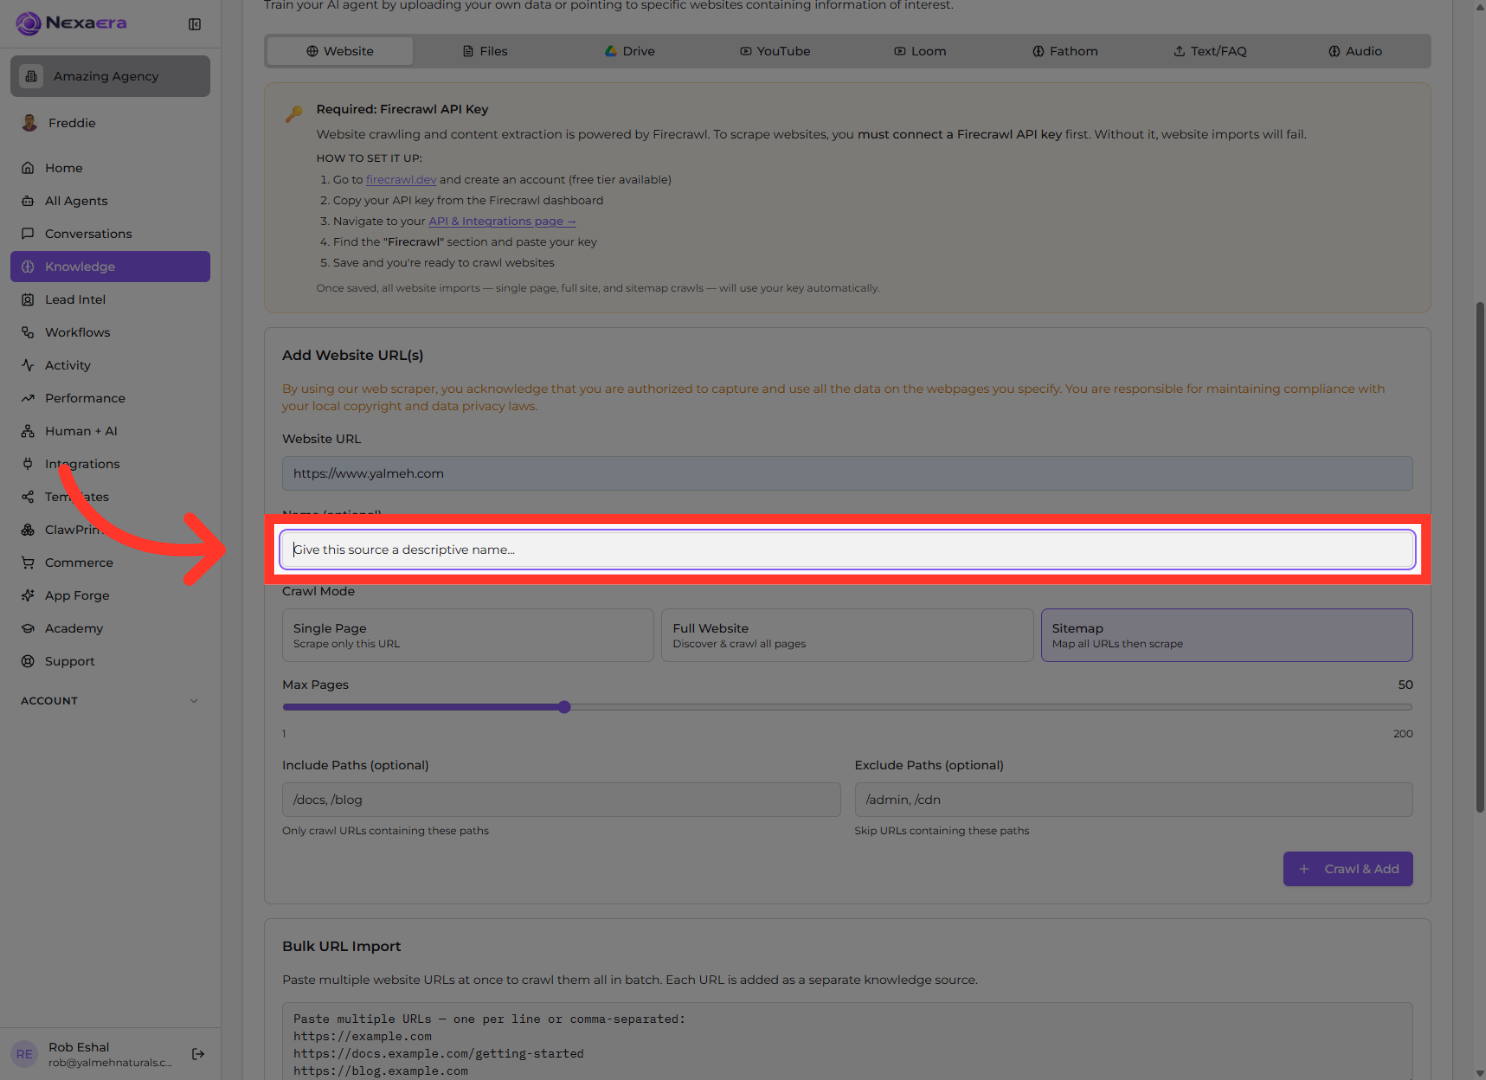
5. Open Name Field
"Below that, click the 'Name' field and give this source a clear, descriptive name. It's optional, but it makes your source easy to spot later in your knowledge list."
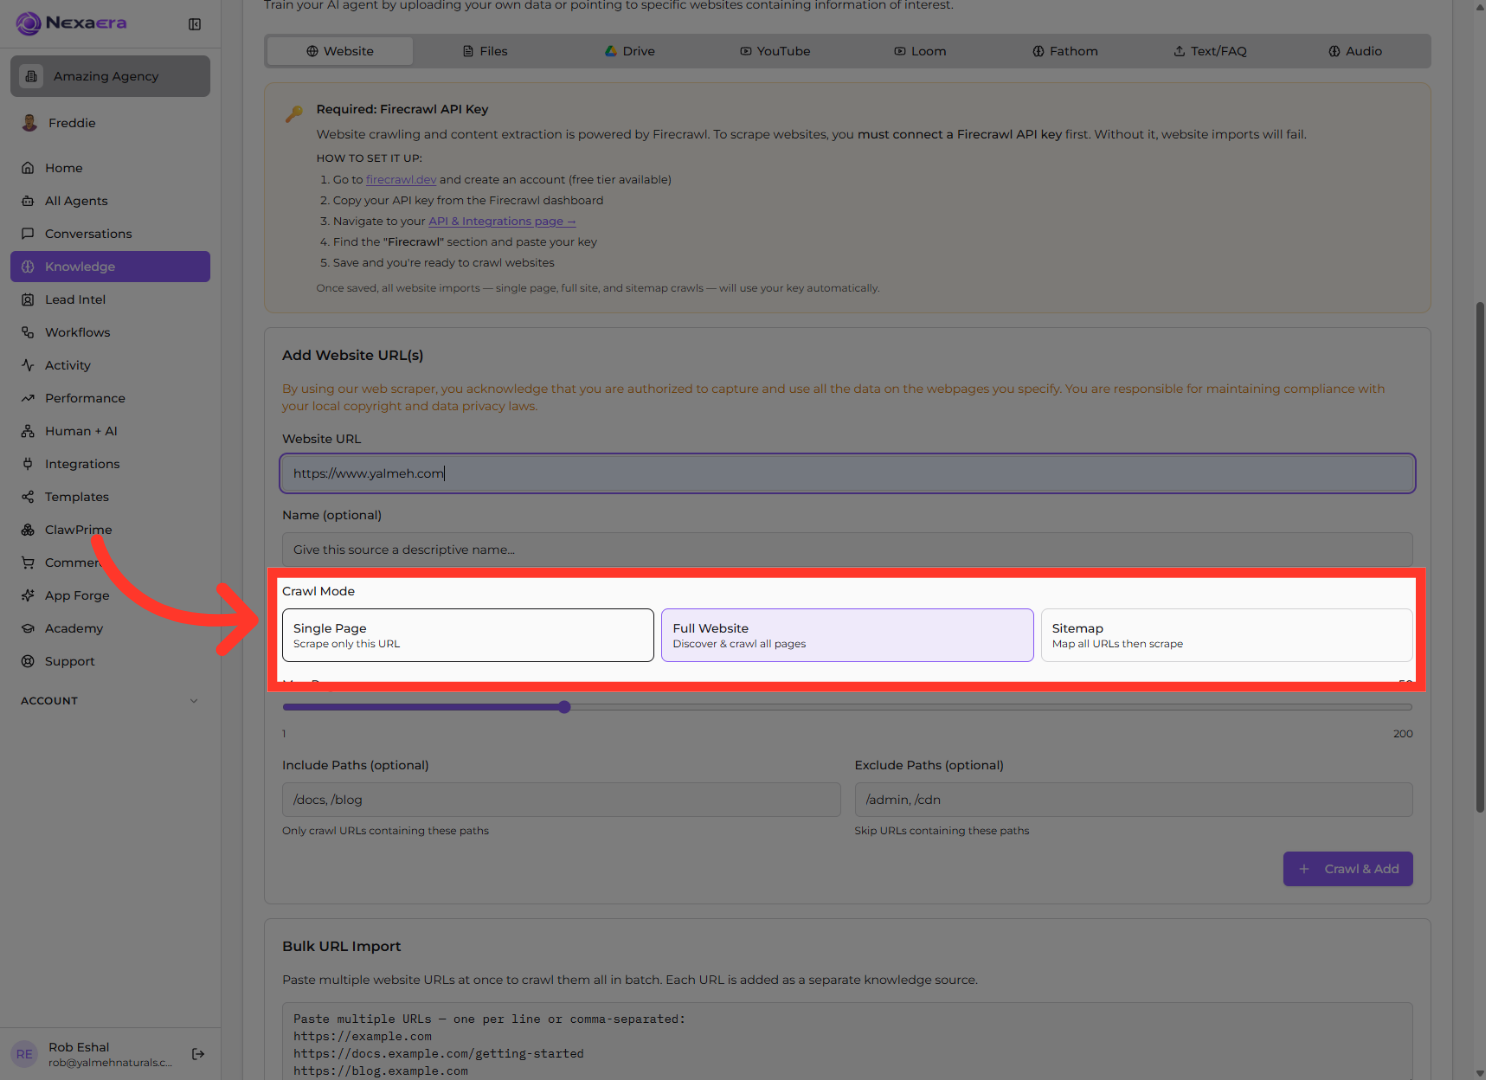
6. Choose Single Page Crawl
"Now pick how much to pull in under 'Crawl Mode.' 'Single Page' scrapes just that one URL. 'Full Website' discovers and crawls every page it can find. And 'Sitemap' maps all your URLs first, then scrapes them. Pick the one that fits how much content you want."
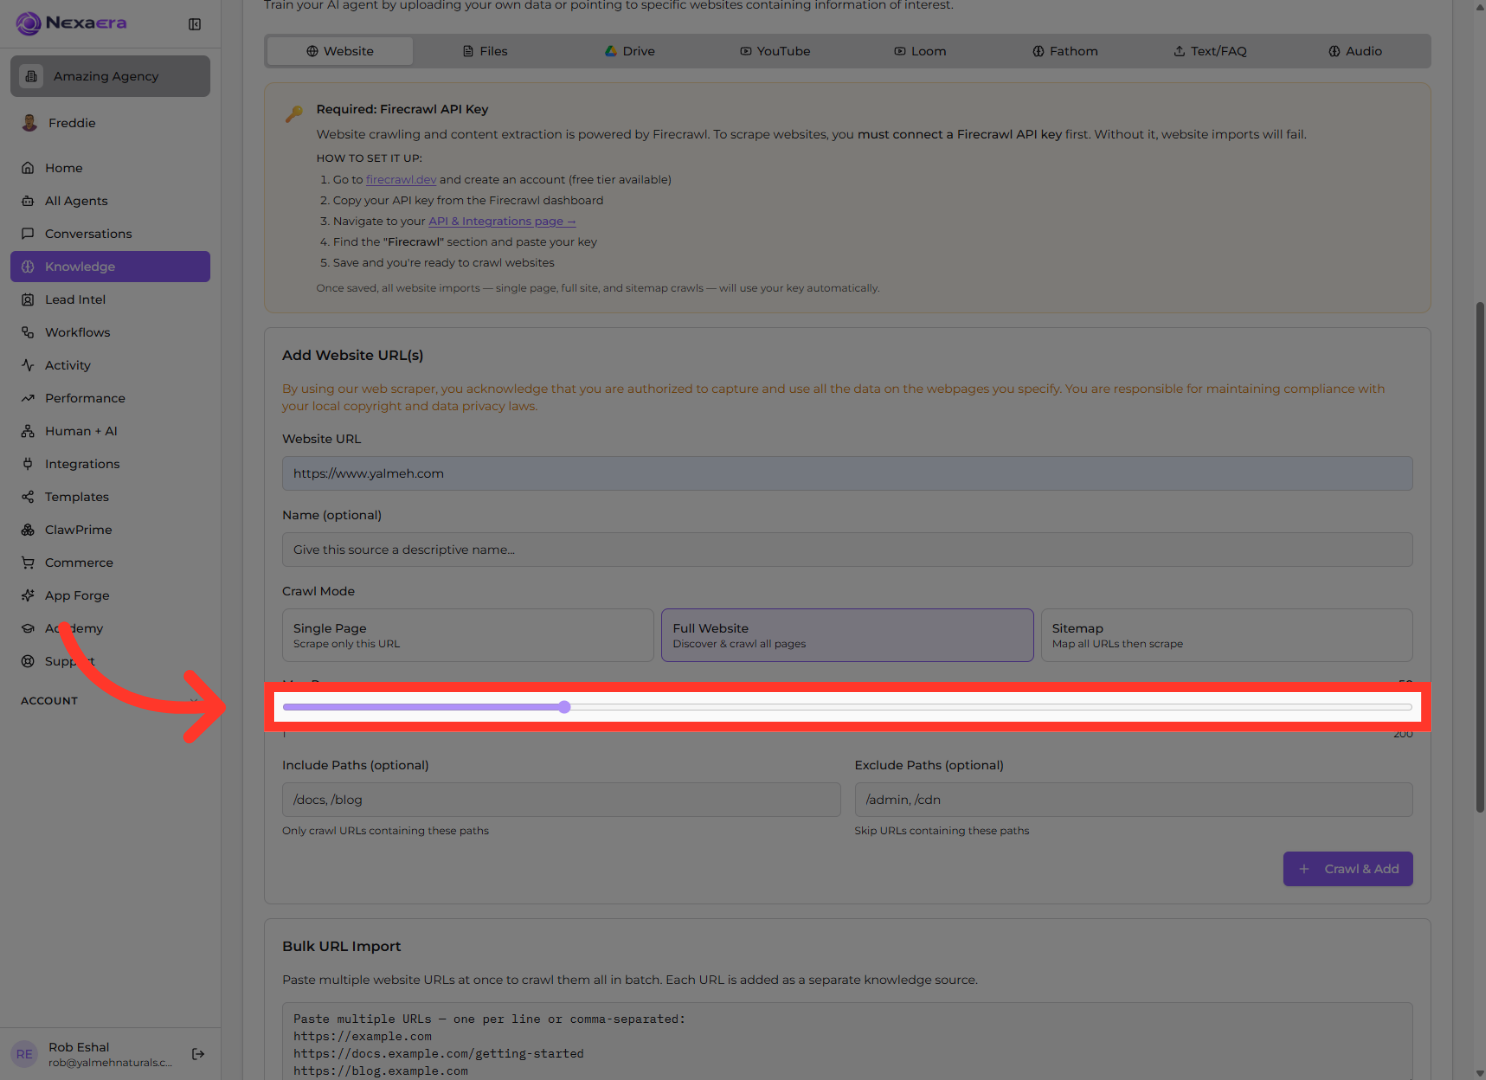
7. Set Crawl Depth Limit
"Drag the 'Max Pages' slider to cap how many pages the crawler will pull. This keeps big sites under control and stops it from grabbing more than you need. Set it wherever makes sense for your site."
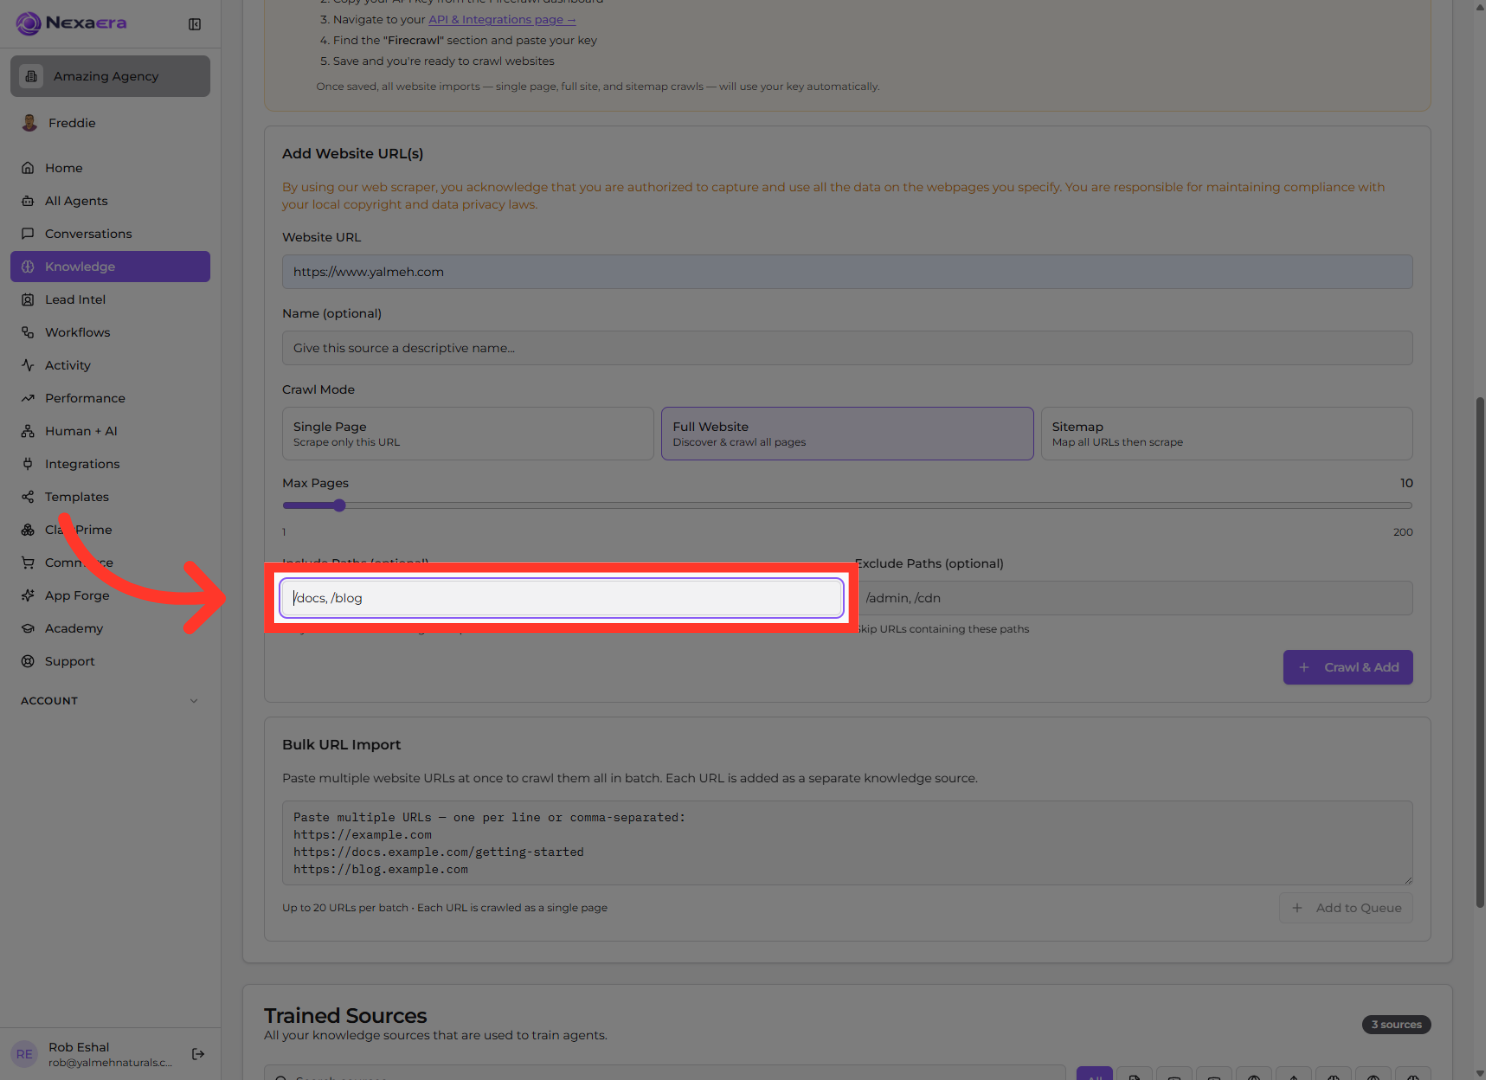
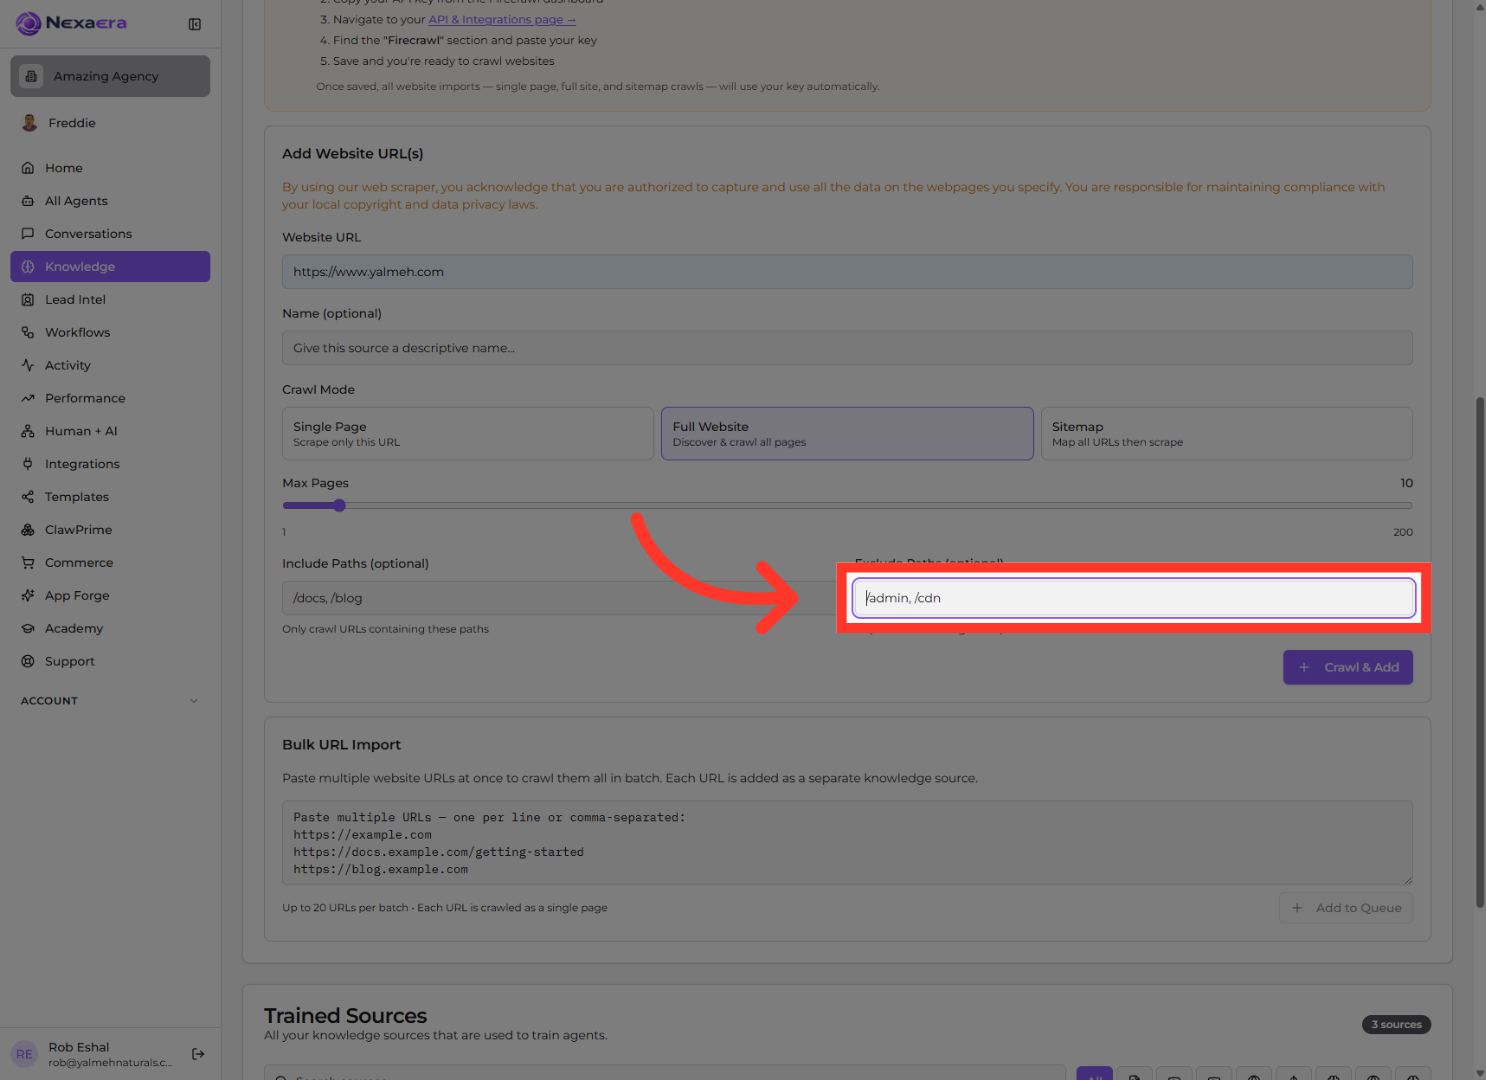
8. Exclude Specific Paths
"Want to crawl only part of your site? In 'Include Paths,' type the paths you care about — like /docs or /blog. The crawler will only pull URLs that contain those, so you get exactly the sections you want."
9. Add More Exclusions
"On the flip side, use 'Exclude Paths' to skip sections you don't want — like /admin or /login. Any URL containing these gets left out. Together, include and exclude give you tight control over what becomes training."
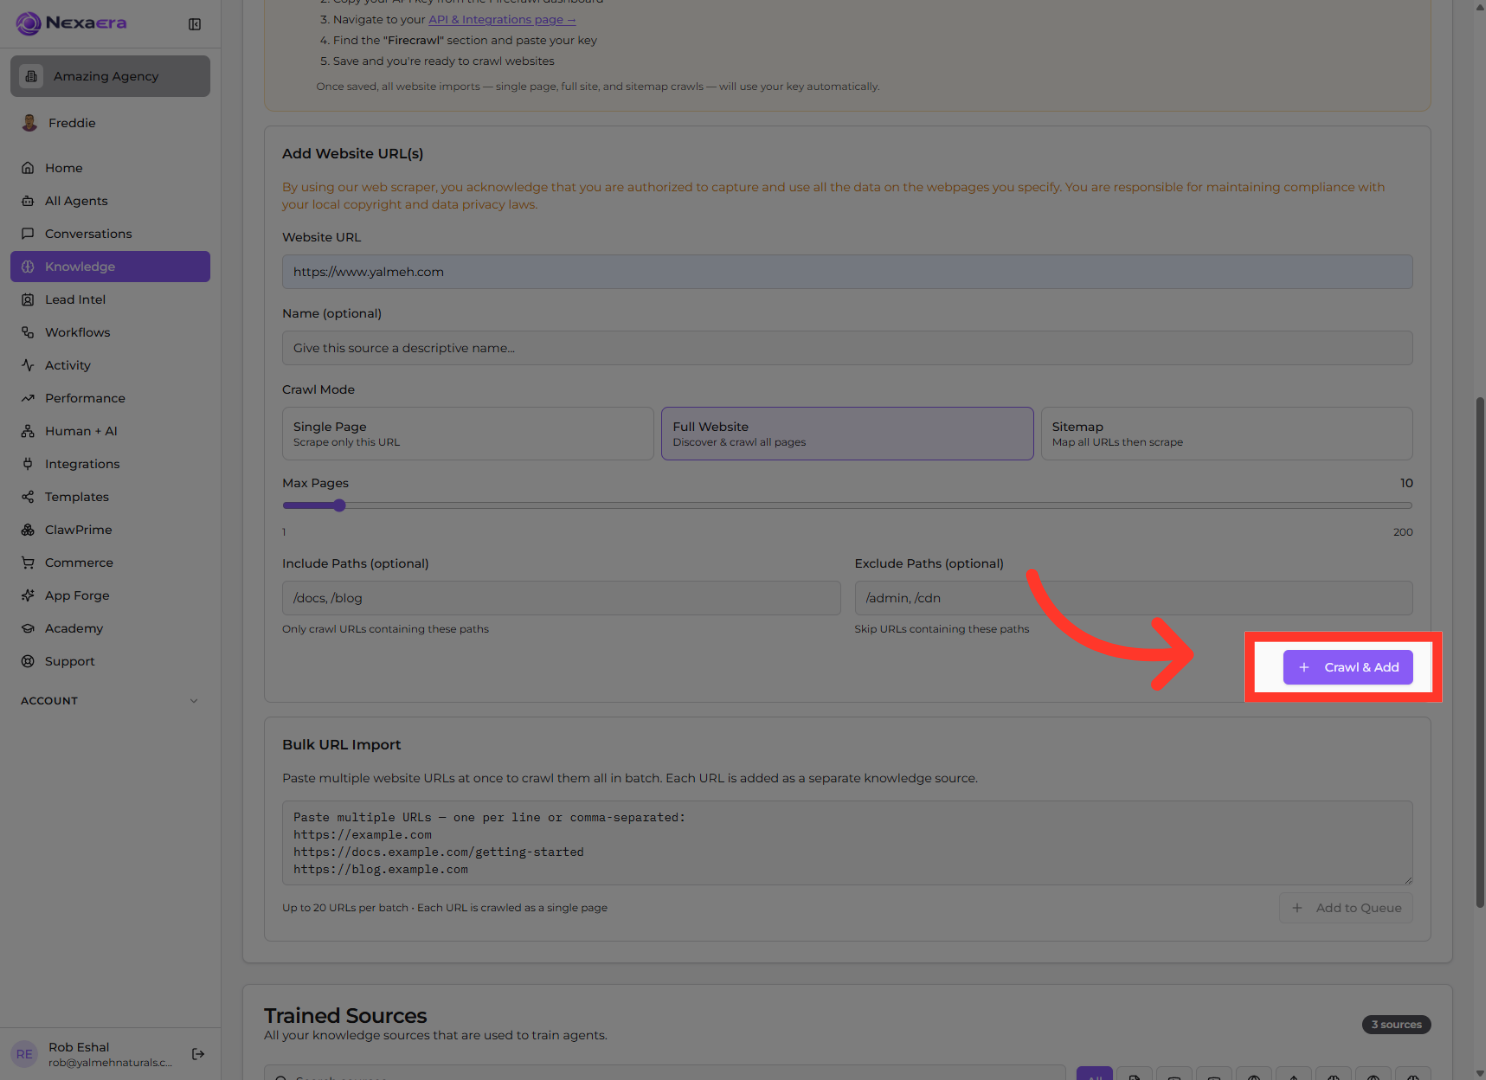
10. Start Crawl And Add
"Everything set? Click 'Crawl & Add.' NexaEra fires up the crawler with your settings, pulls the content, and adds it as a knowledge source for your agent."
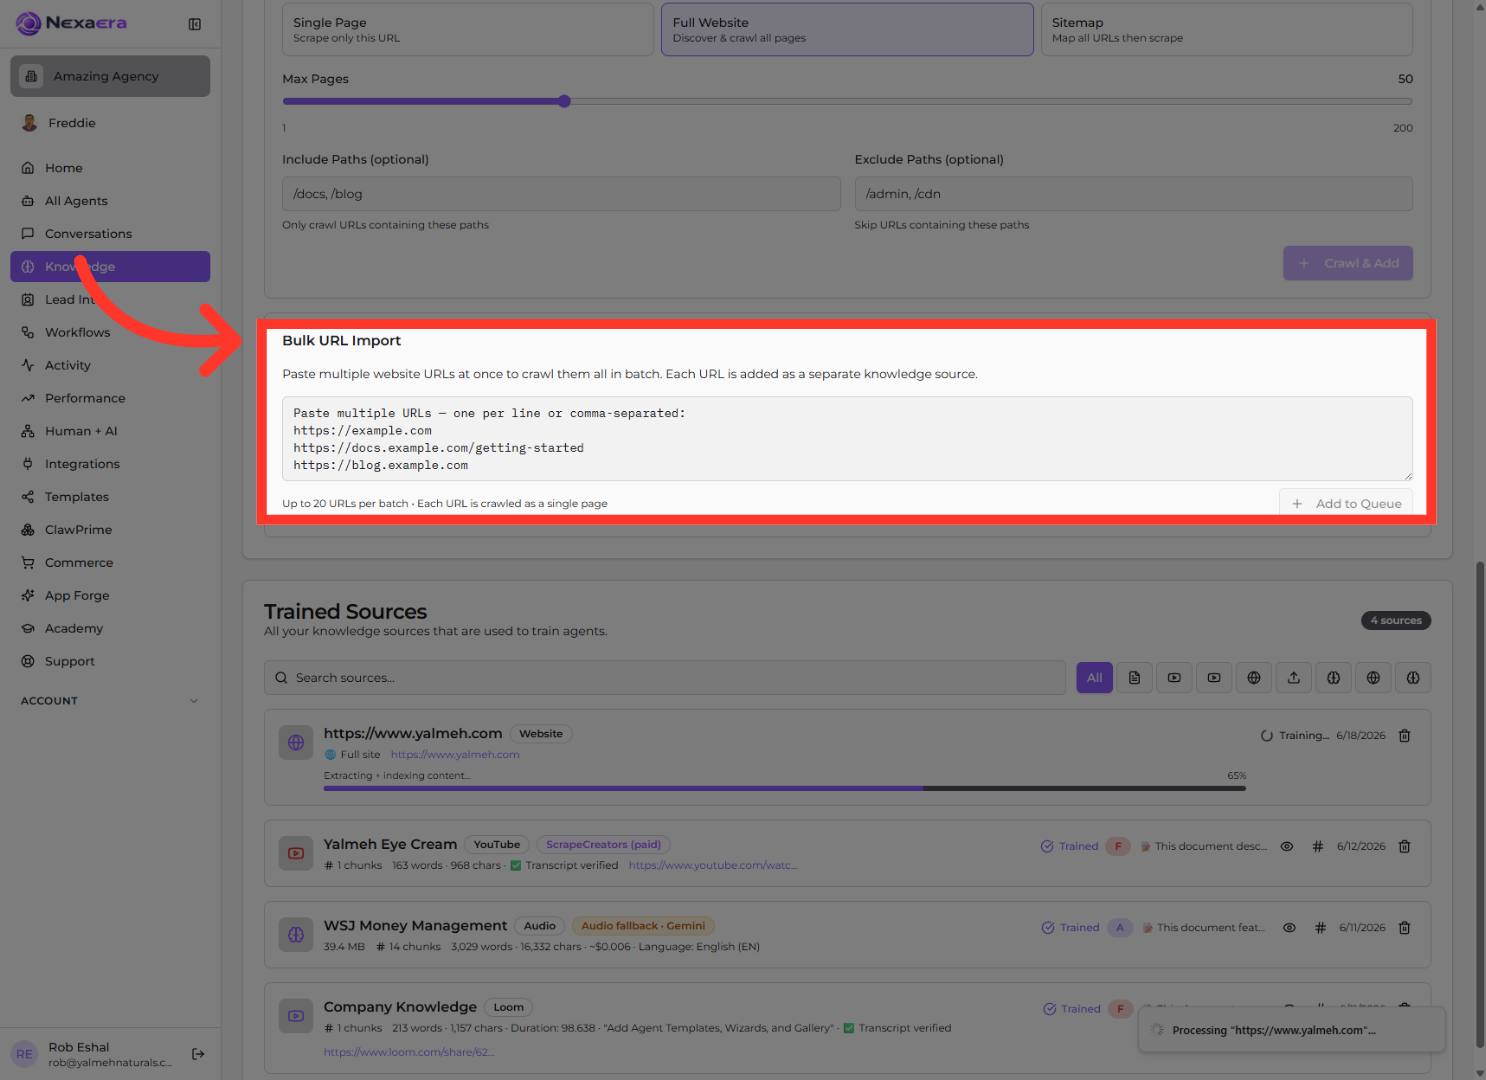
11. View Website Crawl Data
"Got a bunch of specific pages to add? Scroll to 'Bulk URL Import,' paste your URLs one per line or comma-separated — up to 20 per batch — and click 'Add to Queue.' Each one gets crawled as a single page."
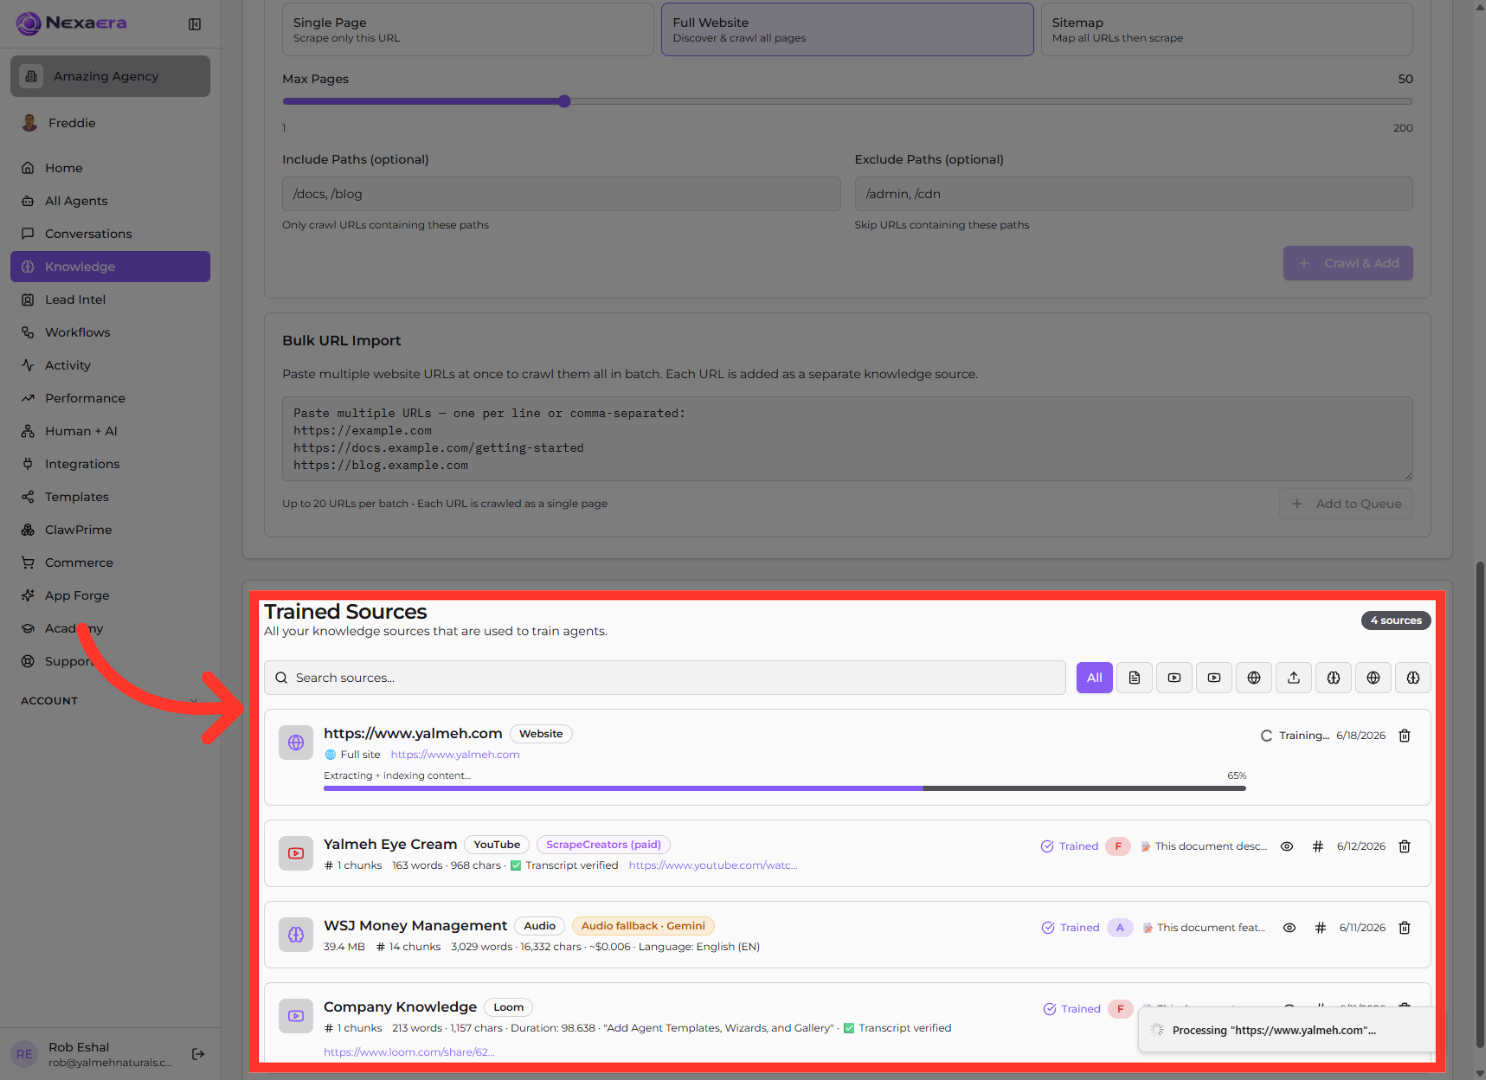
12. Reopen Website Crawl Data
"Scroll down to 'Trained Sources.' Here you'll watch your crawl progress, and once it's done, your website appears in the list — with its chunks, word count, and a 'Trained' badge. That's your confirmation the content is live and ready to power answers."
"And that's your website plugged into your agent's brain. You controlled exactly what got crawled — the right pages, none of the clutter — and turned your own site into training data. Your agent can now answer straight from your real content. Great work."
Still need help? Ask the team