Create Scheduled Tasks in NexaEra Dashboard.
Let's put an agent to work on autopilot. In the next couple of minutes, you'll create a scheduled task that runs all by itself — a daily briefing, a weekly report, whatever you need. Here's how.
Written By Fred Yalmeh
Last updated About 2 months ago
Go to www.nexaera.com
1. What You'll Learn
In this video, you'll build your first scheduled task from scratch. You'll pick an agent, choose what it does, set how often it runs, and switch it on. The whole thing takes about a minute.
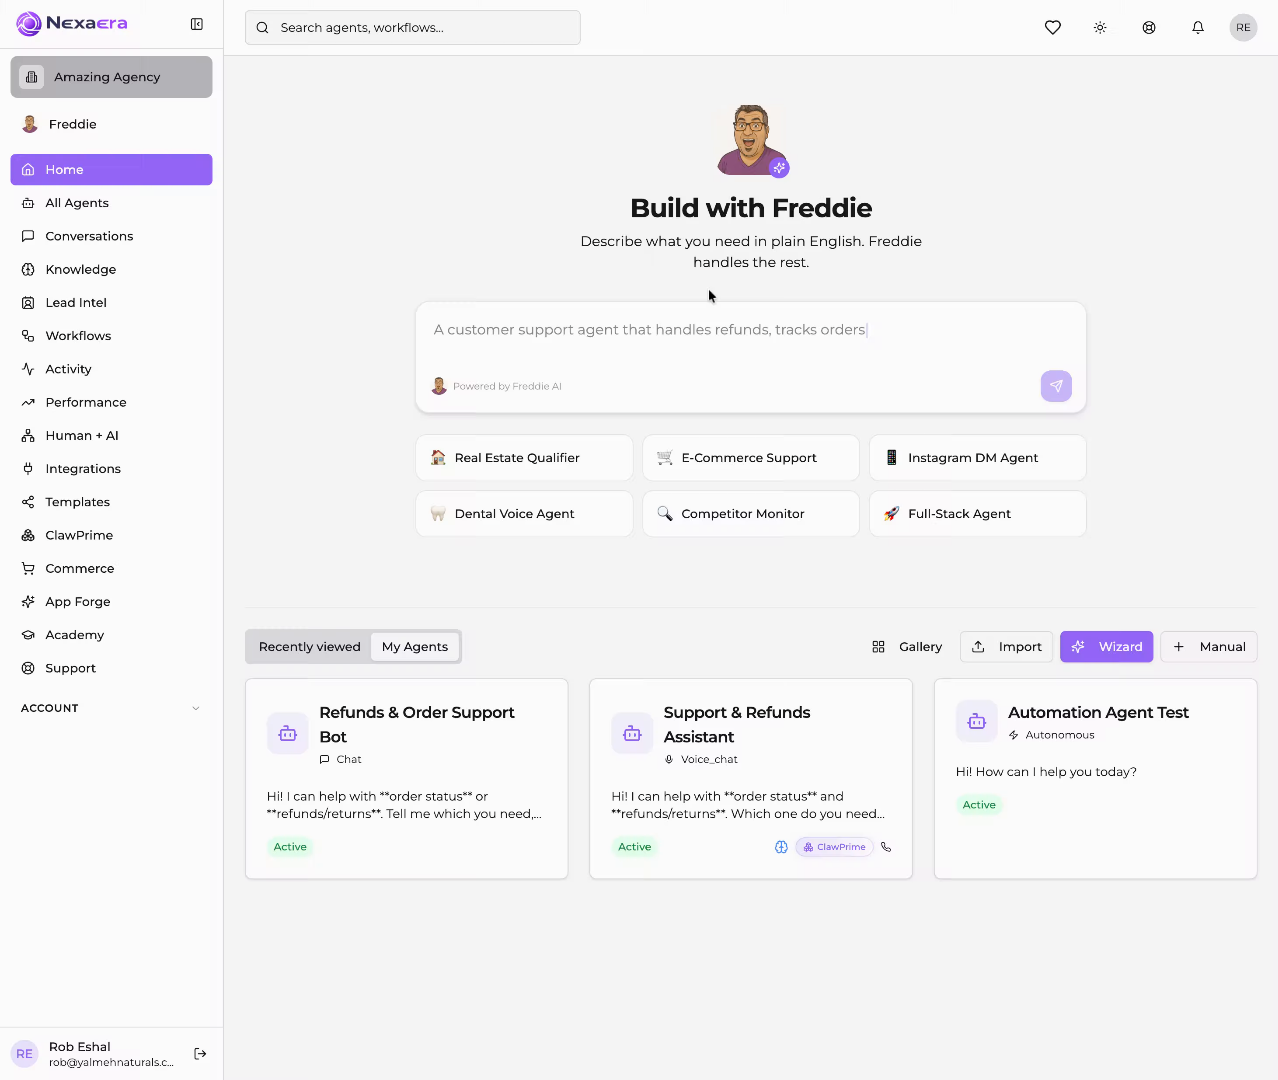
2. Access Activity Section
Start on the left sidebar and click "Activity." Your scheduled tasks live in this section.
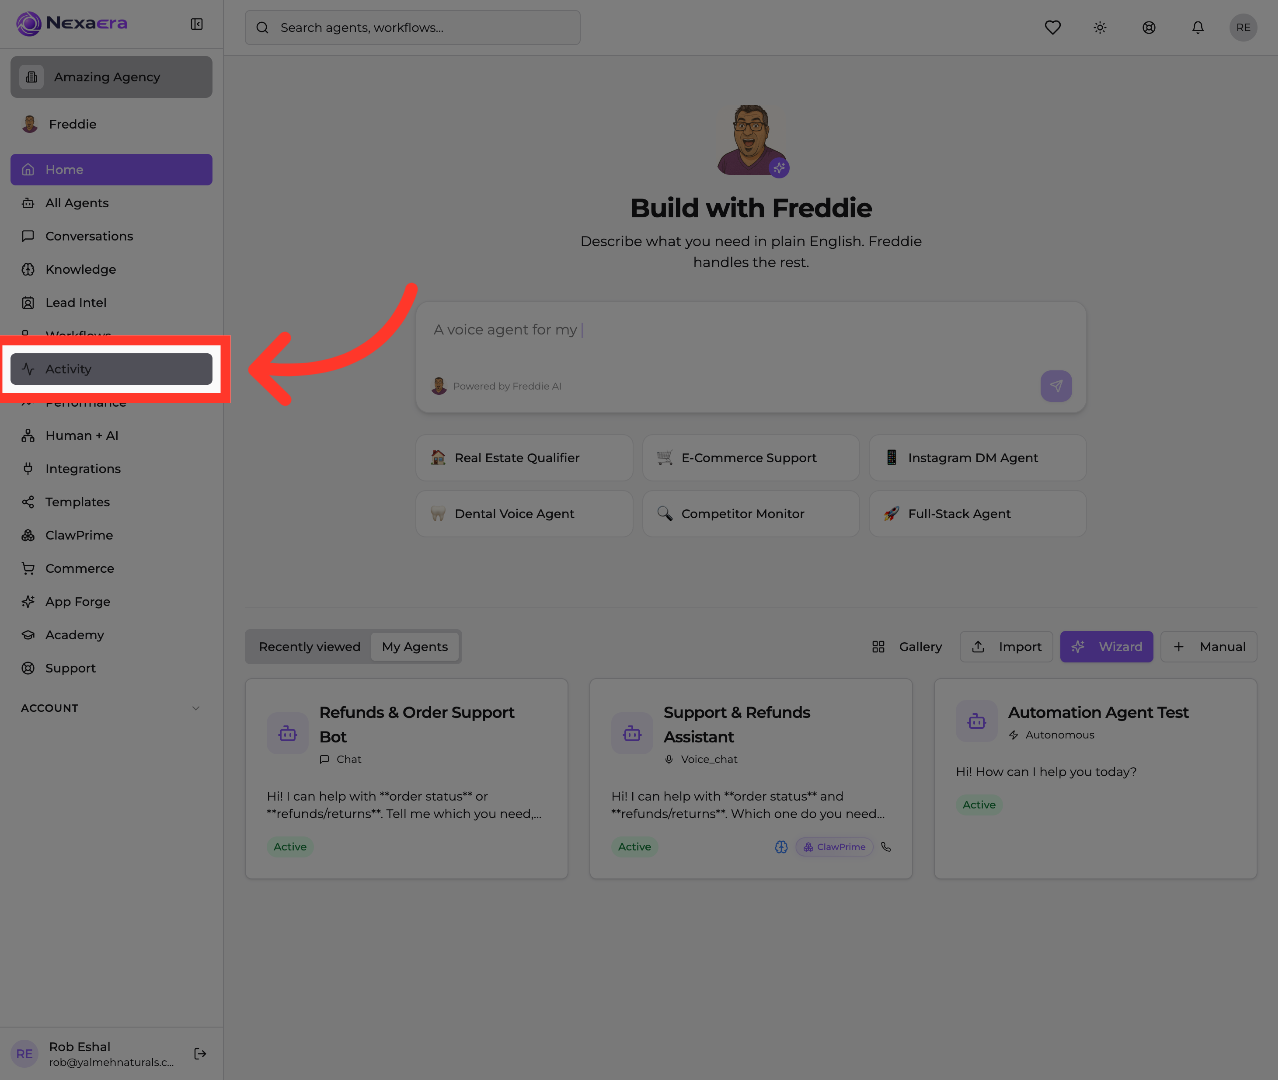
3. Open Scheduled Tasks
At the top, click the "Scheduled Tasks" tab. This is where all of your recurring jobs are managed.
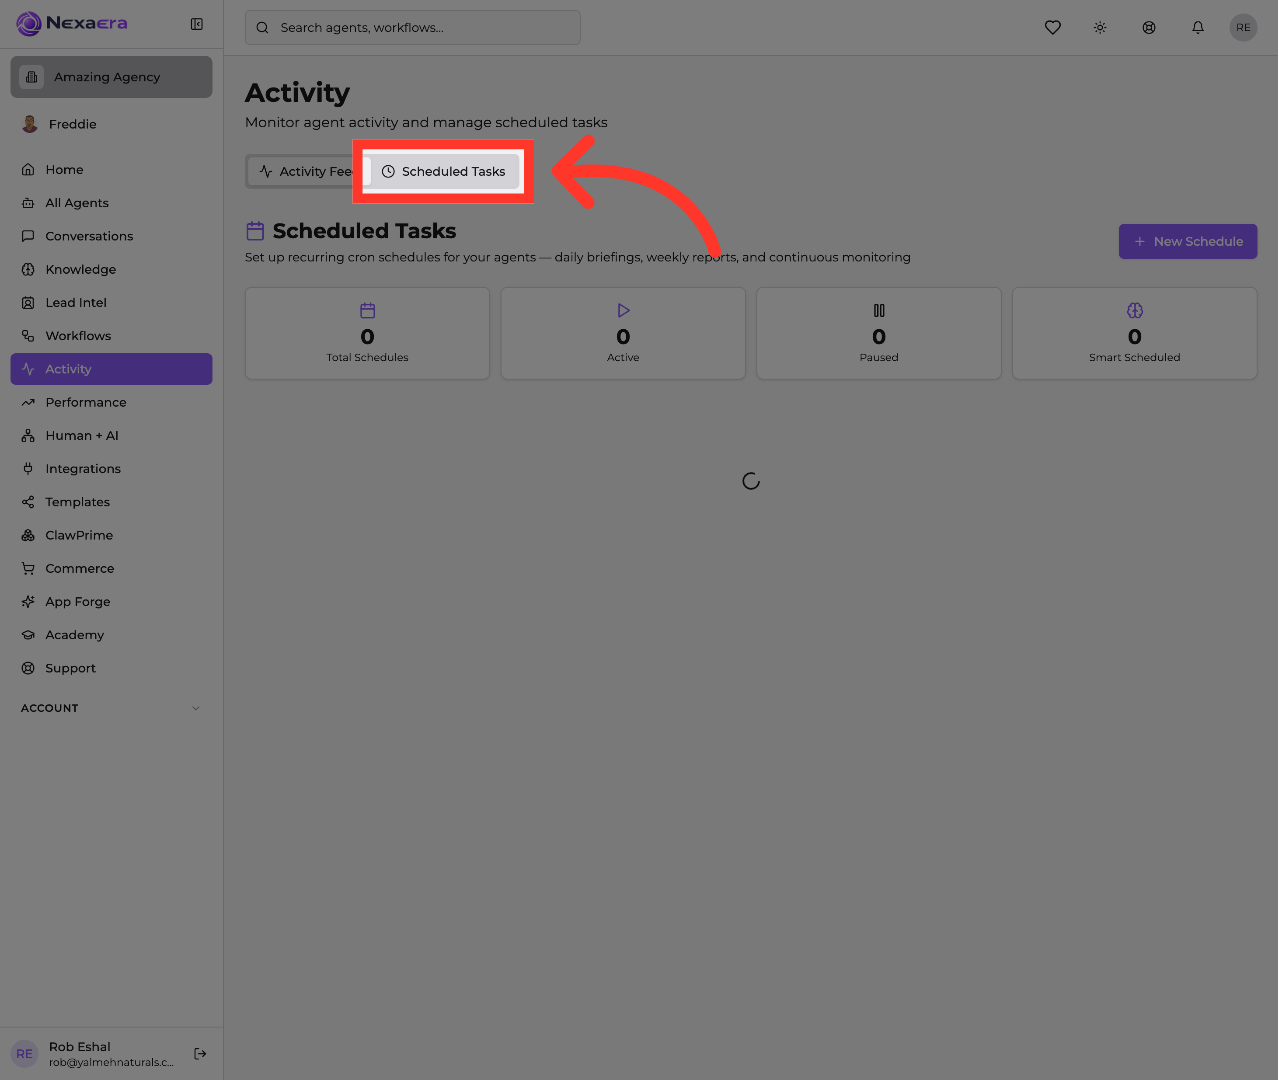
4. Initiate New Schedule
Since we don't have any yet, click the "New Schedule" button. This opens the task builder, where all the magic happens.
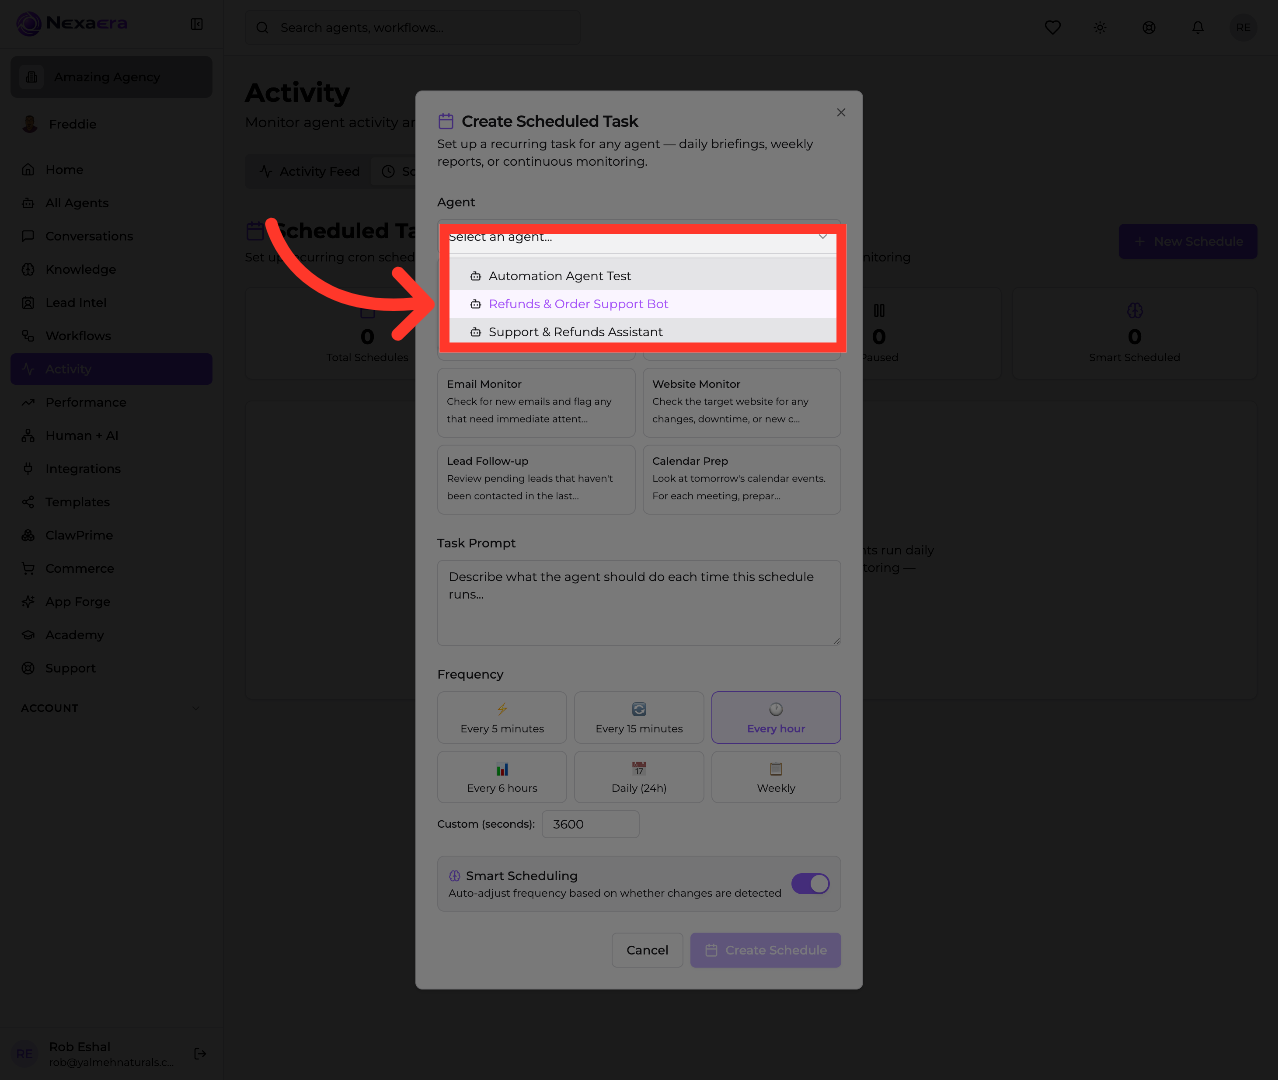
5. Select Refunds Bot
First, pick which agent will handle this task. Open the "Agent" dropdown and choose one from your list. Here, we'll go with the "Refunds and Order Support Bot."
6. Choose News Scan Task
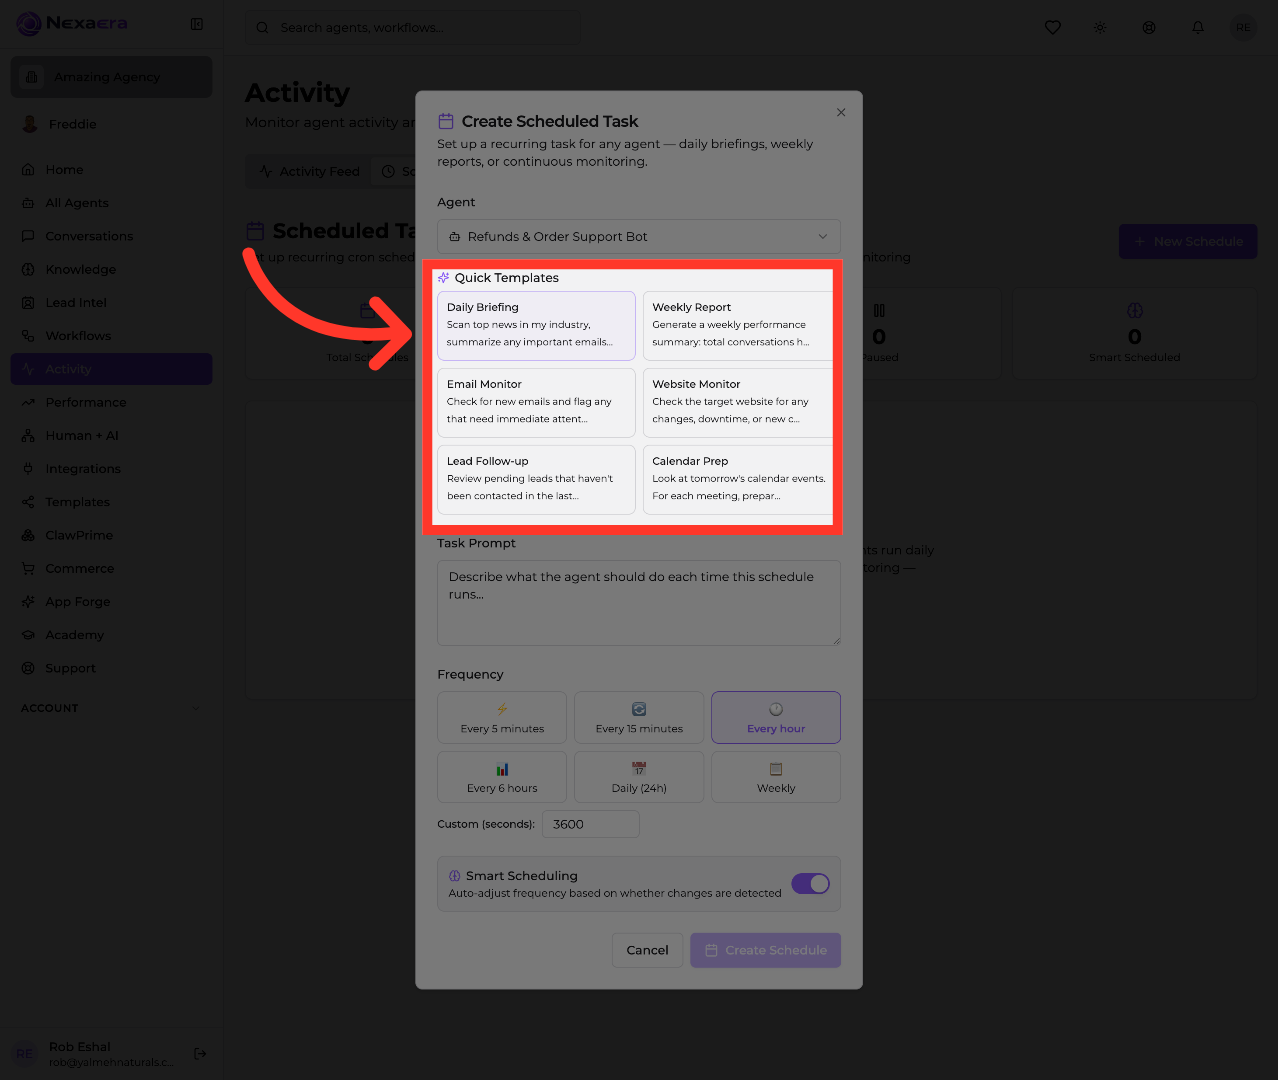
Next, save yourself some typing with a Quick Template. There are ready-made ones like Weekly Report, Email Monitor, and Calendar Prep. We'll pick "Daily Briefing," which scans the news and your inbox each morning.
7. Select Morning Briefing Task
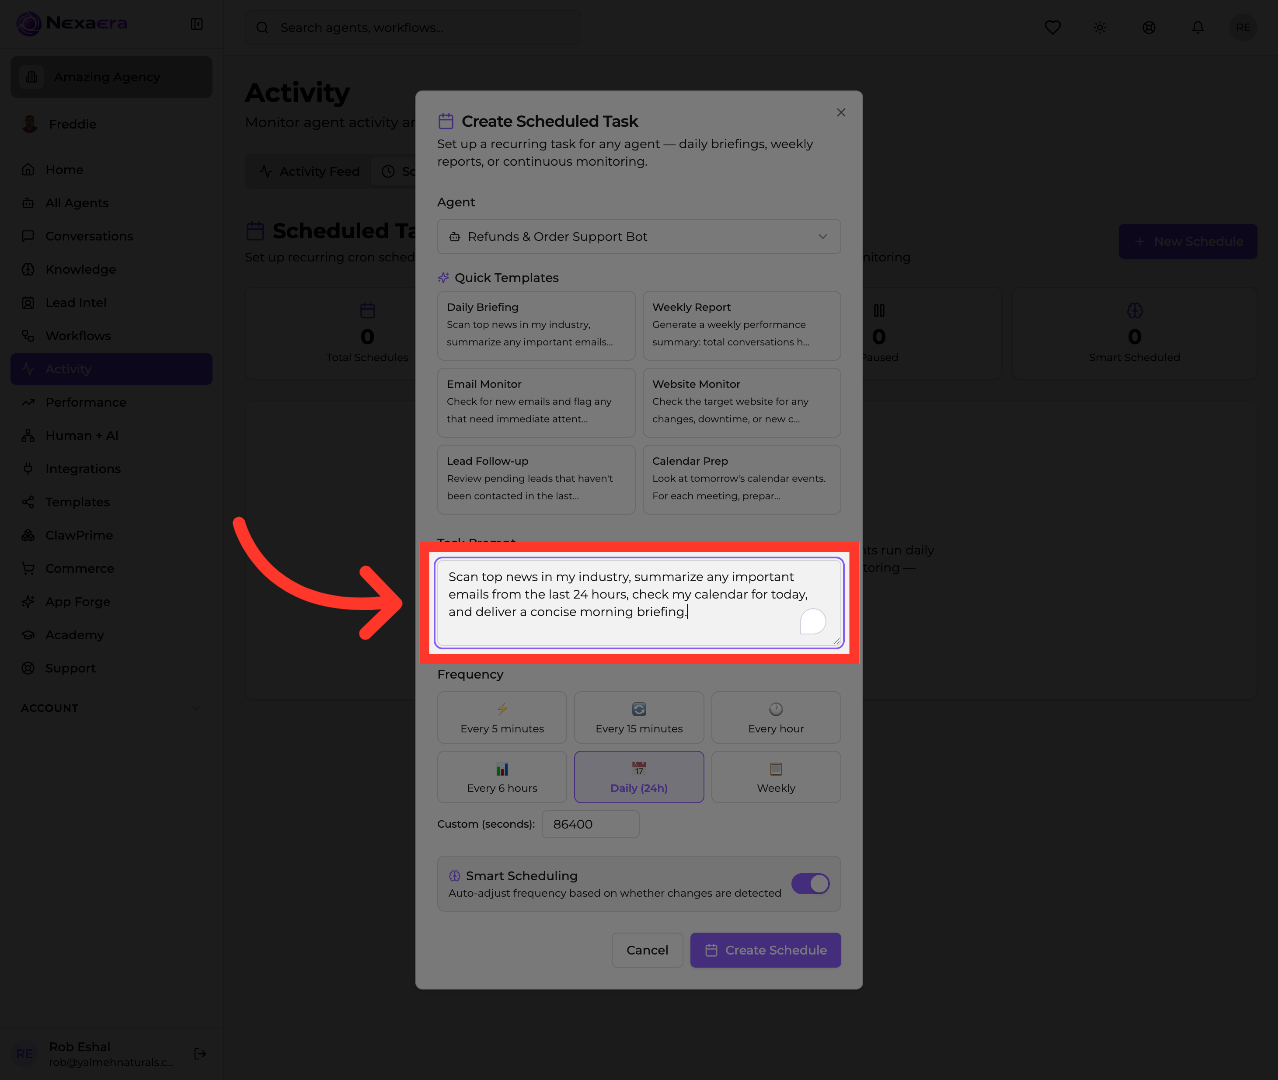
Watch the "Task Prompt" box fill in automatically. This is exactly what the agent will do each time it runs. Read it over, and edit it freely to fit what you actually want.
8. Set Frequency
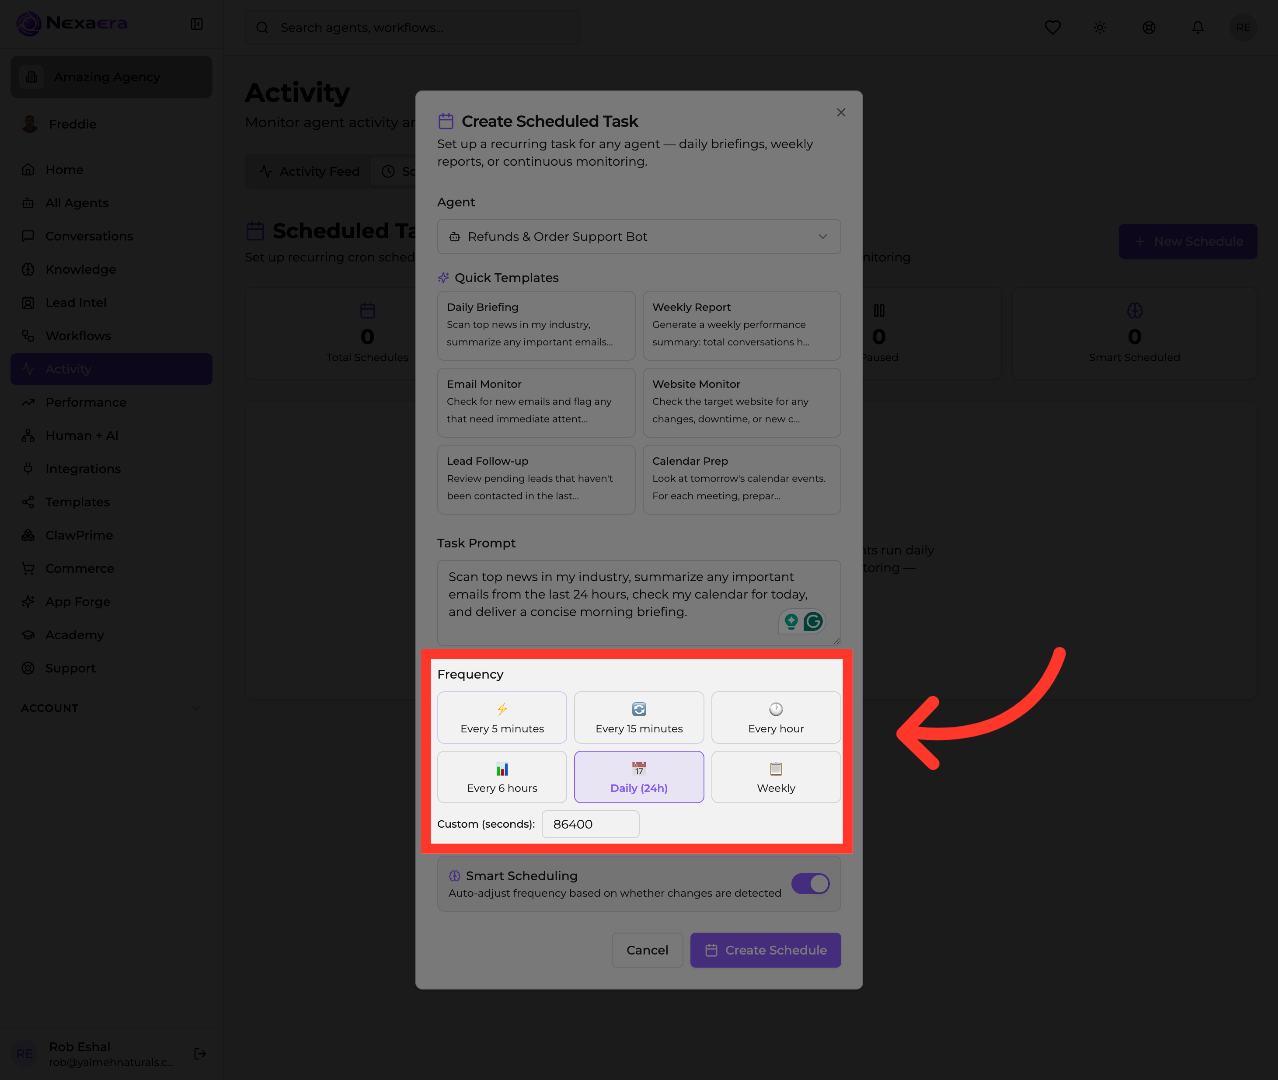
Now choose how often it runs. The options range from every five minutes all the way to weekly. Since this is a morning briefing, we'll leave it on "Daily." You can even set a custom interval.
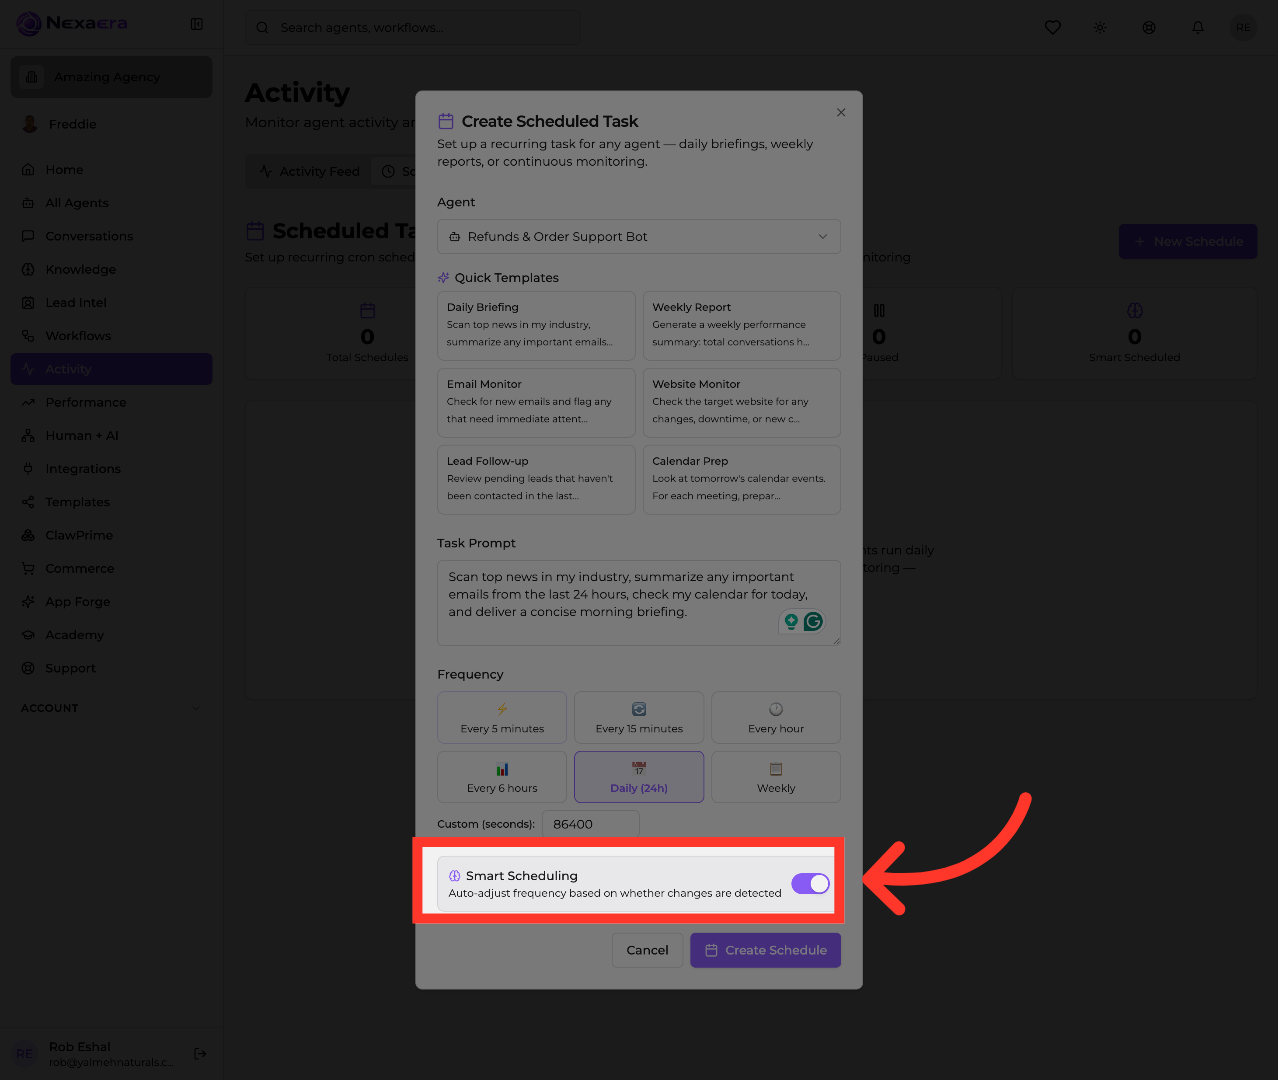
9. Turn On Smart Scheduling
There's also a "Smart Scheduling" toggle. Flip it on, and the system automatically adjusts how often the task runs based on whether anything's actually changed. It saves you from needless runs.
10. Finalize Schedule Creation
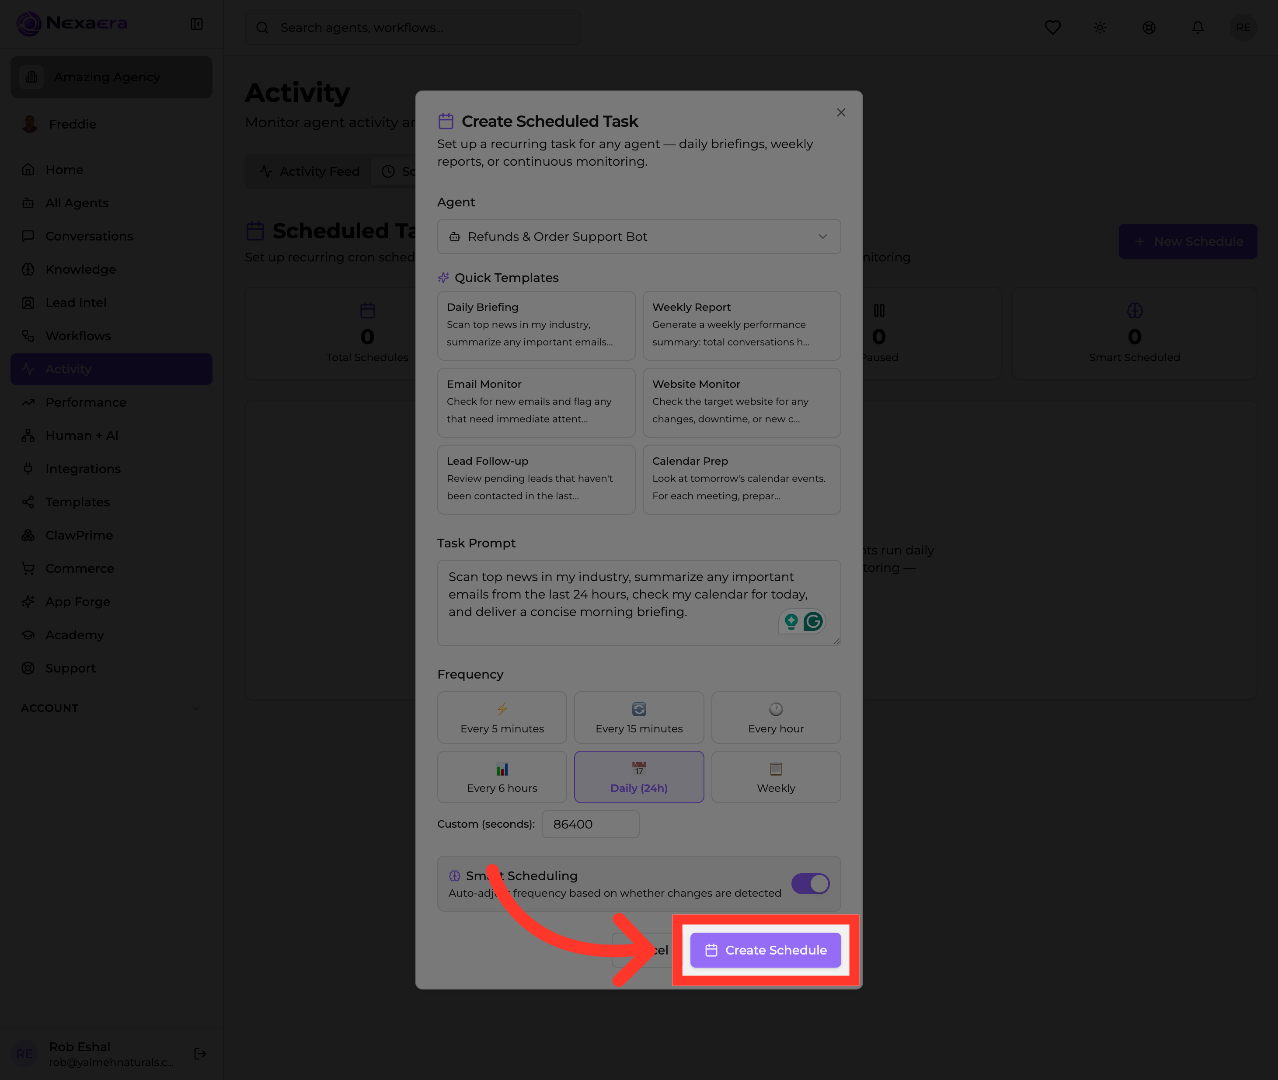
That's everything. Click "Create Schedule" to save it and switch it on. Your agent will now run this task automatically, right on schedule.
And you've built your first scheduled task! Your agent will handle it from here — no reminders, no manual work. You can always come back to pause it, edit it, or add more. See you in the next one.
Still need help? Ask the team