Configure Scheduled Tasks in NexaEra Dashboard
What if your agents could run reports, send briefings, and monitor things for you — automatically, on a set schedule? That's exactly what Scheduled Tasks are for. In this quick tour, I'll show you where they live and how to start your first one.
Written By Fred Yalmeh
Last updated About 2 months ago
Go to www.nexaera.com
1. Introduction
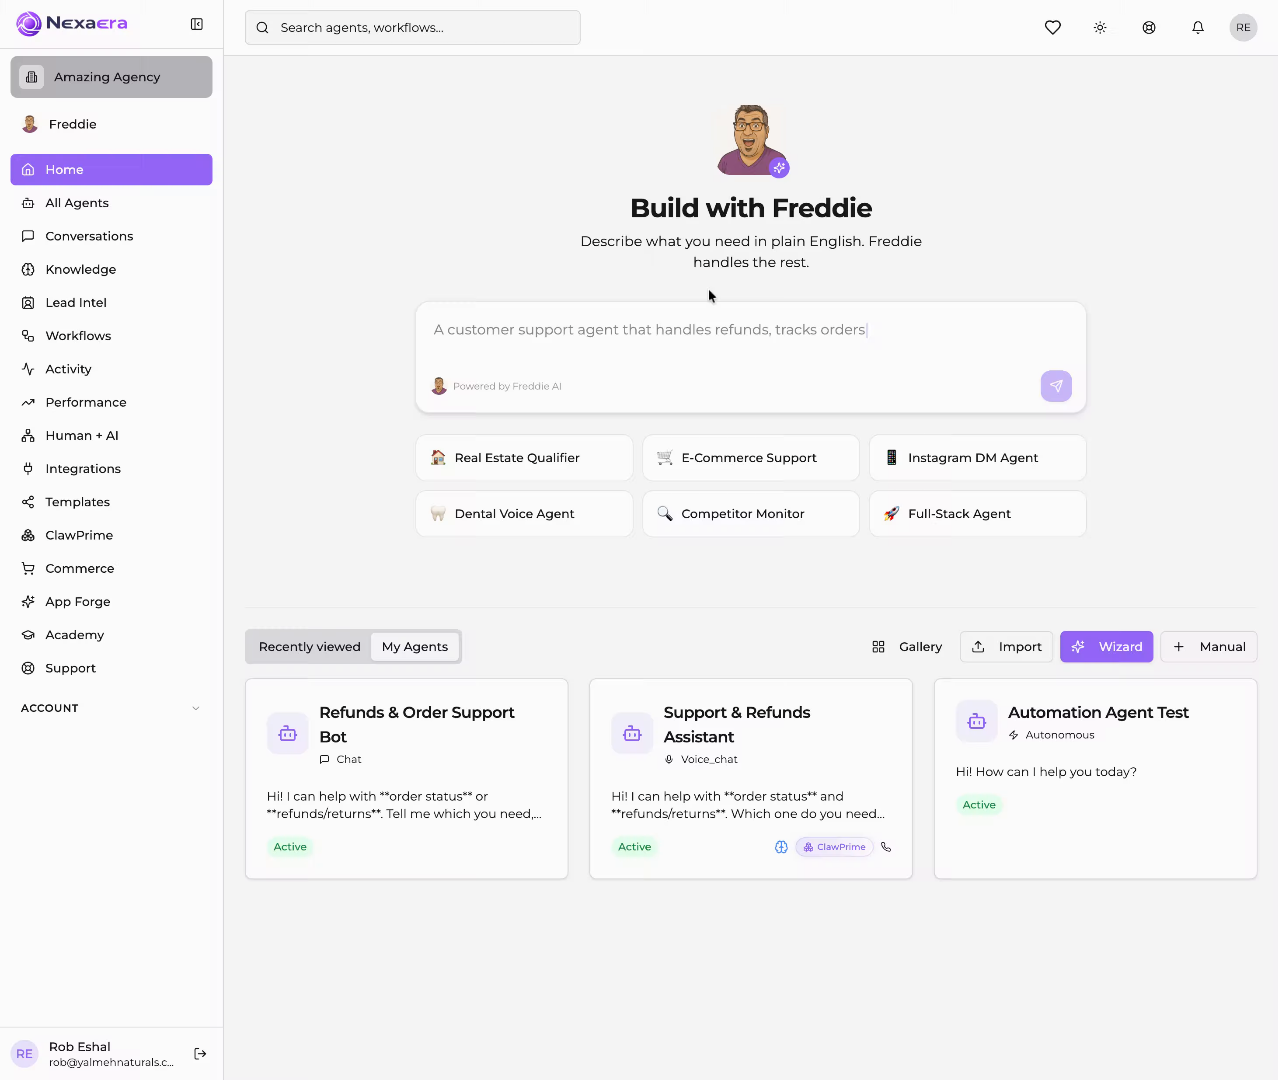
In this video, you'll find your scheduled tasks hub and learn what each part of it does. From there, setting up a recurring workflow — like a daily briefing or a weekly report — is just a click away.
2. Access Activity Section
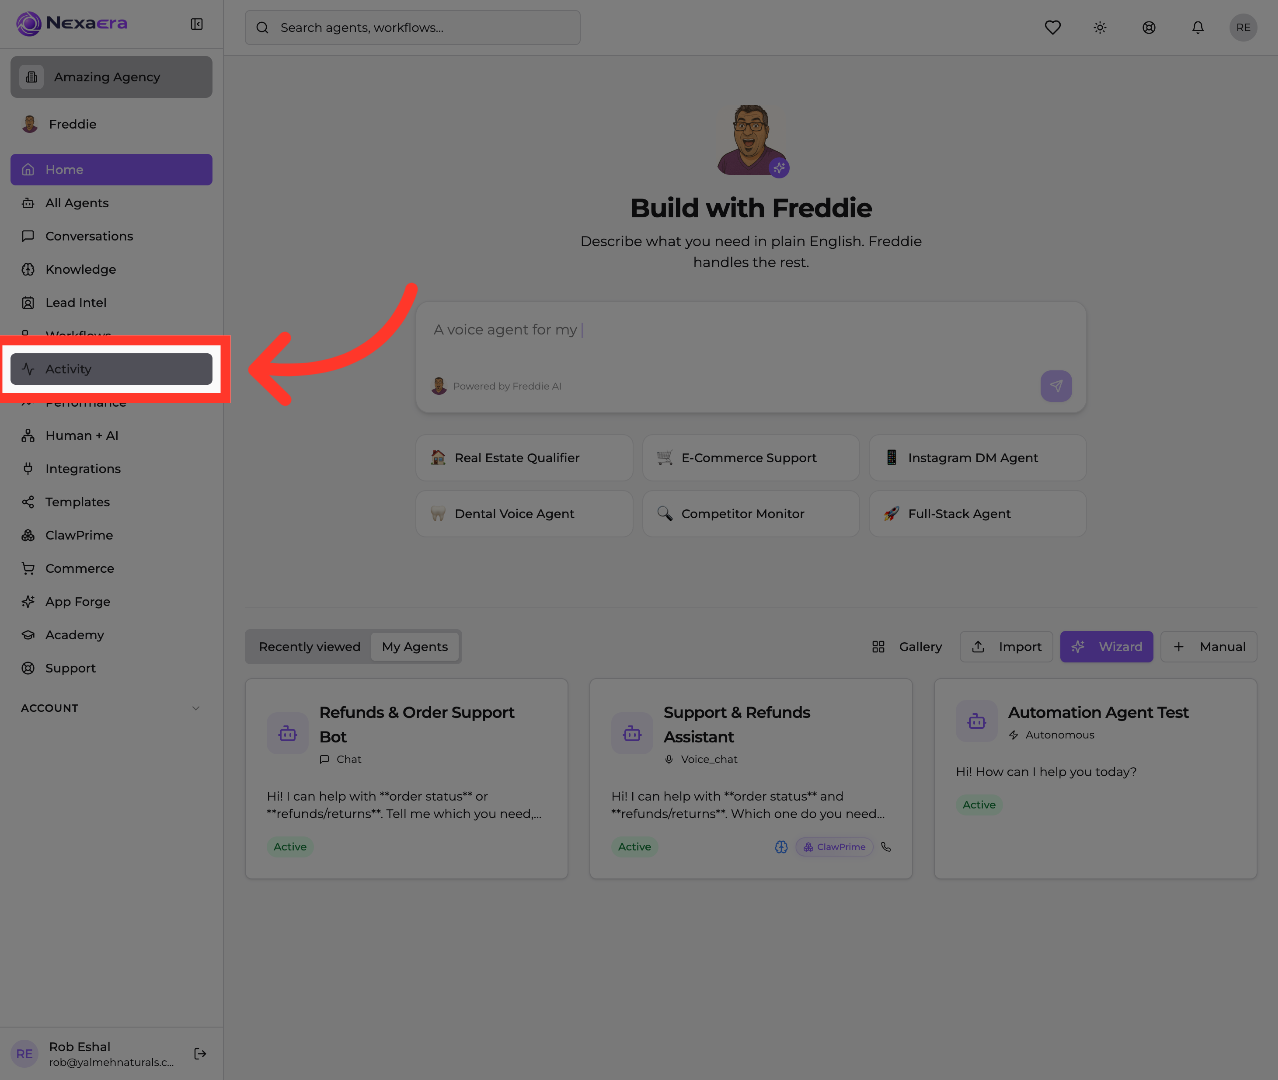
Start on the left sidebar and click "Activity." Your scheduled tasks live inside this section, right alongside your agent activity.
3. Open Scheduled Tasks
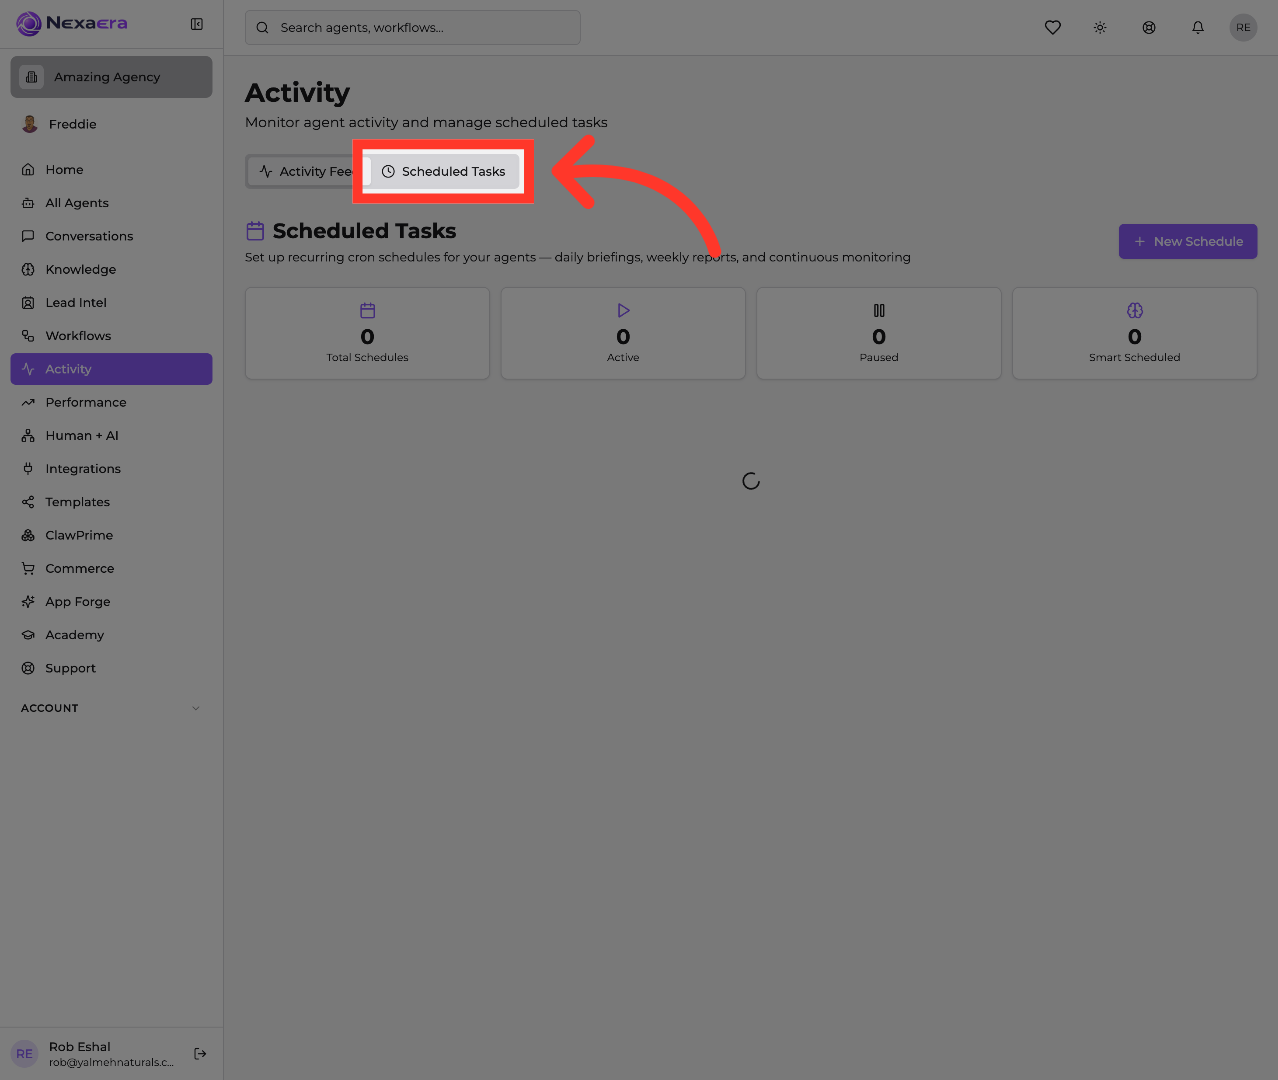
At the top, you'll see two tabs. Click "Scheduled Tasks." This is your command center for recurring jobs — daily briefings, weekly reports, and round-the-clock monitoring.
4. View First Task Count
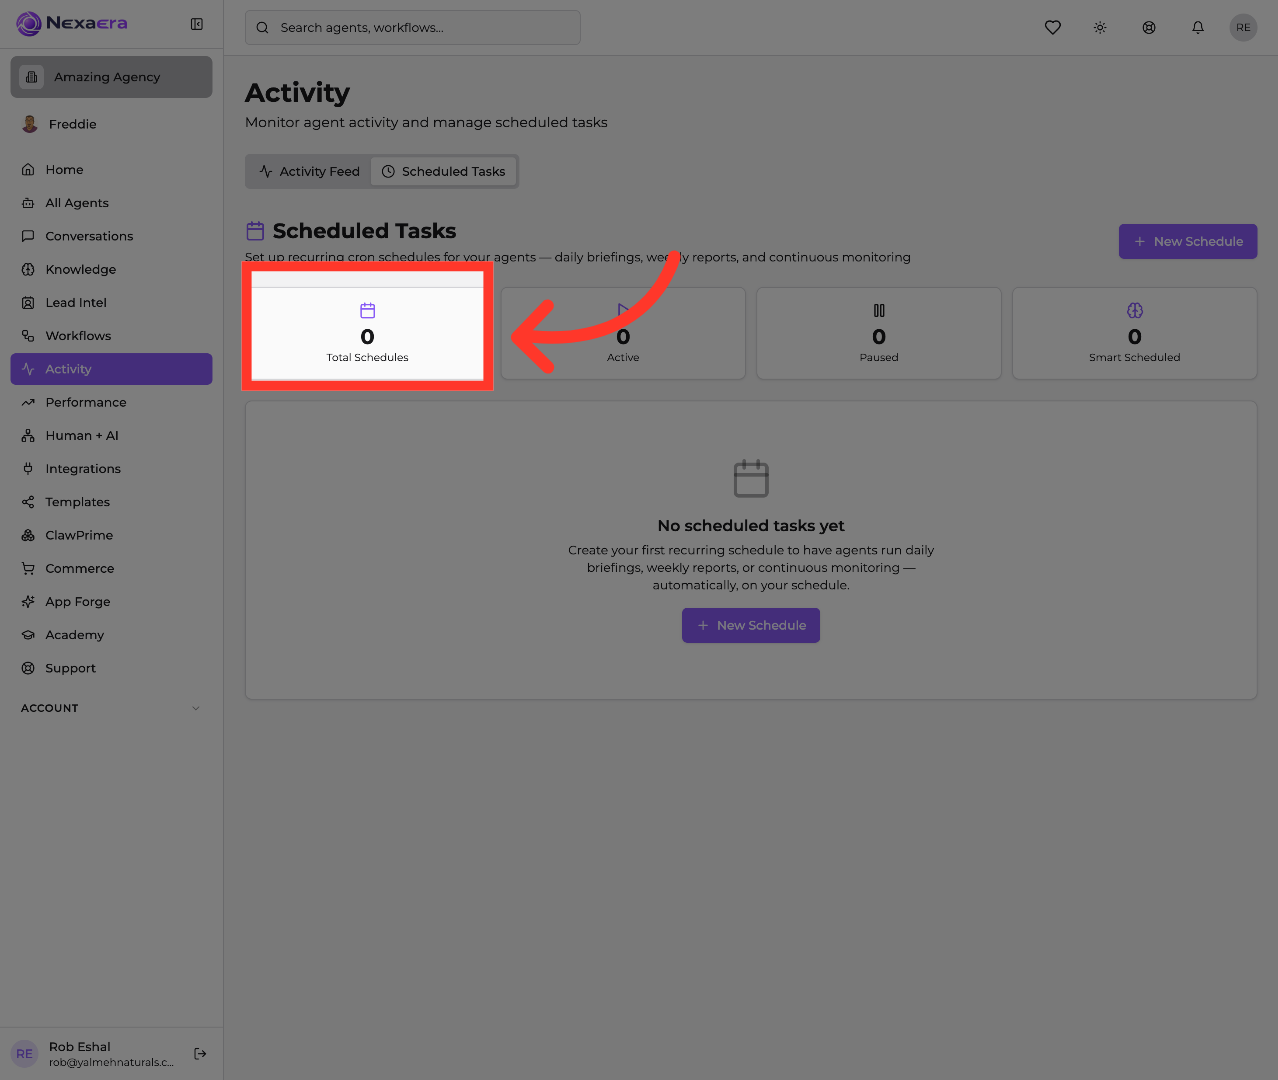
Up top are four quick-glance cards. The first, "Total Schedules," is the total number of recurring jobs you've set up. It's at zero right now, since we haven't made one yet.
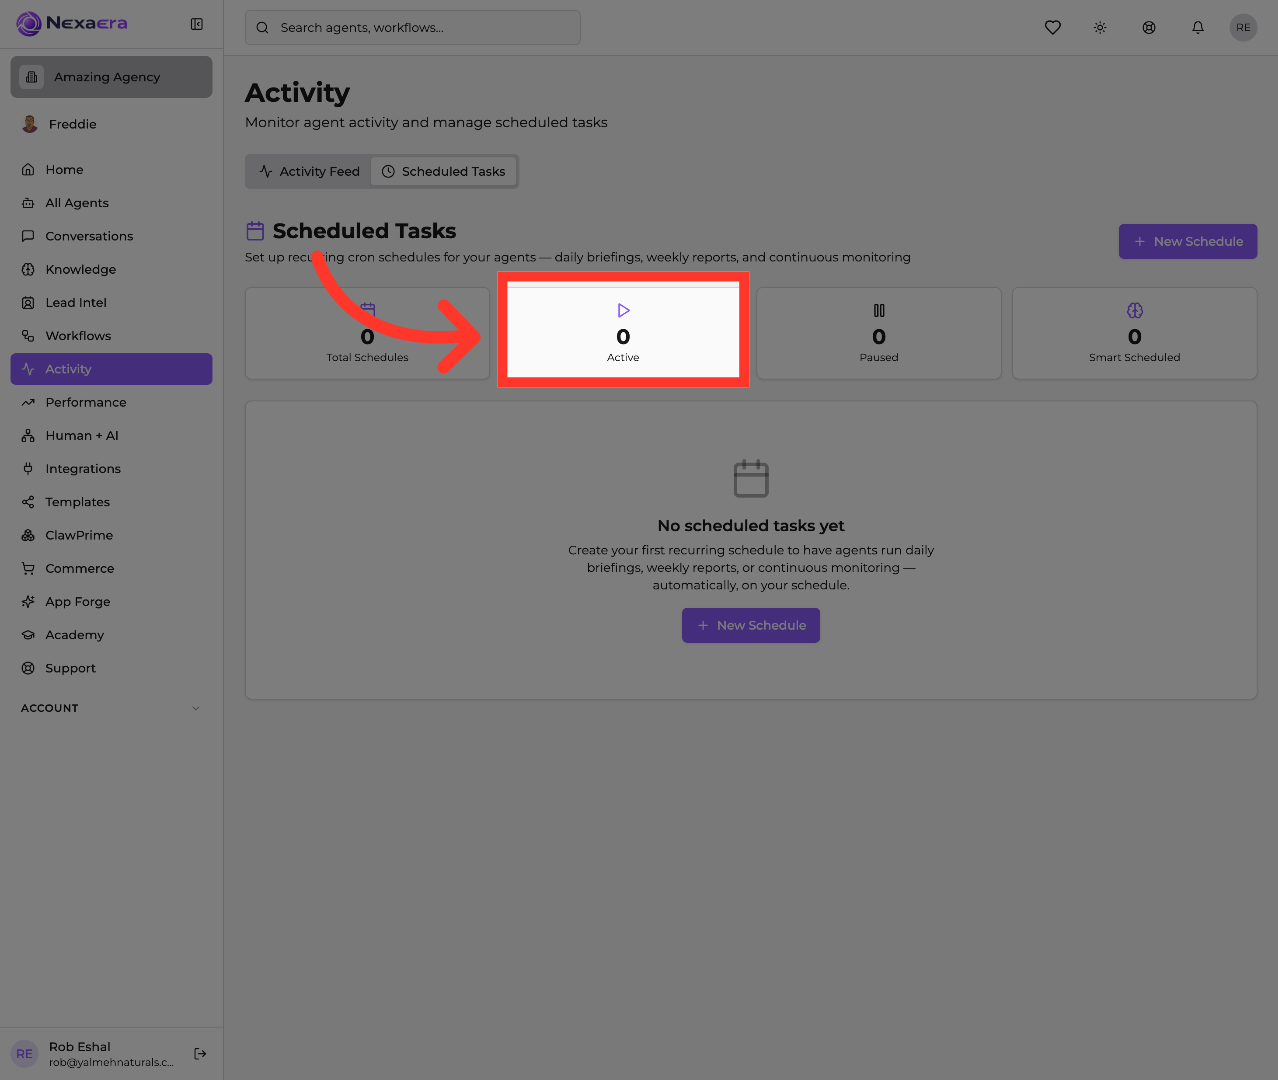
5. Check Third Task Count
Next is "Active." These are the schedules that are switched on and running on their normal cadence. It's your count of everything currently working for you.
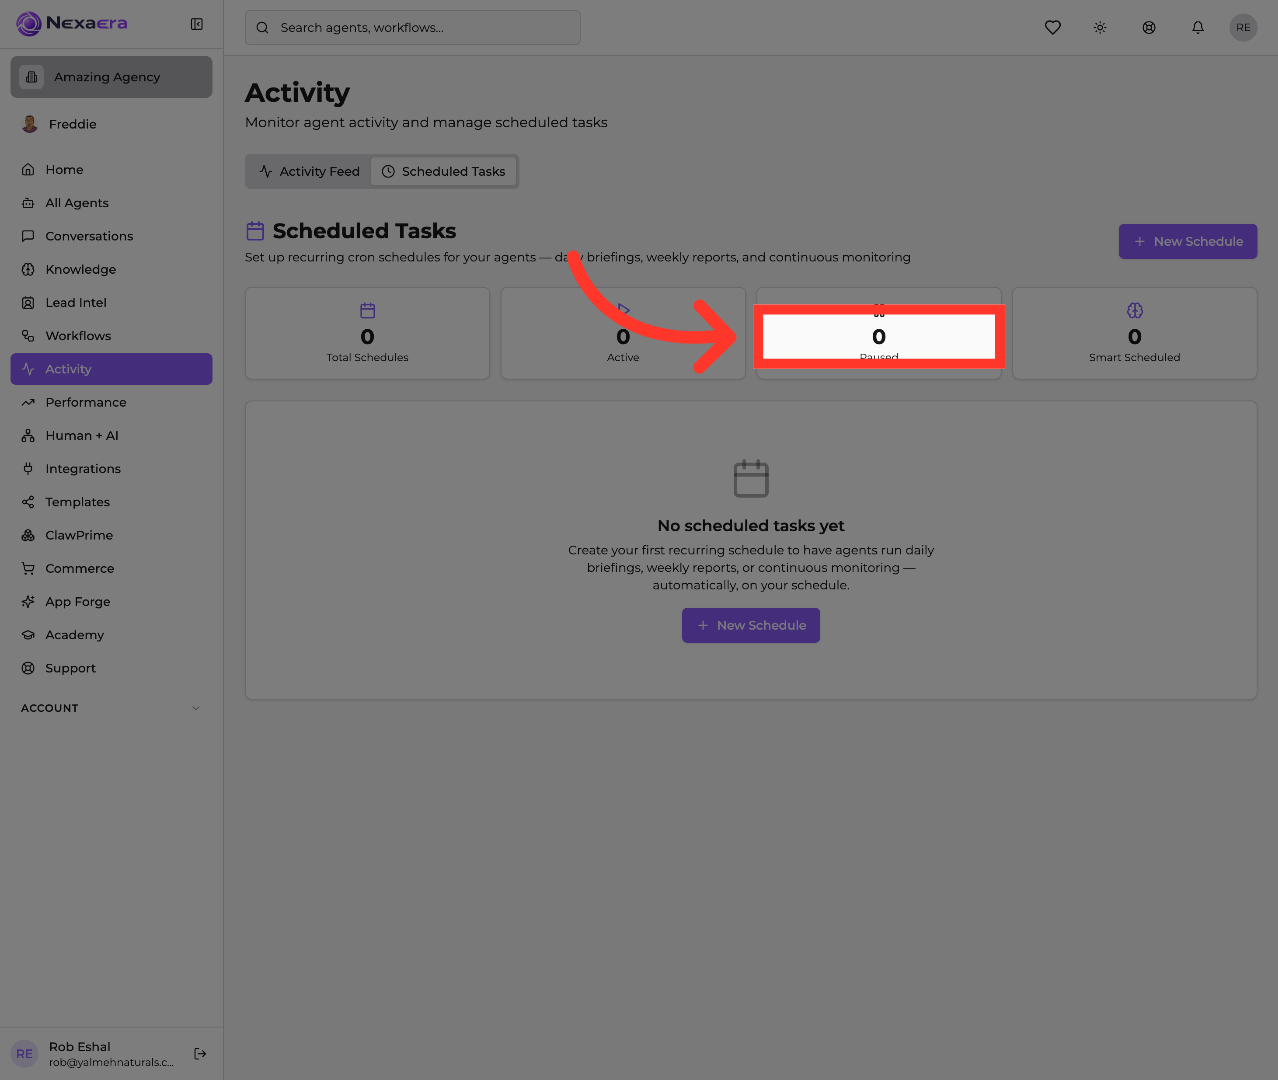
6. Review Fourth Task Count
Then there's "Paused." Any schedule you temporarily switch off shows up here — still saved, just on hold until you turn it back on.
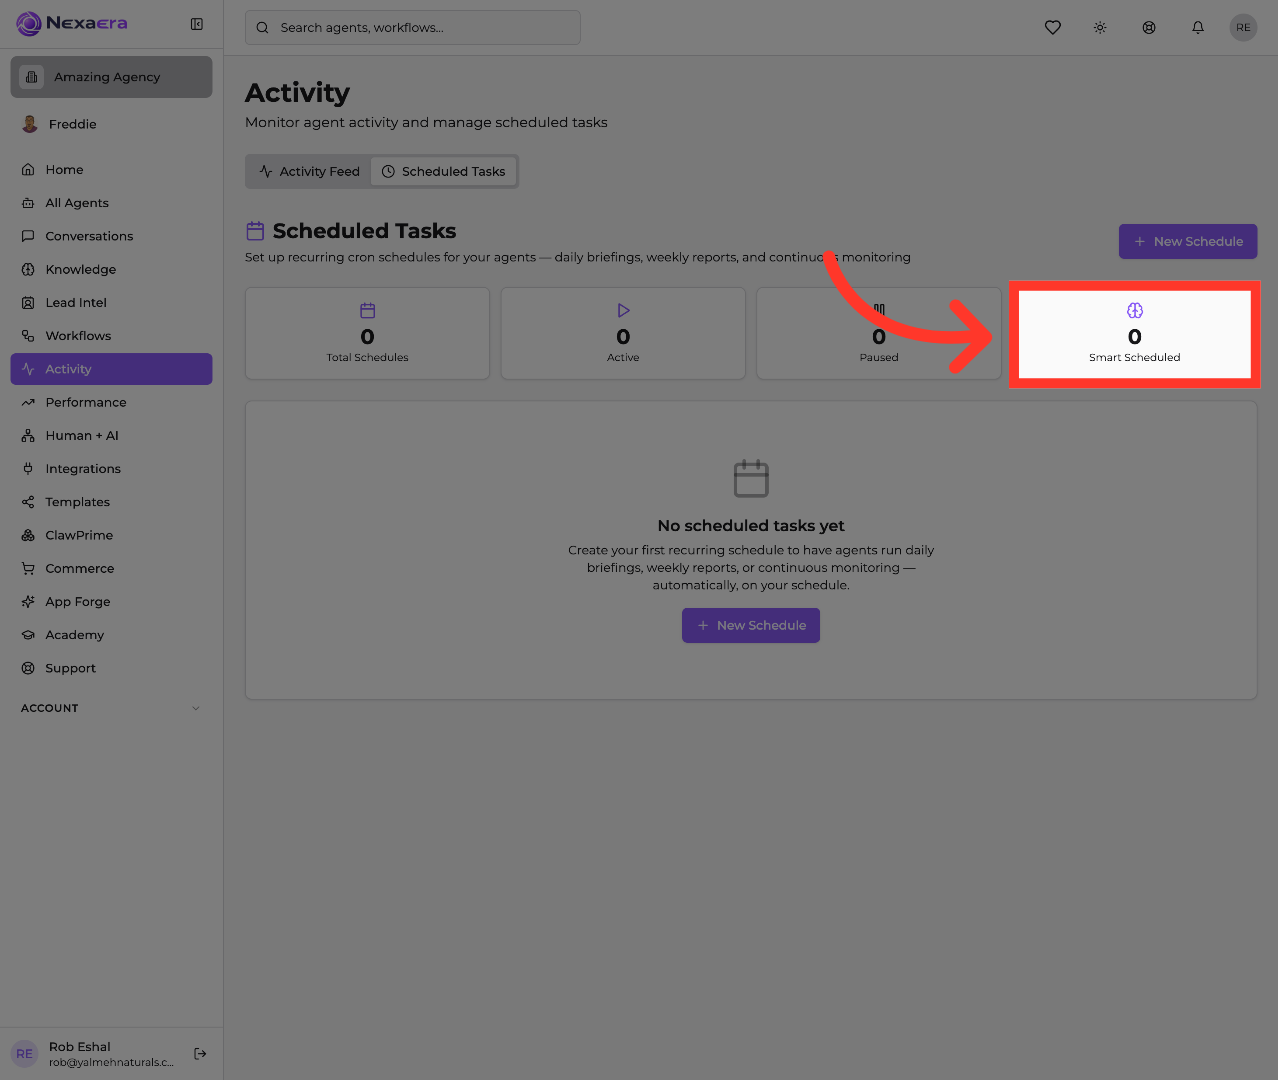
7. Access Fifth Task Count
The last card is "Smart Scheduled." These are jobs that use smart timing, where the system picks the best moment to run instead of a fixed clock time. It's the final piece of your scheduling overview.
And that's your Scheduled Tasks hub. You've seen where it lives and what each card tracks — Total, Active, Paused, and Smart Scheduled. When you're ready, just hit "New Schedule" to put your agents on autopilot. See you in the next one.
Still need help? Ask the team