Configure API Connections in Notion Developer Portal
Want to let an app or an automation read and write to your Notion workspace? You'll need an integration token, and it takes about two minutes to set up. An integration is just a secure key that gives an outside tool permission to work with your Notion pages. Let's create one together, step by step.
Written By Fred Yalmeh
Last updated 27 days ago
Go to www.notion.so
1. Introduction
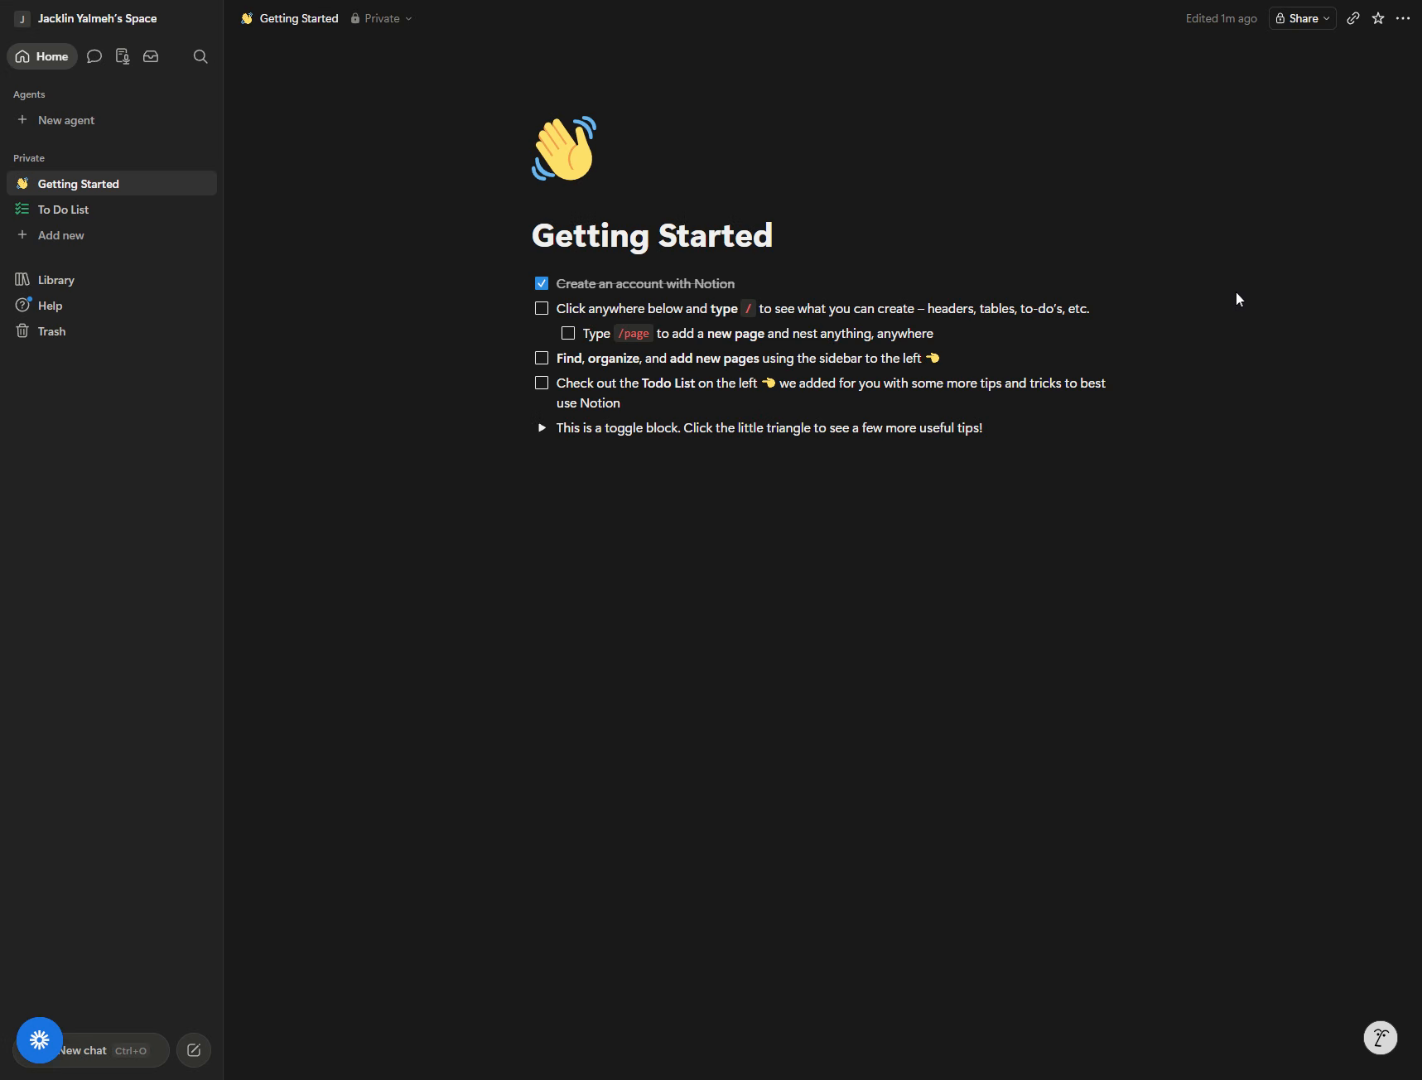
Here's where we'll begin, right inside your Notion workspace. In the next few steps you'll create a brand-new connection and give it just the right access settings. Let's dive in.
2. Access Notion Developer Portal
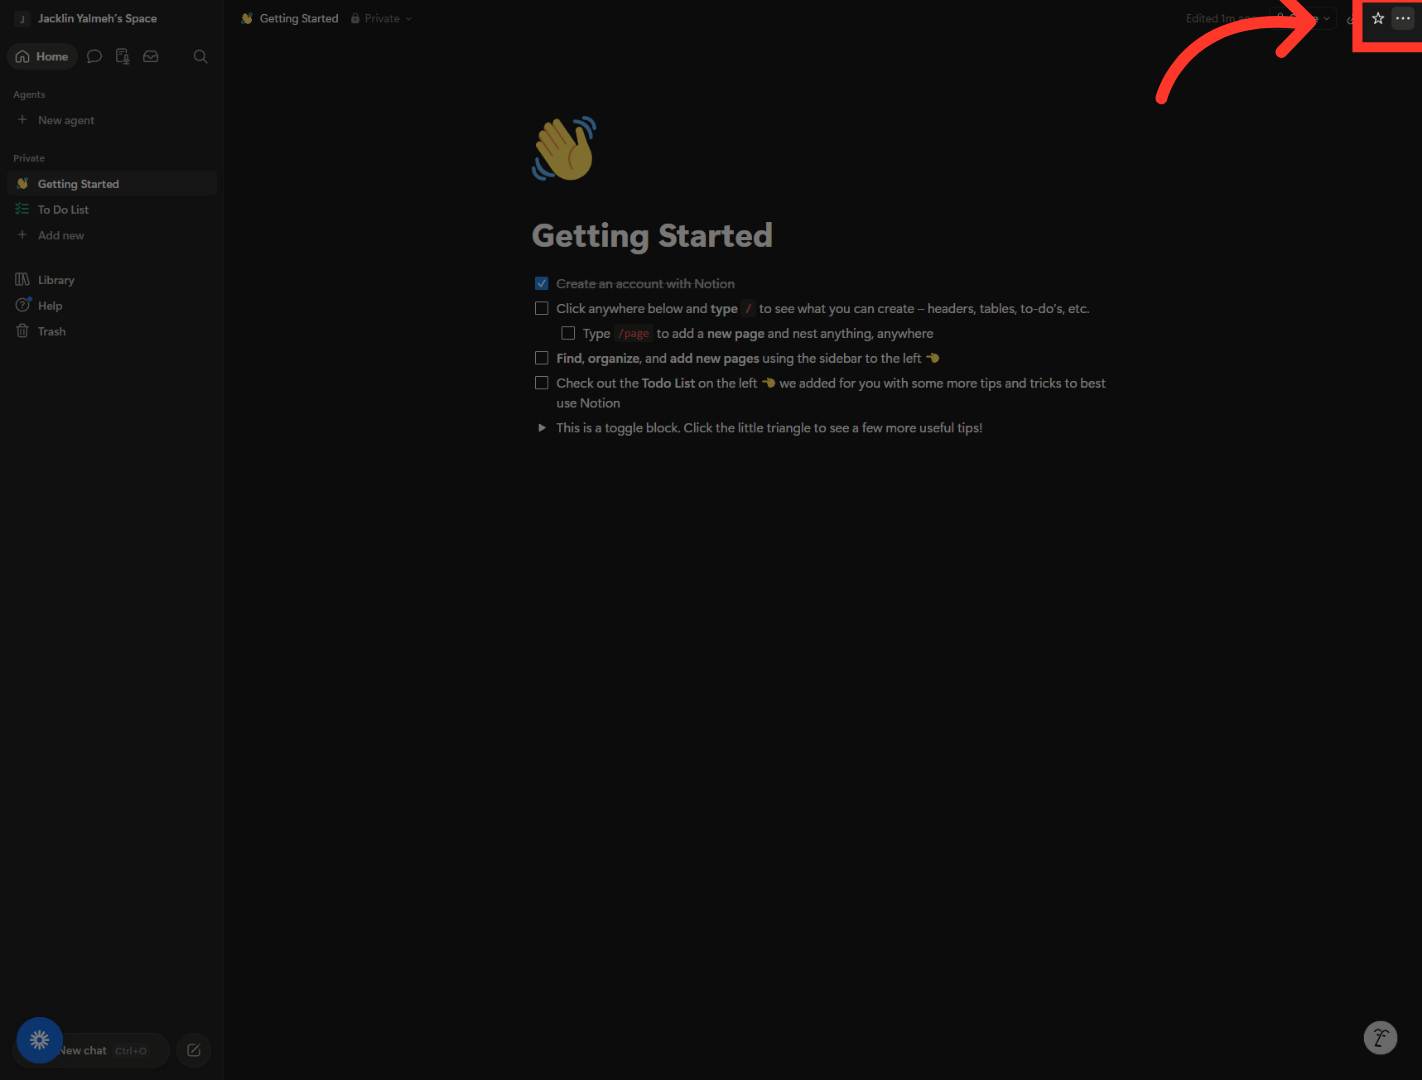
First, look to the top right corner of your page. Click the three-dot menu. This is where Notion keeps its more advanced options, including the developer tools.
3. Open Developer Portal Section
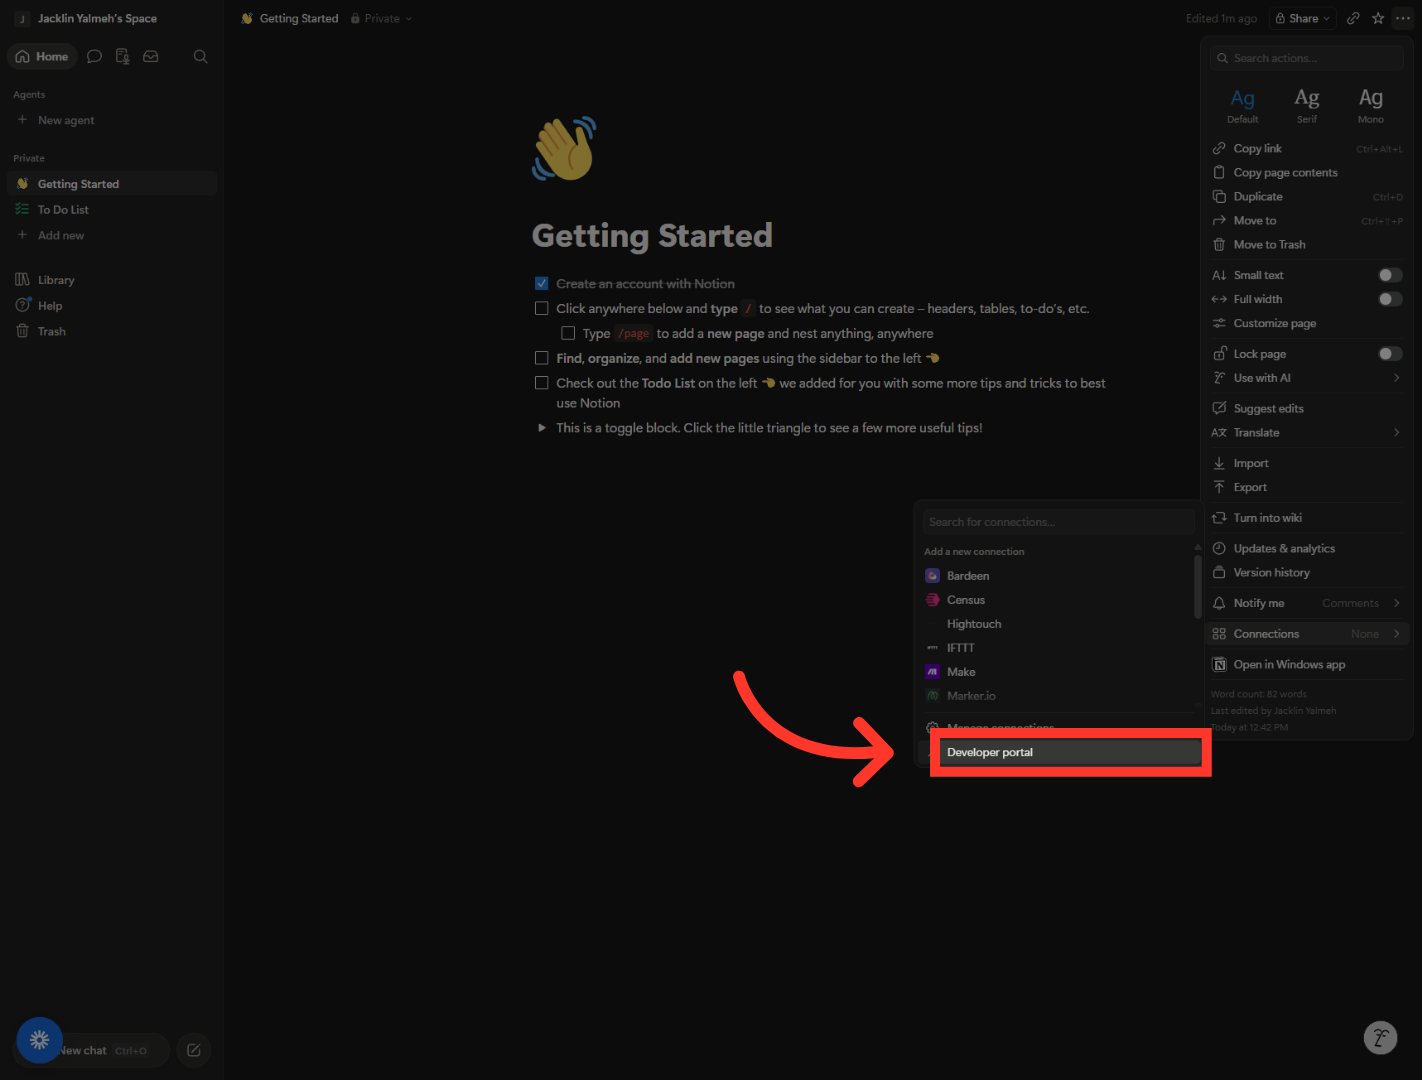
In the menu that opens, scroll down to the connections area and click Developer portal. This takes you to the dashboard where all your integrations live.
4. Initiate New Connection
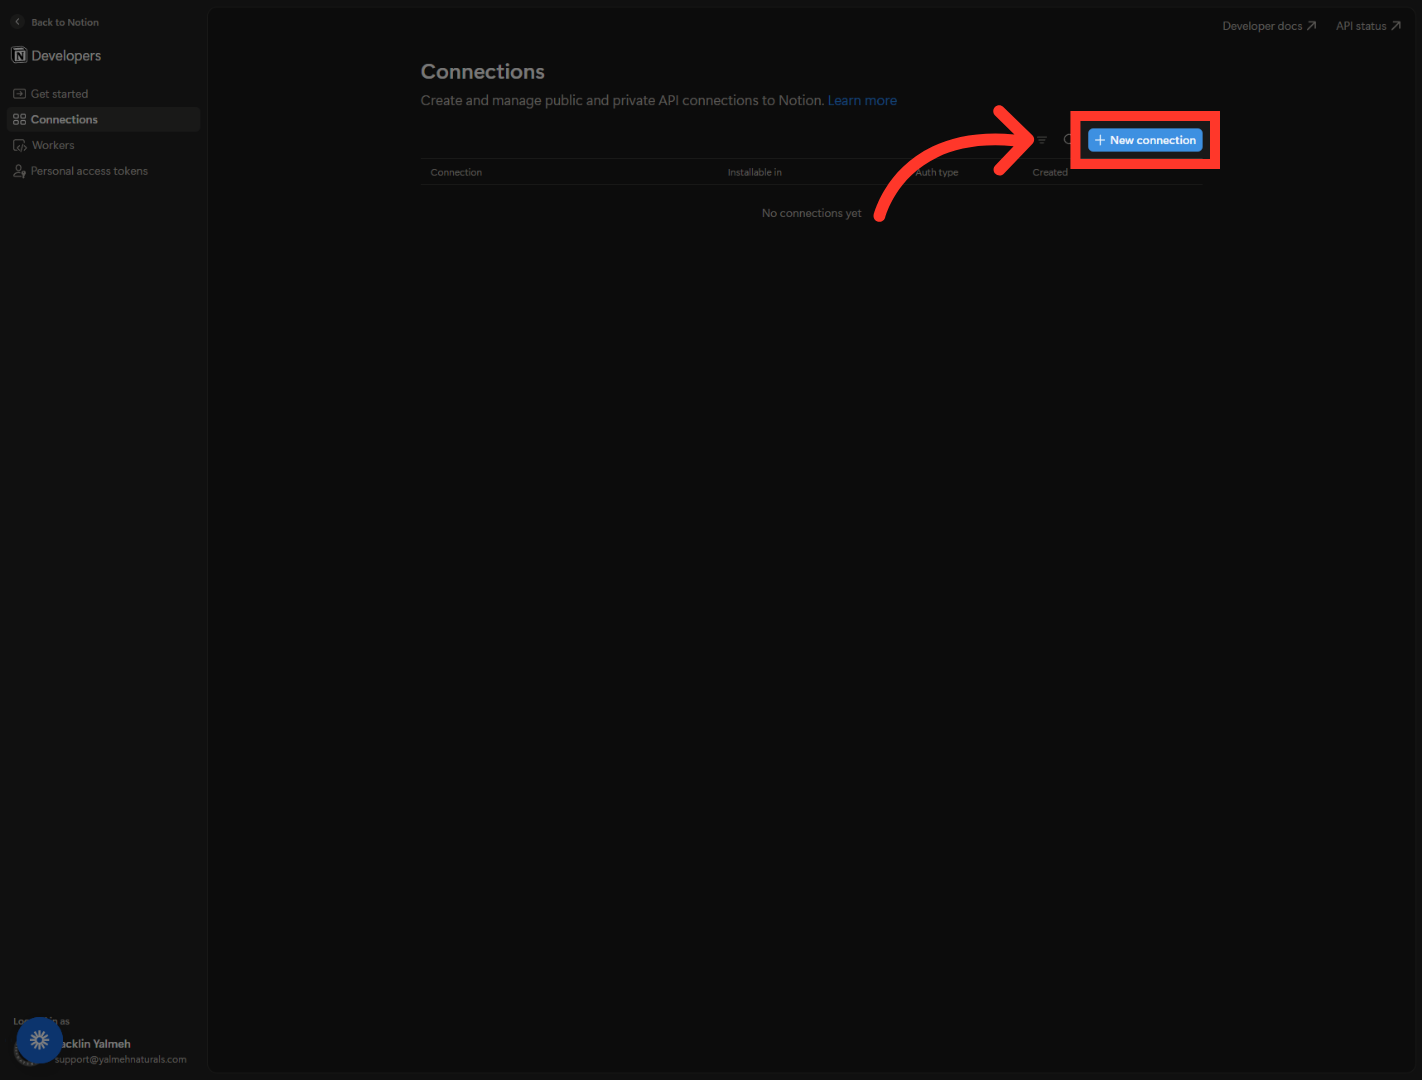
You're now on the Connections page. This is your control center for every integration you create. Go ahead and click New connection on the right to start a fresh one.
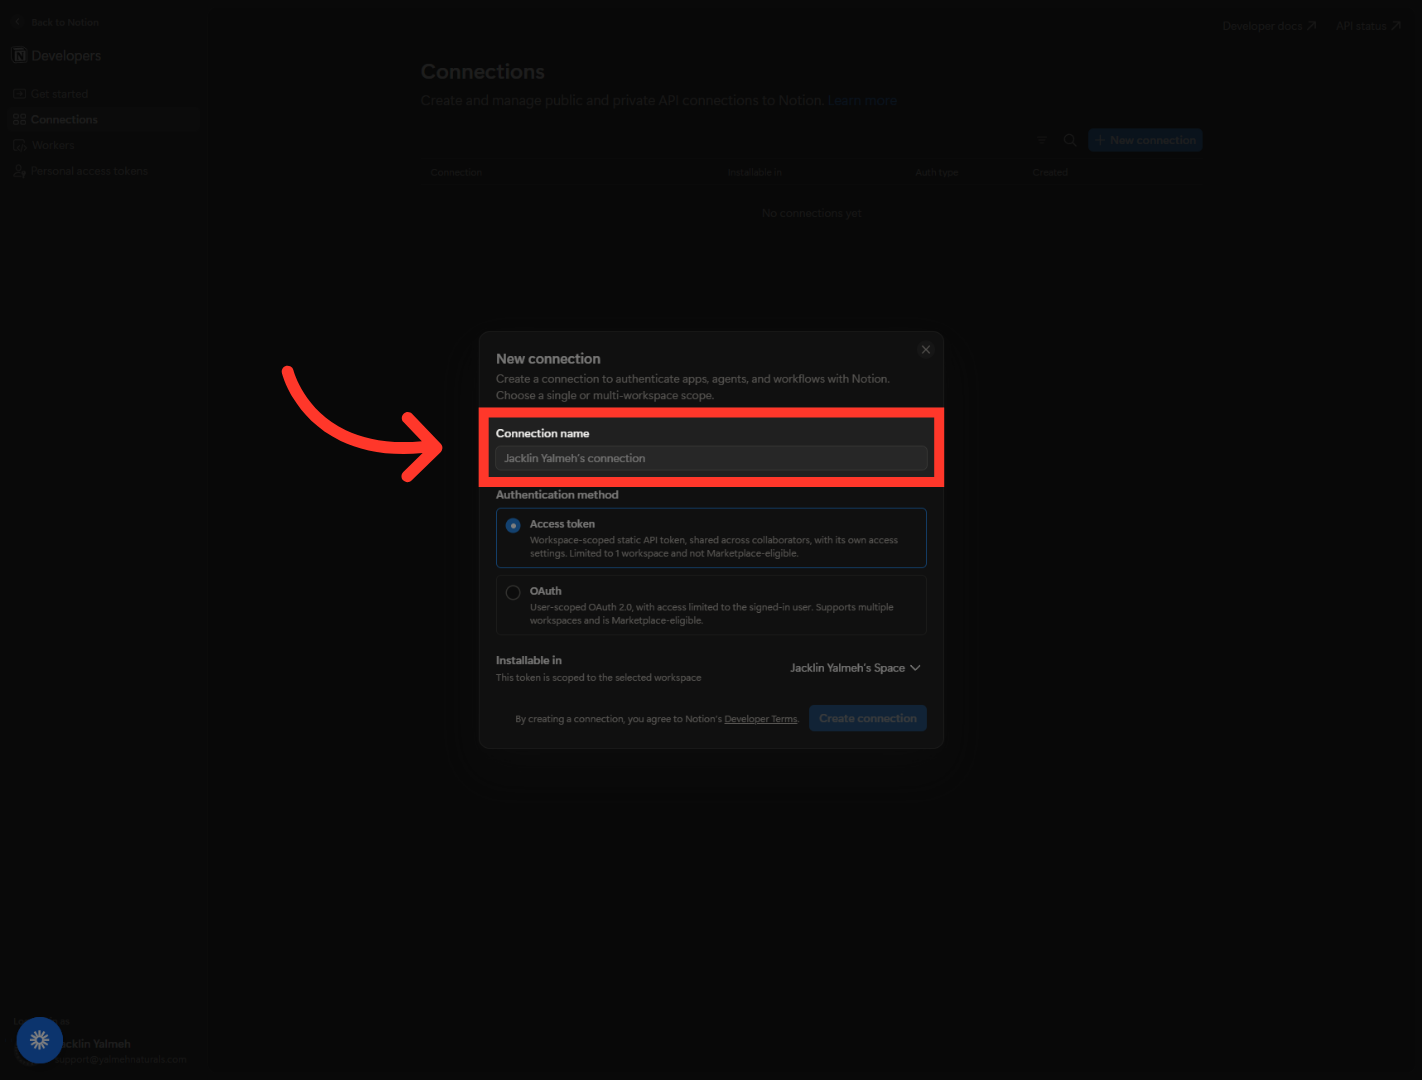
5. Select Connection Name Field
A setup window pops up. Start by clicking the Connection name field at the top. This is where you'll give your integration a label you can recognize later.
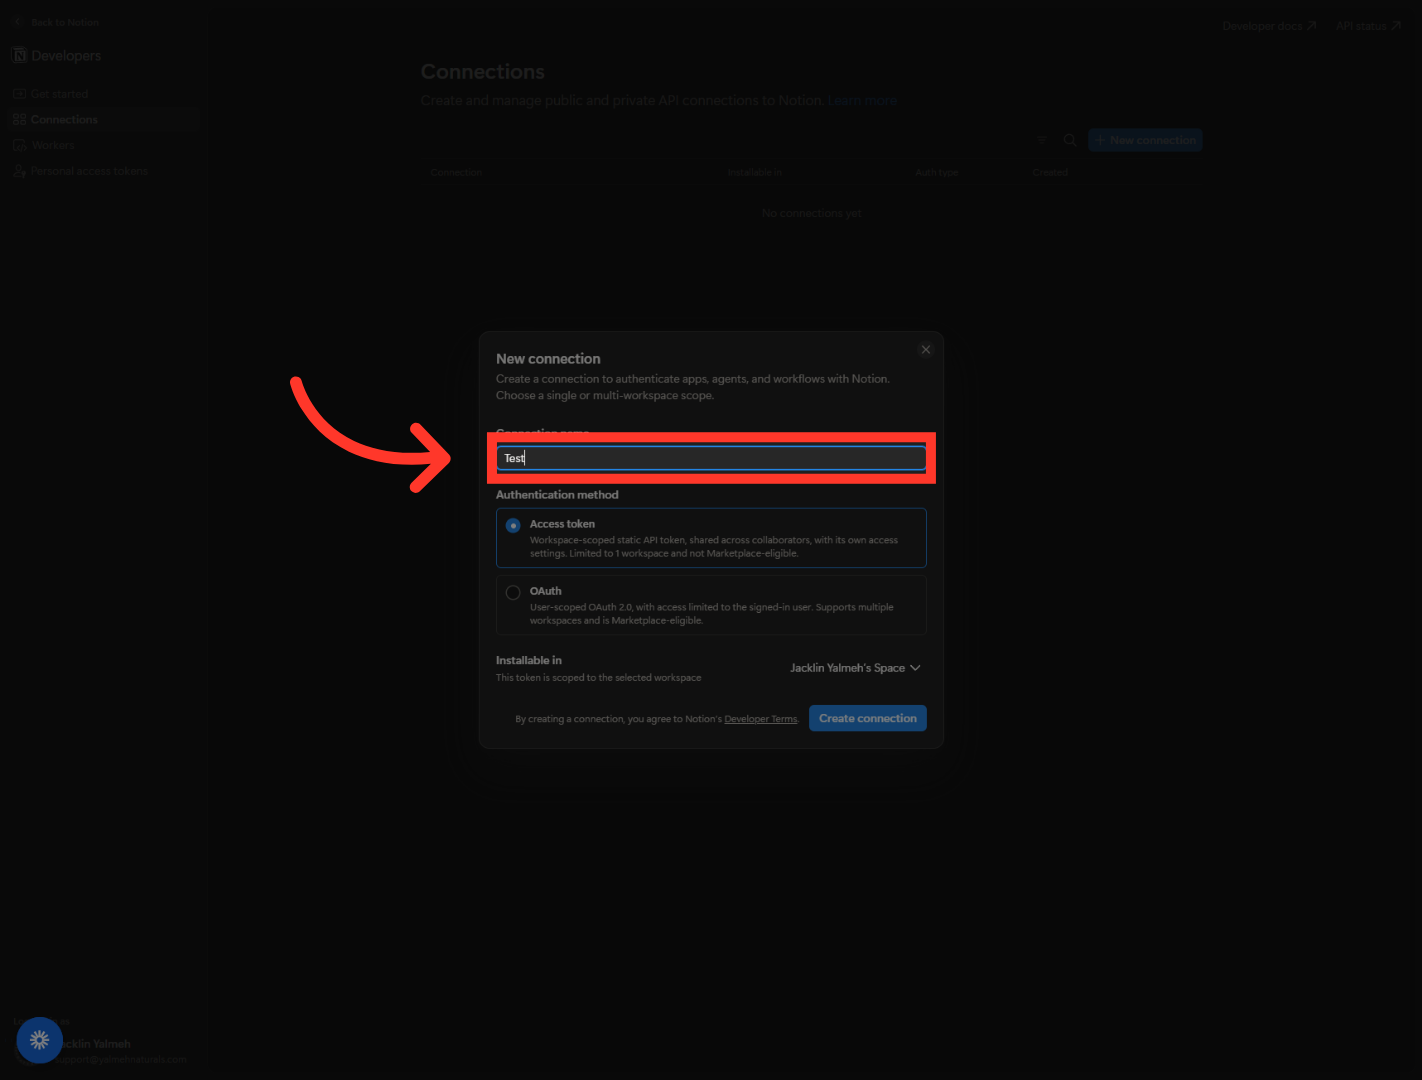
6. Enter Connection Name
Type a name for your connection. We'll just call this one Test. In real life, pick something that tells you what it connects to, like the name of the app you're linking.
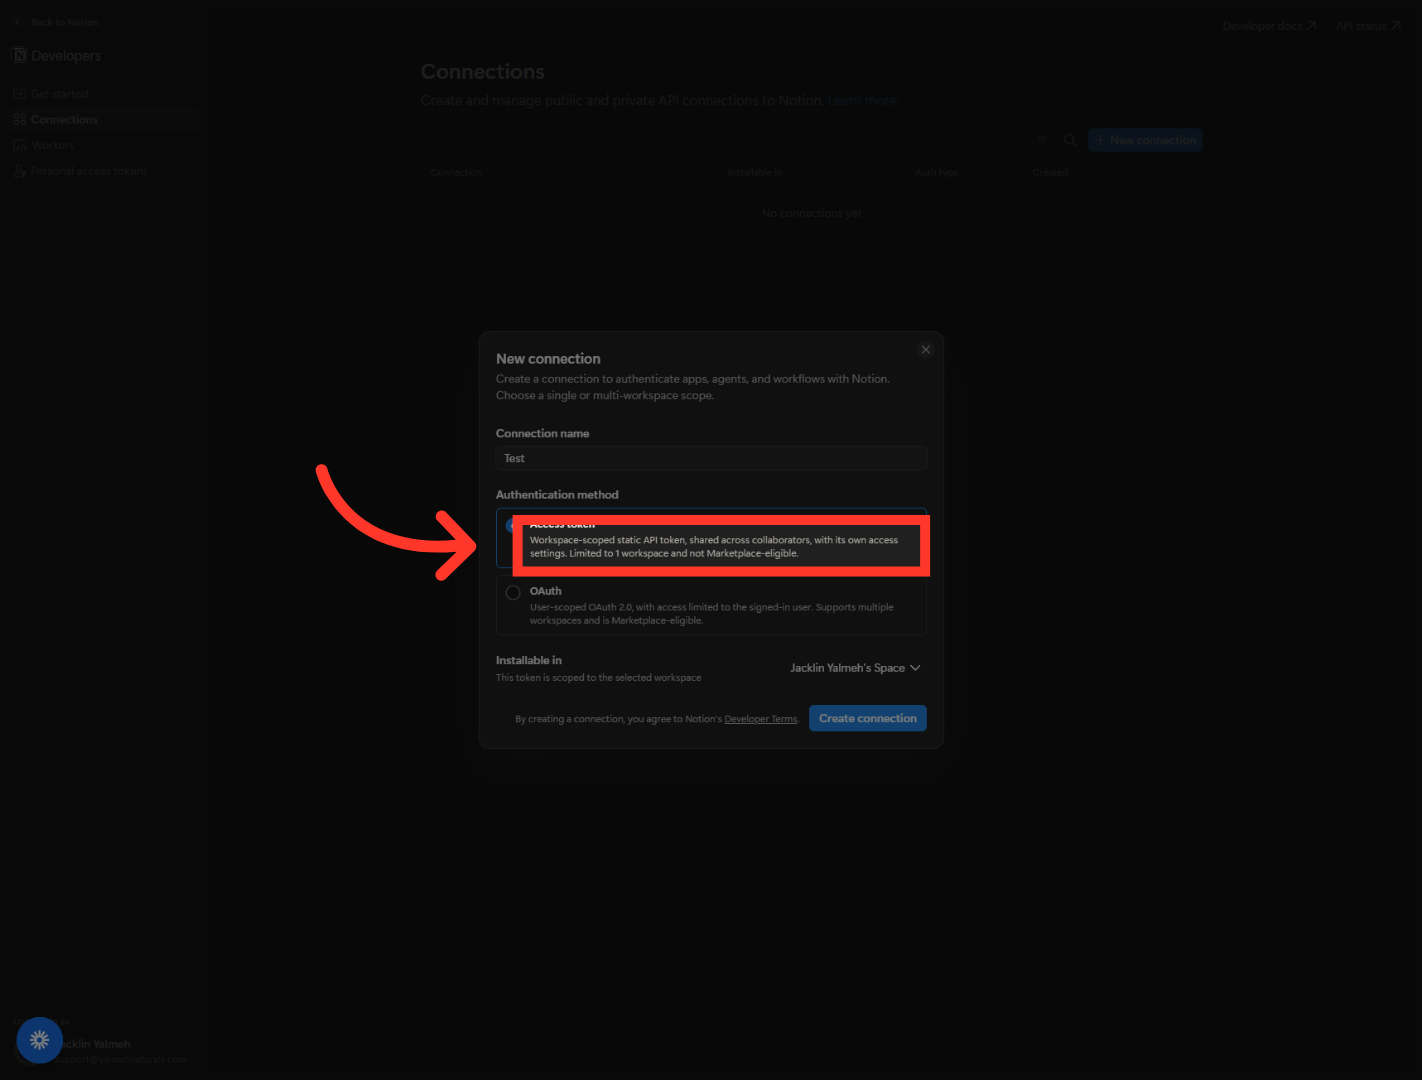
7. Select Workspace-Scoped API Token
Now choose how this connection authenticates. The first option is Access token. This is a single key for one workspace, shared by your team, with its own access settings. For a simple internal connection, this is the one you want, so select it.
8. Select OAuth User-Scoped Token
Just below it is the OAuth option. This one is built for apps that need to sign in many different users across many workspaces, and it's the choice for anything you'd publish to the marketplace. It's worth knowing it's here, but for our simple setup we'll stay with Access token.
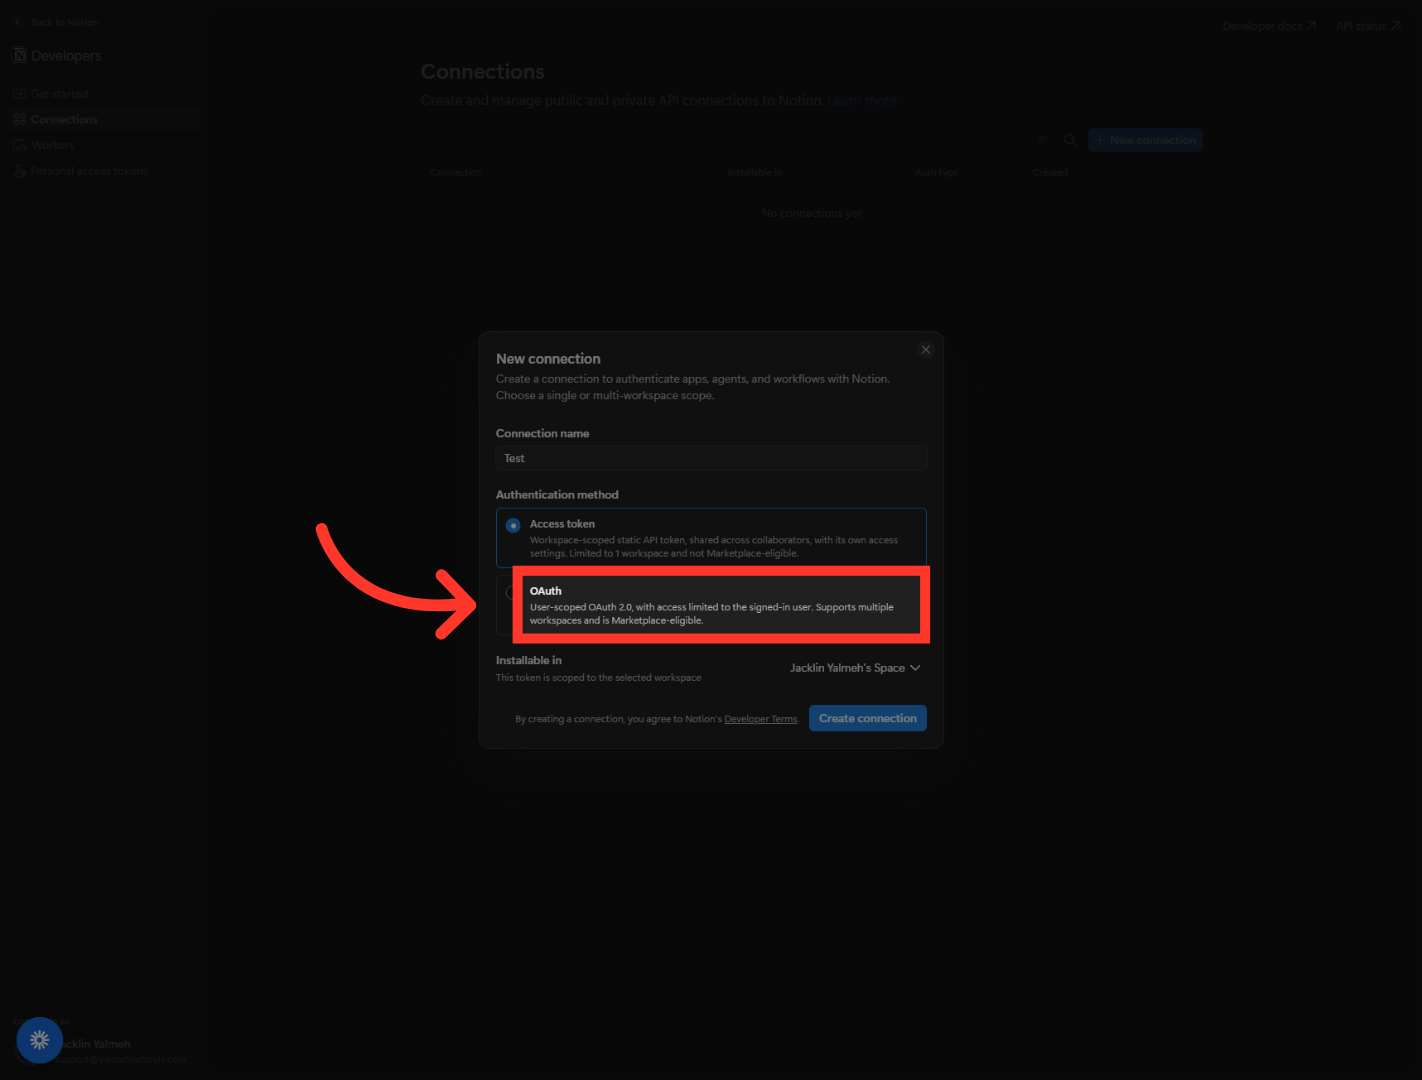
9. Enter OAuth Identifier
Notice that OAuth opens up extra fields, like a development workspace and redirect URLs. Those are only needed for full sign-in apps. Since we're keeping things simple, we'll switch back to the Access token option and leave these alone.
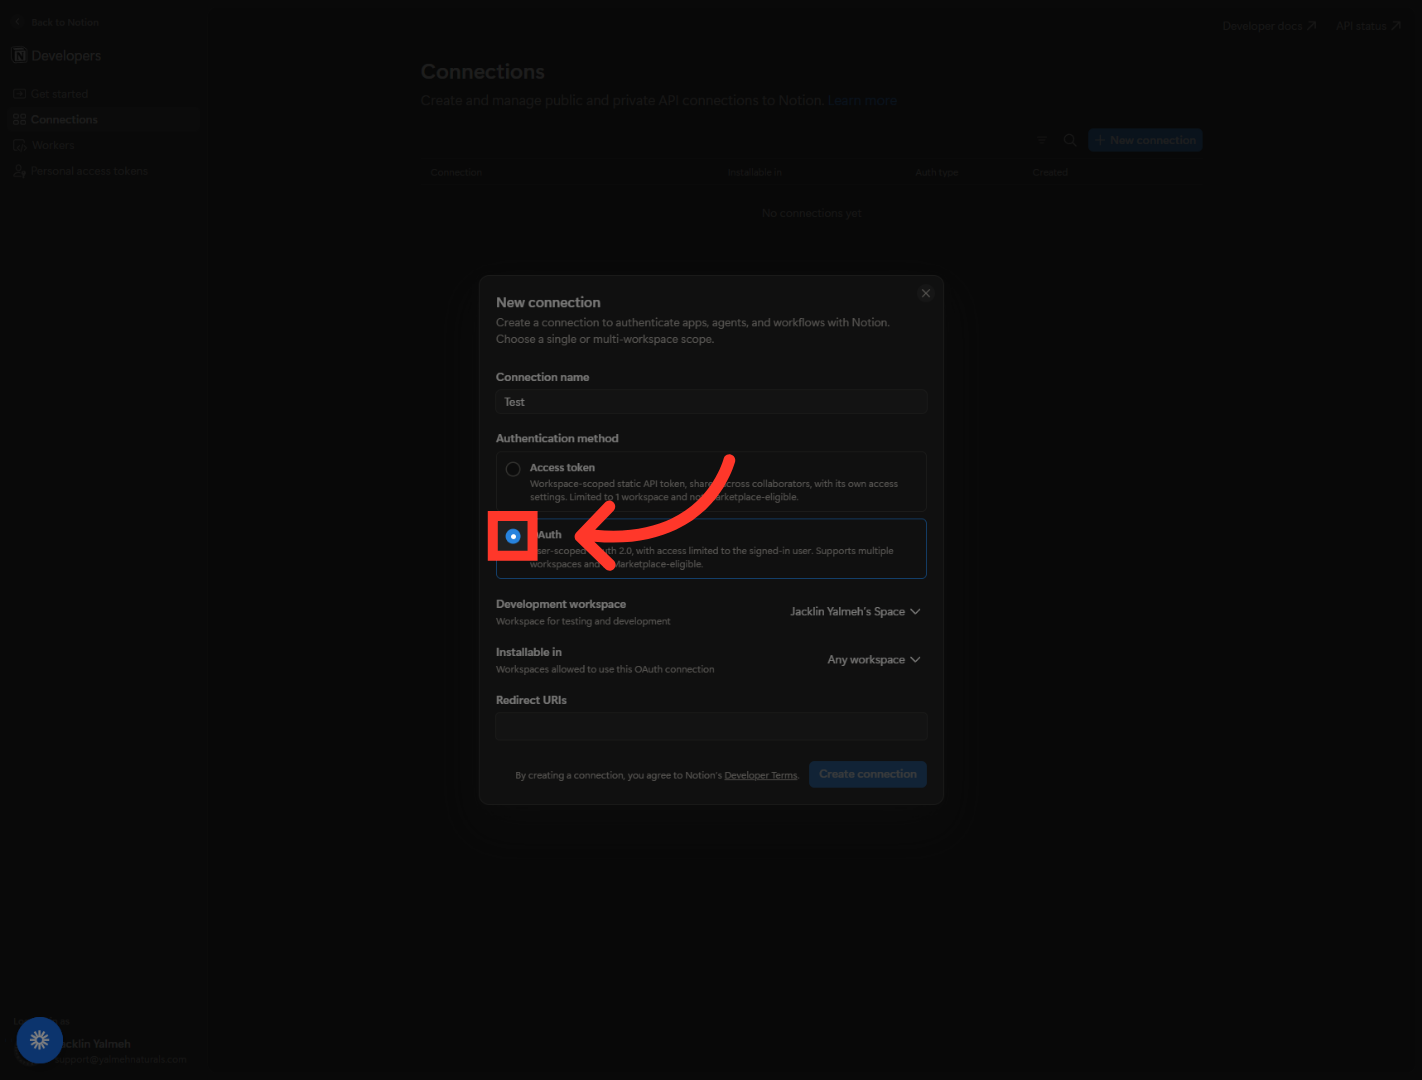
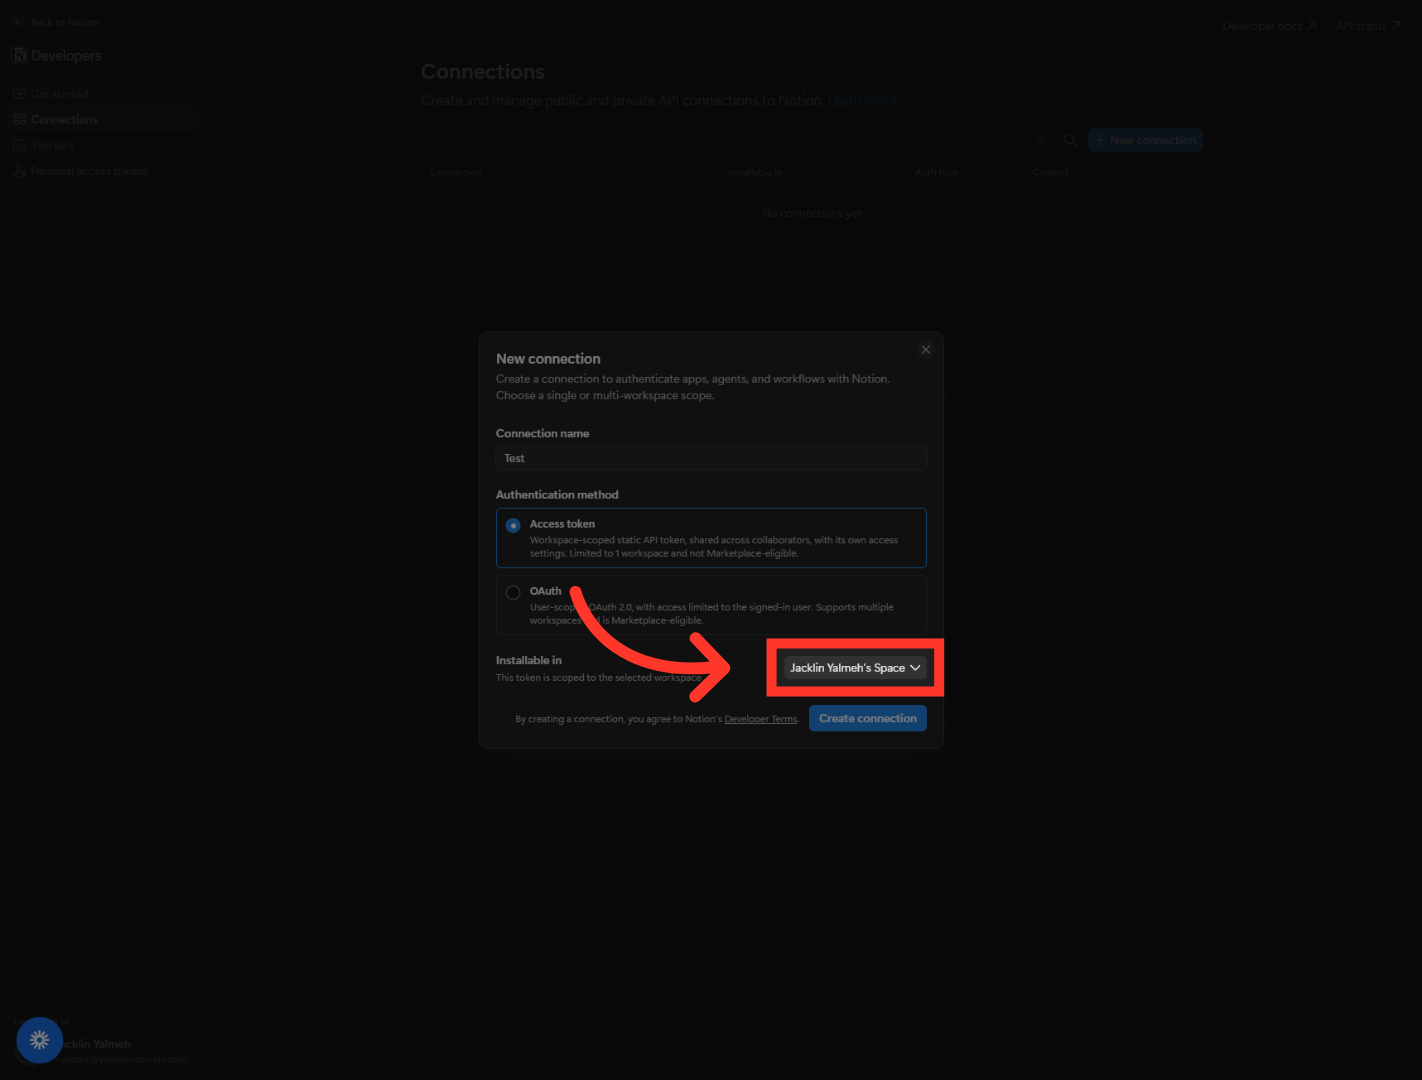
10. Select Workspace Space
Now confirm which workspace this key belongs to. Click the Installable in dropdown and make sure your own workspace is selected. This token will only have access to the workspace you choose right here.
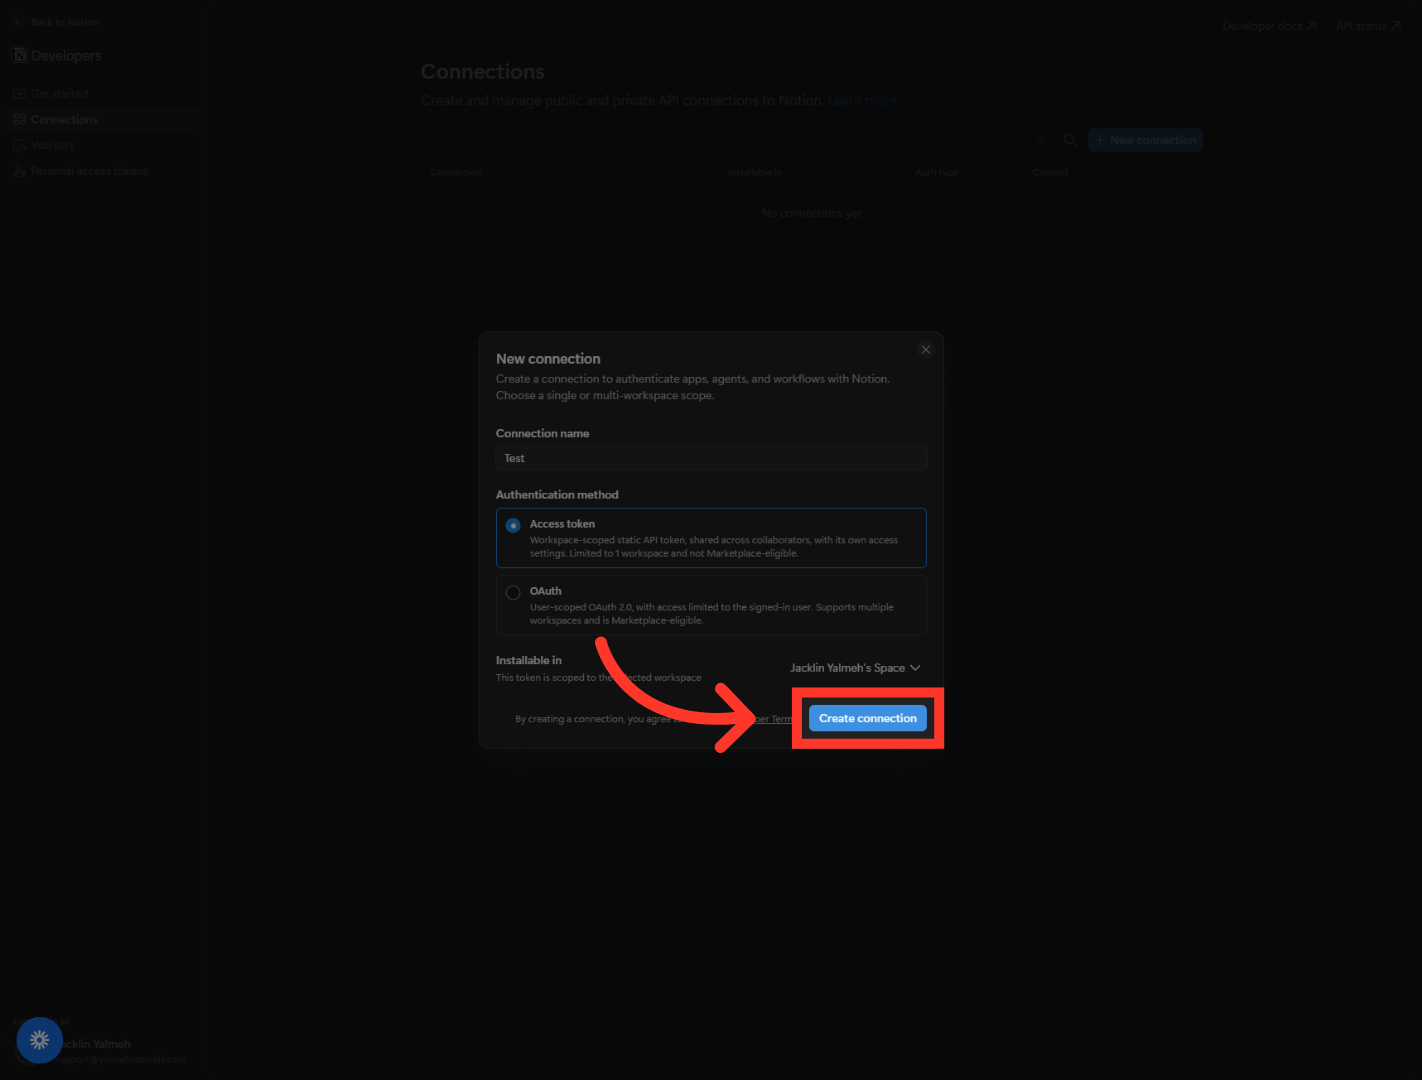
11. Create New Connection
Everything's set, so click Create connection. By doing this you're agreeing to the developer terms, and in a second your brand-new integration token is generated.
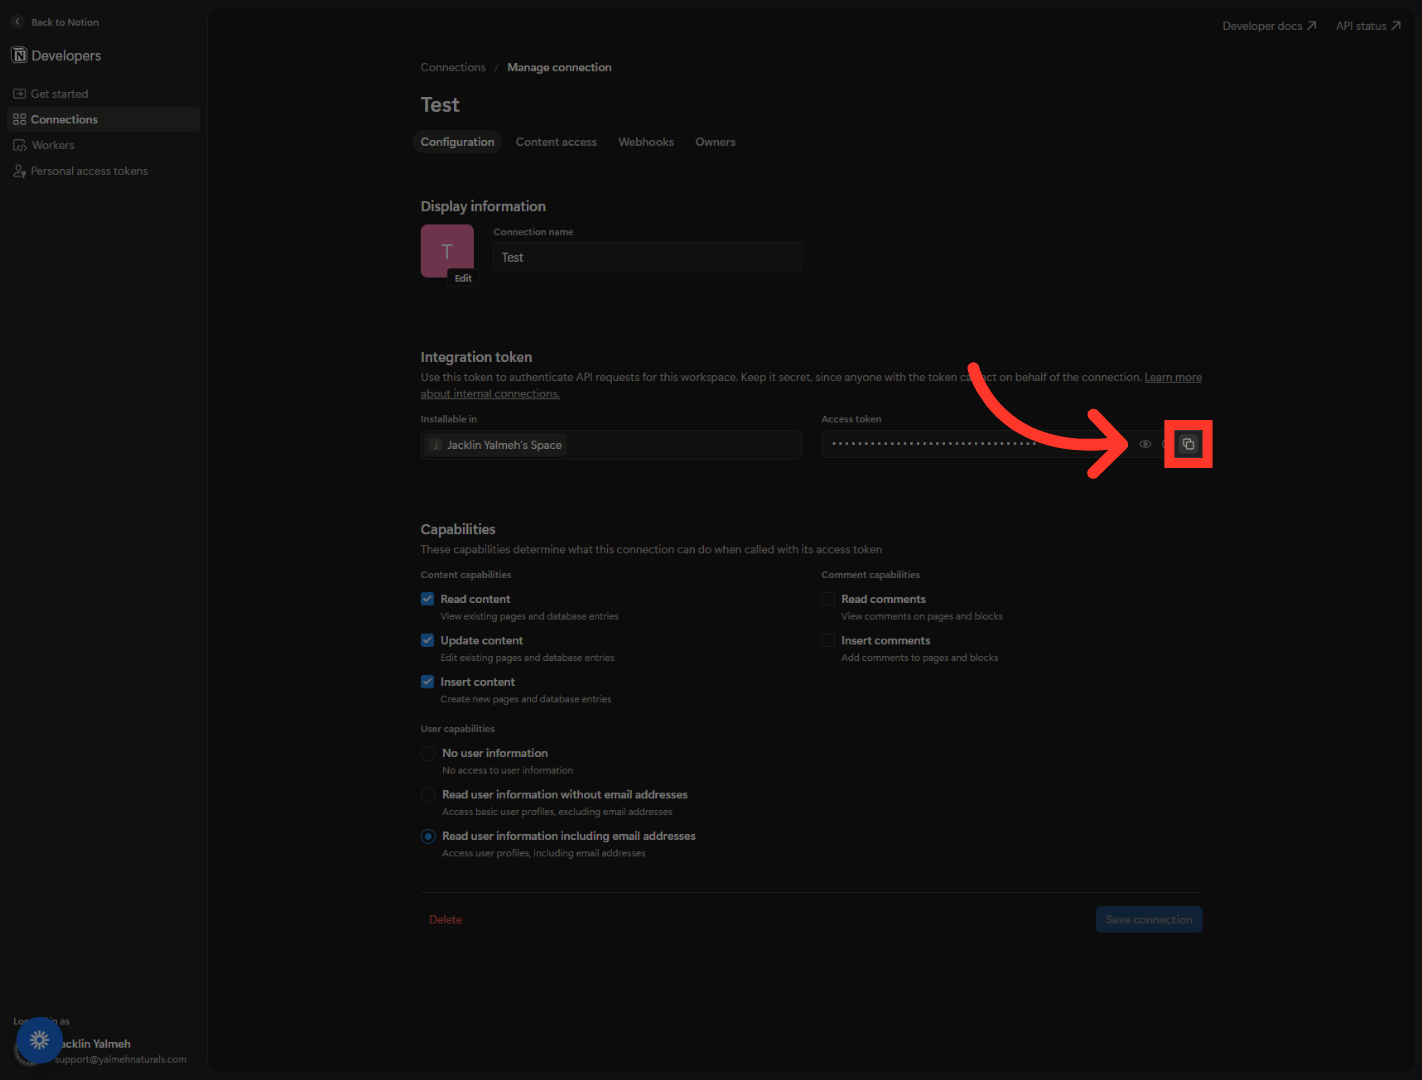
12. Access Test Page
Your connection is live. Right here you'll find your Integration token. Click the eye icon to reveal it, or just click the copy icon to grab it. This token is what you'll paste into the app you're connecting.
13. Open Test Page Section
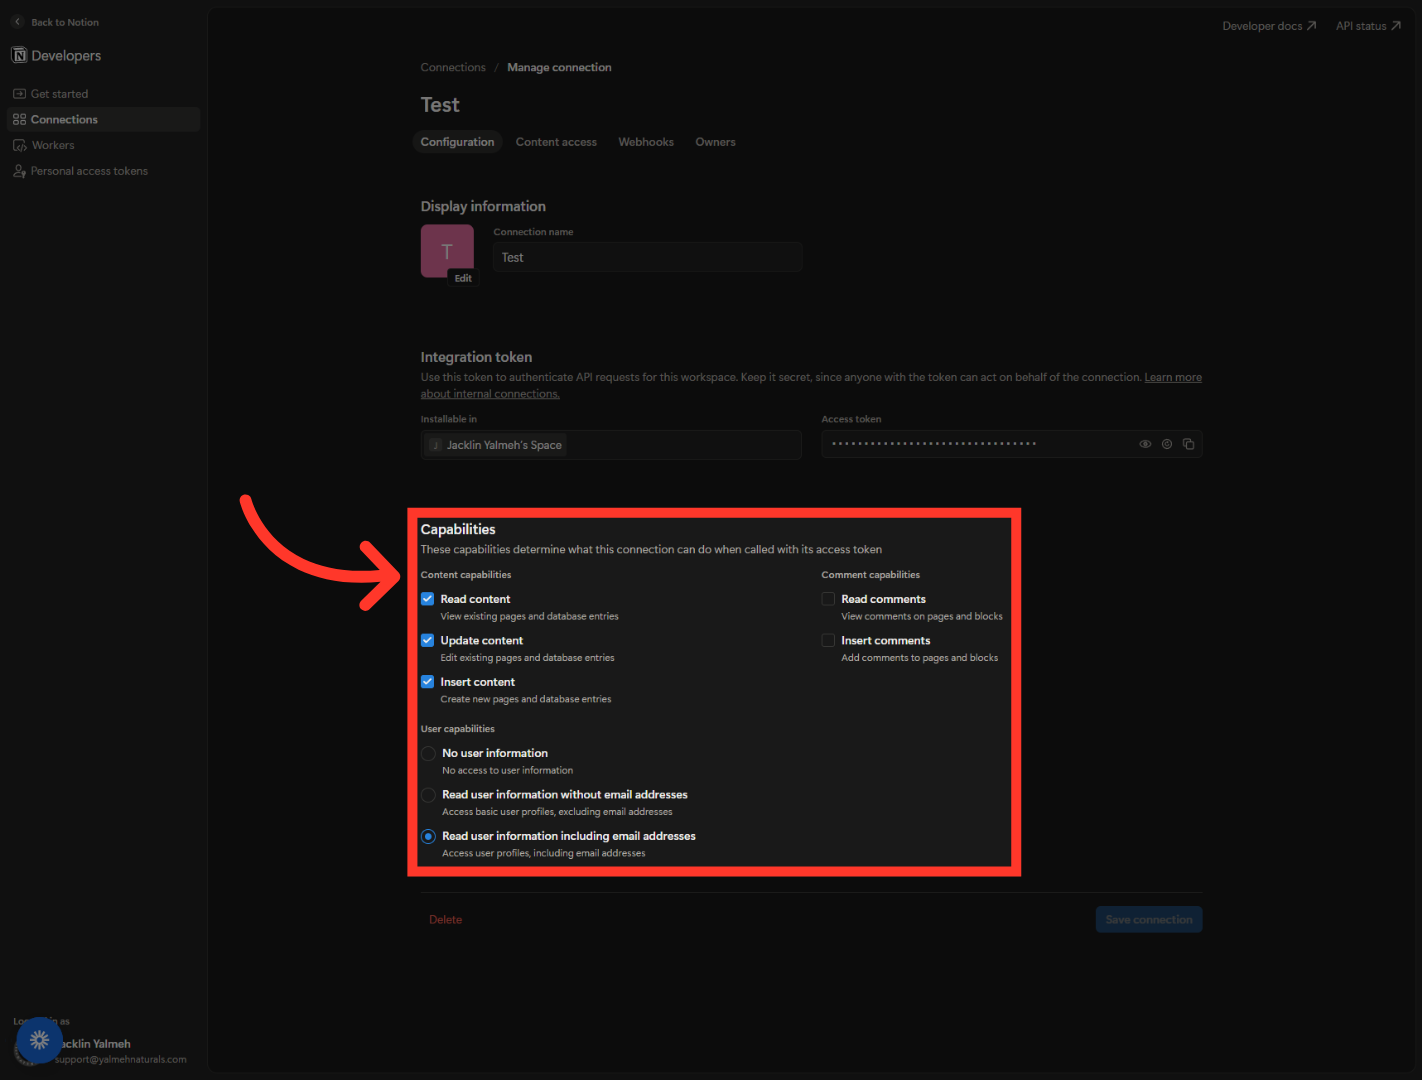
Scroll down to Capabilities. This is where you decide exactly what the connection is allowed to do. You can let it read content, update existing pages, insert new ones, and handle comments. There's also a setting for whether it can see user profiles and email addresses. Only turn on what your app actually needs. Less access means more security.
14. Save Connection Settings
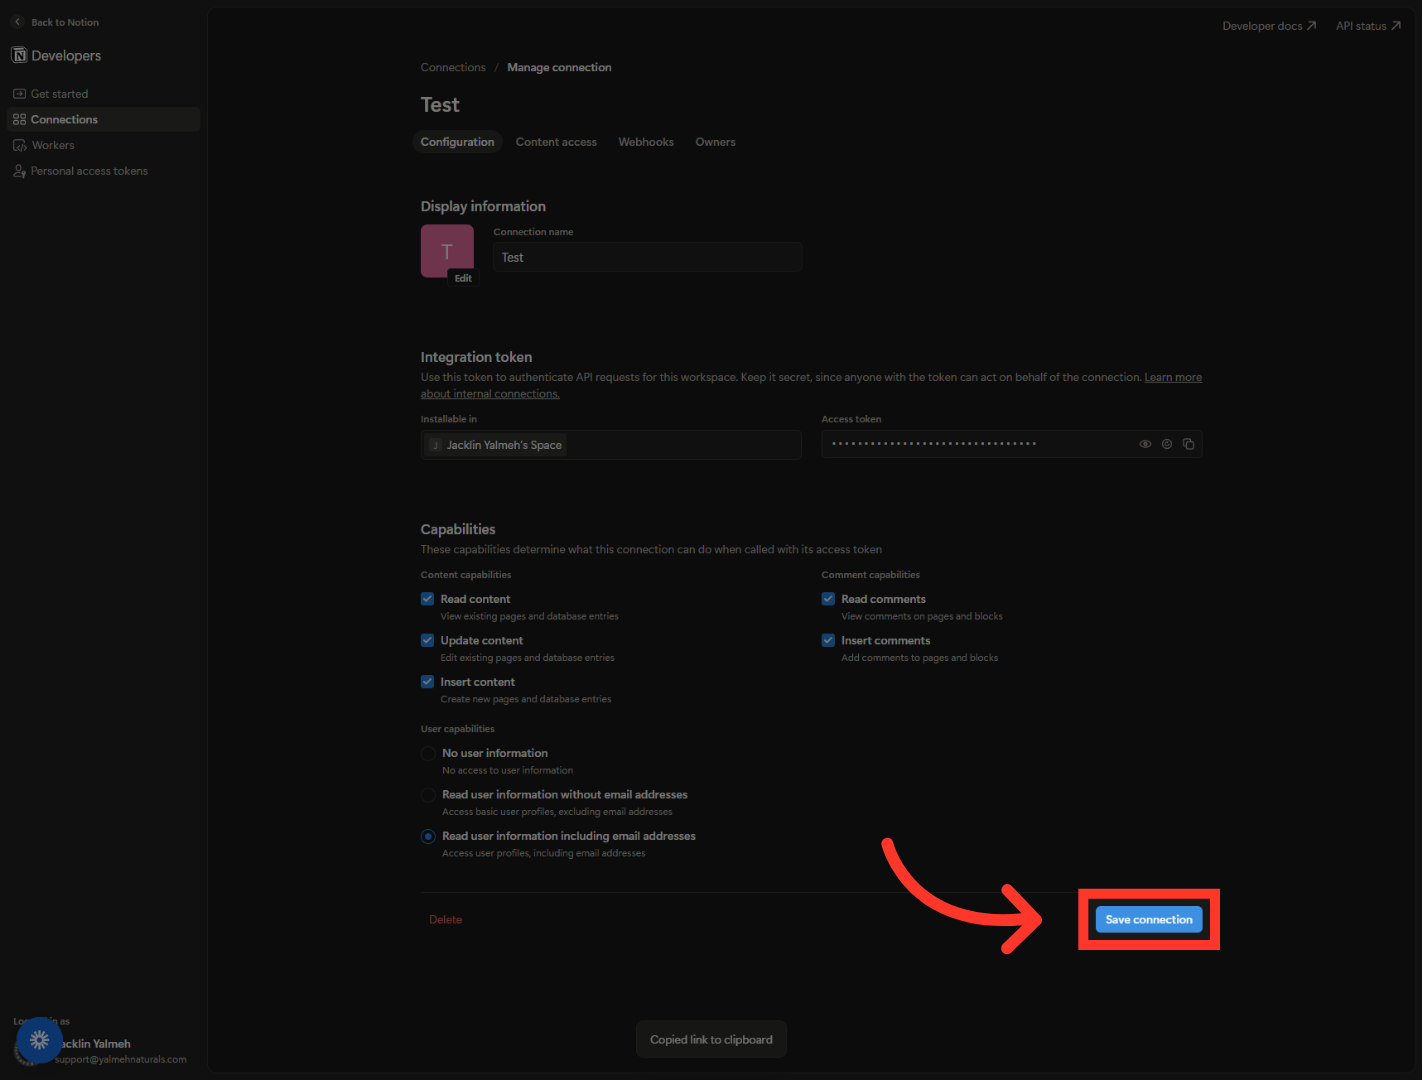
Once your permissions look right, click Save connection in the bottom corner. That locks in everything you just chose. And that's it. Your integration is ready to use.
Nice work. You just created an integration, generated a secure token, and set exactly what it's allowed to do. From here, paste that token into the app you're connecting and you're ready to start automating your workspace. Keep that key safe, and happy building.
Still need help? Ask the team