Configure and Manage Products in Nexaera Commerce Dashboard
Let's turn a blank form into a product your agents can actually sell. In this video, you'll build a complete listing from scratch — details, photos, pricing, variants, delivery — and even run a test checkout. Here's how.
Written By Fred Yalmeh
Last updated About 1 month ago
Go to nexaera.com
1. Introduction
In this walkthrough, you'll create a full product listing step by step. We'll cover the title and description, media, trust badges, pricing, variants, and delivery — then test the whole thing with a real checkout.

2. Access Commerce Section
On the left sidebar, click "Commerce." This opens AgentCommerce, where all of your products live.

3. Open Products Page
Along the top, click the "Products" tab. This is your full product catalog — everything your agents can offer.

4. Initiate Adding New Product
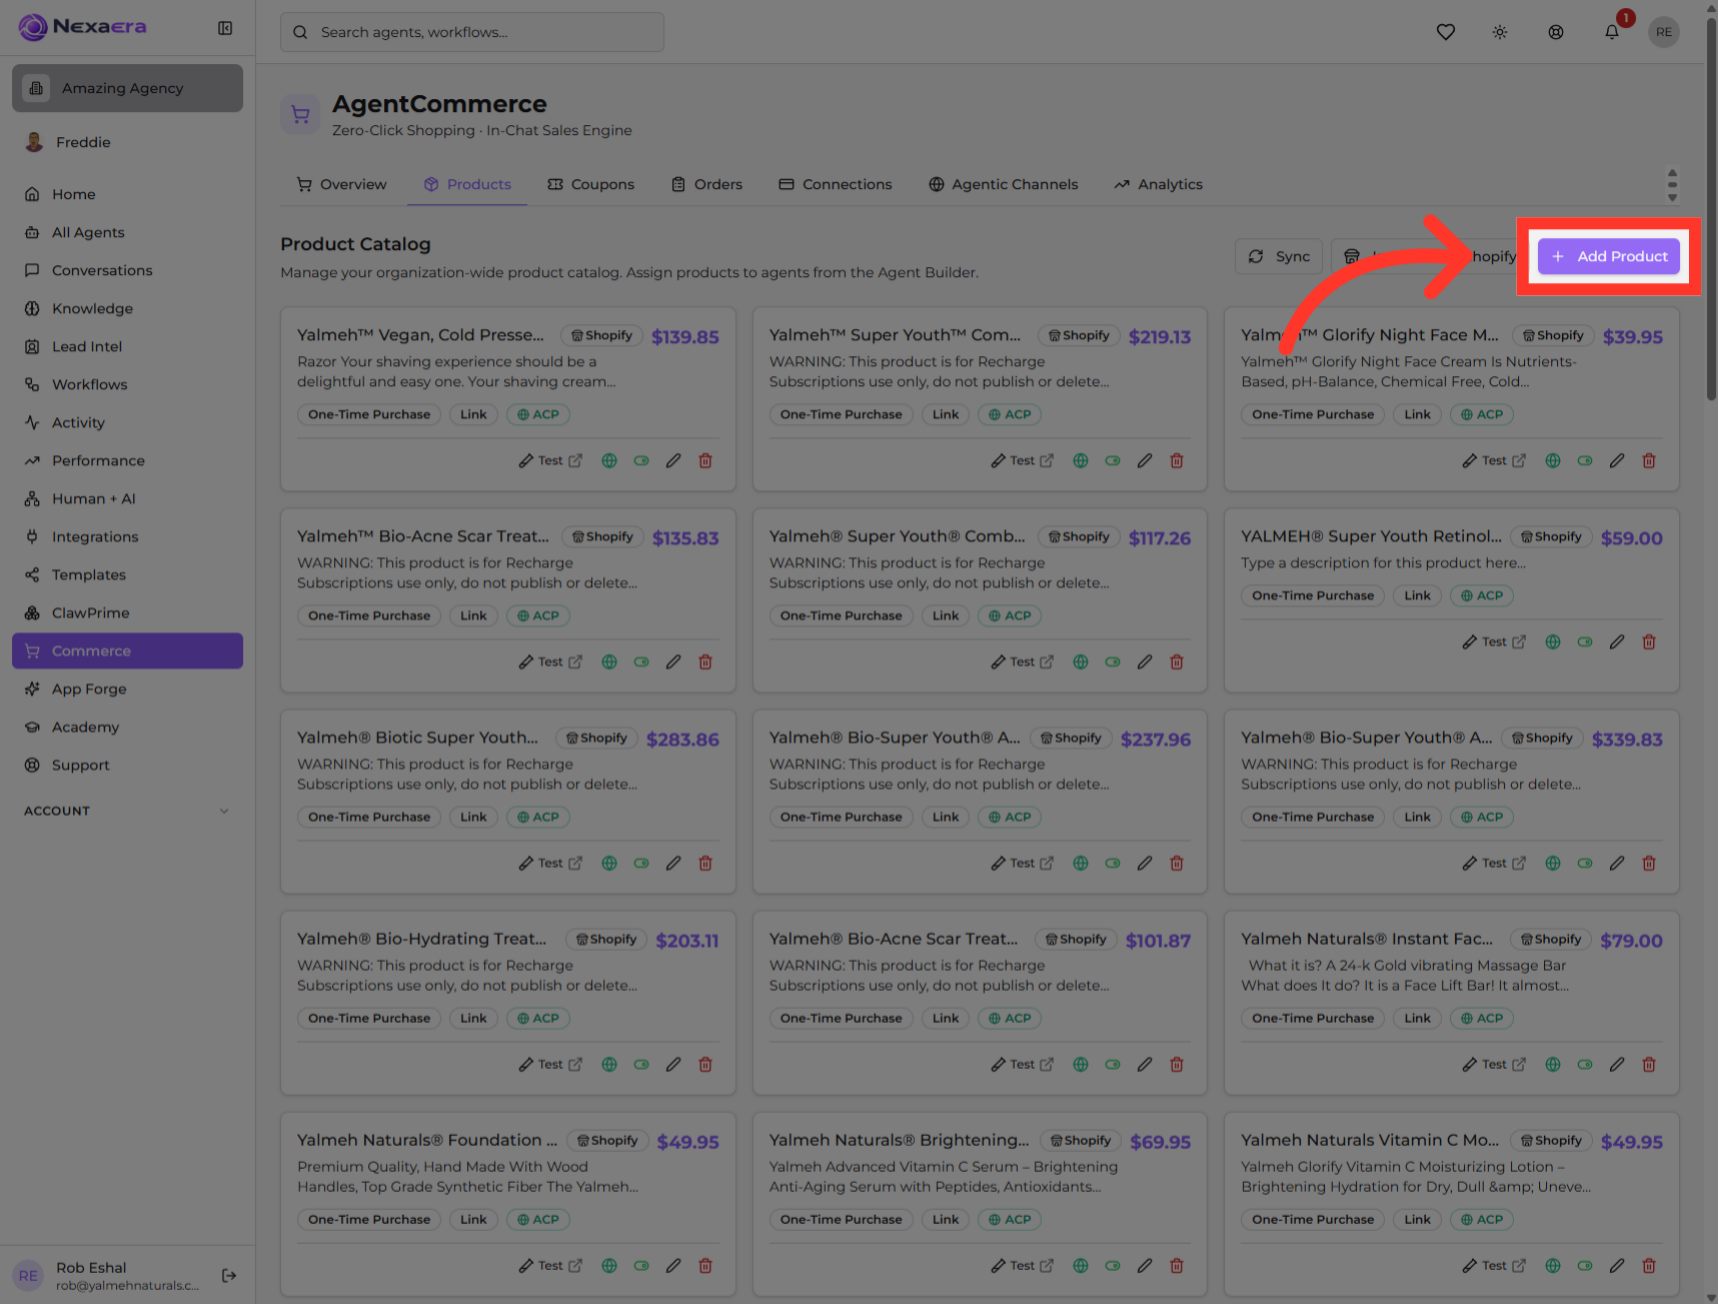
Over on the right, click "Add Product." A New Product window opens, organized into tabs — Basics, Media, Trust, Variants, and Delivery. Let's fill them in.
5. Enter Product Title
Start on the Basics tab. In the title field, type a clear, descriptive product name — this is the first thing shoppers see.

6. Choose Product Tags
Right below, add a short tagline. This one line shows under the title — a great spot for a hook like "Best-seller" or "Free shipping."

7. Edit Product Description
Next, the description. Answer two questions: what does the customer get, and why should they buy now? This is your sales pitch, so make it count.

8. Select Product Price
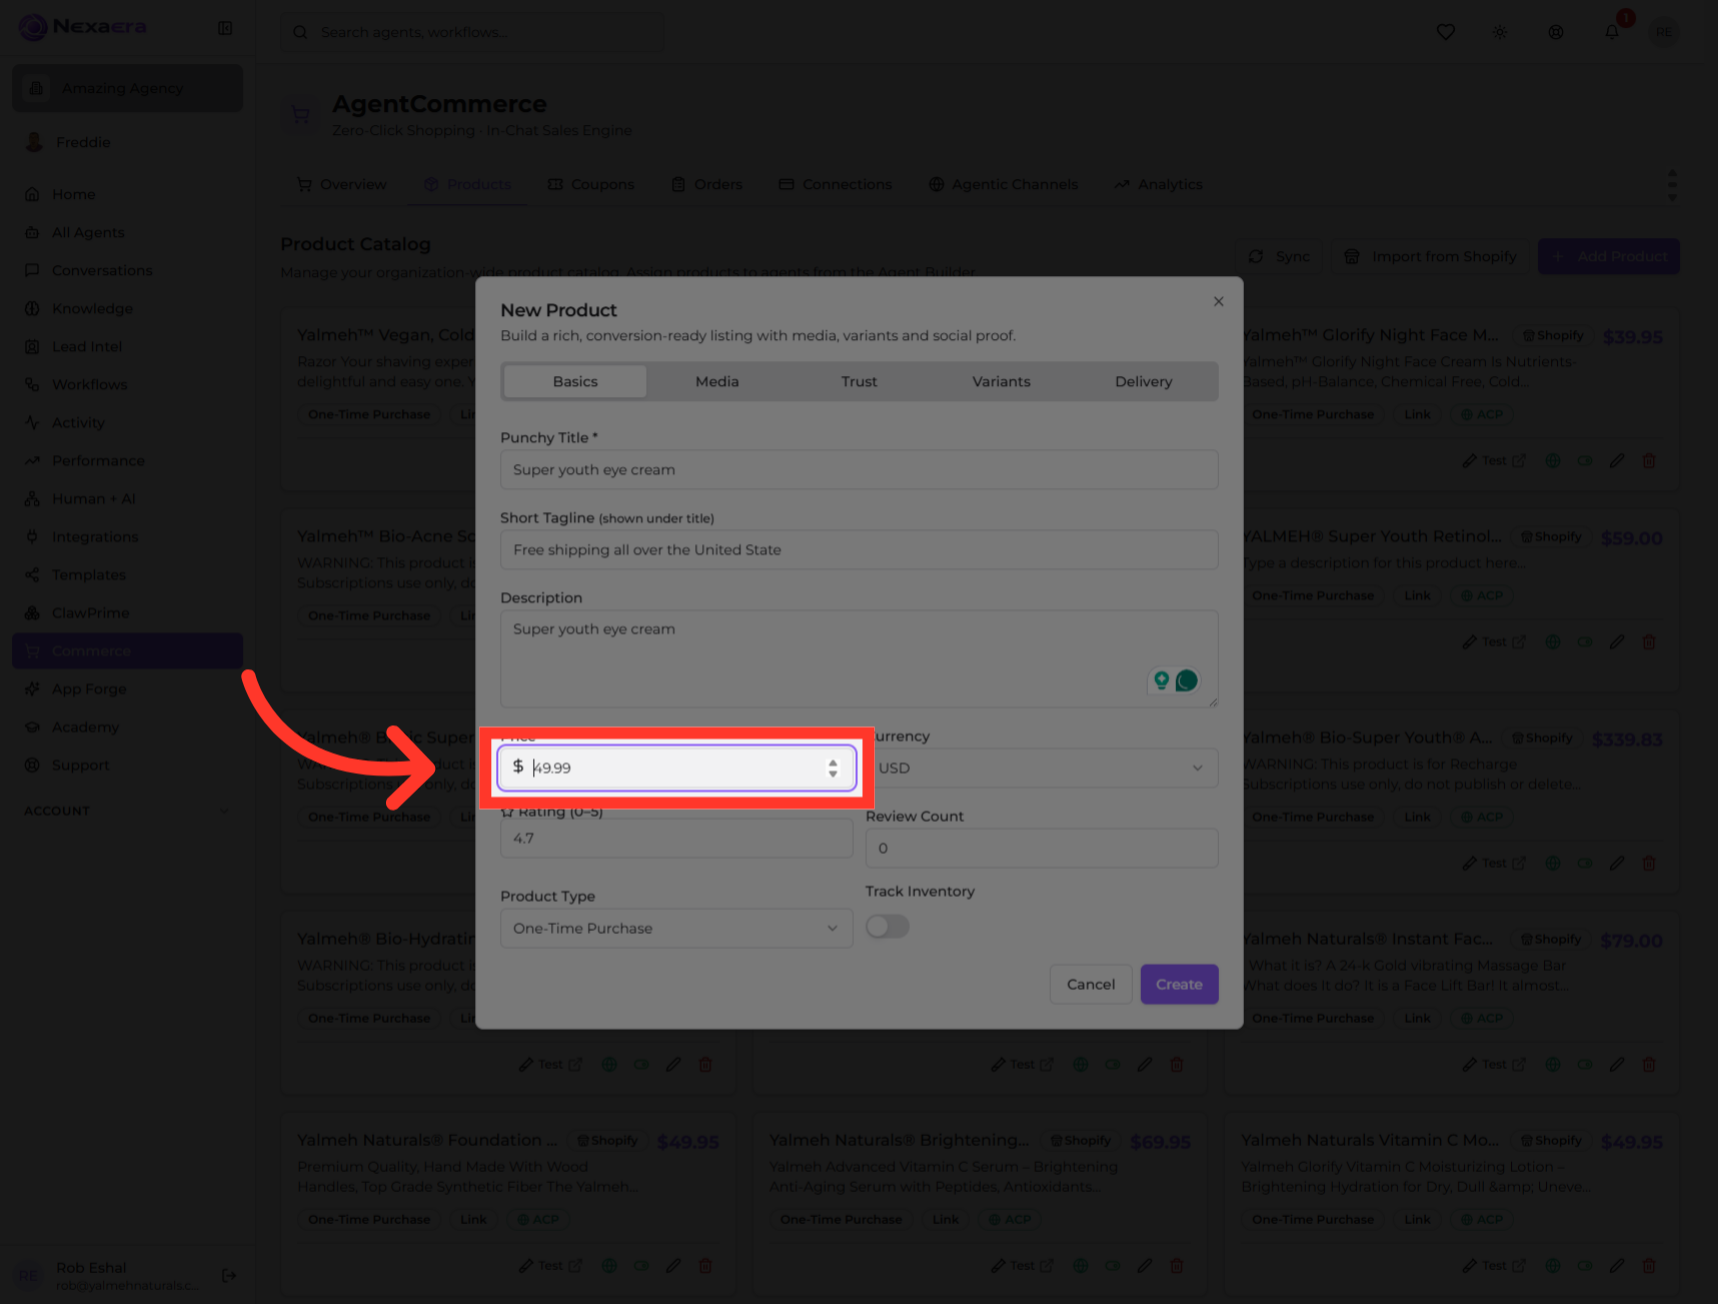
Now the money. Click the price field and enter your product's base price.
9. Choose Currency
Next to it, pick your currency from the dropdown — dollars, euros, pounds, and more.
10. Select Product Rating
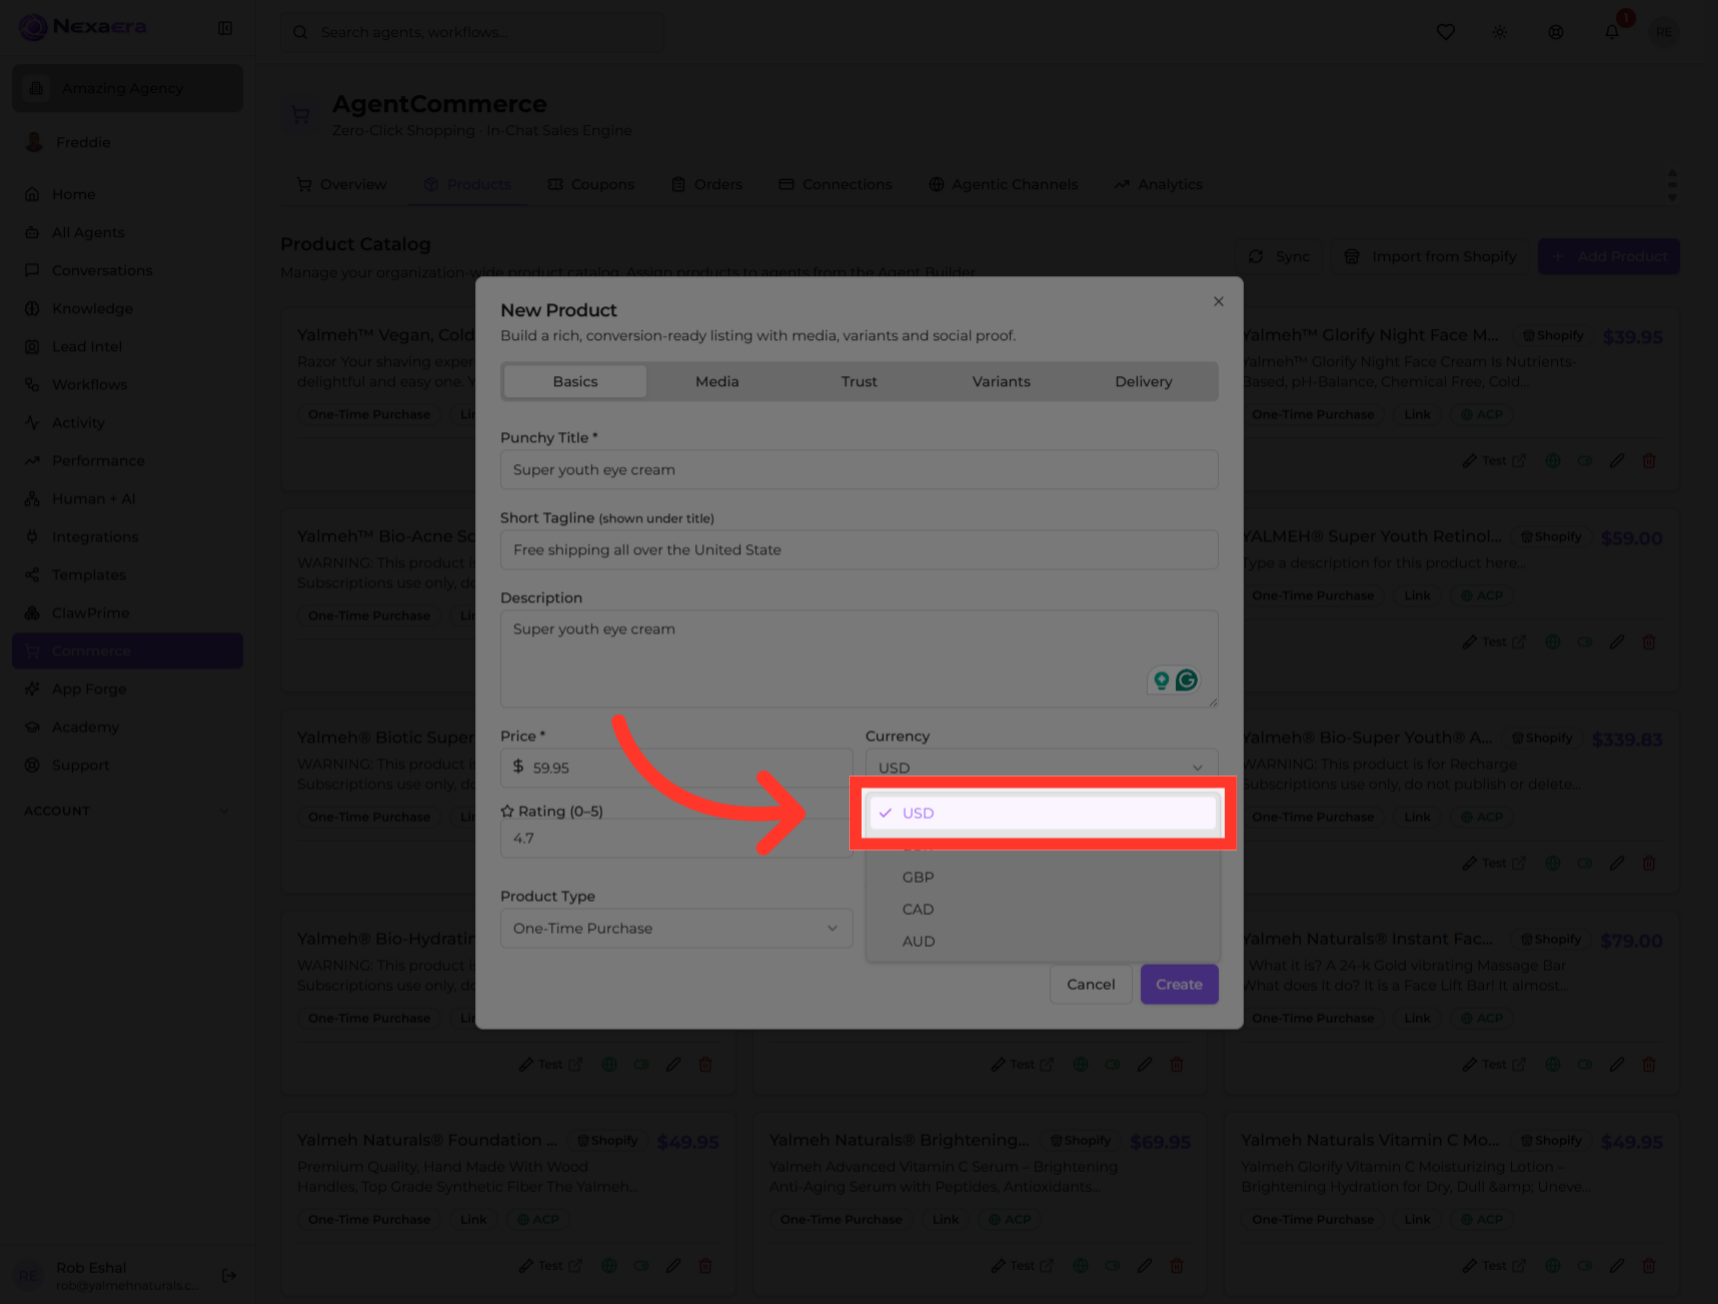
You can also set a star rating, from zero to five. It shows up as social proof on your listing.
11. Set Product Stock
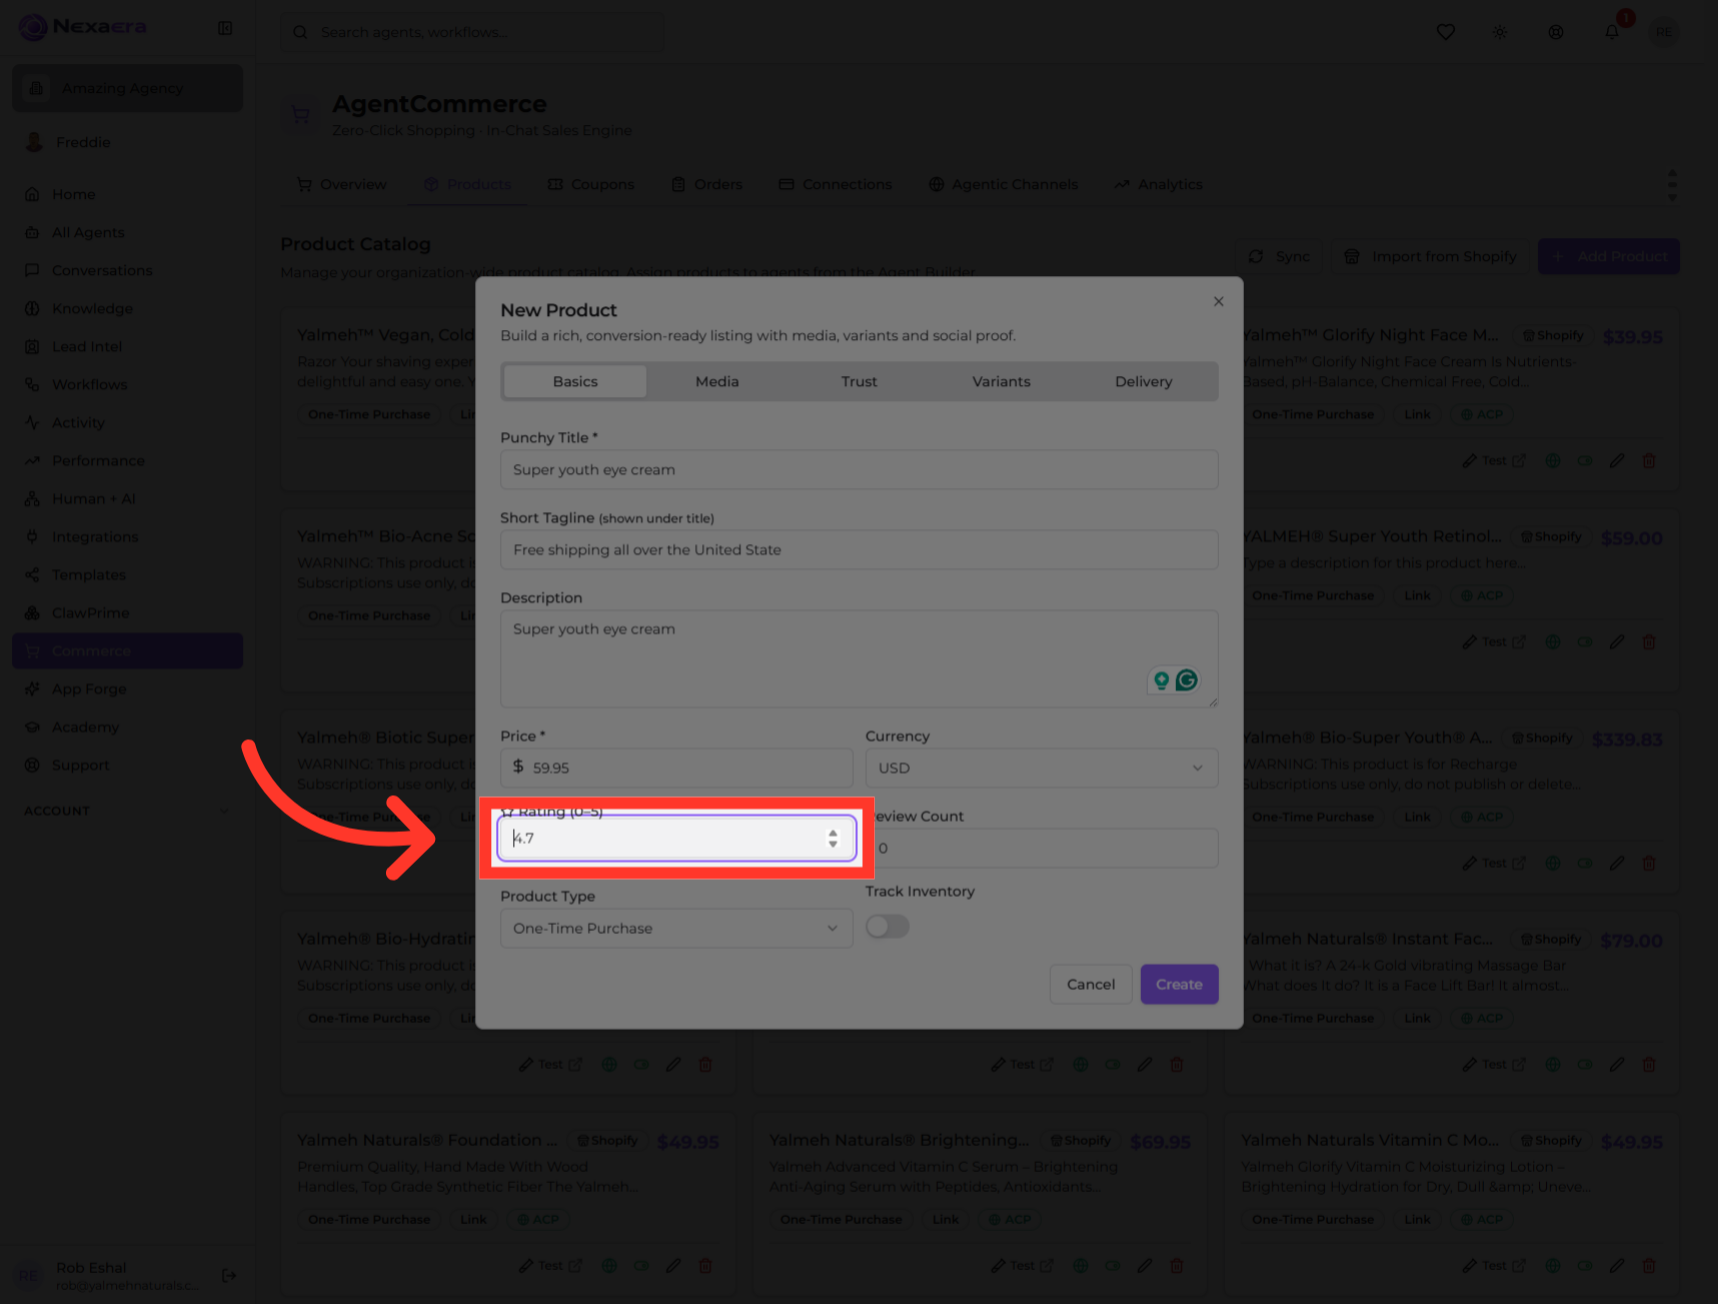
Right beside the rating is "Review Count." Click it to set how many reviews to display alongside those stars.

12. Confirm SKU Entry
Type in your number — here, two hundred. Together, the rating and review count build instant trust with shoppers.

13. Select Purchase Type
Now pick how it's sold. Open "Product Type" and choose "One-Time Purchase" for a single sale, or "Subscription" for recurring billing.

14. Track Inventory
If you want the system to keep count of your stock, flip on "Track Inventory." Leave it off for unlimited digital items.

15. Open Media Section
Now switch to the "Media" tab. This is where your product photos and video go — and great visuals sell.

16. Add New Media
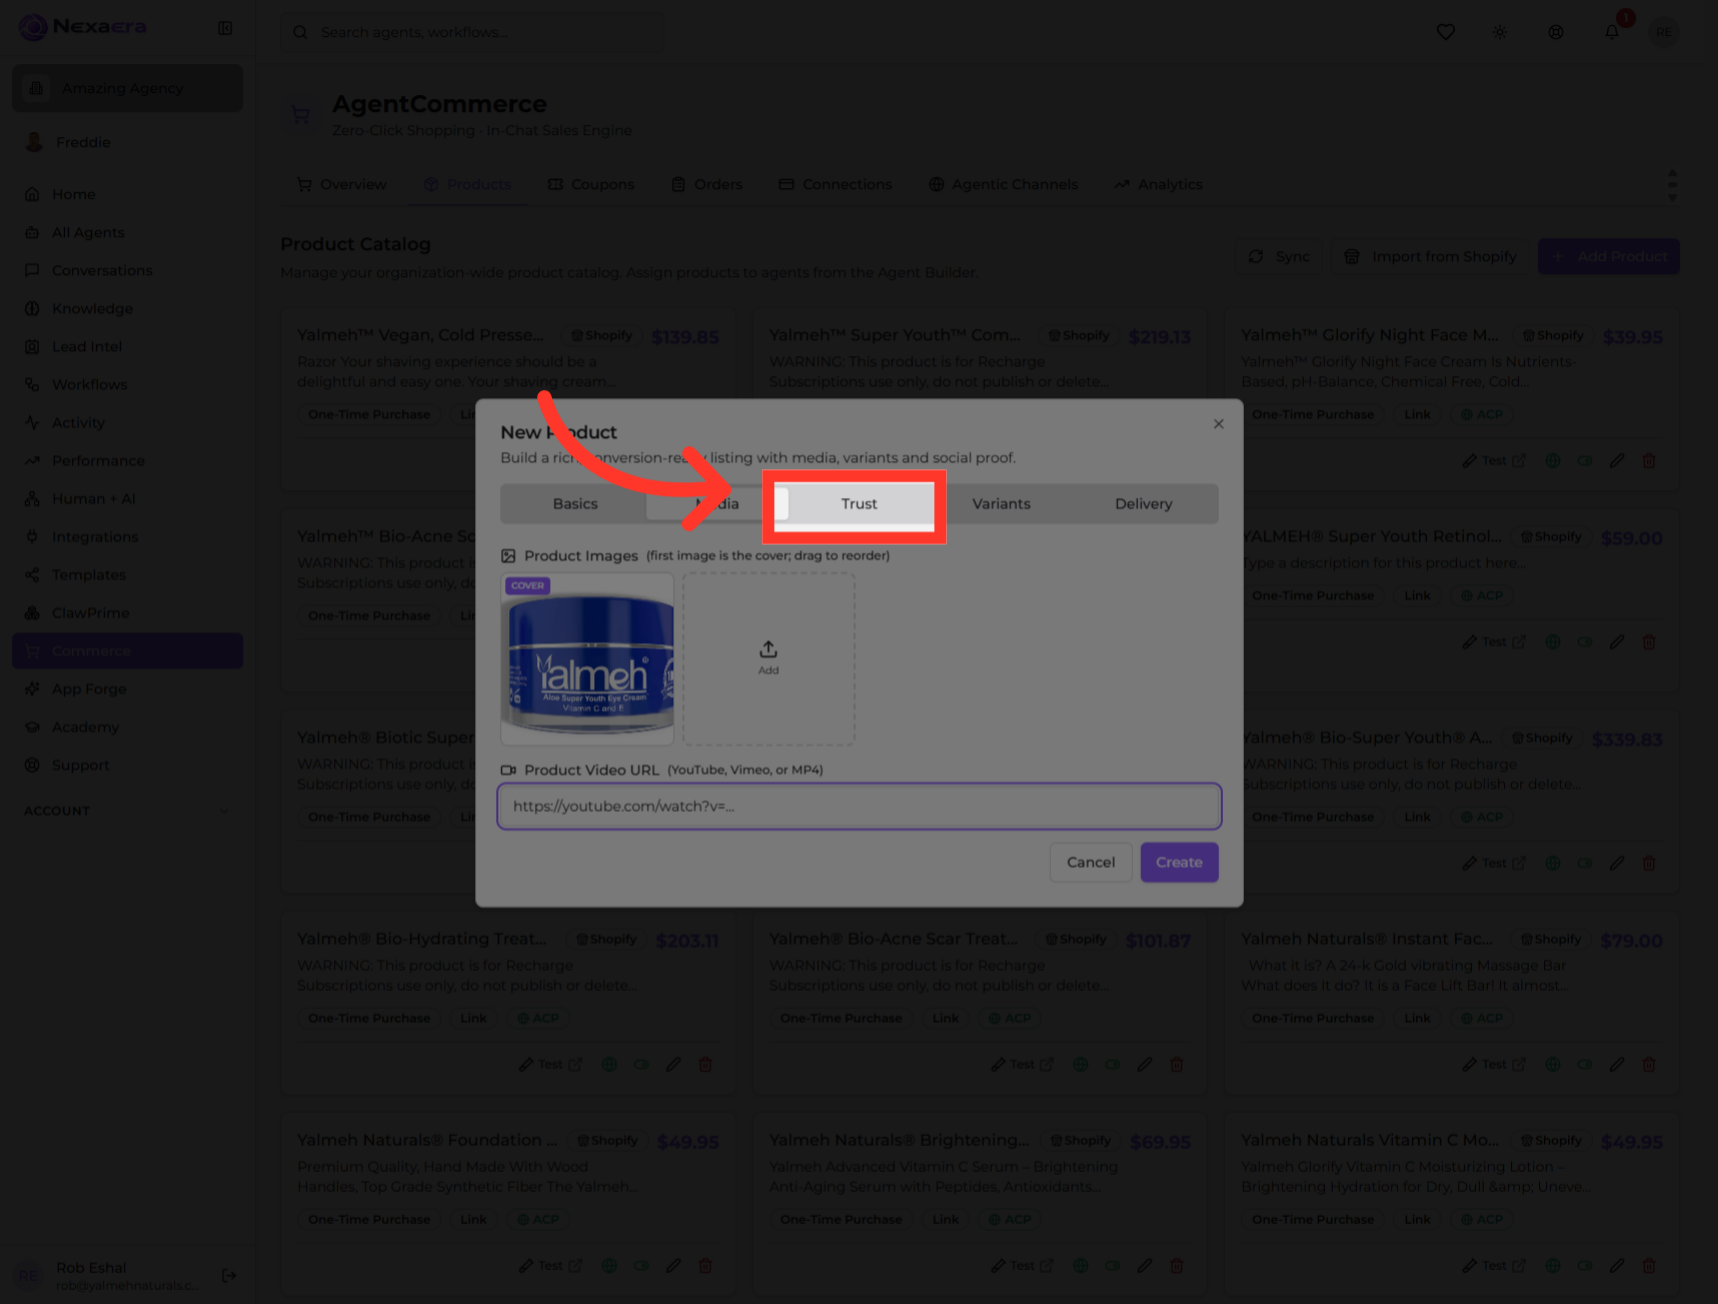
Click "Add" to upload your images. The first one becomes the cover, and you can drag to reorder them.

17. Add Video Link
Got a product video? Paste its link — YouTube, Vimeo, or an MP4 — into the video field. A quick demo can boost conversions.

18. Access Trust Section
Next, click the "Trust" tab. This is where you add trust signals that reassure buyers right at checkout.
19. Upload Trust Badges
Click to upload your trust badges — PNG or SVG. Think "Fast Shipping," "Hassle-Free Returns," or "Made with Love."

20. Open Variants Tab
If your product comes in options, click the "Variants" tab. This is where you set up things like size, color, or style — up to three.

21. Add Variant Option
Click "Add option" to create your first variant category.

22. Configure Product Variations
Give the option a name — like "Size" — then add each value, such as small, medium, and large. Add more options if you need them.

23. Open Delivery Settings
Almost there. Click the "Delivery" tab to tell the system what the customer receives after they pay.

24. Access Instructions Tab
Open the Delivery Method dropdown. You can send a link, written instructions, or a digital download. Here we'll pick "Text / Instructions."

25. Create Product Entry
Add your delivery details in the box — like "Standard delivery within three to four days." Then click "Create" to save your product.

26. Review Product Summary
And there it is — your new product appears right at the top of the catalog, live and ready. Nice work.

27. Select Test Option
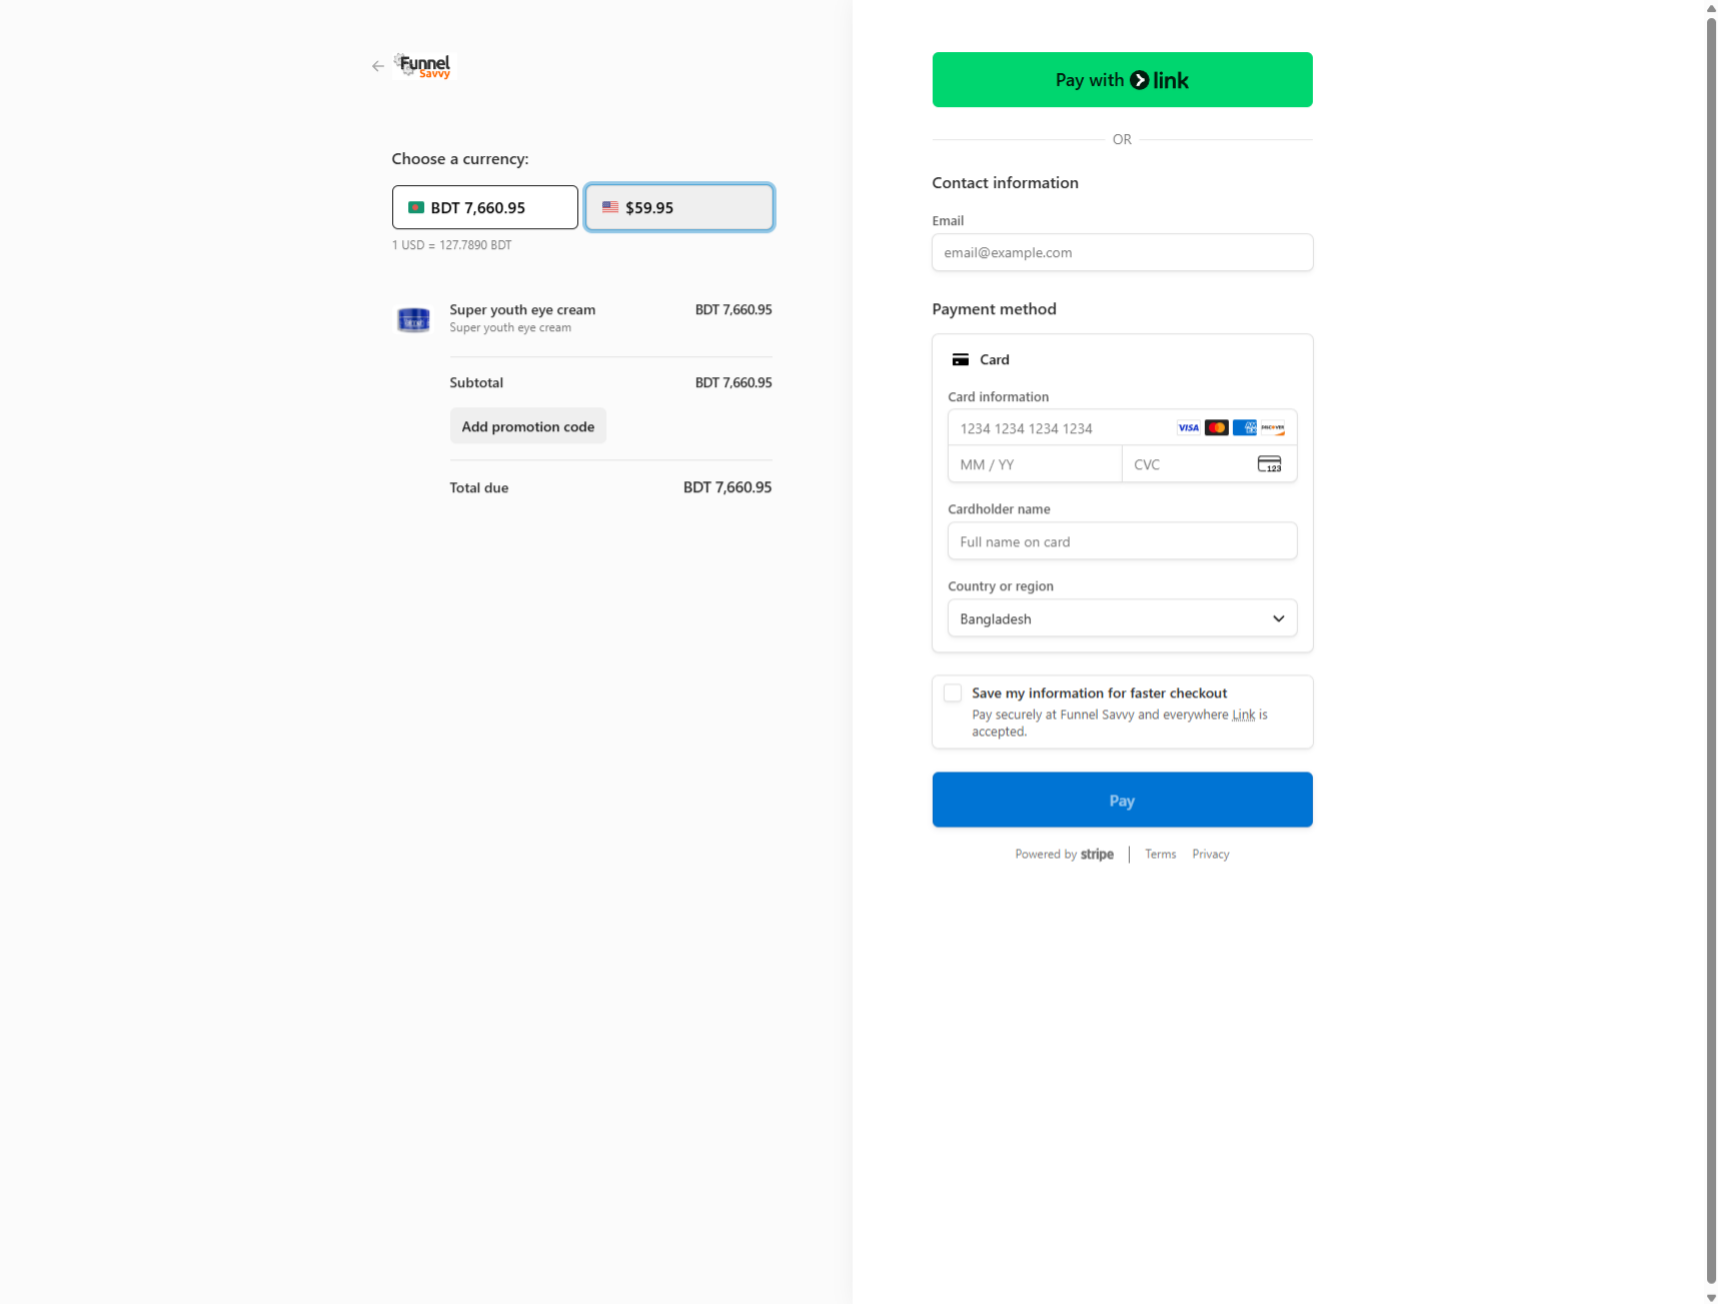
Before you promote it, let's test it. Click "Test" on the product card. This opens a real Stripe checkout in a new tab.

28. Product Checkout Page
The checkout page opens with your product, price, and payment fields. Run through it with the test card to confirm everything works end to end.
And that's a complete product, built from scratch! You added the details, media, trust badges, variants, and delivery — then tested a real checkout. Your agents can now sell it in any conversation. See you in the next one.
Still need help? Ask the team