Configure Skills and Agents in NexaEra ClawPrime
What if you could give your AI agents brand-new abilities in a couple of clicks — no coding? That's ClawPrime, your skill management engine. You can import ready-made skills, connect them to agents, and even build your own. Let me show you how.
Written By Fred Yalmeh
Last updated About 2 months ago
Go to nexaera.com
1. Introduction
In this video, you'll learn the whole skill workflow — import a skill, attach it to an agent, and turn it on. We'll also peek at building custom skills and importing setups from OpenClaw. Let's dive in.
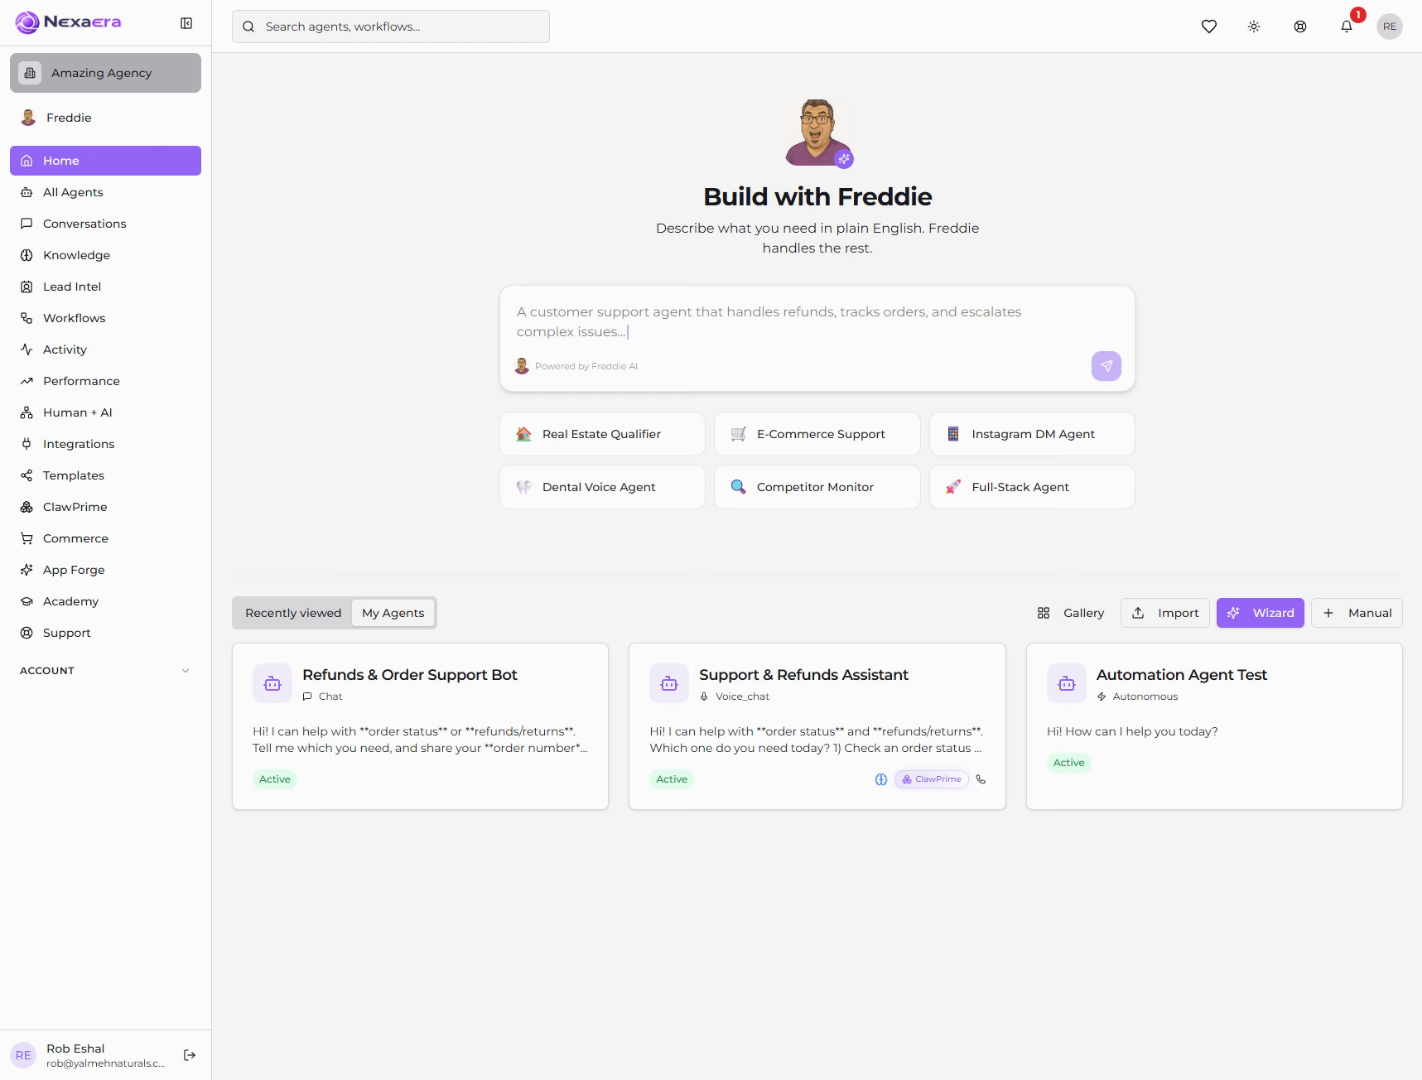
2. Access ClawPrime Dashboard
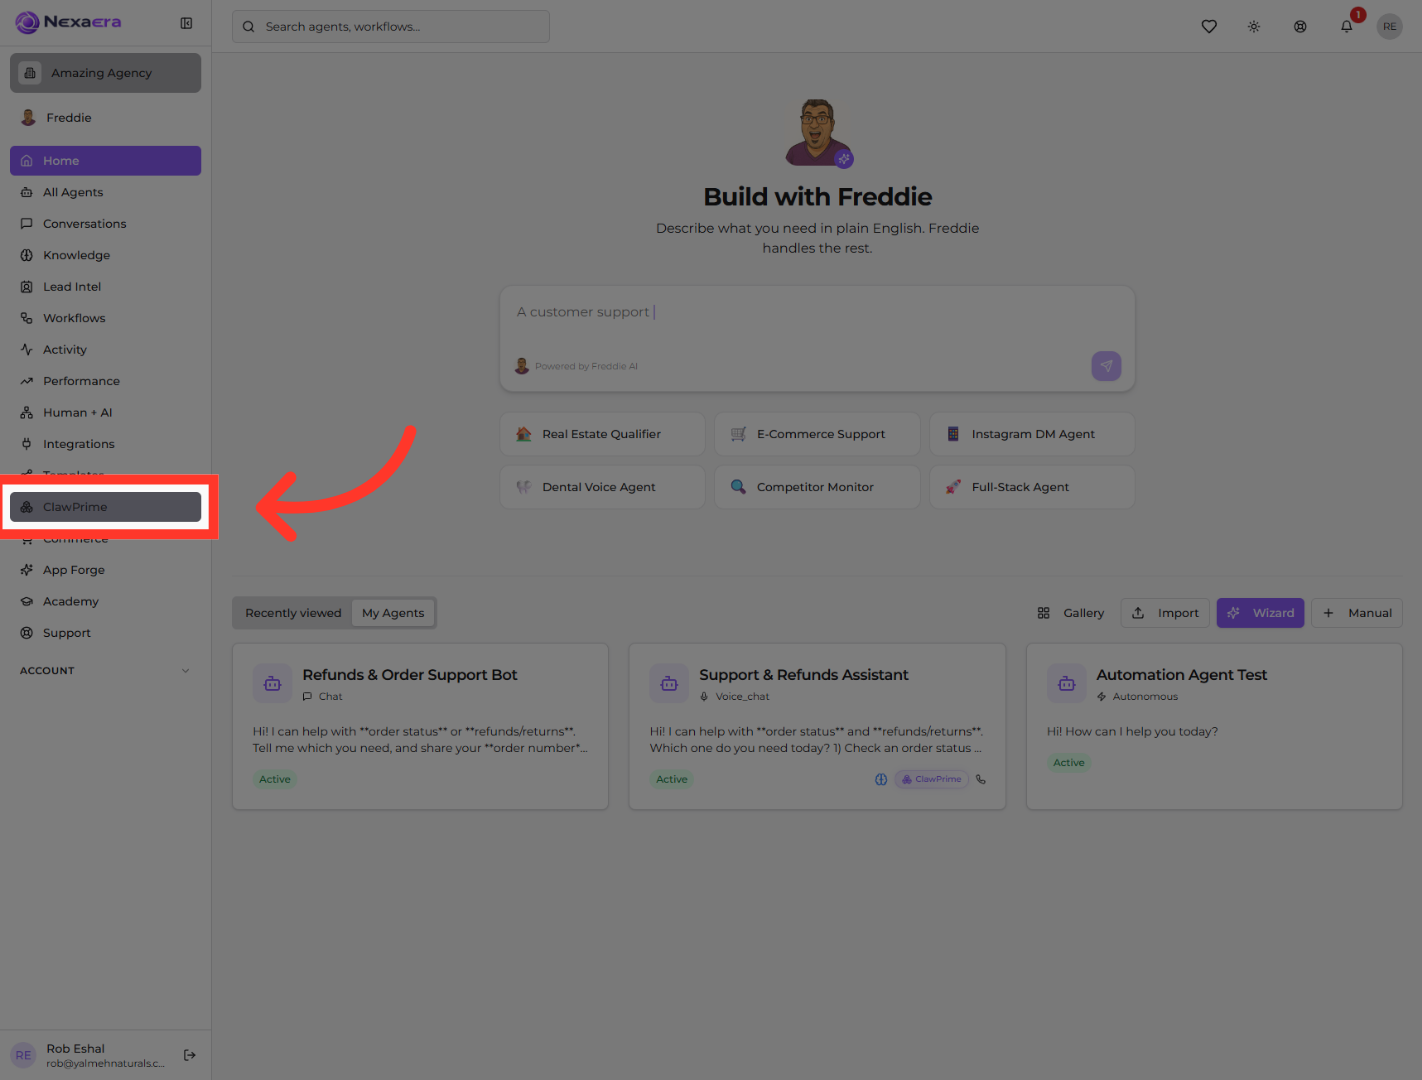
On the left sidebar, click "ClawPrime." This is your OpenClaw-compatible skill management engine — the home for every skill your agents can use.
3. Open Skill Library
You'll land on four tabs. Click "Skill Library." This shows every skill you've already imported, along with a quick guide to how skills actually work.

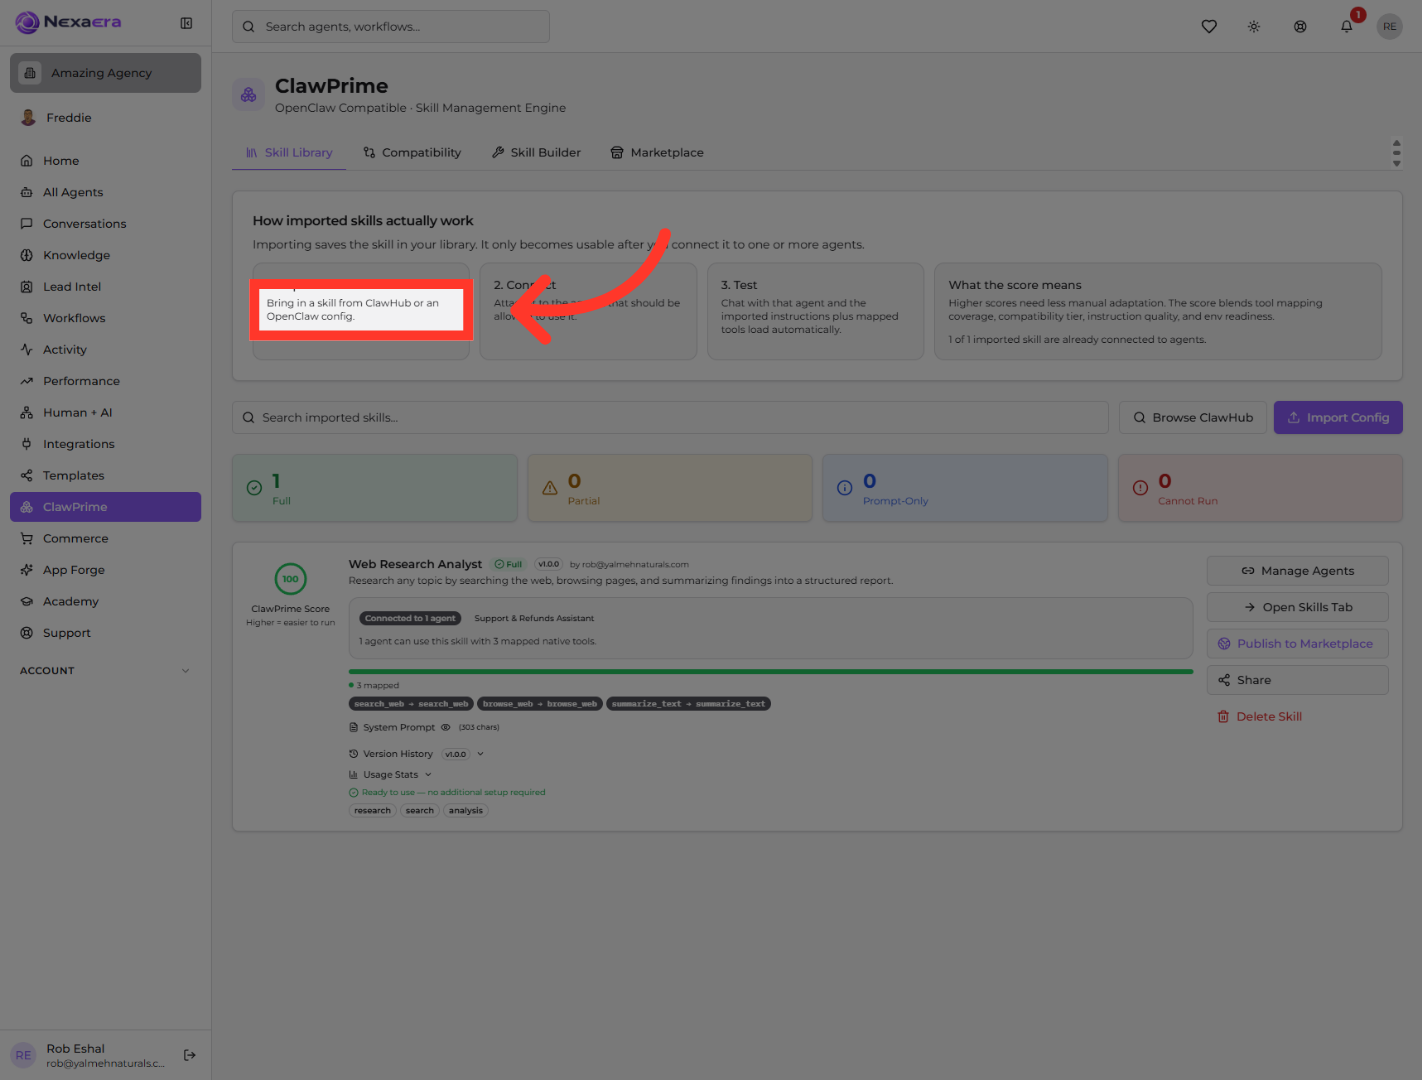
4. Initiate Skill Import
The guide up top walks through three simple stages. Stage one is "Import" — you bring in a skill, either from the ClawHub library or from an OpenClaw config file.
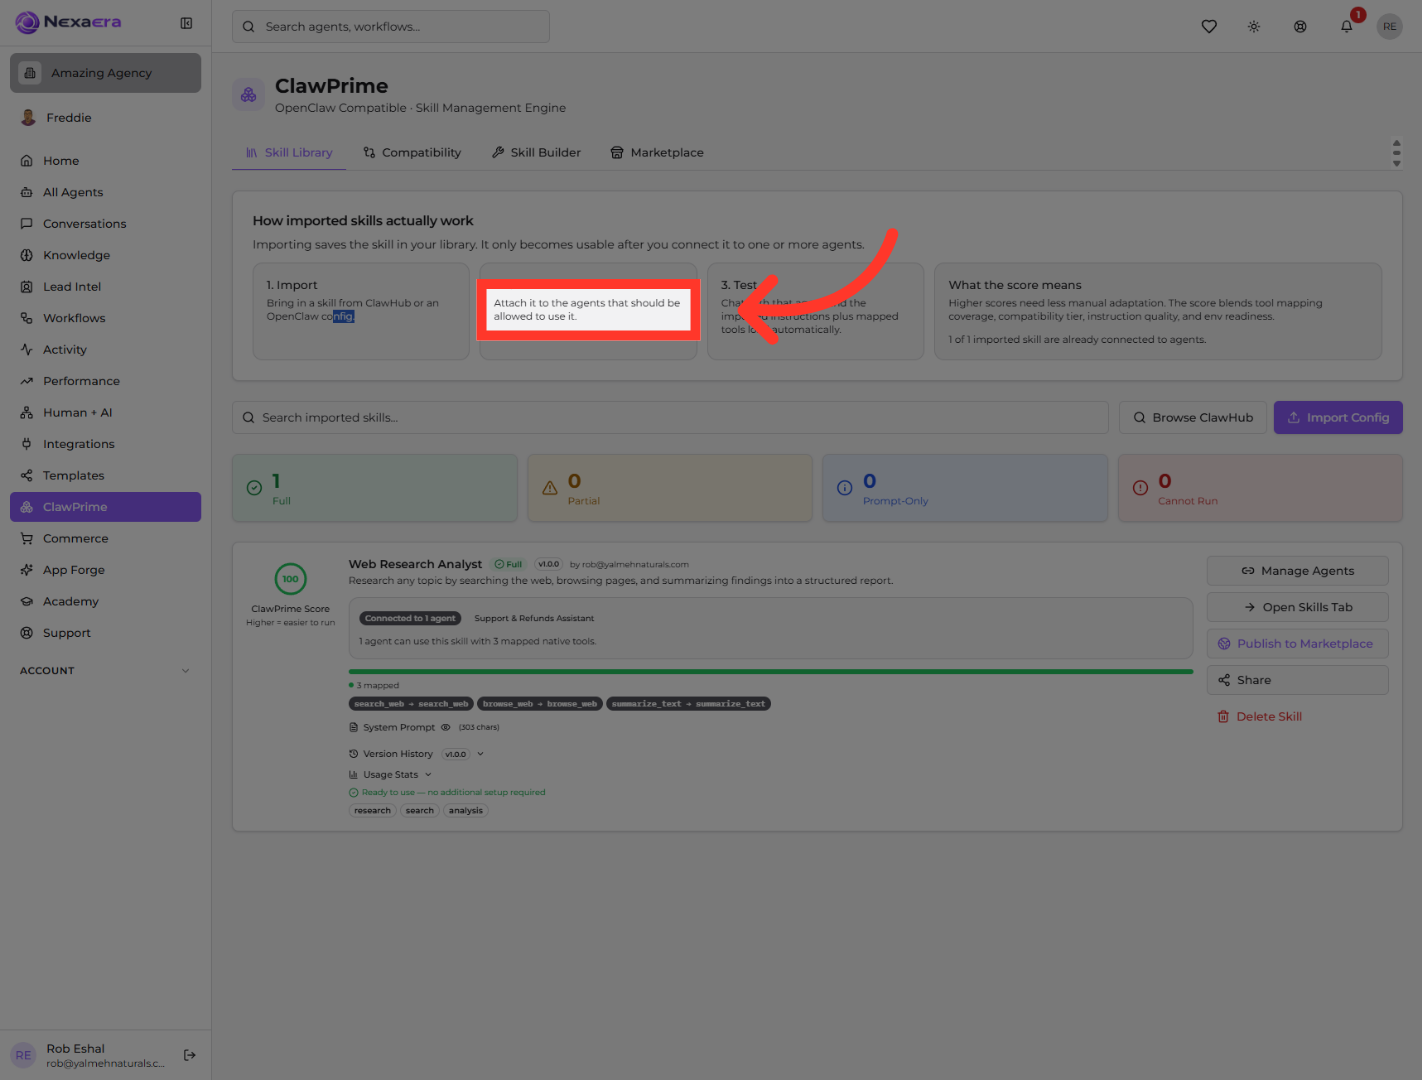
5. Attach Skill to Agents
Stage two is "Connect." A skill doesn't do anything until you attach it to the specific agents you want to use it. That's an important detail — nothing turns on automatically.
6. Load Imported Instructions
Stage three is "Test." Once a skill's connected, just chat with that agent. Its new instructions and tools load in automatically — no extra setup needed.

7. Understand Skill Scoring
Each skill also gets a ClawPrime Score. The higher it is, the less tweaking it needs. It blends how well the tools map, the compatibility tier, the instruction quality, and whether your environment's ready.

8. Search Imported Skills
As your library grows, use the "Search imported skills" bar to jump straight to the one you want.

9. Browse ClawHub Skills
To add something new, click "Browse ClawHub." That's the community library, full of ready-made skills you can pull in.

10. Import Selected Skill
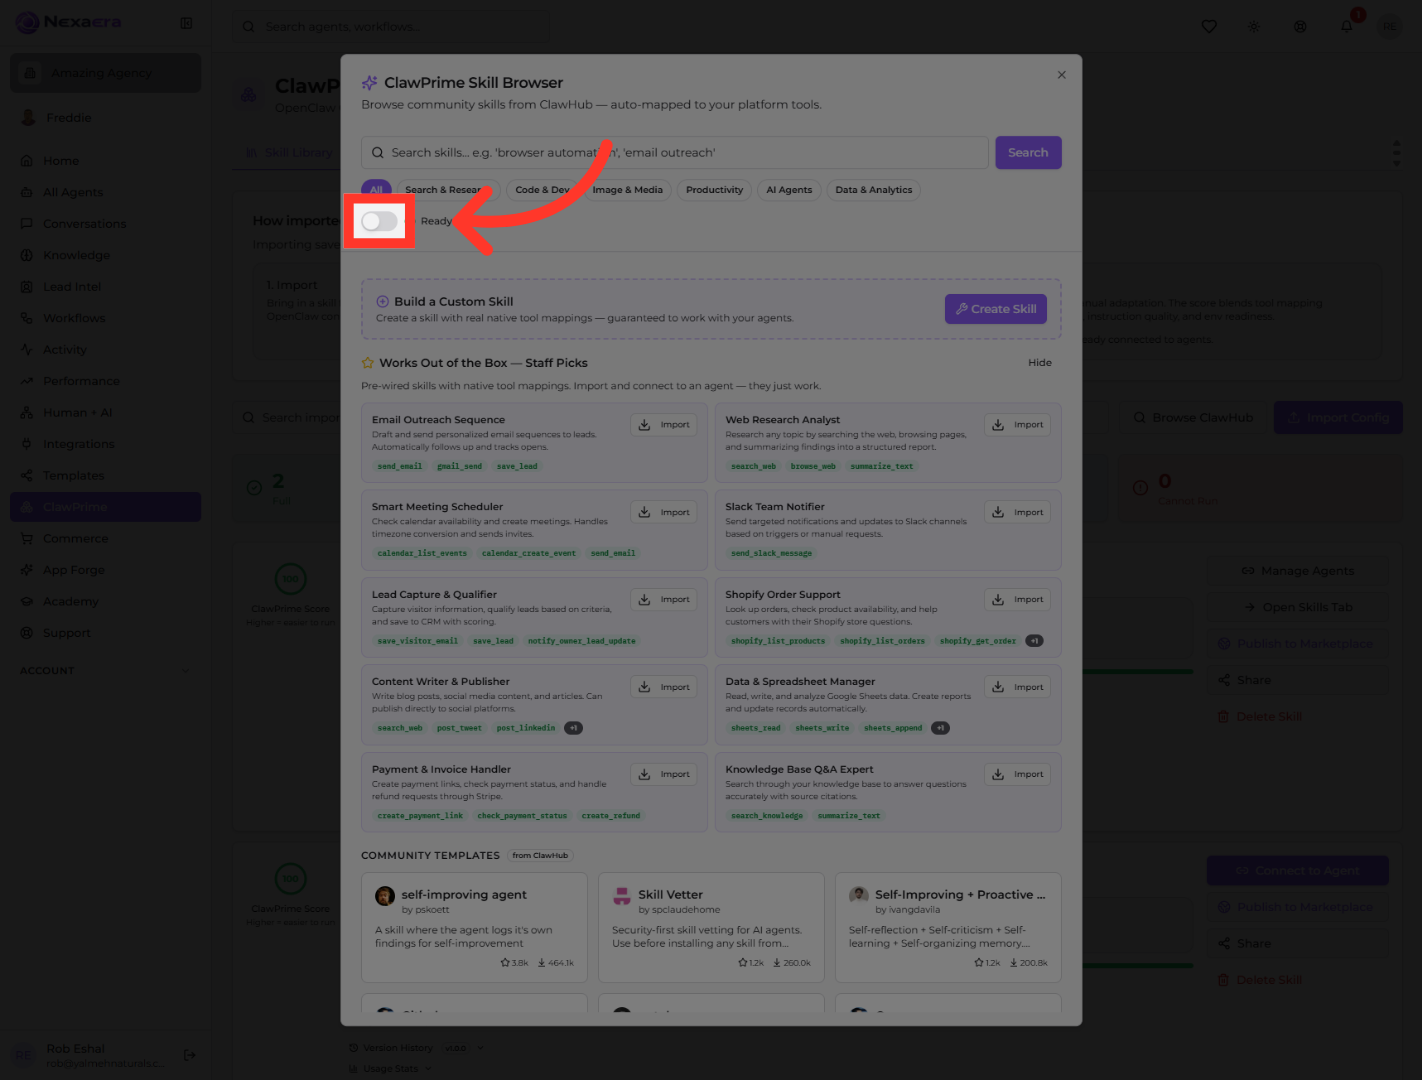
The browser opens with community skills, all auto-mapped to your tools. Find one you like — here it's the "Email Outreach Sequence" — and click its "Import" button to add it to your library.

11. Filter Ready Skills
Some skills need extra API keys or setup. Flip on "Ready to Use only" to hide those and see just the skills that work right out of the box.
12. Create New Skill
Can't find what you need? Click "Create Skill" to build your own from scratch, with real tool mappings guaranteed to work with your agents.

13. Return to Skill Library
The builder gives you two paths — let AI generate a skill from a plain-English description, or build it manually step by step. For now, click "Skill Library" to head back.

14. Select Email Outreach Skill
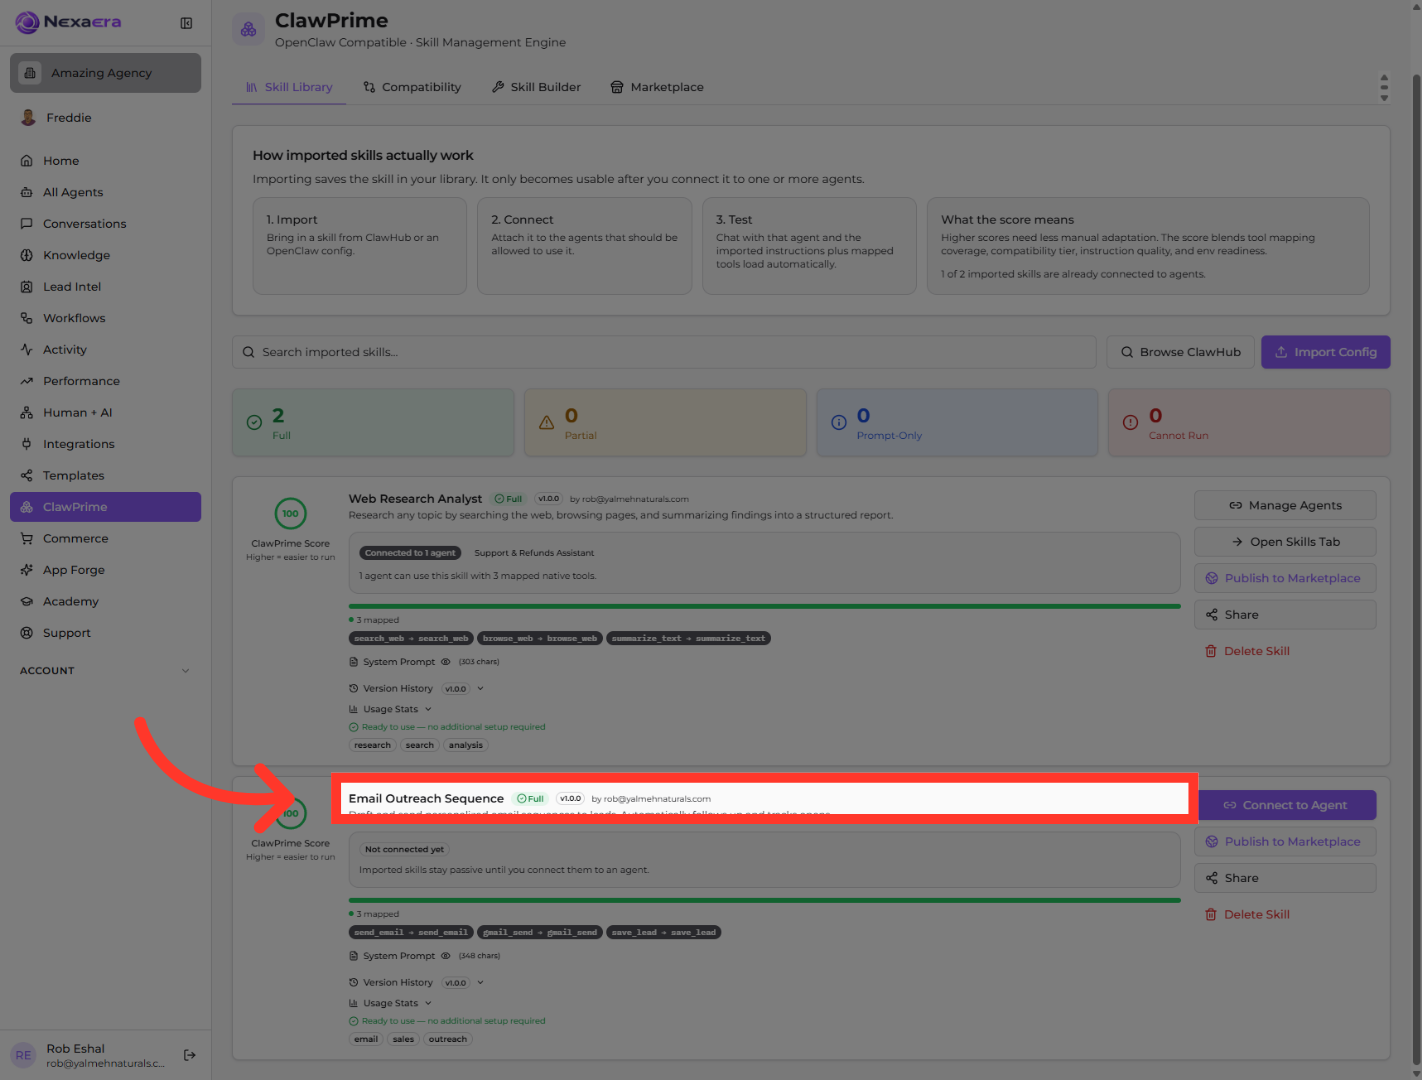
Back in your library, you'll see the skill you just imported — the "Email Outreach Sequence" is now here. Click its card to open it up.
15. Connect Skill to Agent
Remember, a skill has to be connected to be used. Click "Connect to Agent" to link it to the agents you choose.

16. Enable Support Assistant
A window lists your agents. Just flip the toggle next to the one you want — here, the "Support and Refunds Assistant." That switches the skill on for that agent, and only that agent.

17. Import Configuration File
You'll see it's now connected to that agent. There's one more power feature. Click "Import Config" to bring in a whole agent setup from OpenClaw.

18. Review Agent Configuration
You've got three ways to do it. The first is "Paste Config" — just drop in your OpenClaw file, with its agent identity, model, workspace, and channel settings, right into the box.

19. Upload Configuration File
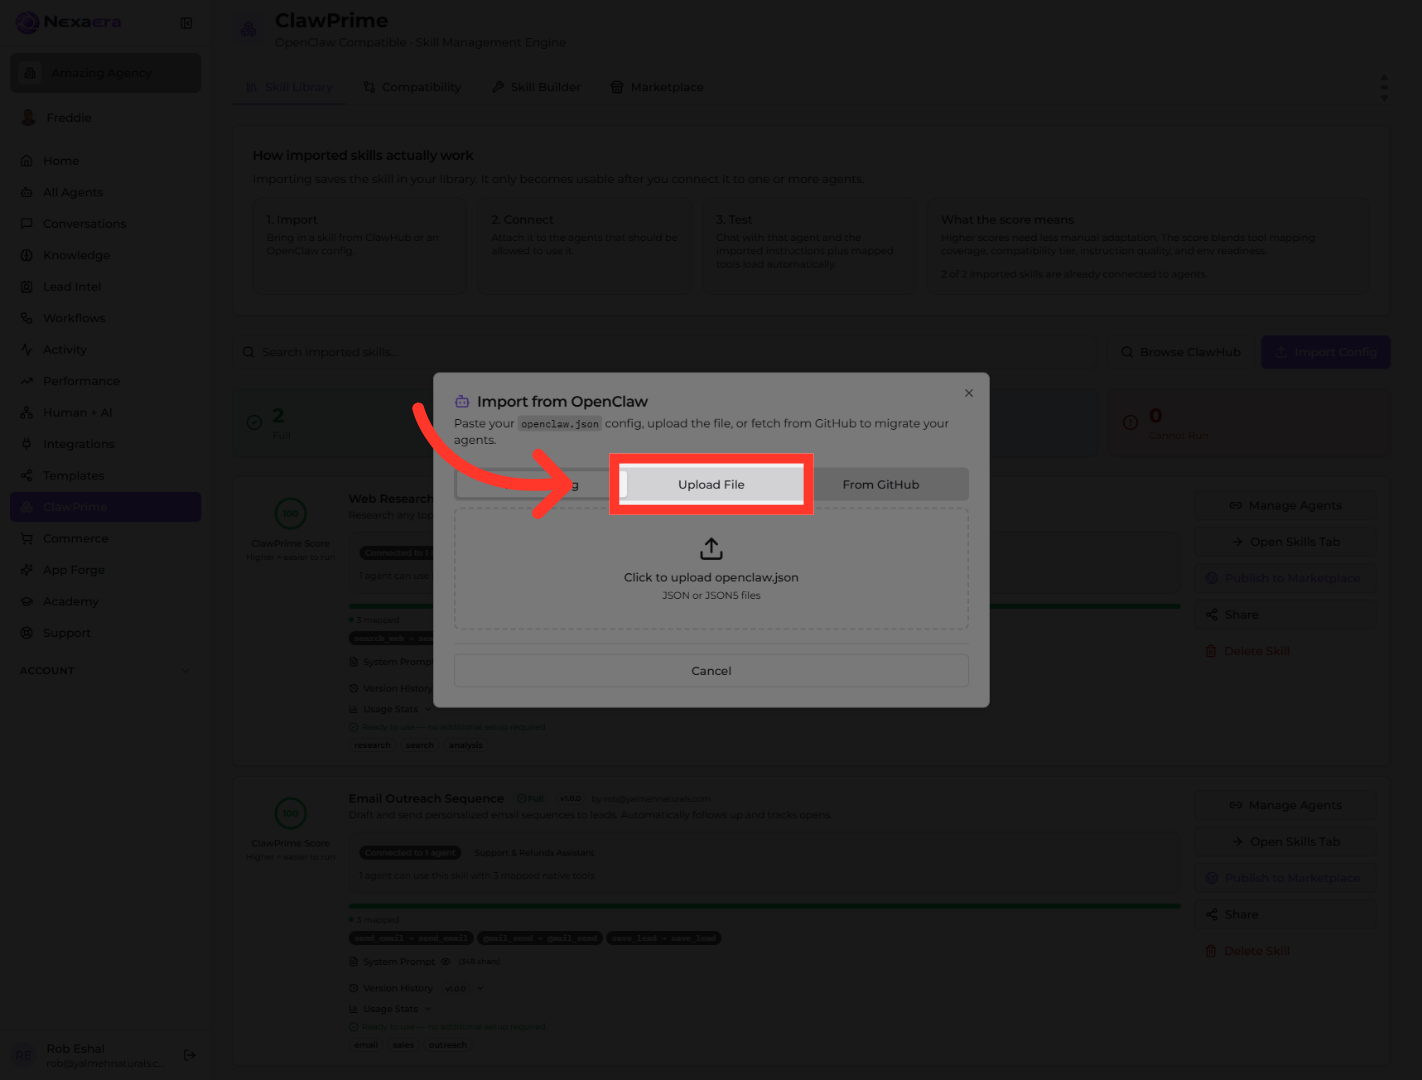
The second way is "Upload File." Click that tab if you'd rather grab the config straight from your computer.
20. Select JSON File
Then click the upload area and pick your file. It accepts JSON or JSON5 — the standard OpenClaw formats.

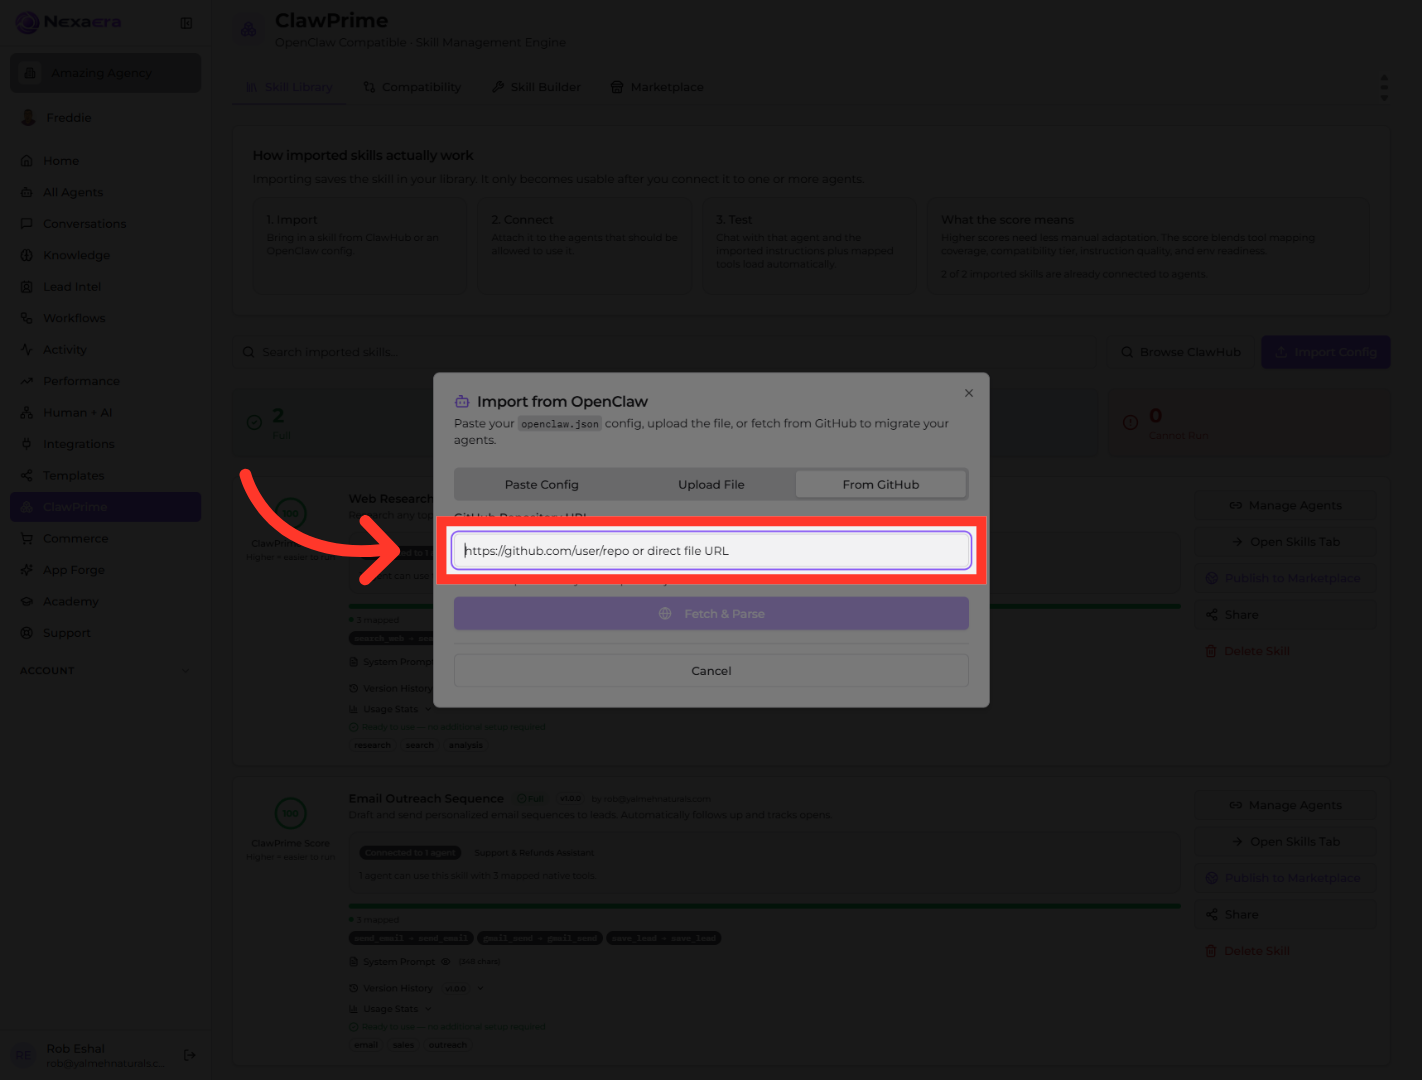
21. Import From GitHub
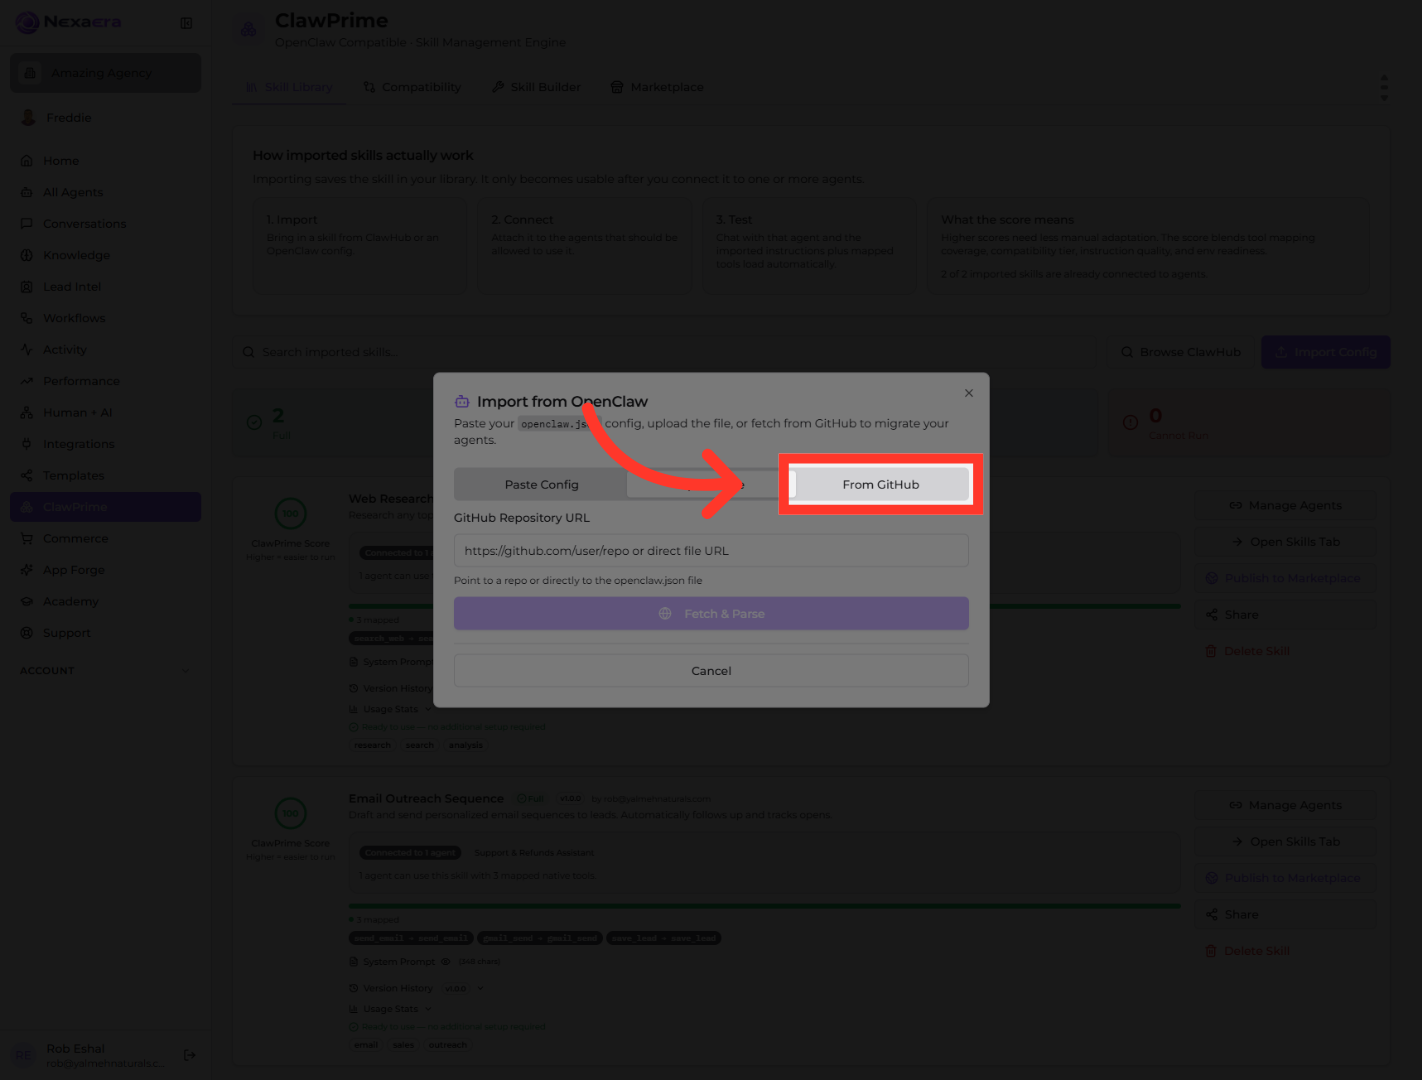
And the third way is straight "From GitHub." Click that tab to pull a config directly from a repository.
22. Enter GitHub URL
Paste in the repo link, or a direct link to the config file, and it'll fetch and parse it for you. Three easy ways to migrate everything over.
And that's ClawPrime! You've imported a skill, connected it to an agent, and seen how to build your own or migrate a whole setup from OpenClaw. Your agents just got a lot more capable. See you in the next one.
Still need help? Ask the team