Configure Commerce Features and Manage NexaEra Dashboard
Your AI agents can do more than chat — they can actually sell. AgentCommerce turns any conversation into a checkout, right in the chat. Let me walk you through the commerce dashboard and everything you can do there.
Written By Fred Yalmeh
Last updated About 2 months ago
Go to nexaera.com
1. Introduction
In this video, you'll tour the commerce dashboard — where you connect payments, manage products, create coupons, and track sales. By the end, you'll know exactly where everything lives. Let's dive in.
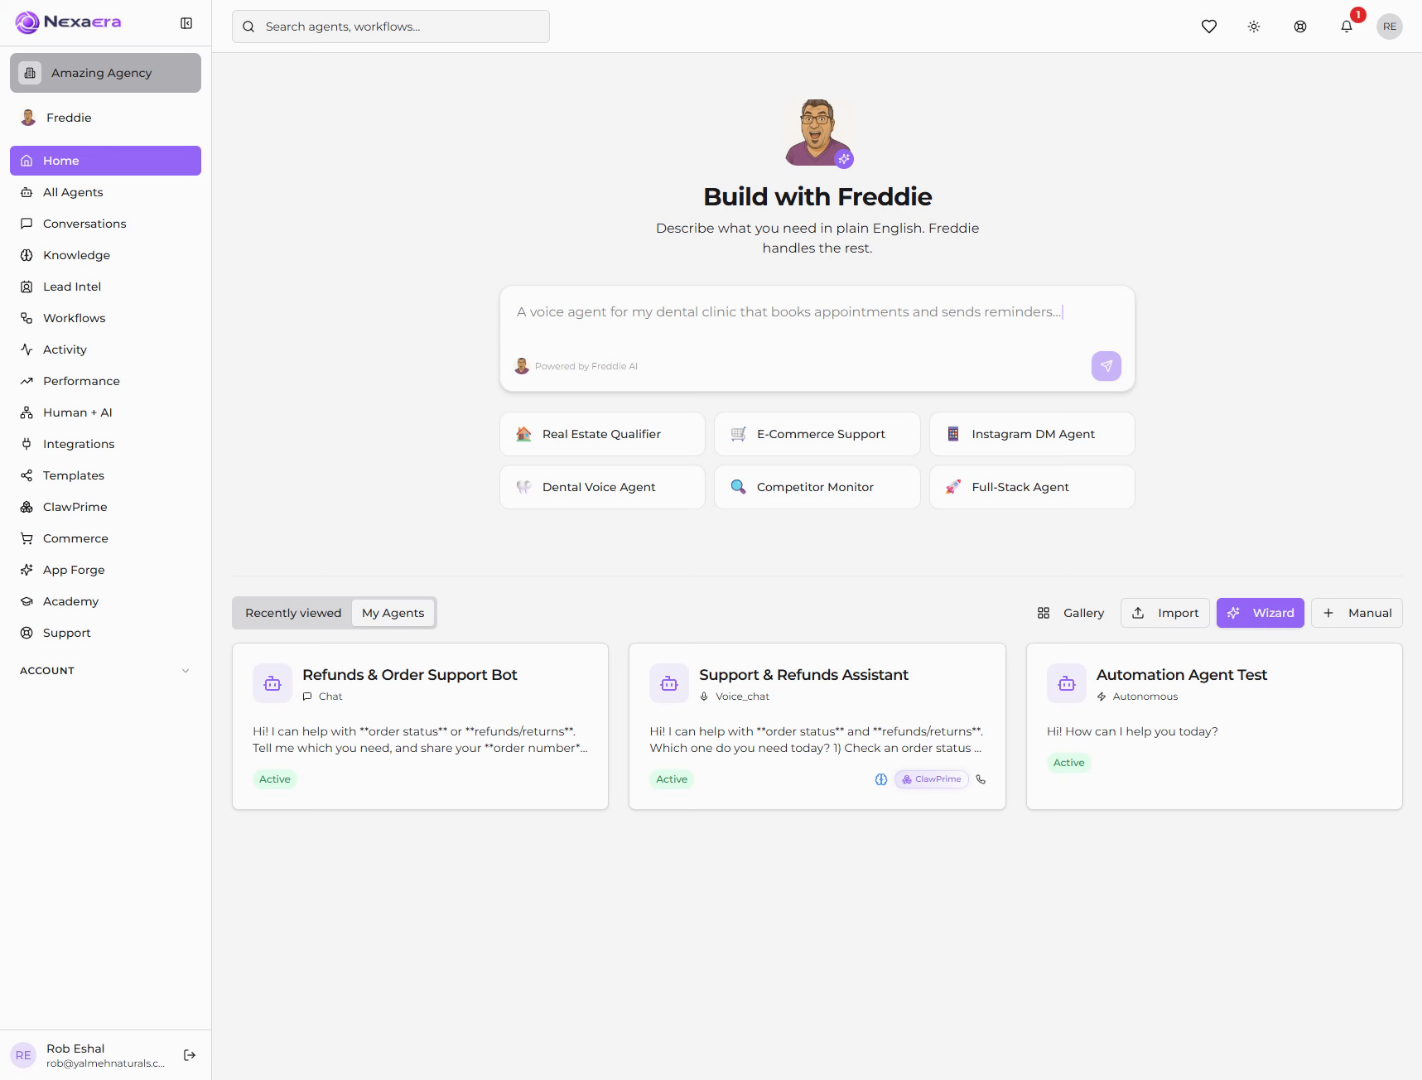
2. Access Commerce Section
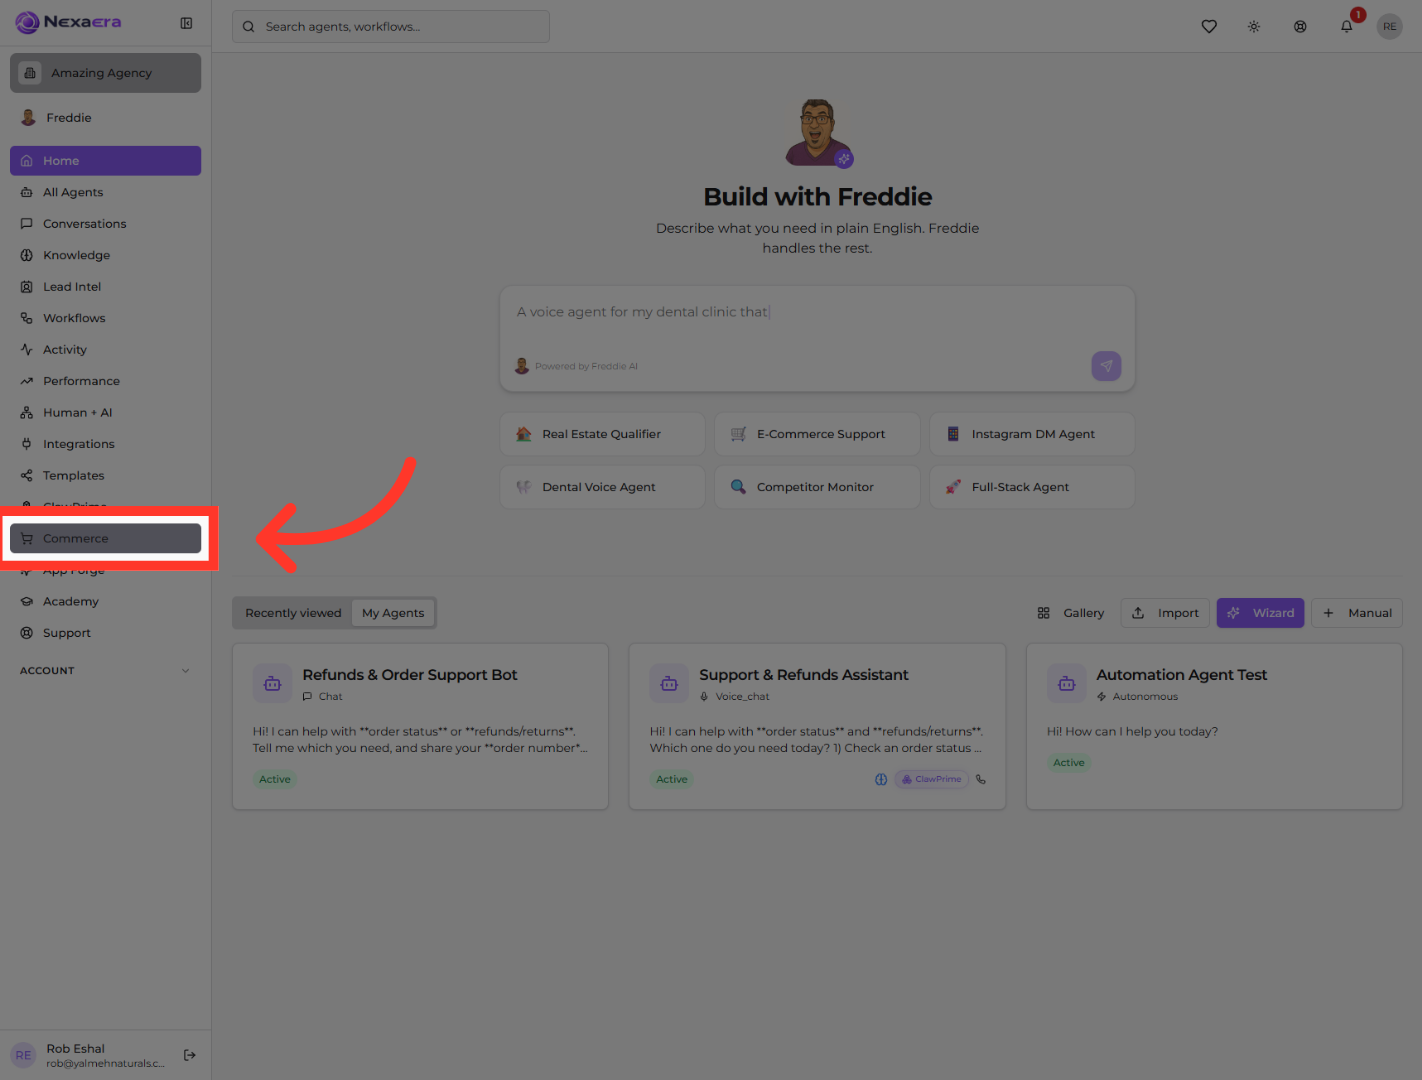
On the left sidebar, click "Commerce." This opens AgentCommerce — your in-chat sales engine, where your agents sell products directly in conversation.
3. View Commerce Overview
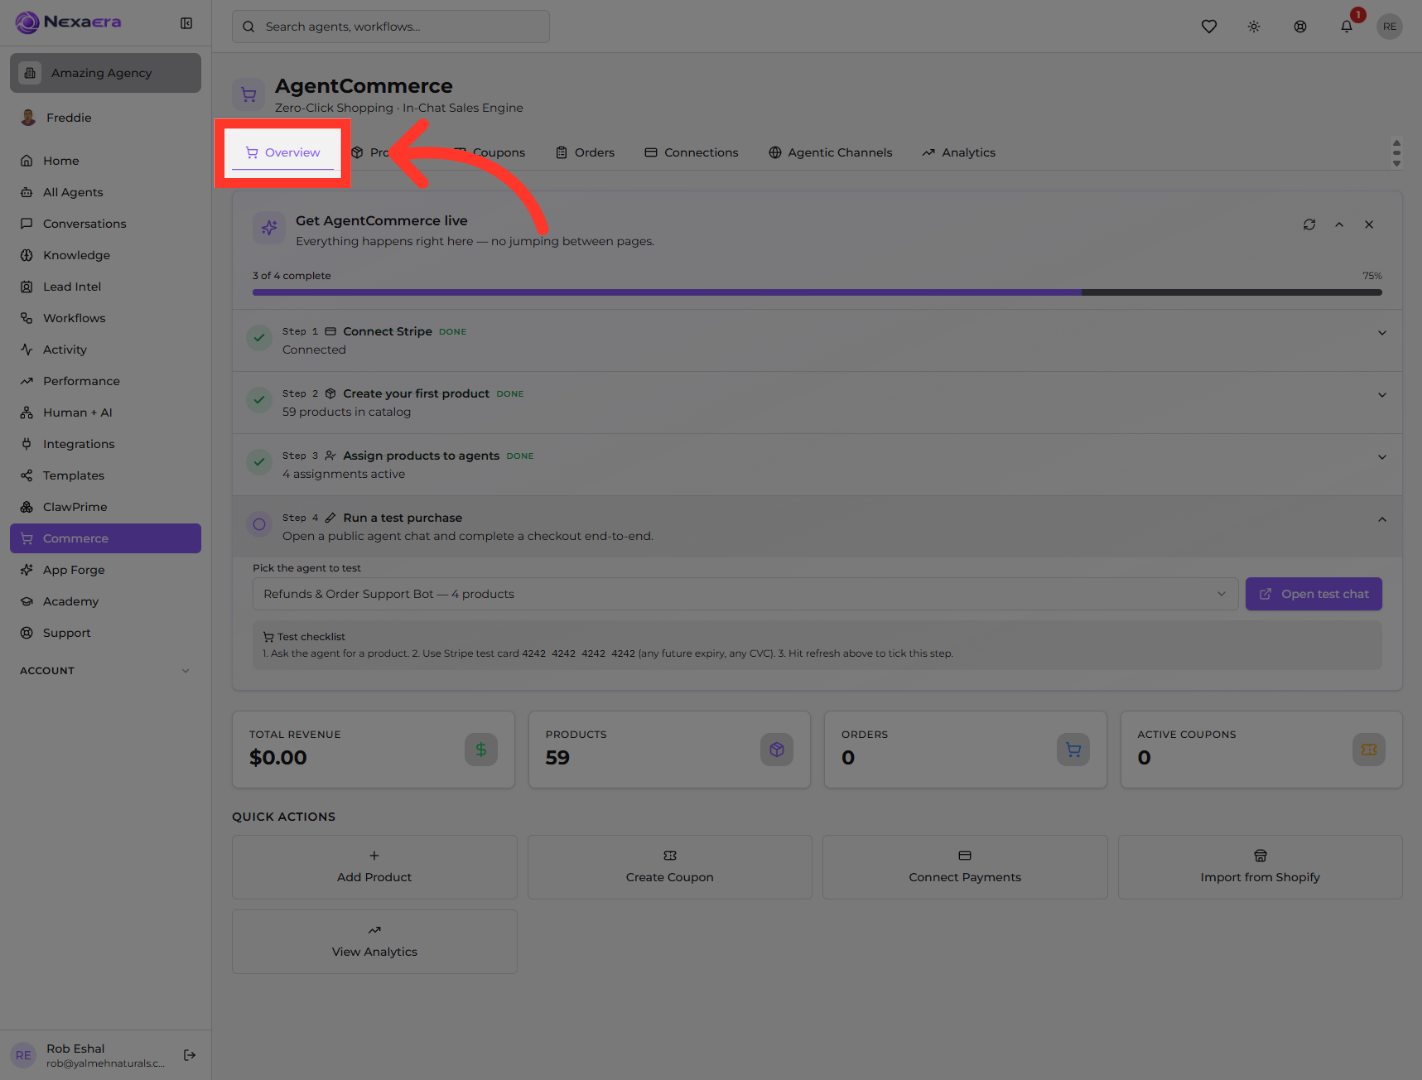
You'll see a row of tabs across the top. Click "Overview." This is your commerce home base — setup progress, key numbers, and quick actions, all in one place.
4. Open Connected Products
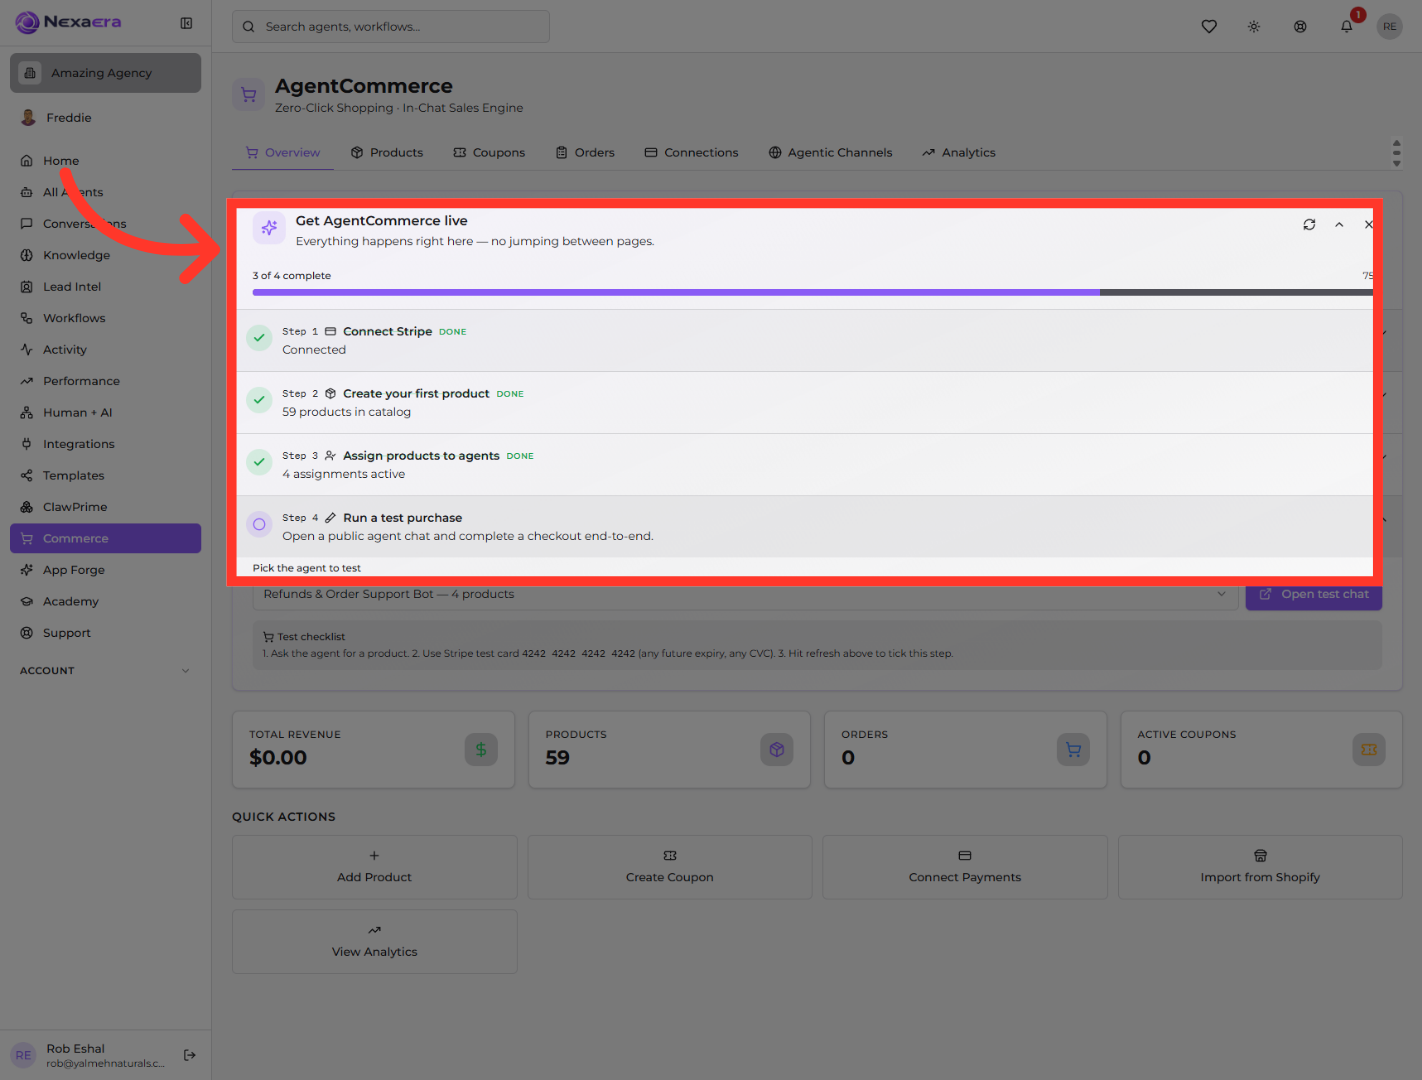
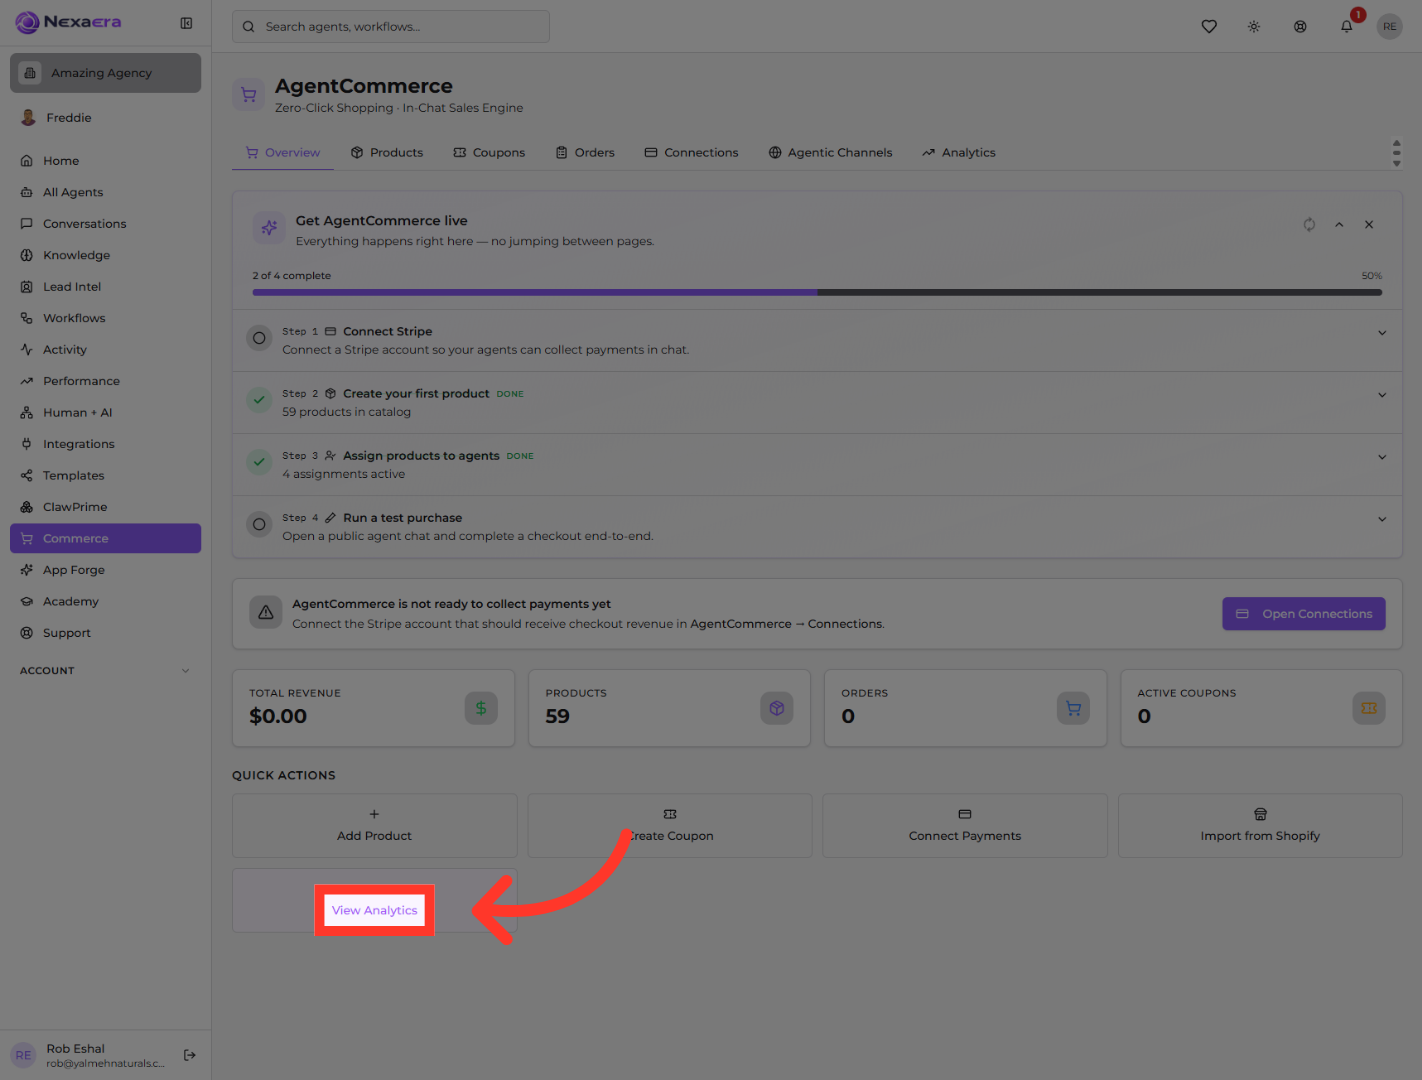
Right at the top is your setup checklist. It walks you through four things to go live — connect Stripe, create a product, assign products to agents, and run a test purchase. It even shows how far along you are.
5. Check Total Revenue
Below the checklist are your key numbers. "Total Revenue" shows everything your agents have earned. It's zero now, but this is the one you'll watch as sales roll in.

6. Access Products Section
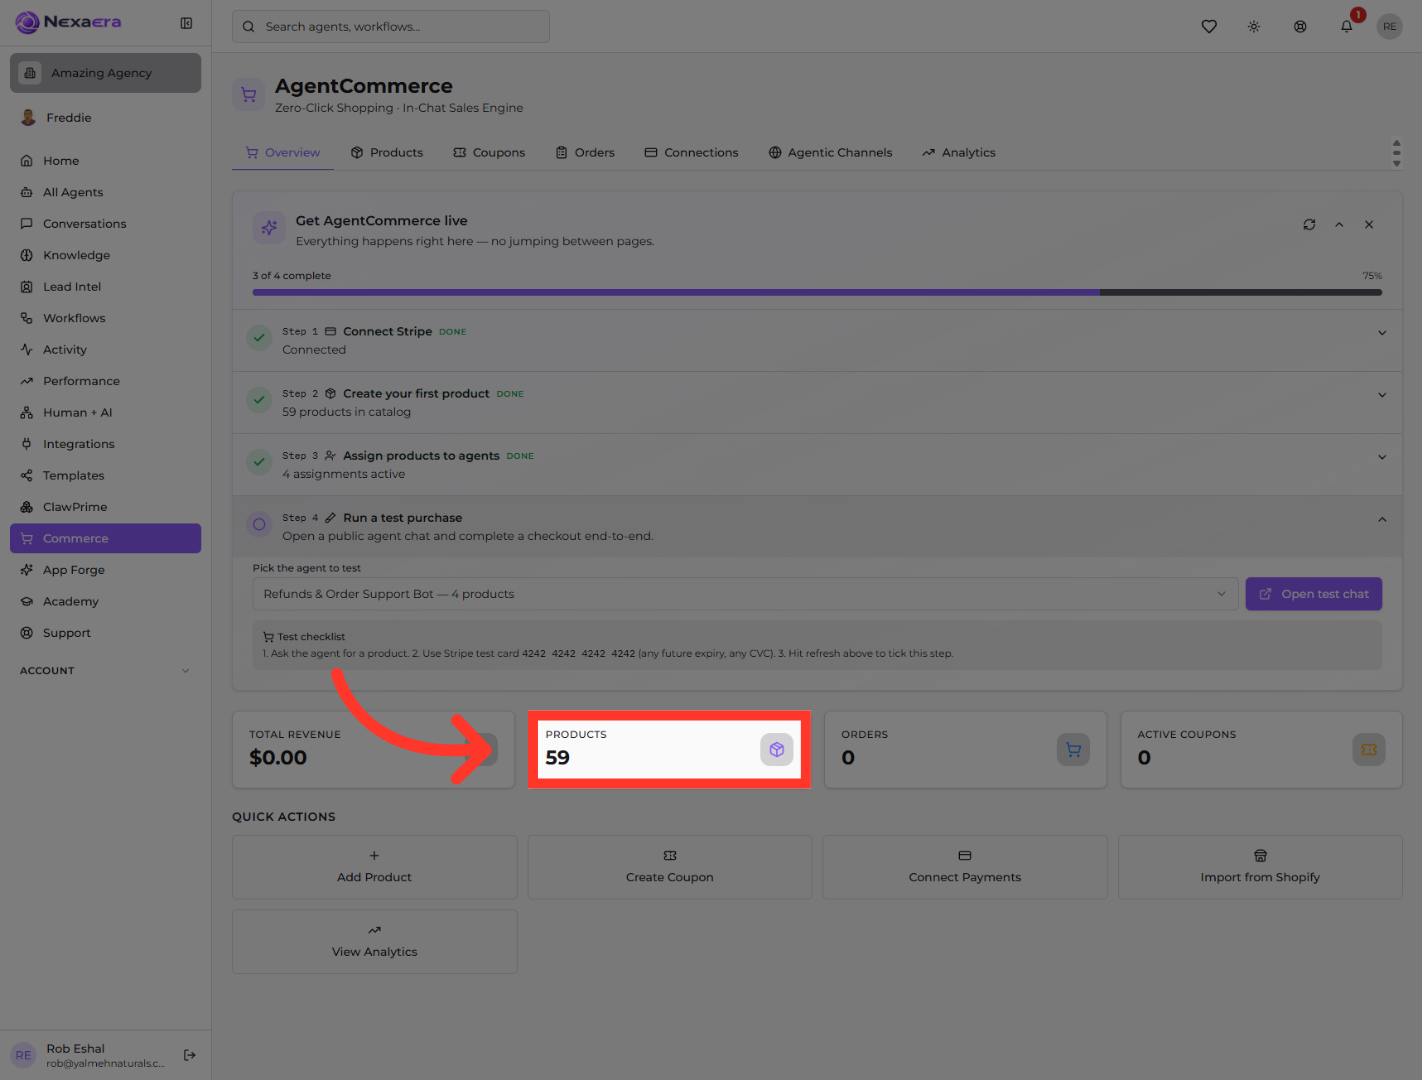
"Products" shows how many items are in your catalog — here, fifty-nine. Click it anytime to jump straight to managing your listings.
7. View Orders Summary
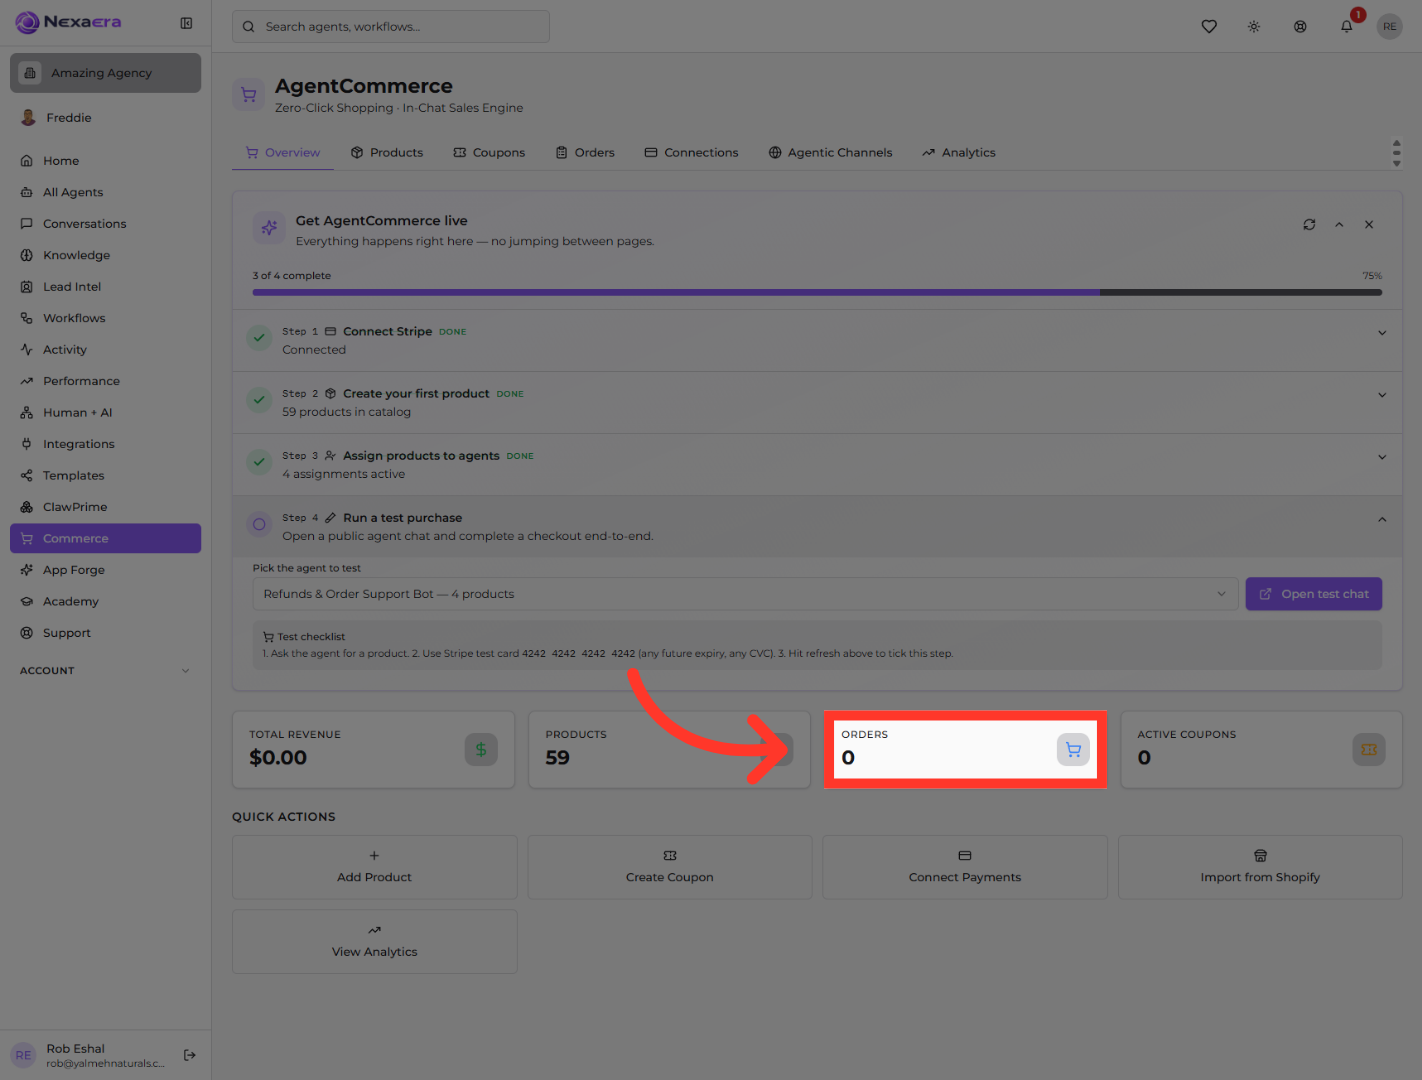
"Orders" tracks every purchase your agents have closed. Click in to see order status and history whenever you need it.
8. Active Coupons
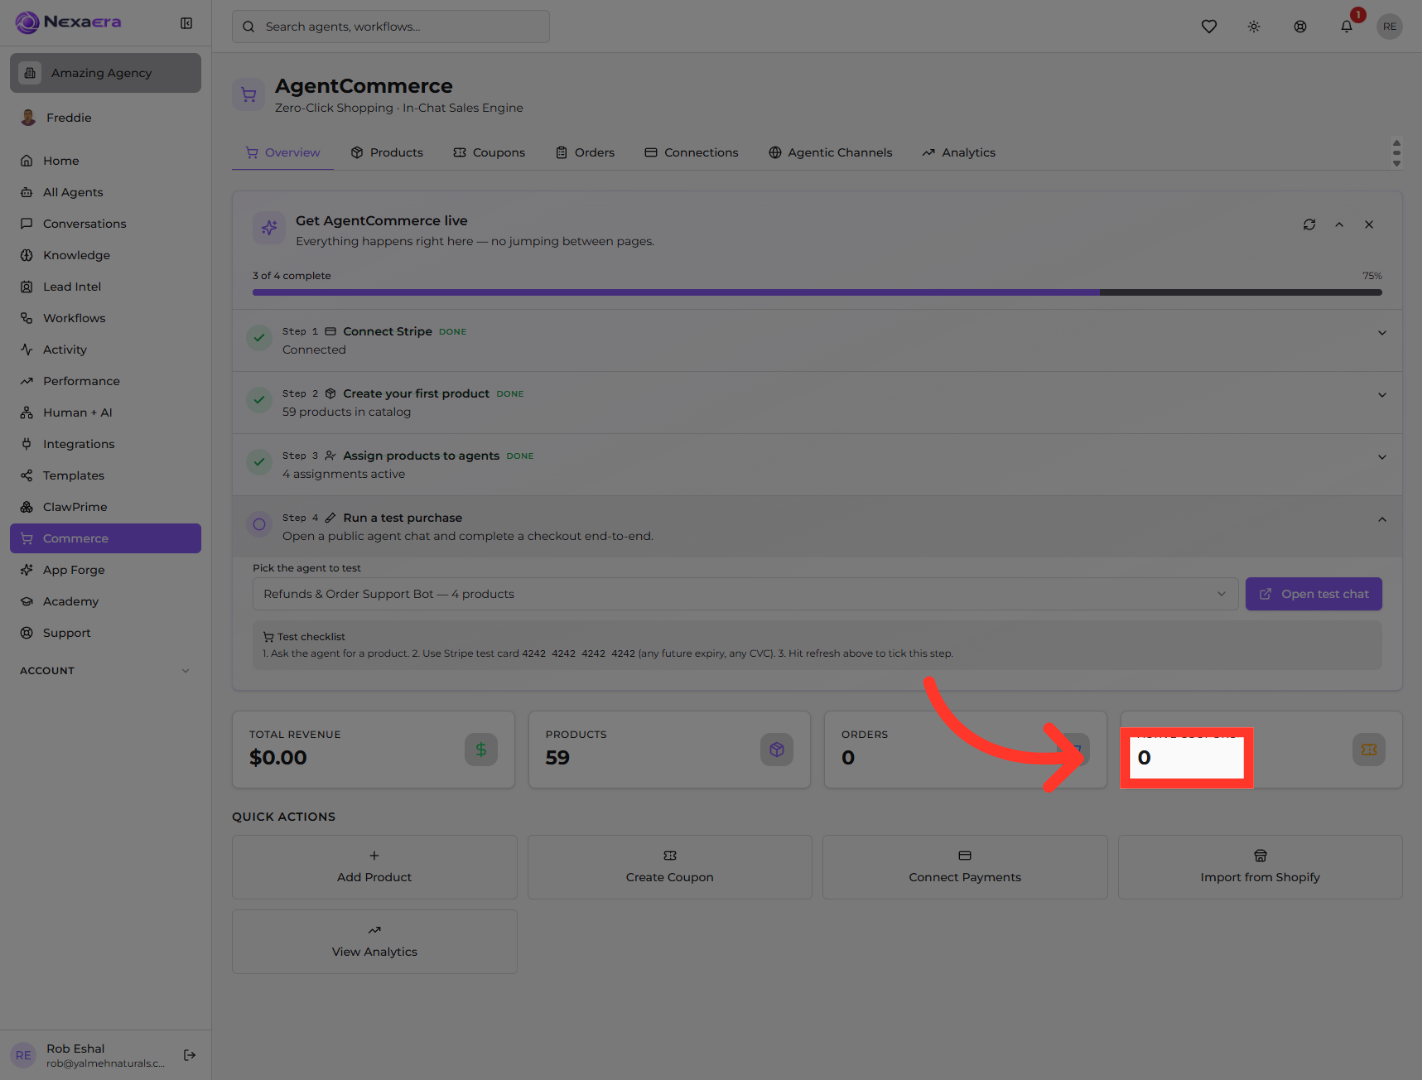
And "Active Coupons" shows how many discount codes are live right now. A quick way to see what deals your agents can offer.
9. Add New Product
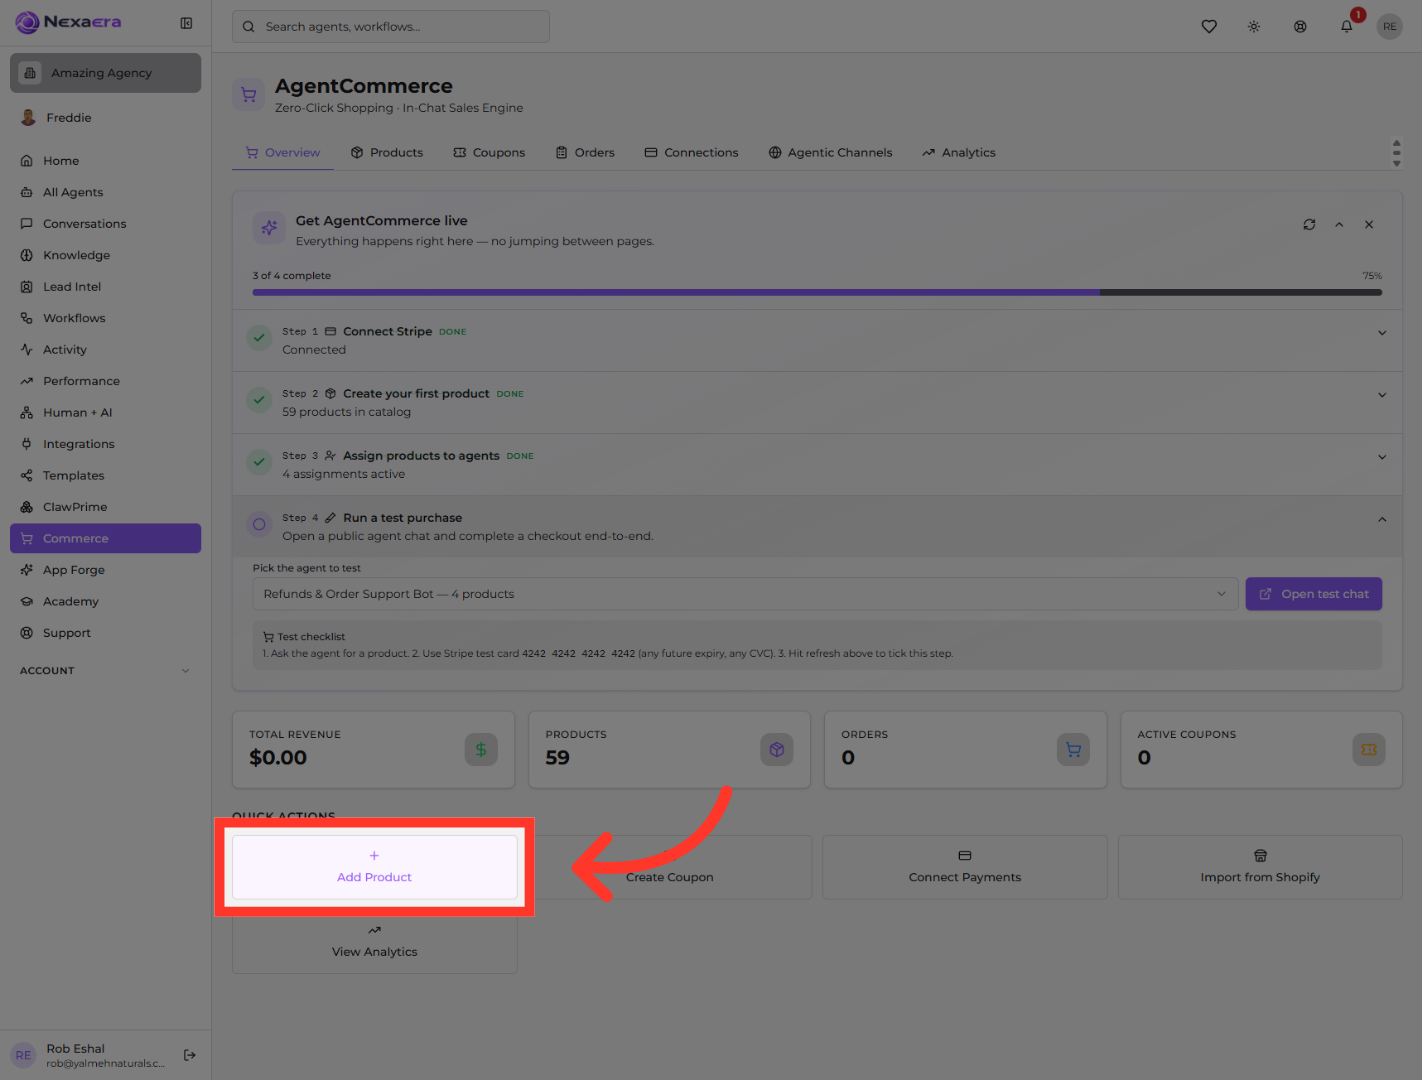
Down here are your Quick Actions. "Add Product" is the fast way to put a new item in your catalog — a digital download, a service, or a consultation.
10. Create New Coupon
"Create Coupon" lets you build a discount code your agents can offer during a chat. Perfect for limited-time deals or first-time buyers.

11. Repeat Payment Connection Access
"Connect Payments" is where you link your Stripe account. This is the key step — until payments are connected, your agents can't actually collect money.

12. Import Products from Shopify
Already selling on Shopify? Click "Import from Shopify" to pull your existing products straight in — no need to re-enter everything by hand.

13. View Commerce Analytics
And finally, "View Analytics" opens your commerce reports — revenue trends, top products, and how your sales are performing over time.
And that's the commerce dashboard. You've seen where to manage products, create coupons, connect payments, import from Shopify, and track your results. Get Stripe connected, and your agents can start selling in every chat. See you in the next one.
Still need help? Ask the team