Upload And Manage JSON Templates And OpenClaw In Nexaera Dashboard
"Already built an agent somewhere else, or got a config file from your team? You don't have to start over. NexaEra lets you import agents straight from a JSON file, a pasted snippet, an OpenClaw config, or even a GitHub repo. In this walkthrough, I'll show you every way to bring an agent in and get it running fast."
Written By Fred Yalmeh
Last updated About 2 months ago
Go to www.nexaera.com
1. Introduction
"Here's what you'll be able to do by the end: import agent templates from a file, from pasted JSON, from OpenClaw, and from GitHub — then review the configuration before it goes live. Let's dig in."

2. Access Nexaera Home Dashboard
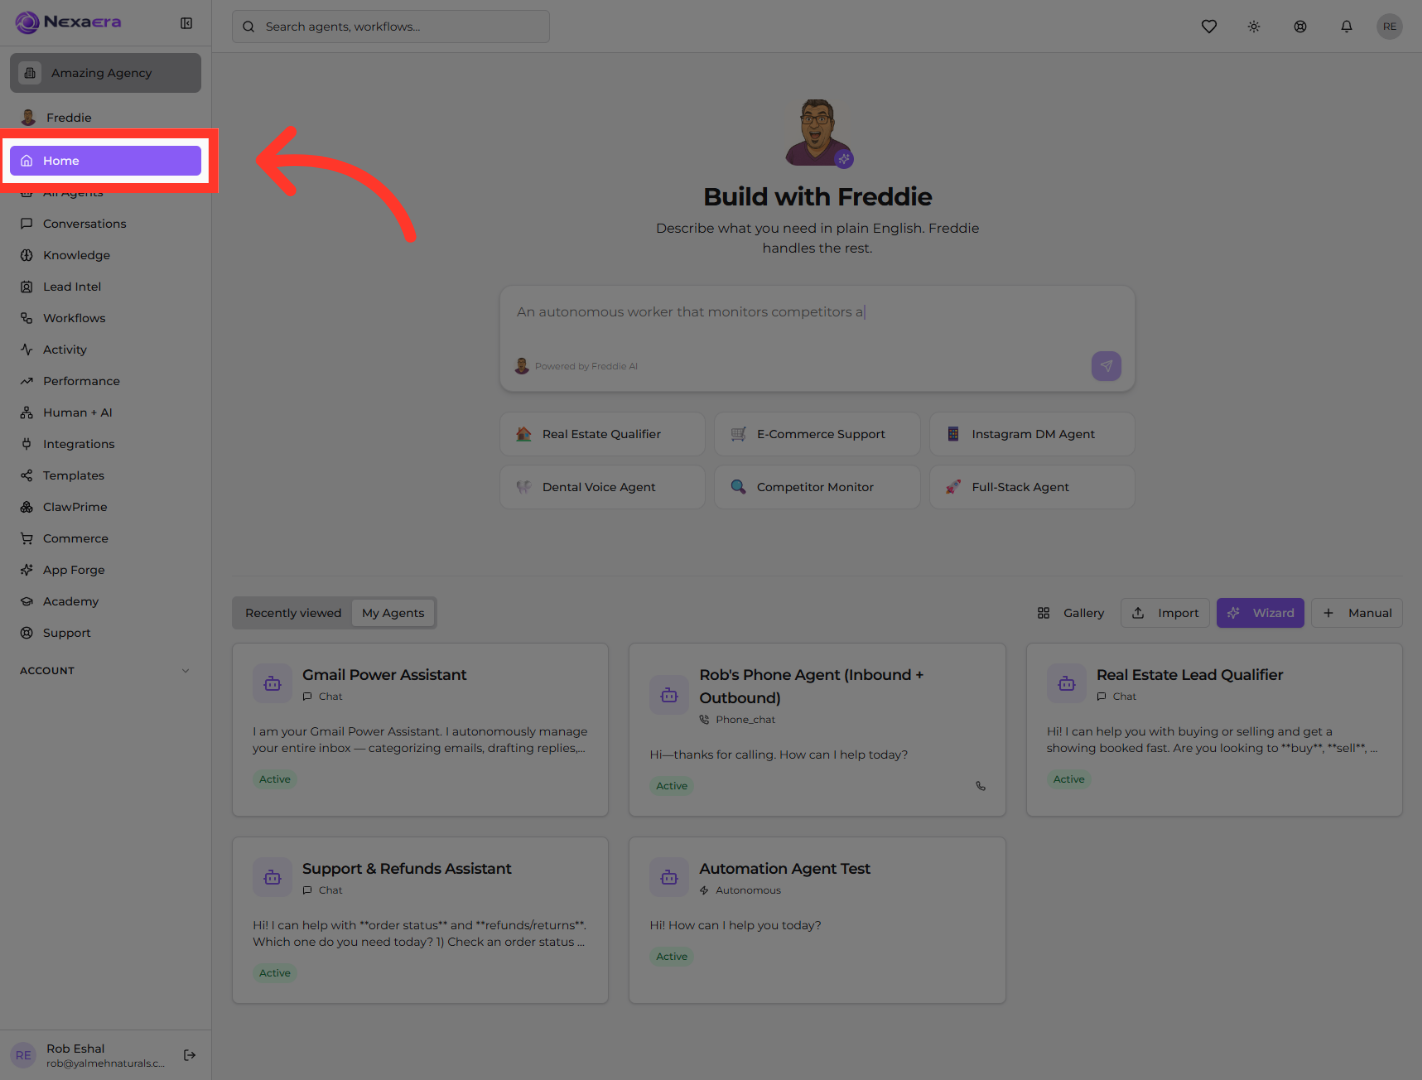
"Start by clicking Home in the left menu. This brings you to your main dashboard, where you manage your agents, projects, and import options."
3. Open JSON Template Section
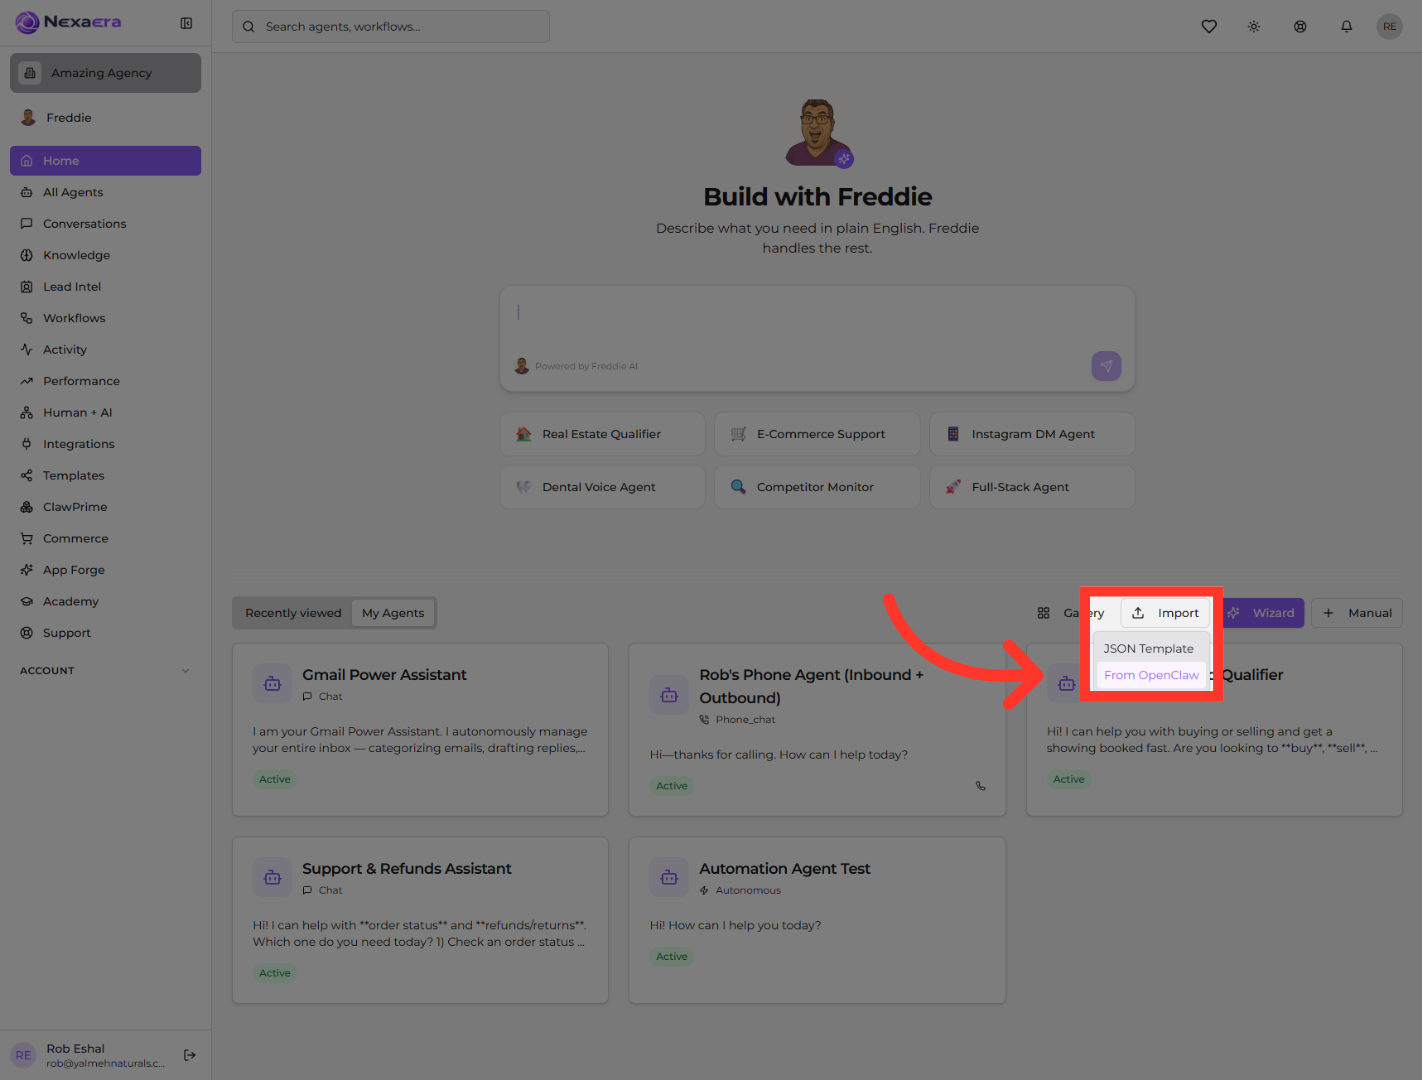
"On the right side of the panel, click Import, then choose JSON Template from the dropdown. This opens the Import Agent Template window, where you can upload or paste a config file."

4. Initiate JSON File Upload
"You'll see two tabs: Upload File and Paste JSON. On the Upload File tab, click the upload area that says 'Click to upload or drag and drop.' From here you can grab a JSON file straight off your computer."

5. Select Paste JSON Option
"Don't have a file handy? No problem. Click the Paste JSON tab instead. This switches to a mode where you can drop in your template content directly, no file needed."

6. Open Paste JSON Template Dialog
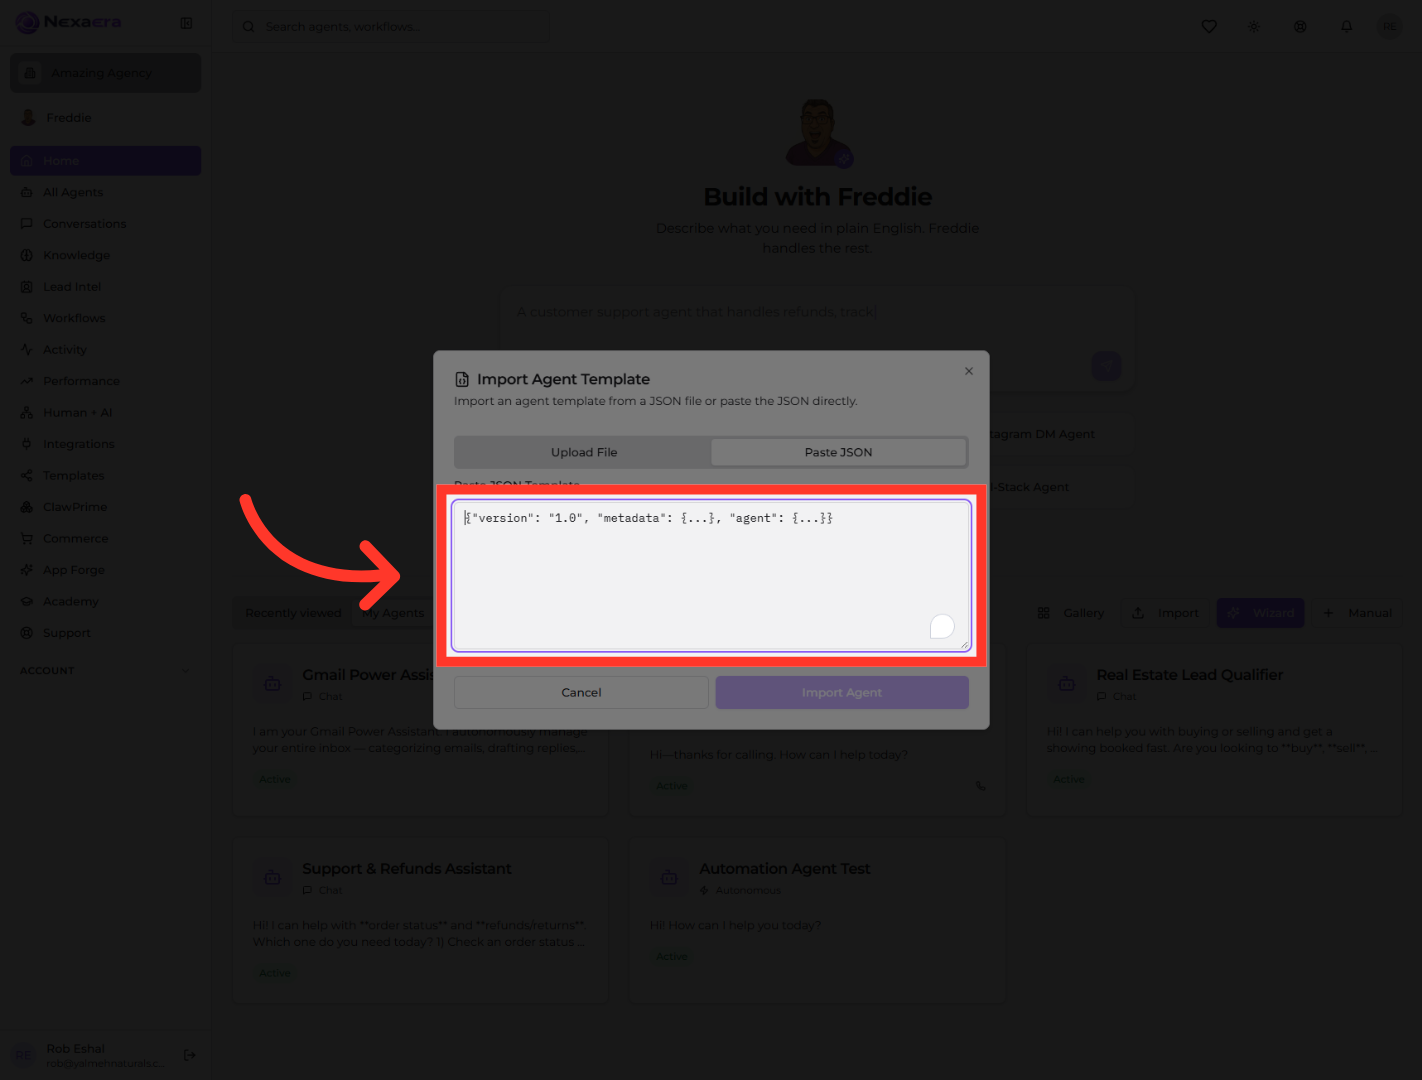
"Click inside the 'Paste JSON Template' box. Now just paste your agent's JSON — something that starts with a version, metadata, and agent section — right into the field."
7. Cancel JSON Import Process
"If you need to stop or make changes, you're not locked in. Click Cancel to close the window and back out of the import without saving anything. When your JSON is ready, you'd click Import Agent instead."

8. Choose OpenClaw Source
"Now let's look at another way in. Click Import again, and this time choose 'From OpenClaw.' This lets you bring agents over directly from an OpenClaw workspace config."
9. Review JSON Agent Configuration
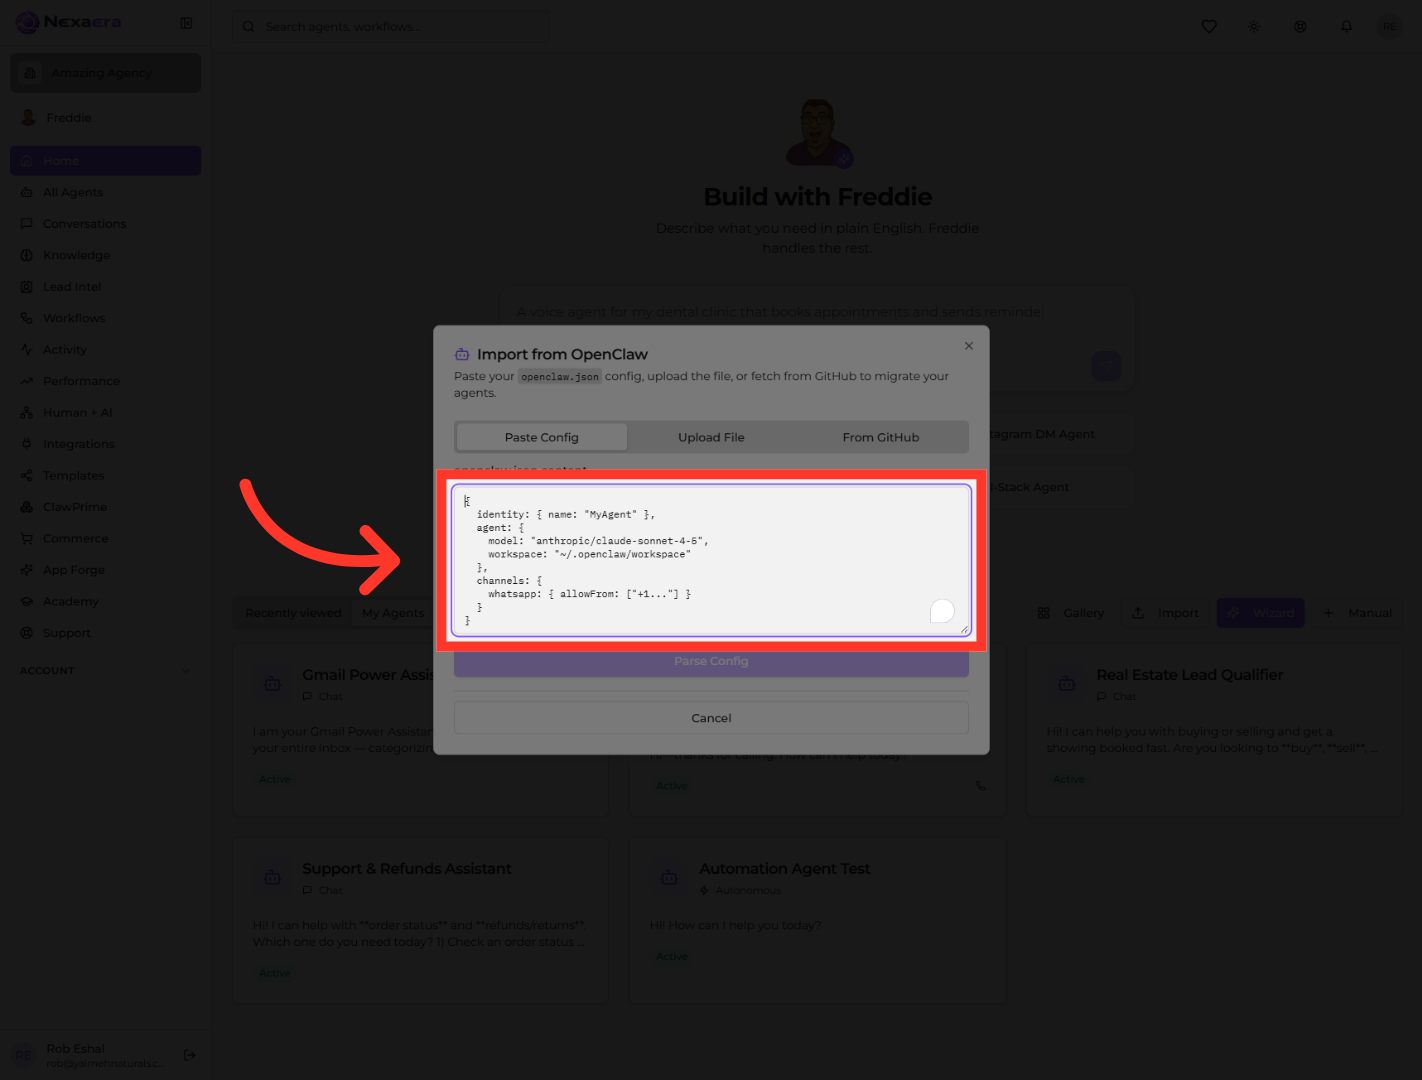
"In the OpenClaw window, you'll see the config snippet — things like the agent's model, workspace, and communication channels. Click into it to review or tweak those settings before importing."
10. Upload JSON File
"Prefer to upload the OpenClaw config as a file? Click the Upload File tab at the top of the window. This gives you a spot to drop in your openclaw.json file."
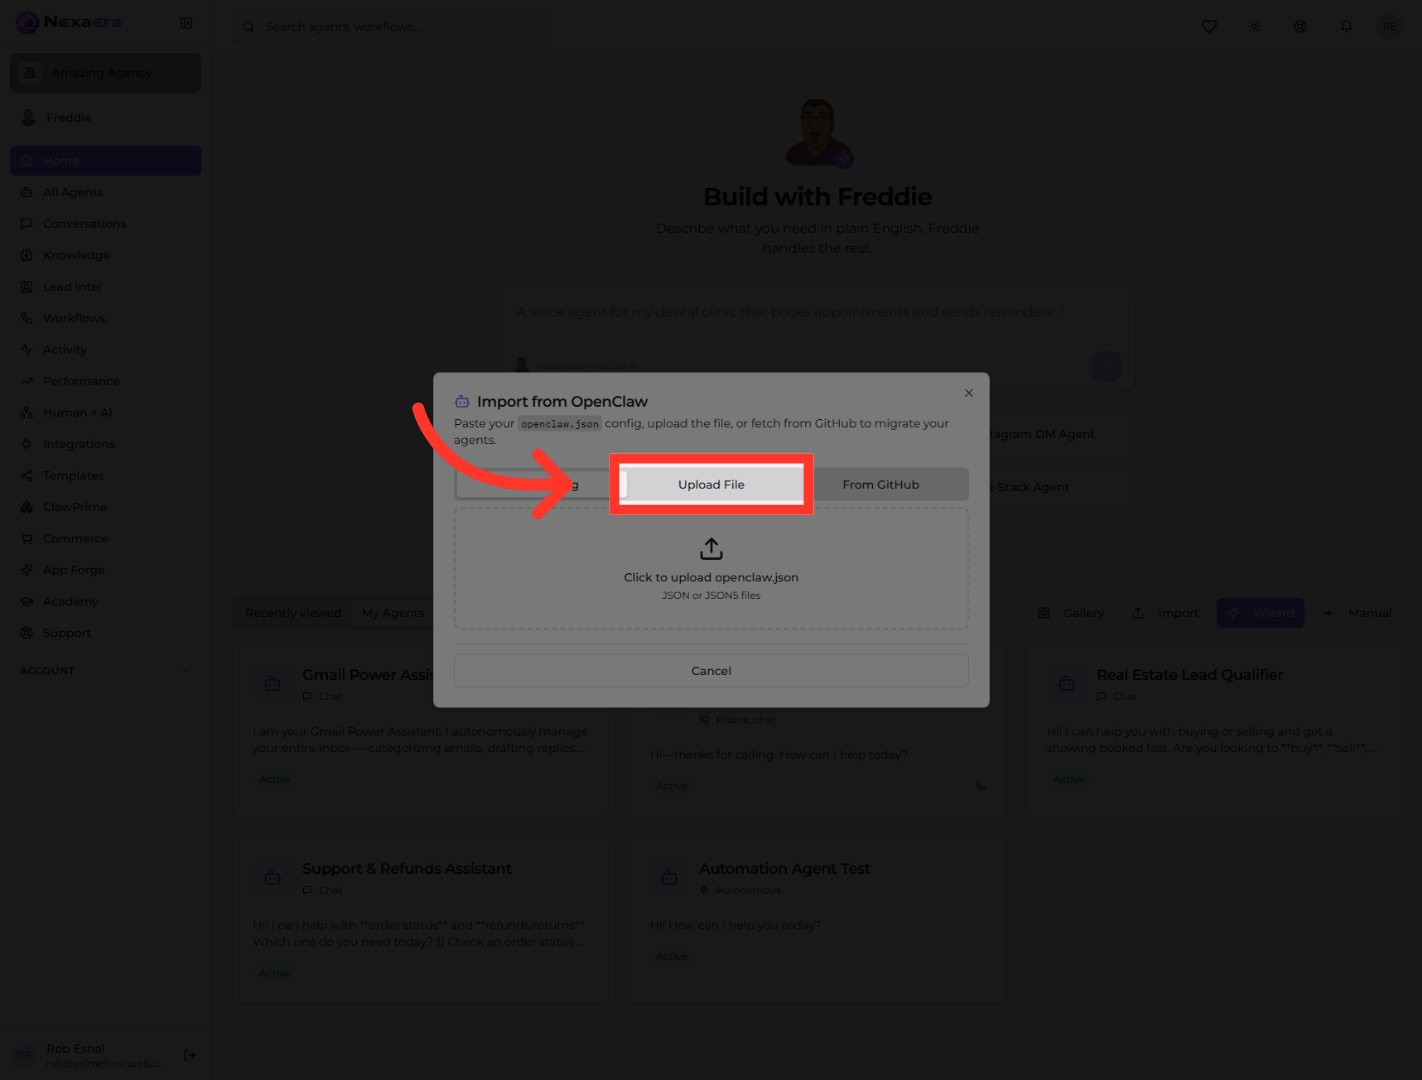
11. Select OpenClaw JSON File
"Click the area labeled 'Click to upload openclaw.json.' Then pick your OpenClaw file from your device, and NexaEra reads it in for you."

12. Import From GitHub Repository
"Here's the slickest option. Click the 'From GitHub' tab. This lets you pull an agent config straight from a GitHub repo or file URL — no downloading required."

13. Enter GitHub Repository URL
"Click the URL field and paste in your GitHub link. You can point to a whole repo or directly to the openclaw.json file itself."

14. Fetch And Parse GitHub JSON
"Now click 'Fetch & Parse.' NexaEra grabs the file from GitHub, reads the config, and gets your agent ready to import — all in one step."

"And that's the full picture. You can bring agents into NexaEra from a file, pasted JSON, OpenClaw, or GitHub — whatever fits your workflow. Once it's imported, just review the settings and you're ready to go. Nice work."
Still need help? Ask the team