Configure Shadow Training Roles in Nexaera Dashboard
"What if you could build an AI agent just by letting it watch you work? That's exactly what Shadow Training does. You describe a role, the AI shadows your real workflow, and it auto-builds an agent trained on your exact process. In this walkthrough, I'll show you how to set one up from start to finish."
Written By Fred Yalmeh
Last updated About 2 months ago
Go to www.nexaera.com
1. Introduction
"Here's what you'll be able to do by the end: define a role in plain language, record or upload the workflow behind it, and have NexaEra generate a fully configured agent from what it learned. Let's build one."

2. Access All Agents Section
"Start by clicking 'All Agents' in the left menu. This opens your full agent list — and it's home to the Shadow Training tools."

3. Open Shadow Training Tab
"At the top of the Agents page, click the 'Shadow Training' tab. This opens the training area, where NexaEra watches your screen, narrates as you work, and turns that into a ready-made agent."

4. Initiate Shadow Training Setup
"Click the 'Start Shadow Training' button to kick things off. This launches the Role-to-Agent Wizard, which walks you through four steps: define the role, record it, generate the agent, and launch."

5. Select Role Example
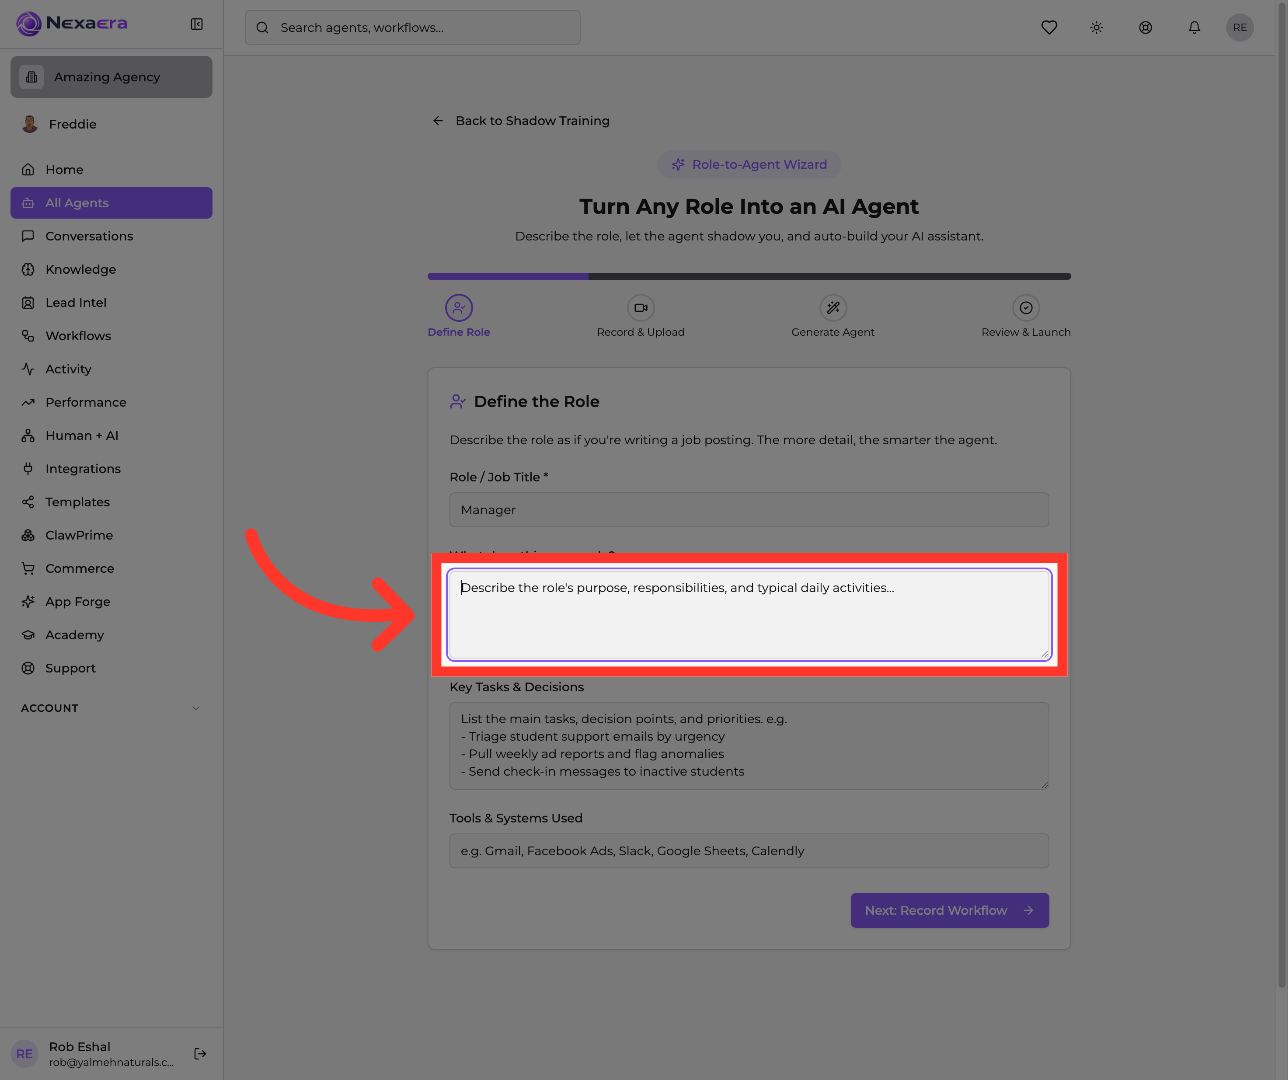
"First, on the Define Role step, click the Role / Job Title field and enter the role you're building. Not sure what to write? Use one of the examples, like 'Student Support Specialist' or 'Ad Operations Manager,' as a starting point. The more specific you are, the smarter your agent."

6. Describe Role Responsibilities
"Next, click the description box and explain what this person actually does — their purpose, responsibilities, and typical daily activities. Think of it like writing a job posting; detail here pays off later."
7. List Main Tasks and Priorities
"Now fill in the Key Tasks & Decisions field. List the core tasks, decision points, and priorities — things like triaging emails by urgency, pulling weekly reports, or sending check-in messages. This teaches your agent how the role thinks."

8. Add Tool Examples
"In the Tools & Systems field, list the apps this role relies on — for example, Gmail, Facebook Ads, Slack, Google Sheets, or Calendly. This tells your agent which tools it'll need to work with."

9. Proceed to Workflow Recording
"Once the role is fully described, click 'Next: Record Workflow' to move to the recording step, where the real magic happens."

10. Start Shadow Session
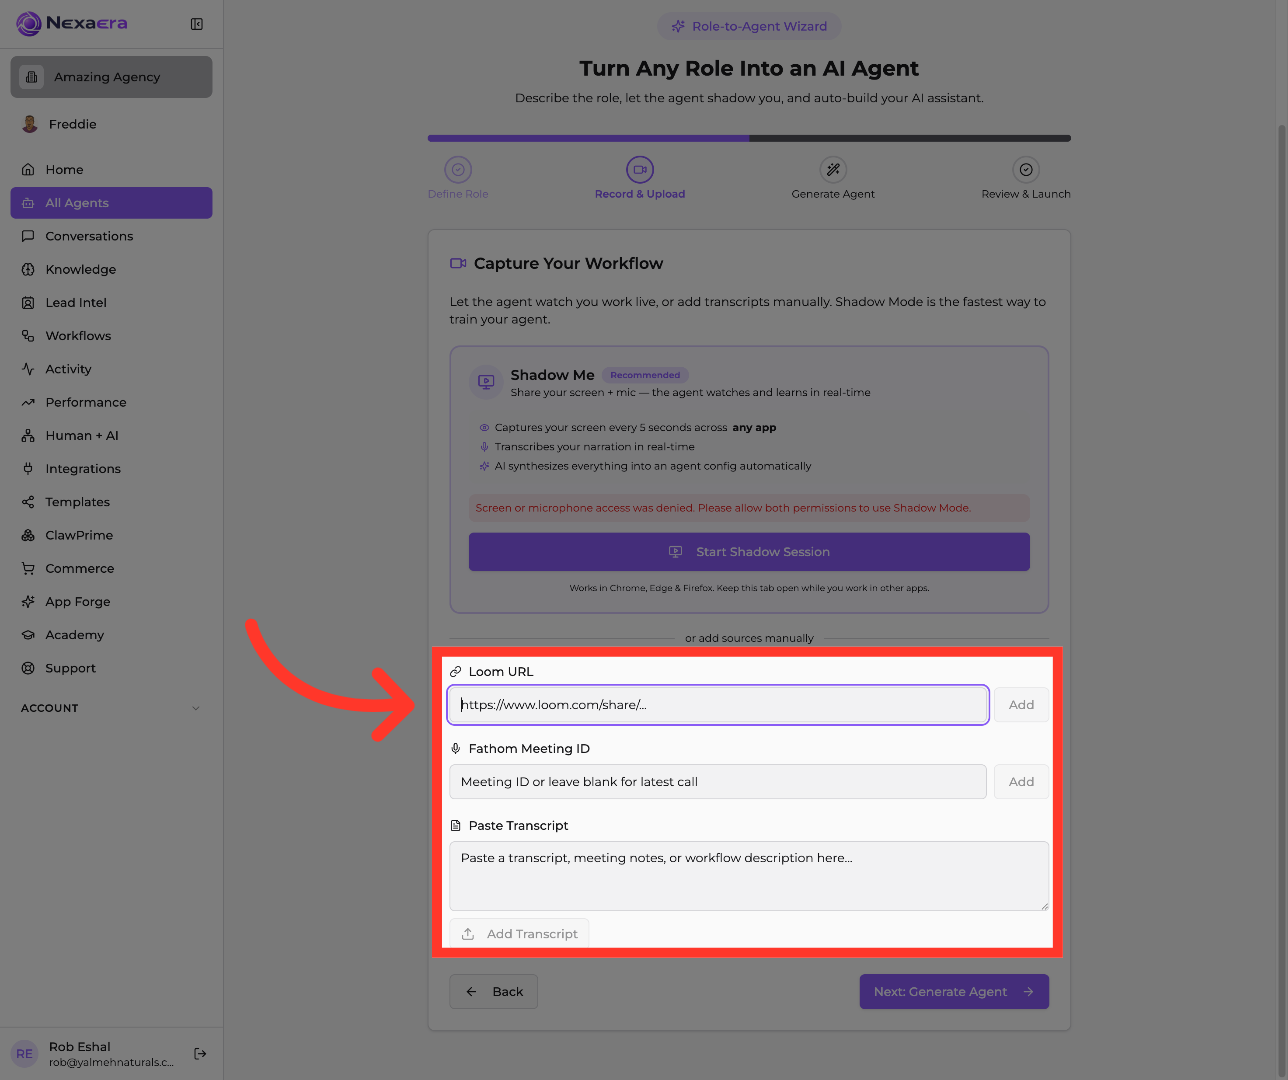
"On the Record & Upload step, click 'Start Shadow Session.' In Shadow Mode, the agent watches your screen and mic live — capturing your actions every few seconds and transcribing your narration as you actually do the job. It's the fastest way to train it."

11. Open Workflow Recording Link
"Prefer not to record live? You can add sources manually instead. Drop in a Loom URL, a Fathom meeting ID, or paste a transcript of the workflow. Any of these gives the agent something to learn from."
12. Advance to Agent Generation
"When your recording or sources are ready, click 'Next: Generate Agent' to move into the build phase."

13. Generate Agent from Role
"Finally, click 'Generate Agent from Role.' NexaEra takes everything — your role details and the workflow it observed — and auto-builds a fully configured agent, complete with its own system prompt and knowledge."

"And that's it. You defined a role, let the AI shadow the work, and generated an agent trained on your exact process. From here you can launch it right away and fine-tune with Freddie. It's role-based training that practically builds itself. Nice work."
Still need help? Ask the team