Configure Support Agents Using Wizard Button In Nexaera Dashboard
"Want a fully working customer support agent without touching a single setting on your own? NexaEra's setup Wizard walks you through it step by step — pick a role, customize how it talks, turn on the right tools, and launch. In this walkthrough, I'll take you from a blank start to a live support agent in just a few minutes."
Written By Fred Yalmeh
Last updated About 2 months ago
Go to www.nexaera.com
1. Introduction
"Here's what you'll be able to do by the end: choose your agent's role, shape its personality and behavior, enable the skills it needs, set your guardrails, and launch it. The Wizard handles the heavy lifting — you just make the choices."

2. Access Nexaera Home Dashboard
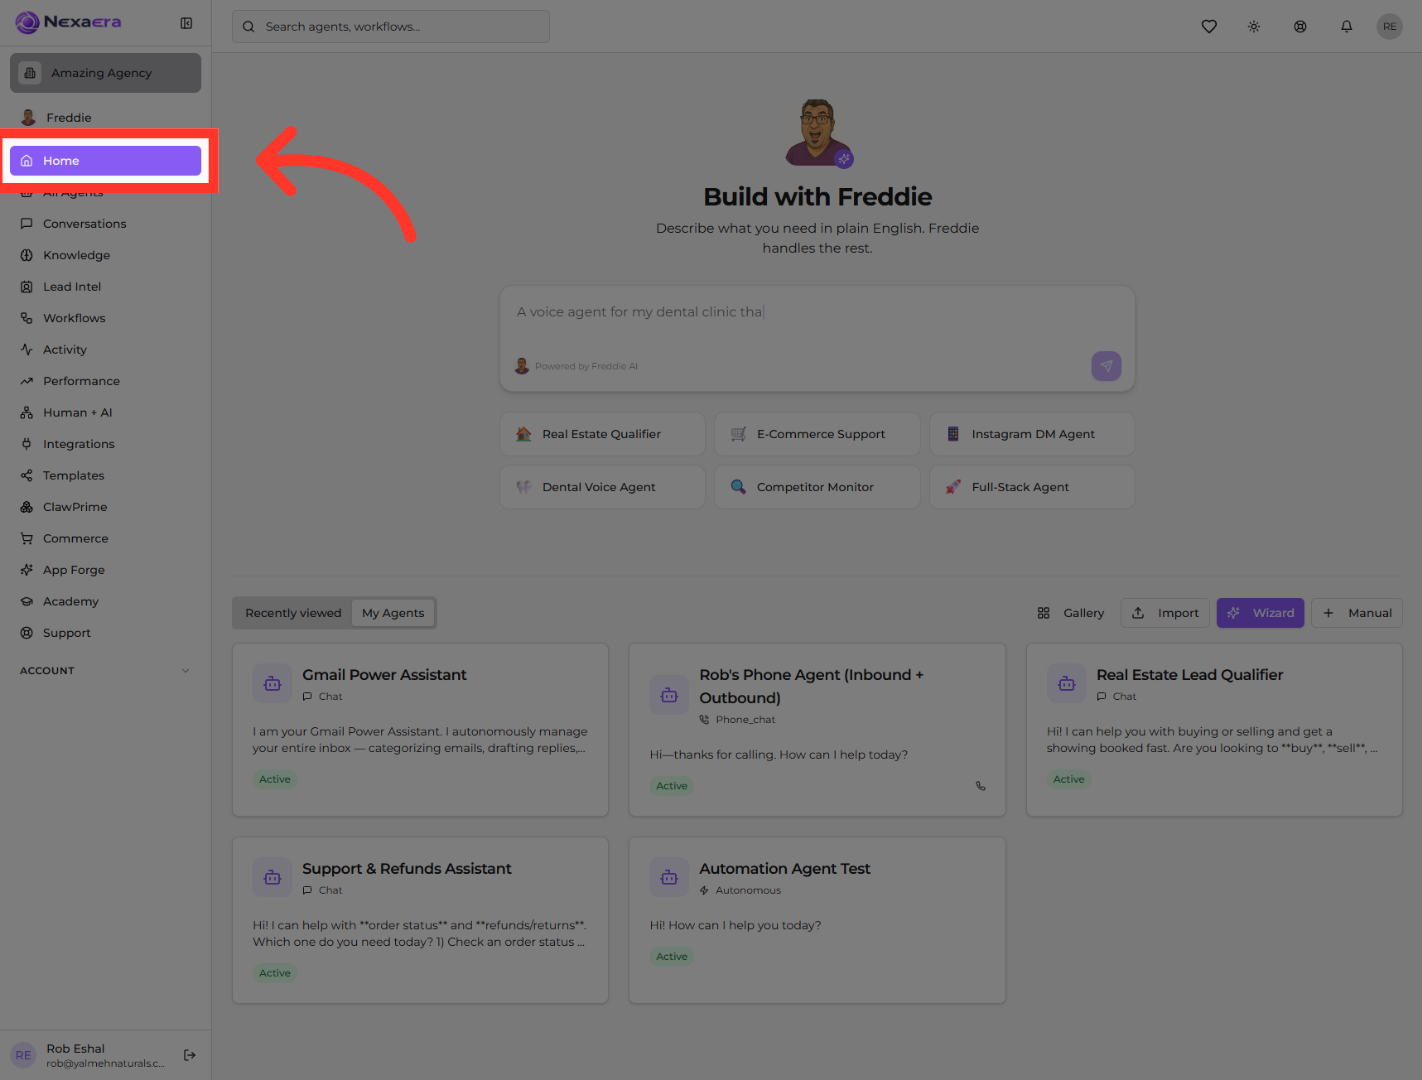
"Start by clicking Home in the left menu. This brings you to your main dashboard, where all your build and setup options live."
3. Open Agent Setup Wizard
"On the right side of the panel, click Wizard. This launches NexaEra's guided setup tool, which walks you through creating and configuring an agent one step at a time."

4. Select Customer Support Role
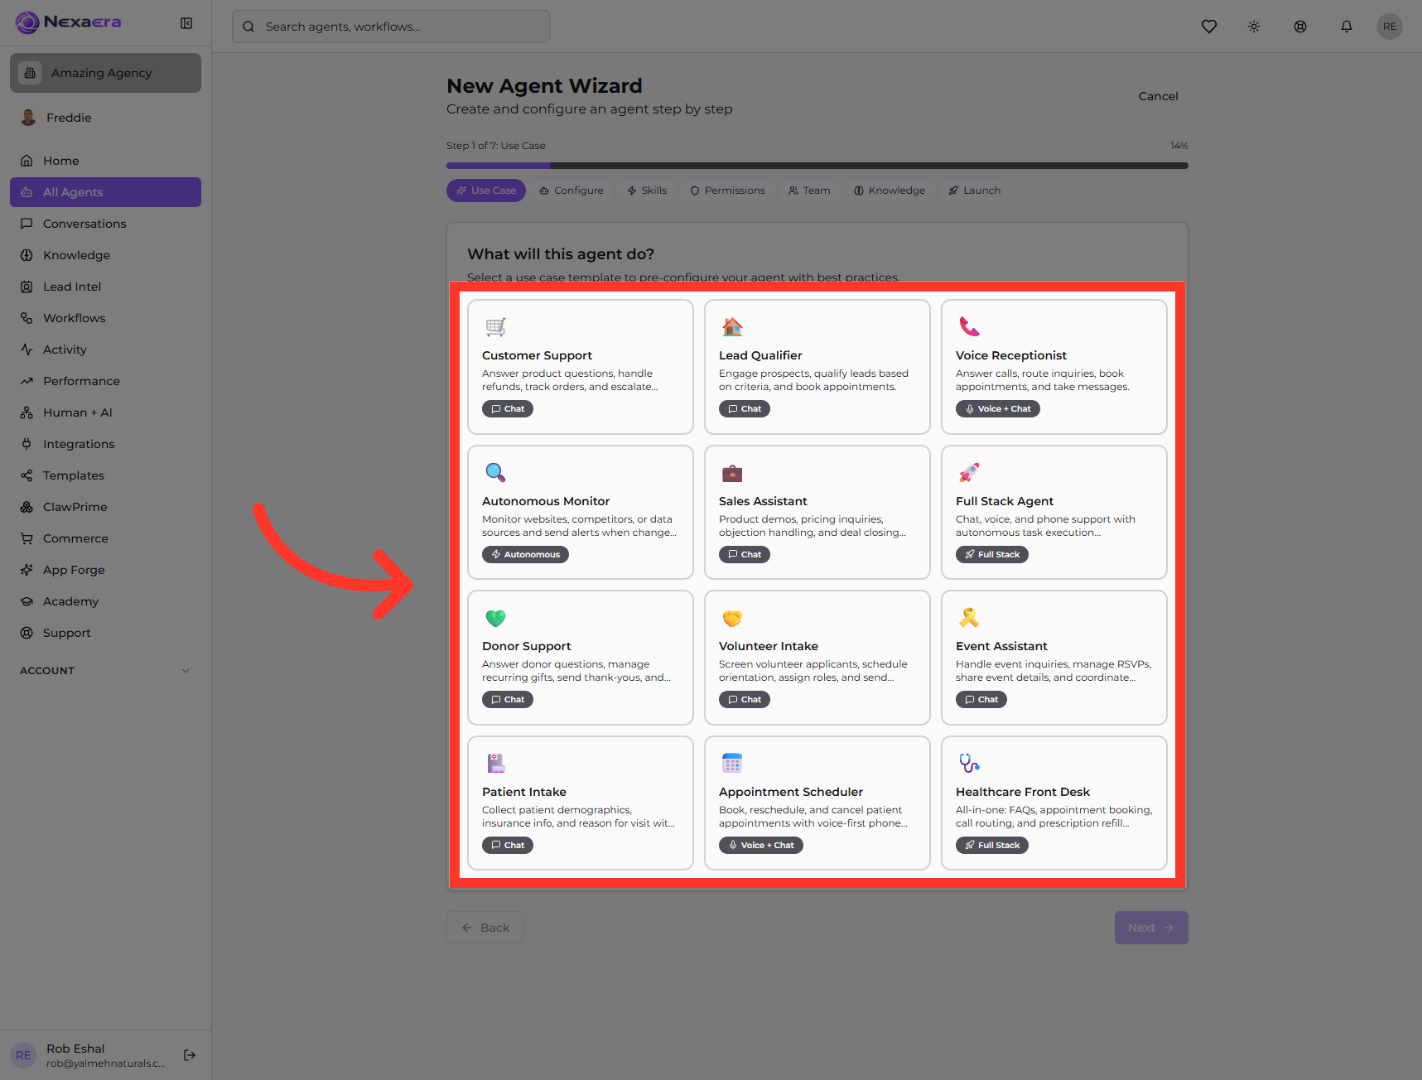
"First question: what will this agent do? You'll see a grid of ready-made roles. Click 'Customer Support' — it's built to answer product questions, handle refunds, track orders, and escalate complex issues. That one choice pre-configures a lot for you."
5. Proceed to Next Setup Step
"Once your role is selected, click Next in the bottom right to move on to configuring your agent's details."

6. Select Agent Name Field
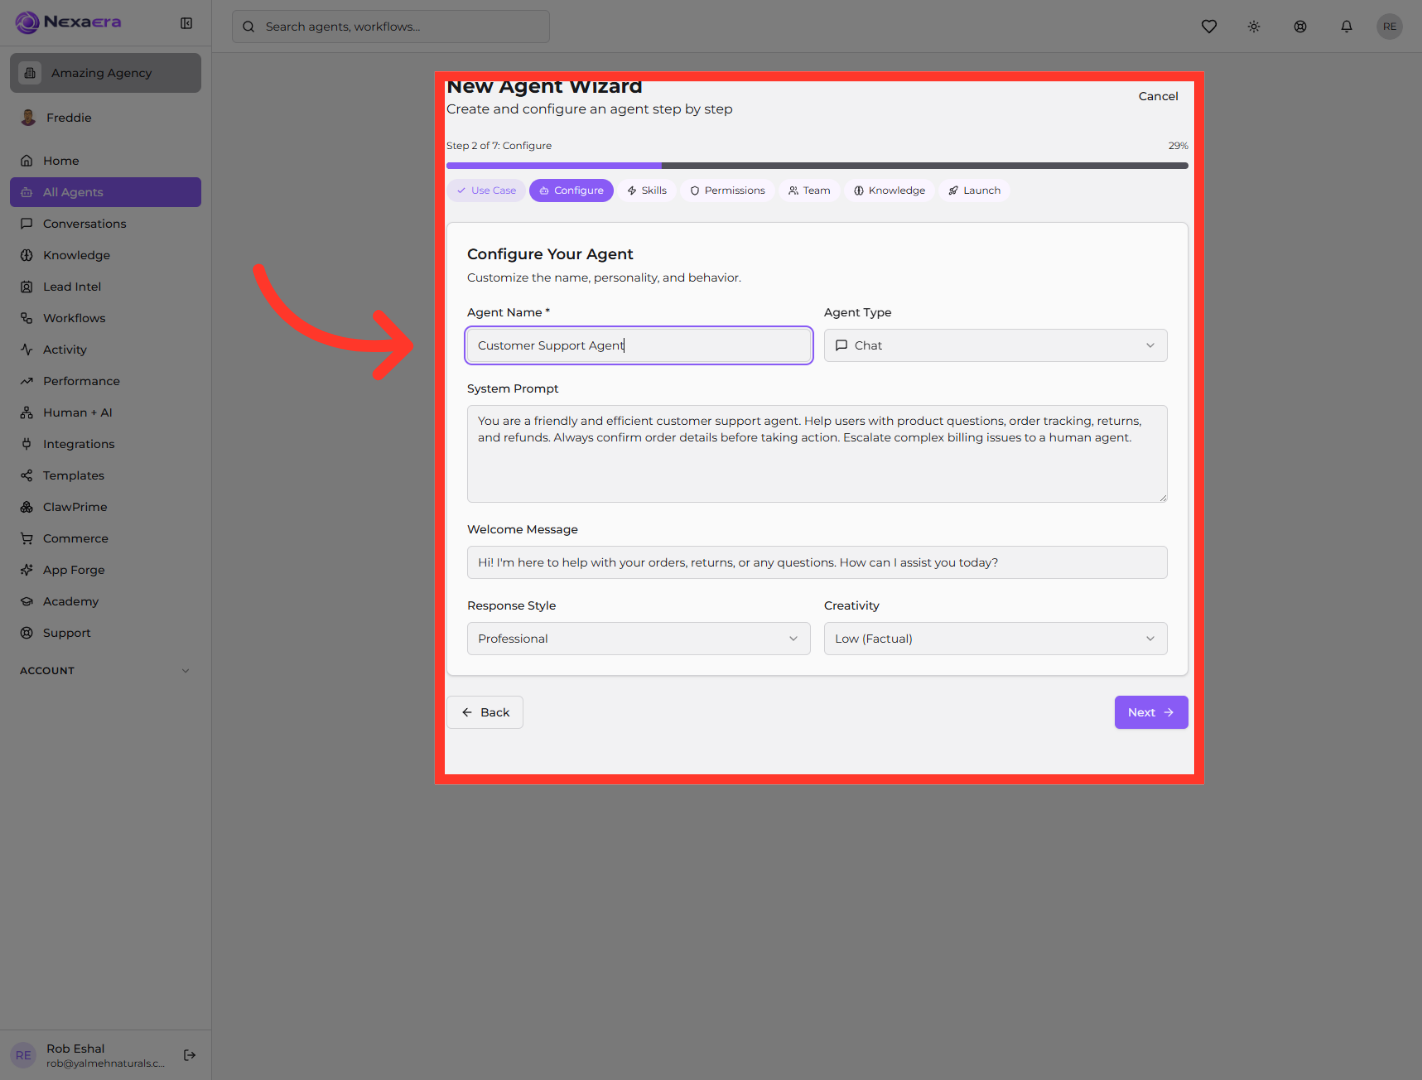
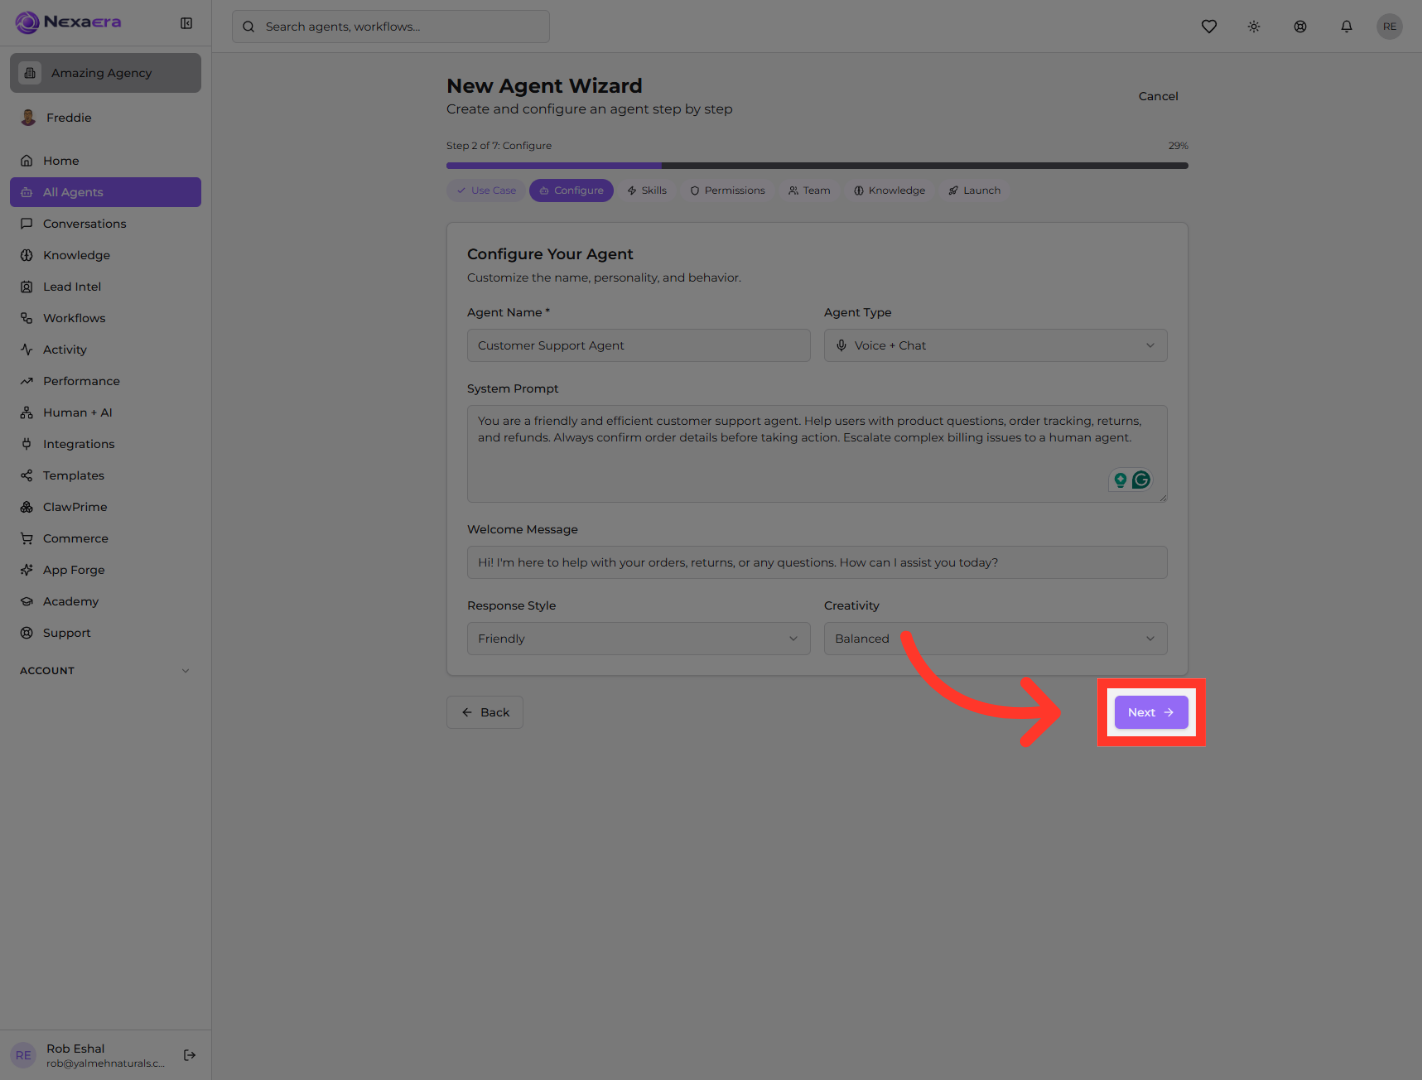
"Now you're on the Configure step. Click the 'Agent Name' field and type a name — something like 'Customer Support Agent.' This is what your agent will be called across the dashboard."
7. Choose Communication Channels
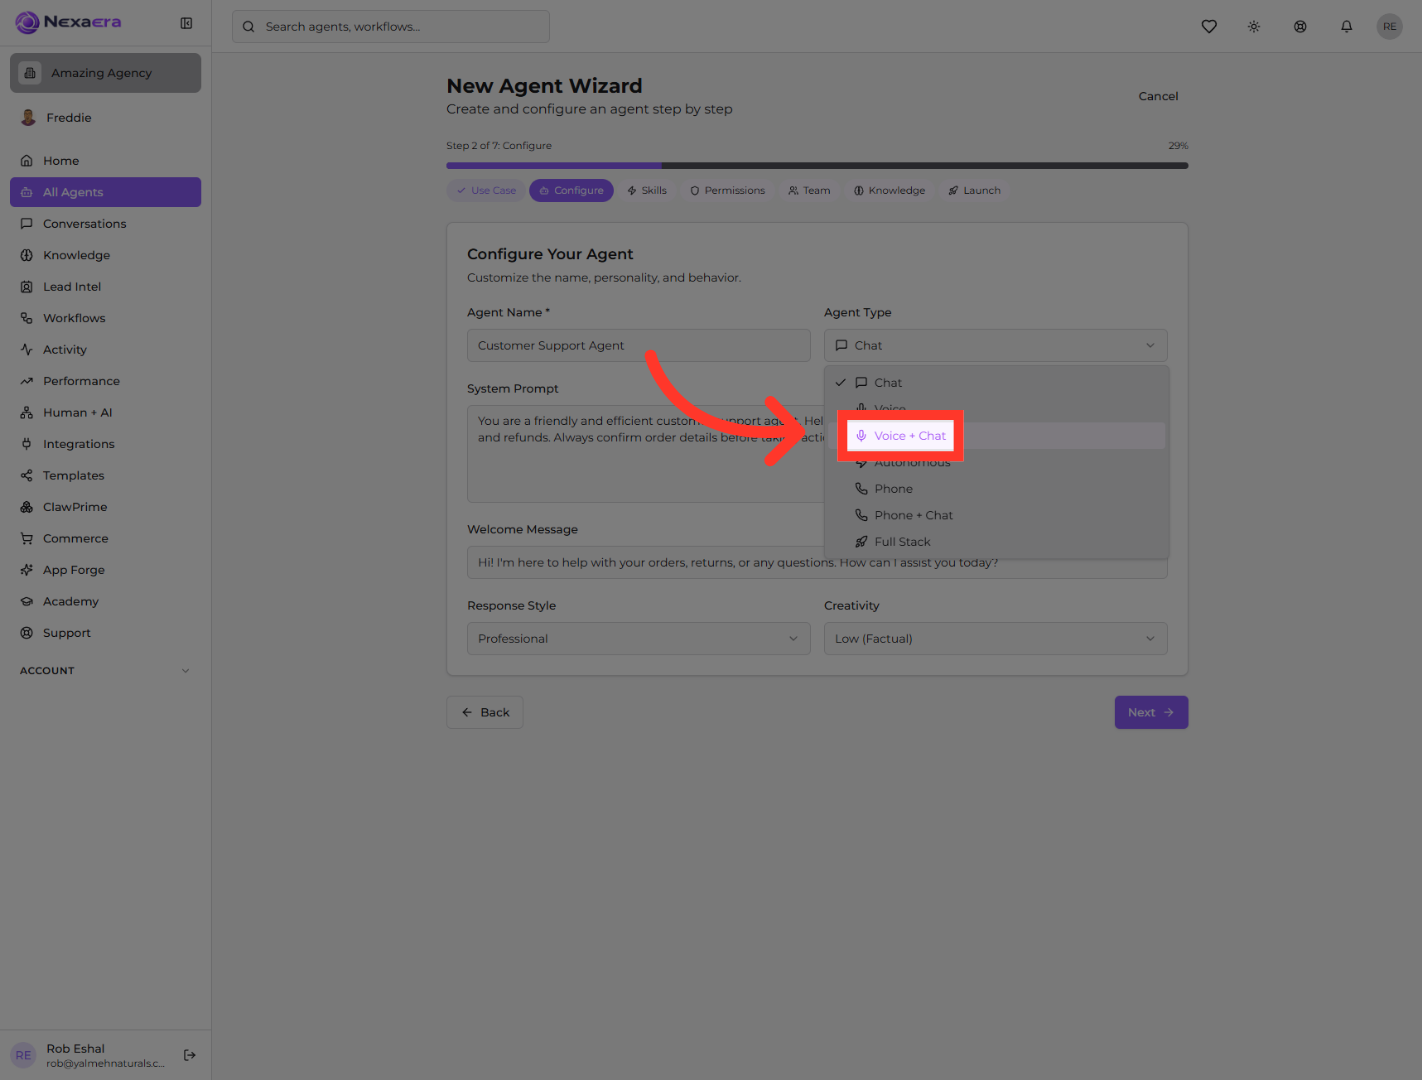
"Next, set how your agent talks to people. Click the Agent Type dropdown and choose 'Voice + Chat' to let it handle both spoken calls and text conversations. You can also fine-tune the system prompt, welcome message, response style, and creativity right here."
8. Continue to Next Configuration Step
"Happy with the personality and tone? Click Next to move on to your agent's skills."
9. Access Additional Settings
"This is the Skills step. Here you turn on the tools your agent can use. The recommended skills for customer support — like Web Search, HTTP Requests, and CRM Write-Back — are already pre-selected. Scroll through and toggle on anything else your agent needs."

10. Proceed After Messaging Setup
"Once your skills are set, click Next to move forward to permissions."

11. Enable Feature Option
"Now you're on the Permissions step, where you control how and where your agent operates. Toggle features on or off — like Memory, Web Search, and Allow All Domains — and set a rate limit to keep things under control."

12. Continue to Next Step
"With your guardrails in place, click Next to keep moving through the setup."

13. Advance to Following Step
"This is the Team step, where you can optionally add your agent to an existing team for coordinated workflows. If you don't have a team yet, no worries — just click Next to skip it. You can always assign it later."

14. Click Next
"Click Next once more to move on to the knowledge step."

15. Navigate to Knowledge Hub
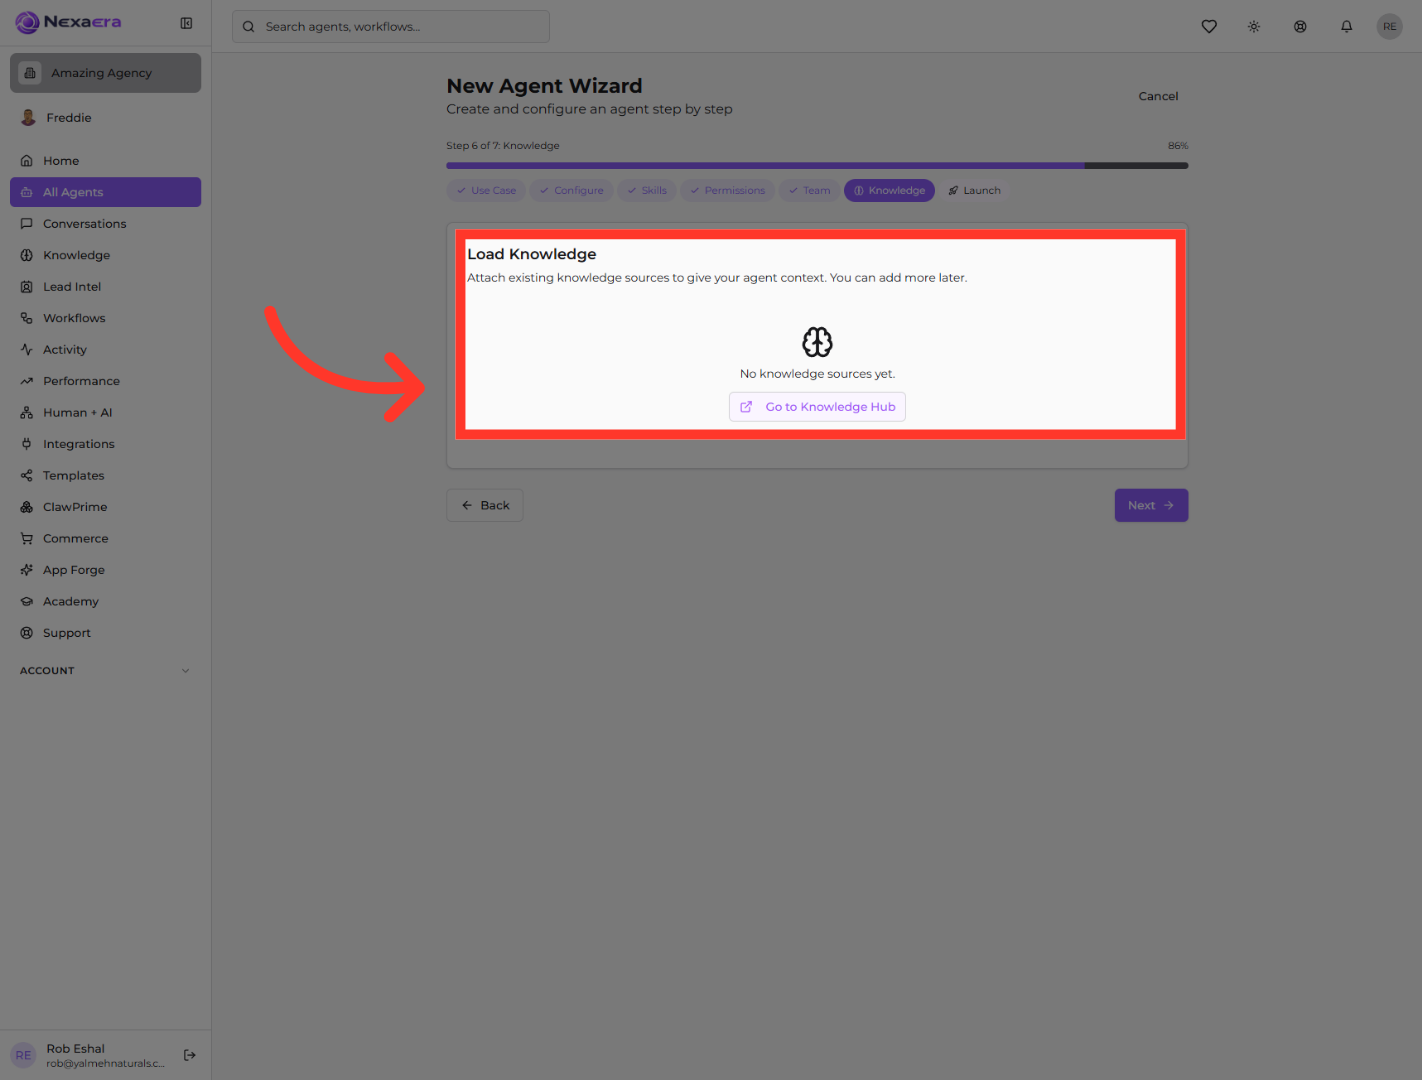
"Now you can give your agent knowledge to work from. Click 'Go to Knowledge Hub' to attach existing sources — like help docs or FAQs — so your agent answers with accurate, on-brand information. You can add these now or later."
16. Continue to Final Steps
"When your knowledge is set, click Next to head into the final review."

17. Launch Configured Agent
"Here's the Review & Launch screen — a quick summary of everything you set up: the role, style, skills, and knowledge. Give it a once-over, and when it looks good, click 'Launch Agent.'"

18. Confirm Agent Launch
"Click 'Launch Agent' one more time to confirm. NexaEra deploys your agent, and just like that, it's live and ready to take conversations."

"And that's it — you configured and launched a customer support agent using the Wizard, from role all the way to go-live. Your agent is now ready to answer product questions, track orders, and handle refunds. Want to take it further? Add more knowledge sources or fine-tune its settings any time."
Still need help? Ask the team