Connect Stripe Payment Integration In NexaEra Dashboard
"Before your agent can take a single payment, it needs to be connected to Stripe. It's a one-time setup, and once it's done, your agent can charge customers and pay you out — right inside the chat. Let me walk you through connecting your Stripe account step by step."
Written By Fred Yalmeh
Last updated About 1 month ago
Go to www.nexaera.com
1. Introduction
"Here's what you'll be able to do by the end: grab your Stripe API keys, paste them into NexaEra, and connect your account so your agent can process real payments. Have your Stripe login handy before we start."

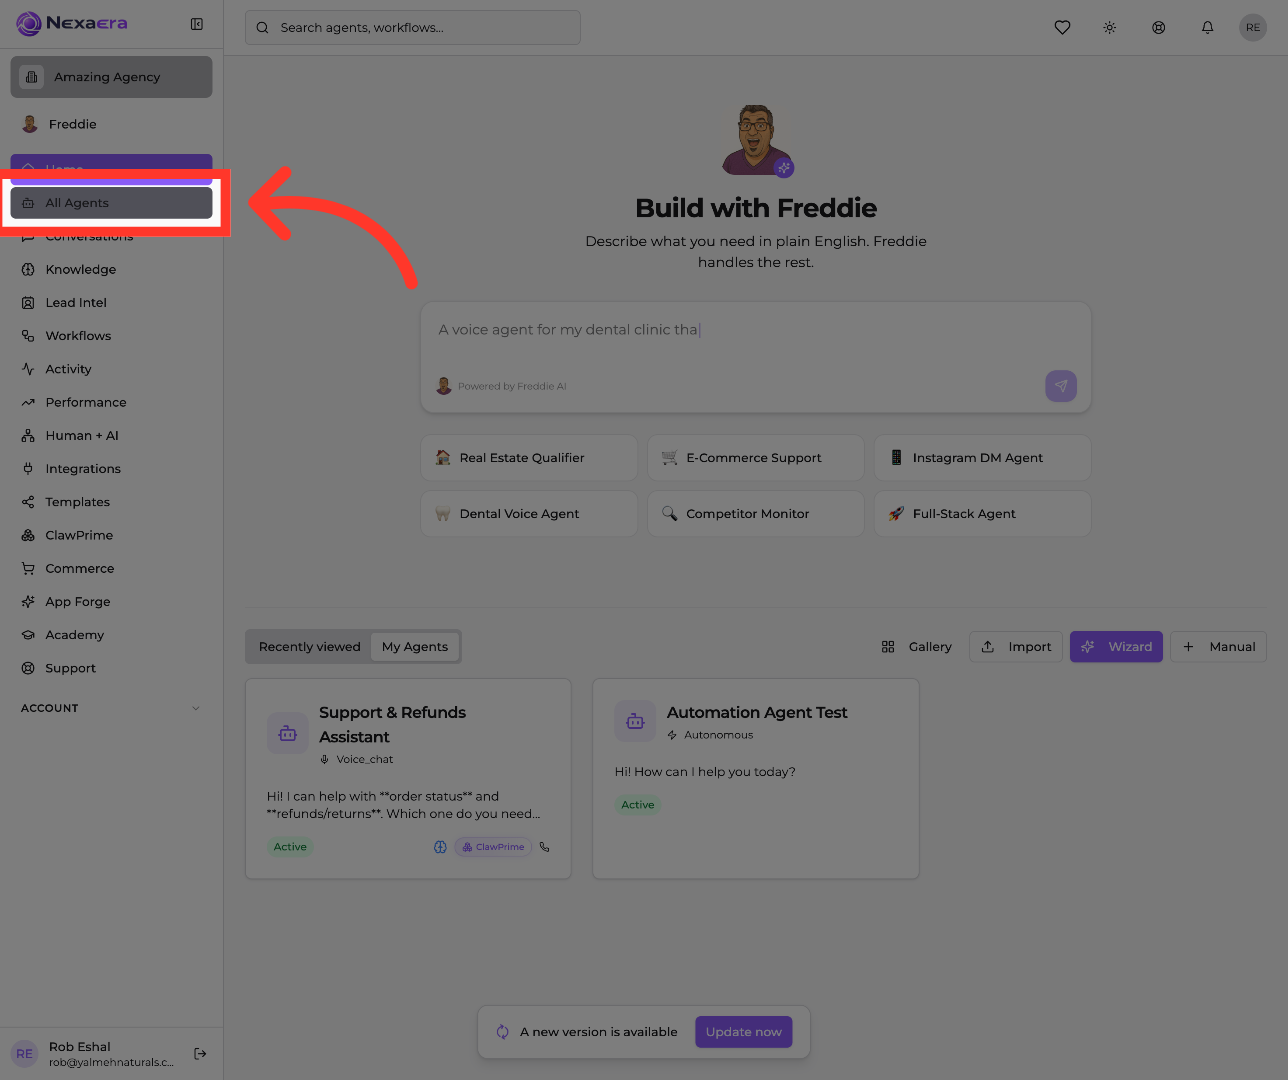
2. Access All Agents Section
"Start by clicking 'All Agents' in the left menu. This opens the list of every agent in your workspace."
3. Open Support & Refunds Assistant
"Click the agent you're setting up for payments — here it's the Support & Refunds Assistant. Pick an existing agent, or create a new one if you're starting fresh."

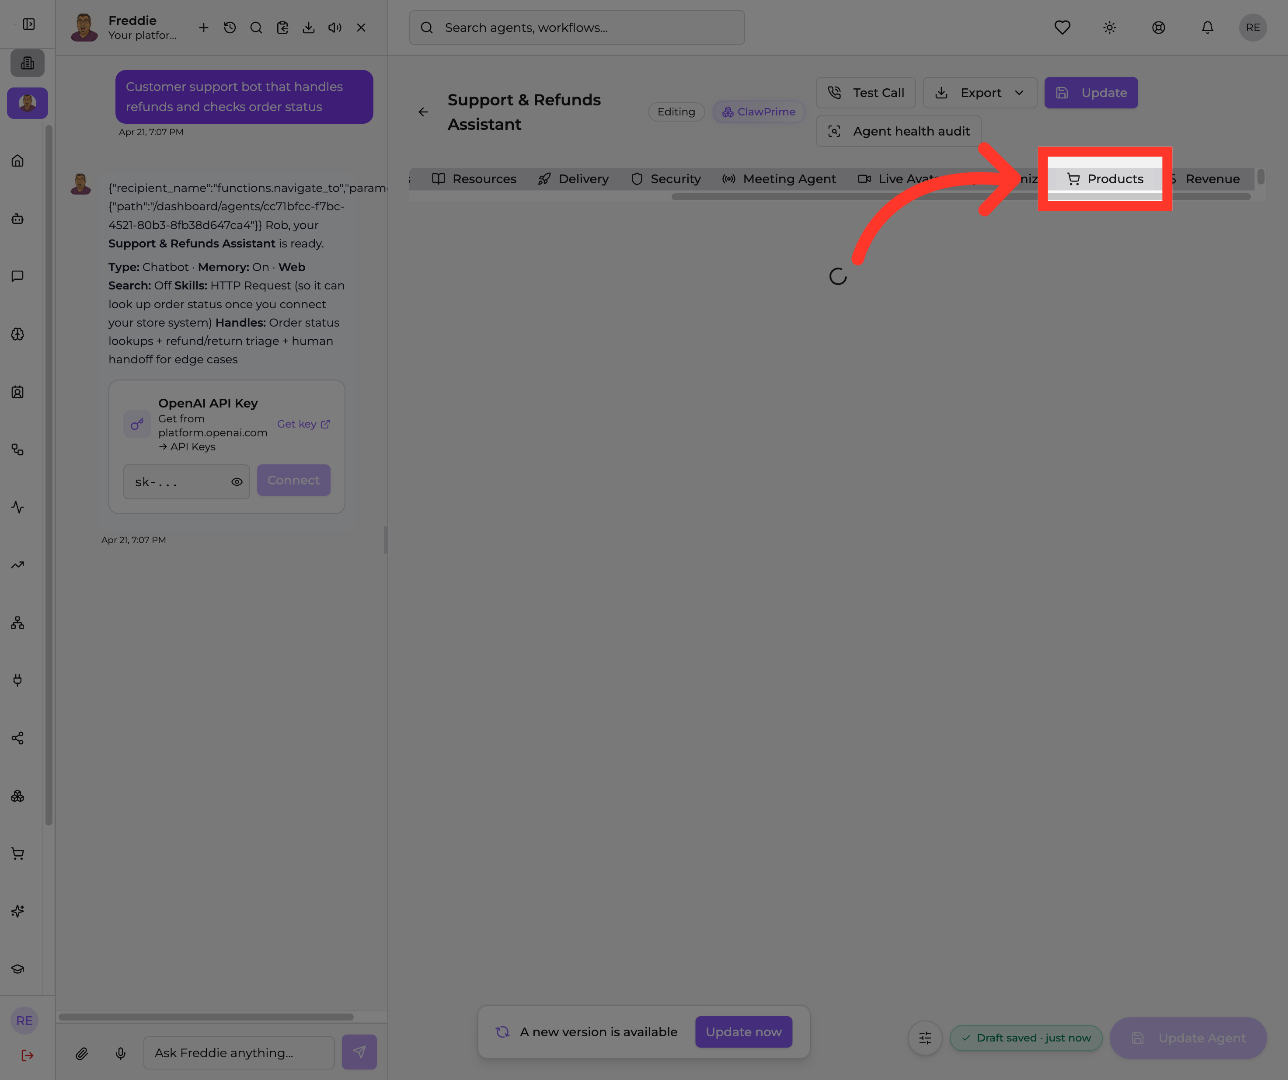
4. Select Products Settings
"Along the top of the agent editor, click 'Products.' This is the agent's commerce hub, where its selling and payment settings live."
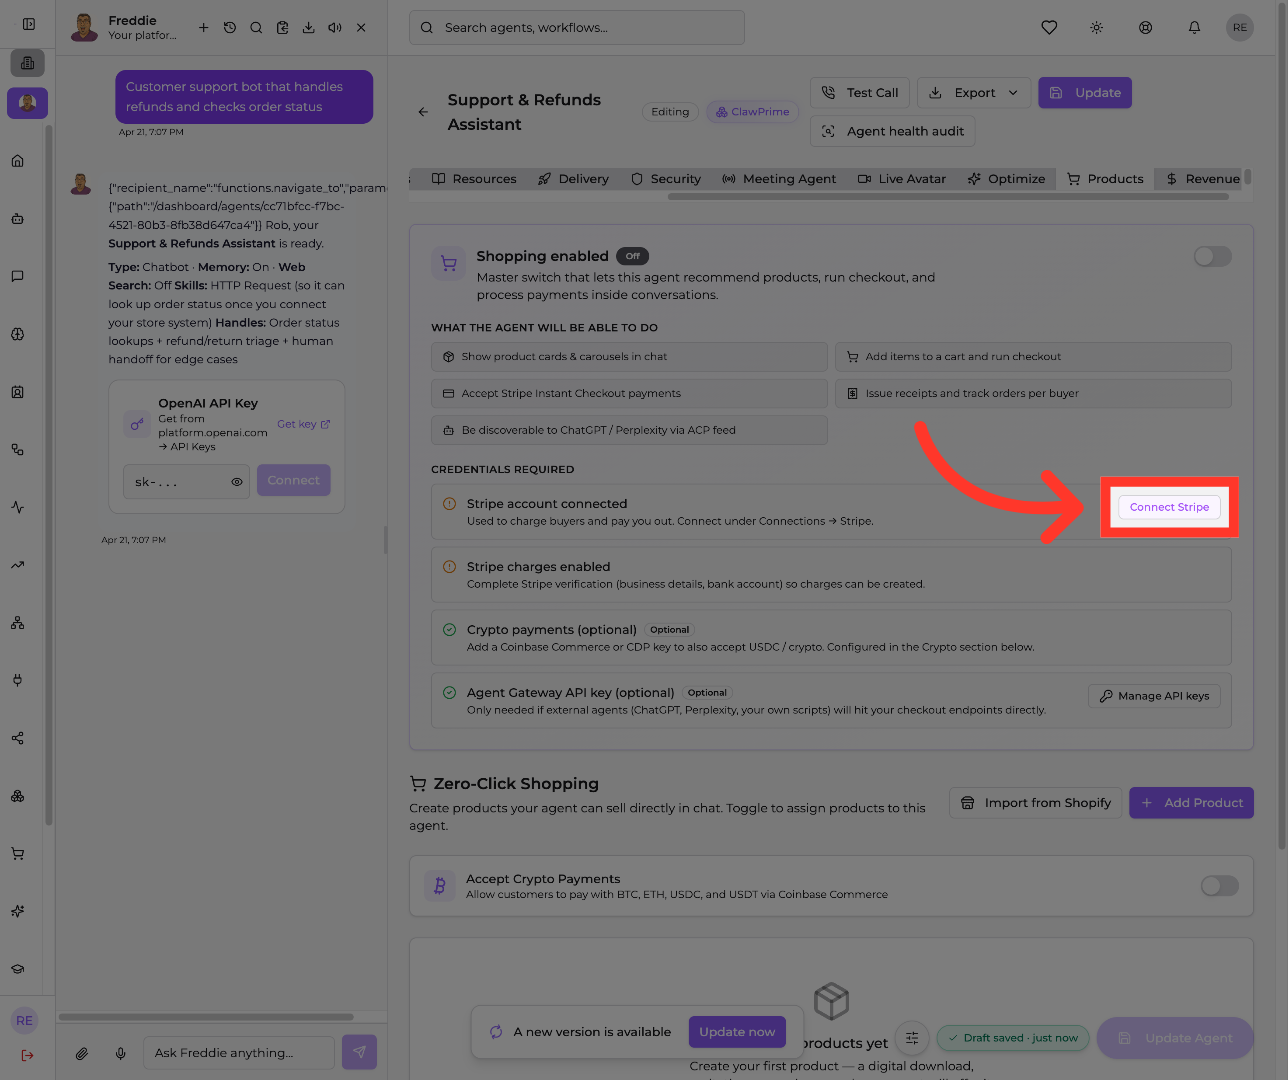
5. Initiate Stripe Connection
"Scroll to the 'Credentials Required' section. Next to 'Stripe account connected,' click 'Connect Stripe.' This is what lets your agent charge buyers and pay you out. It takes you into the Commerce connection screen."
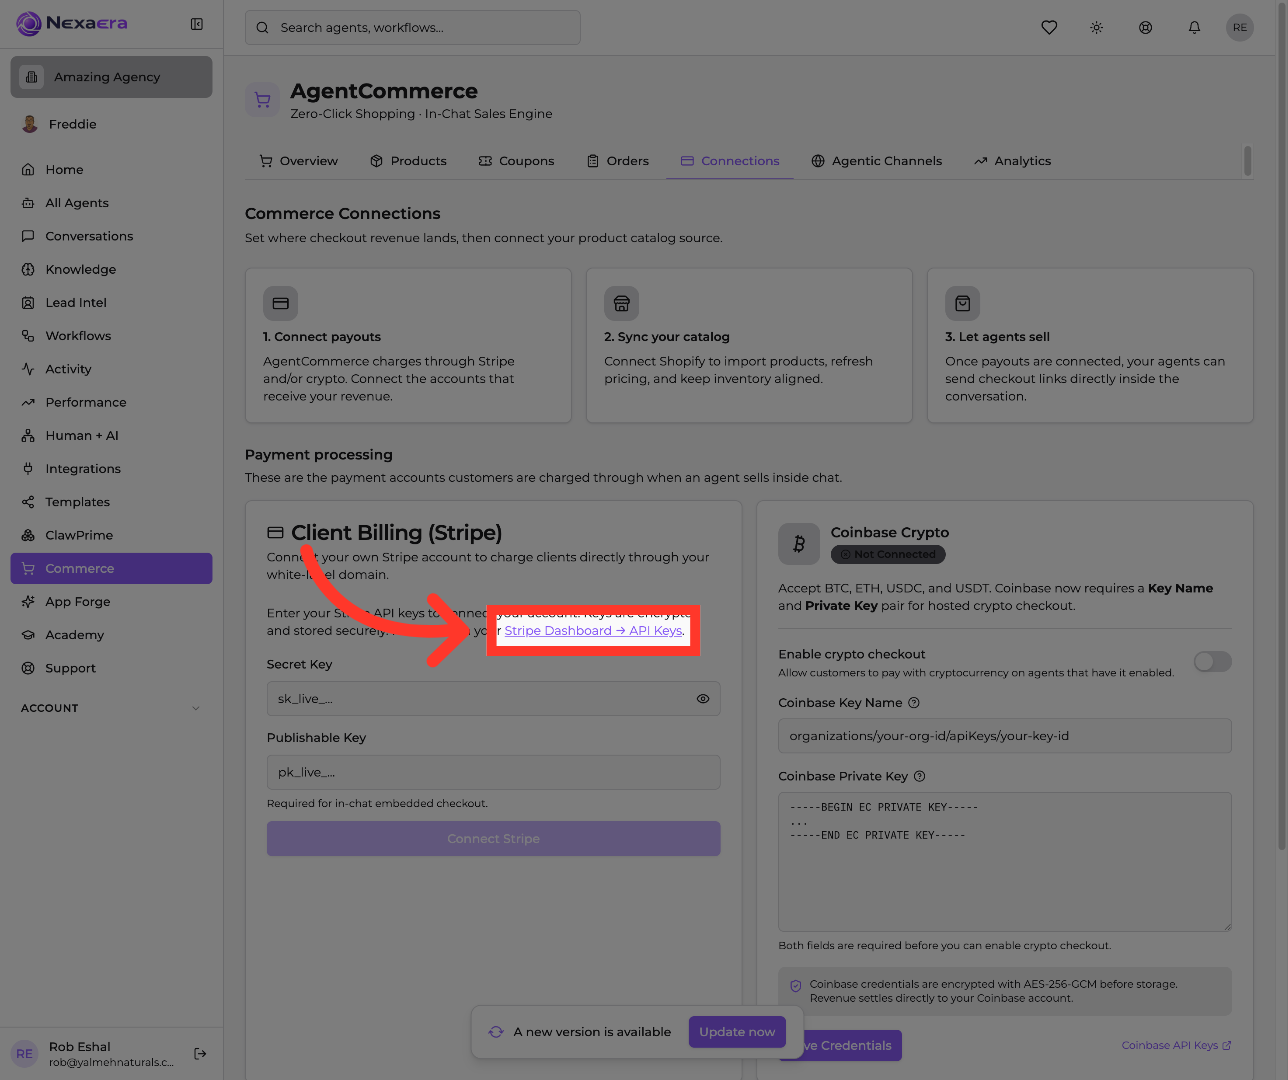
6. Navigate To Stripe API Keys
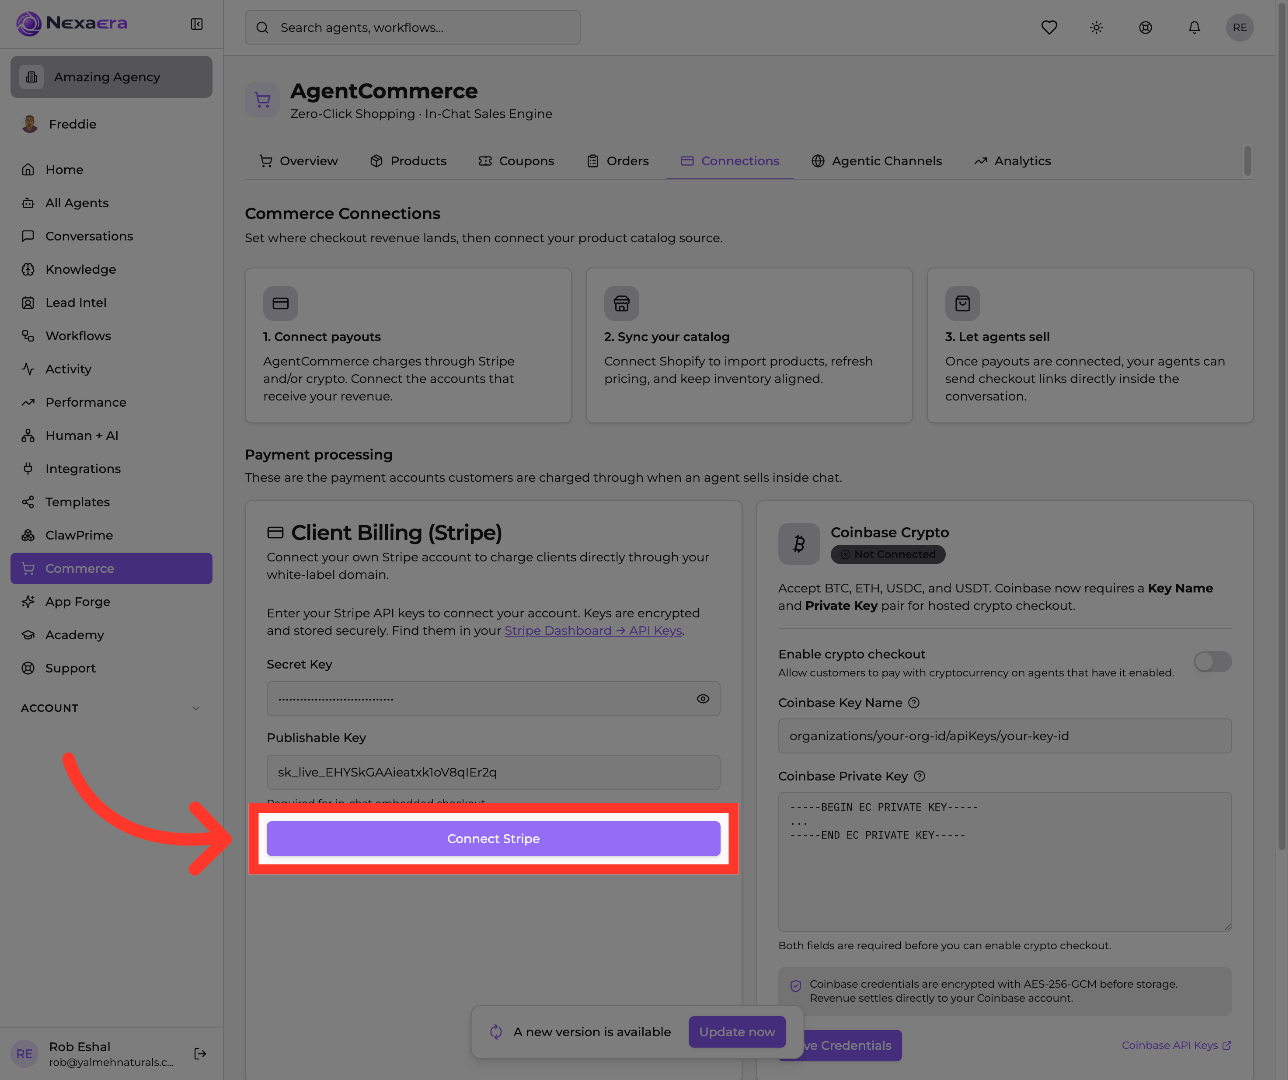
"Now you're in the Client Billing panel under Commerce. This is where your Stripe keys go — and they're encrypted and stored securely. To get them, click the 'Stripe Dashboard → API Keys' link, which opens your Stripe account's key page in a new tab."
7. Reveal Live Secret Key
"Over in Stripe, under Standard Keys, you'll see two keys. Copy your Publishable key — it starts with pk_live. Then click 'Reveal live key' next to your Secret key, which starts with sk_live, and copy that one too. Keep your Secret key private — treat it like a password and never share it publicly."

8. Select Publishable Key Field
your Publishable key into the 'Publishable Key' field. Double-check you didn't swap them — Secret starts with sk, Publishable starts with pk."

9. Confirm Stripe Connection
"With both keys in place, click 'Connect Stripe' to finalize it. NexaEra securely links your account, and your agent is now ready to process live payments."
"And that's it — Stripe is connected and your agent can take real money. This is the piece that turns your agent from a helpful assistant into a revenue generator. From here, it can charge customers, issue receipts, and even process refunds, all inside the chat. Excellent work."
Still need help? Ask the team