Configure Agentic Commerce Channels In NexaEra Dashboard
AI shopping assistants are the next big storefront — and your products can be ready for them. In this video, you'll switch on Agentic Commerce Channels, so outside AI agents can discover and buy your products automatically. Let's set it up.
Written By Fred Yalmeh
Last updated 27 days ago
Go to nexaera.com
1. Introduction
In this walkthrough, you'll enable your AI agent integration, confirm your products are listed and payment-ready, find your product feed, run a live test, and see how to get onboarded with the major AI shopping platforms. Let's dive in.

2. Access Commerce Section
On the left sidebar, click "Commerce." This opens your store management area.

3. Open Agentic Channels
Along the top, click the "Agentic Channels" tab. This is where you connect your store to the wider world of AI shopping agents.
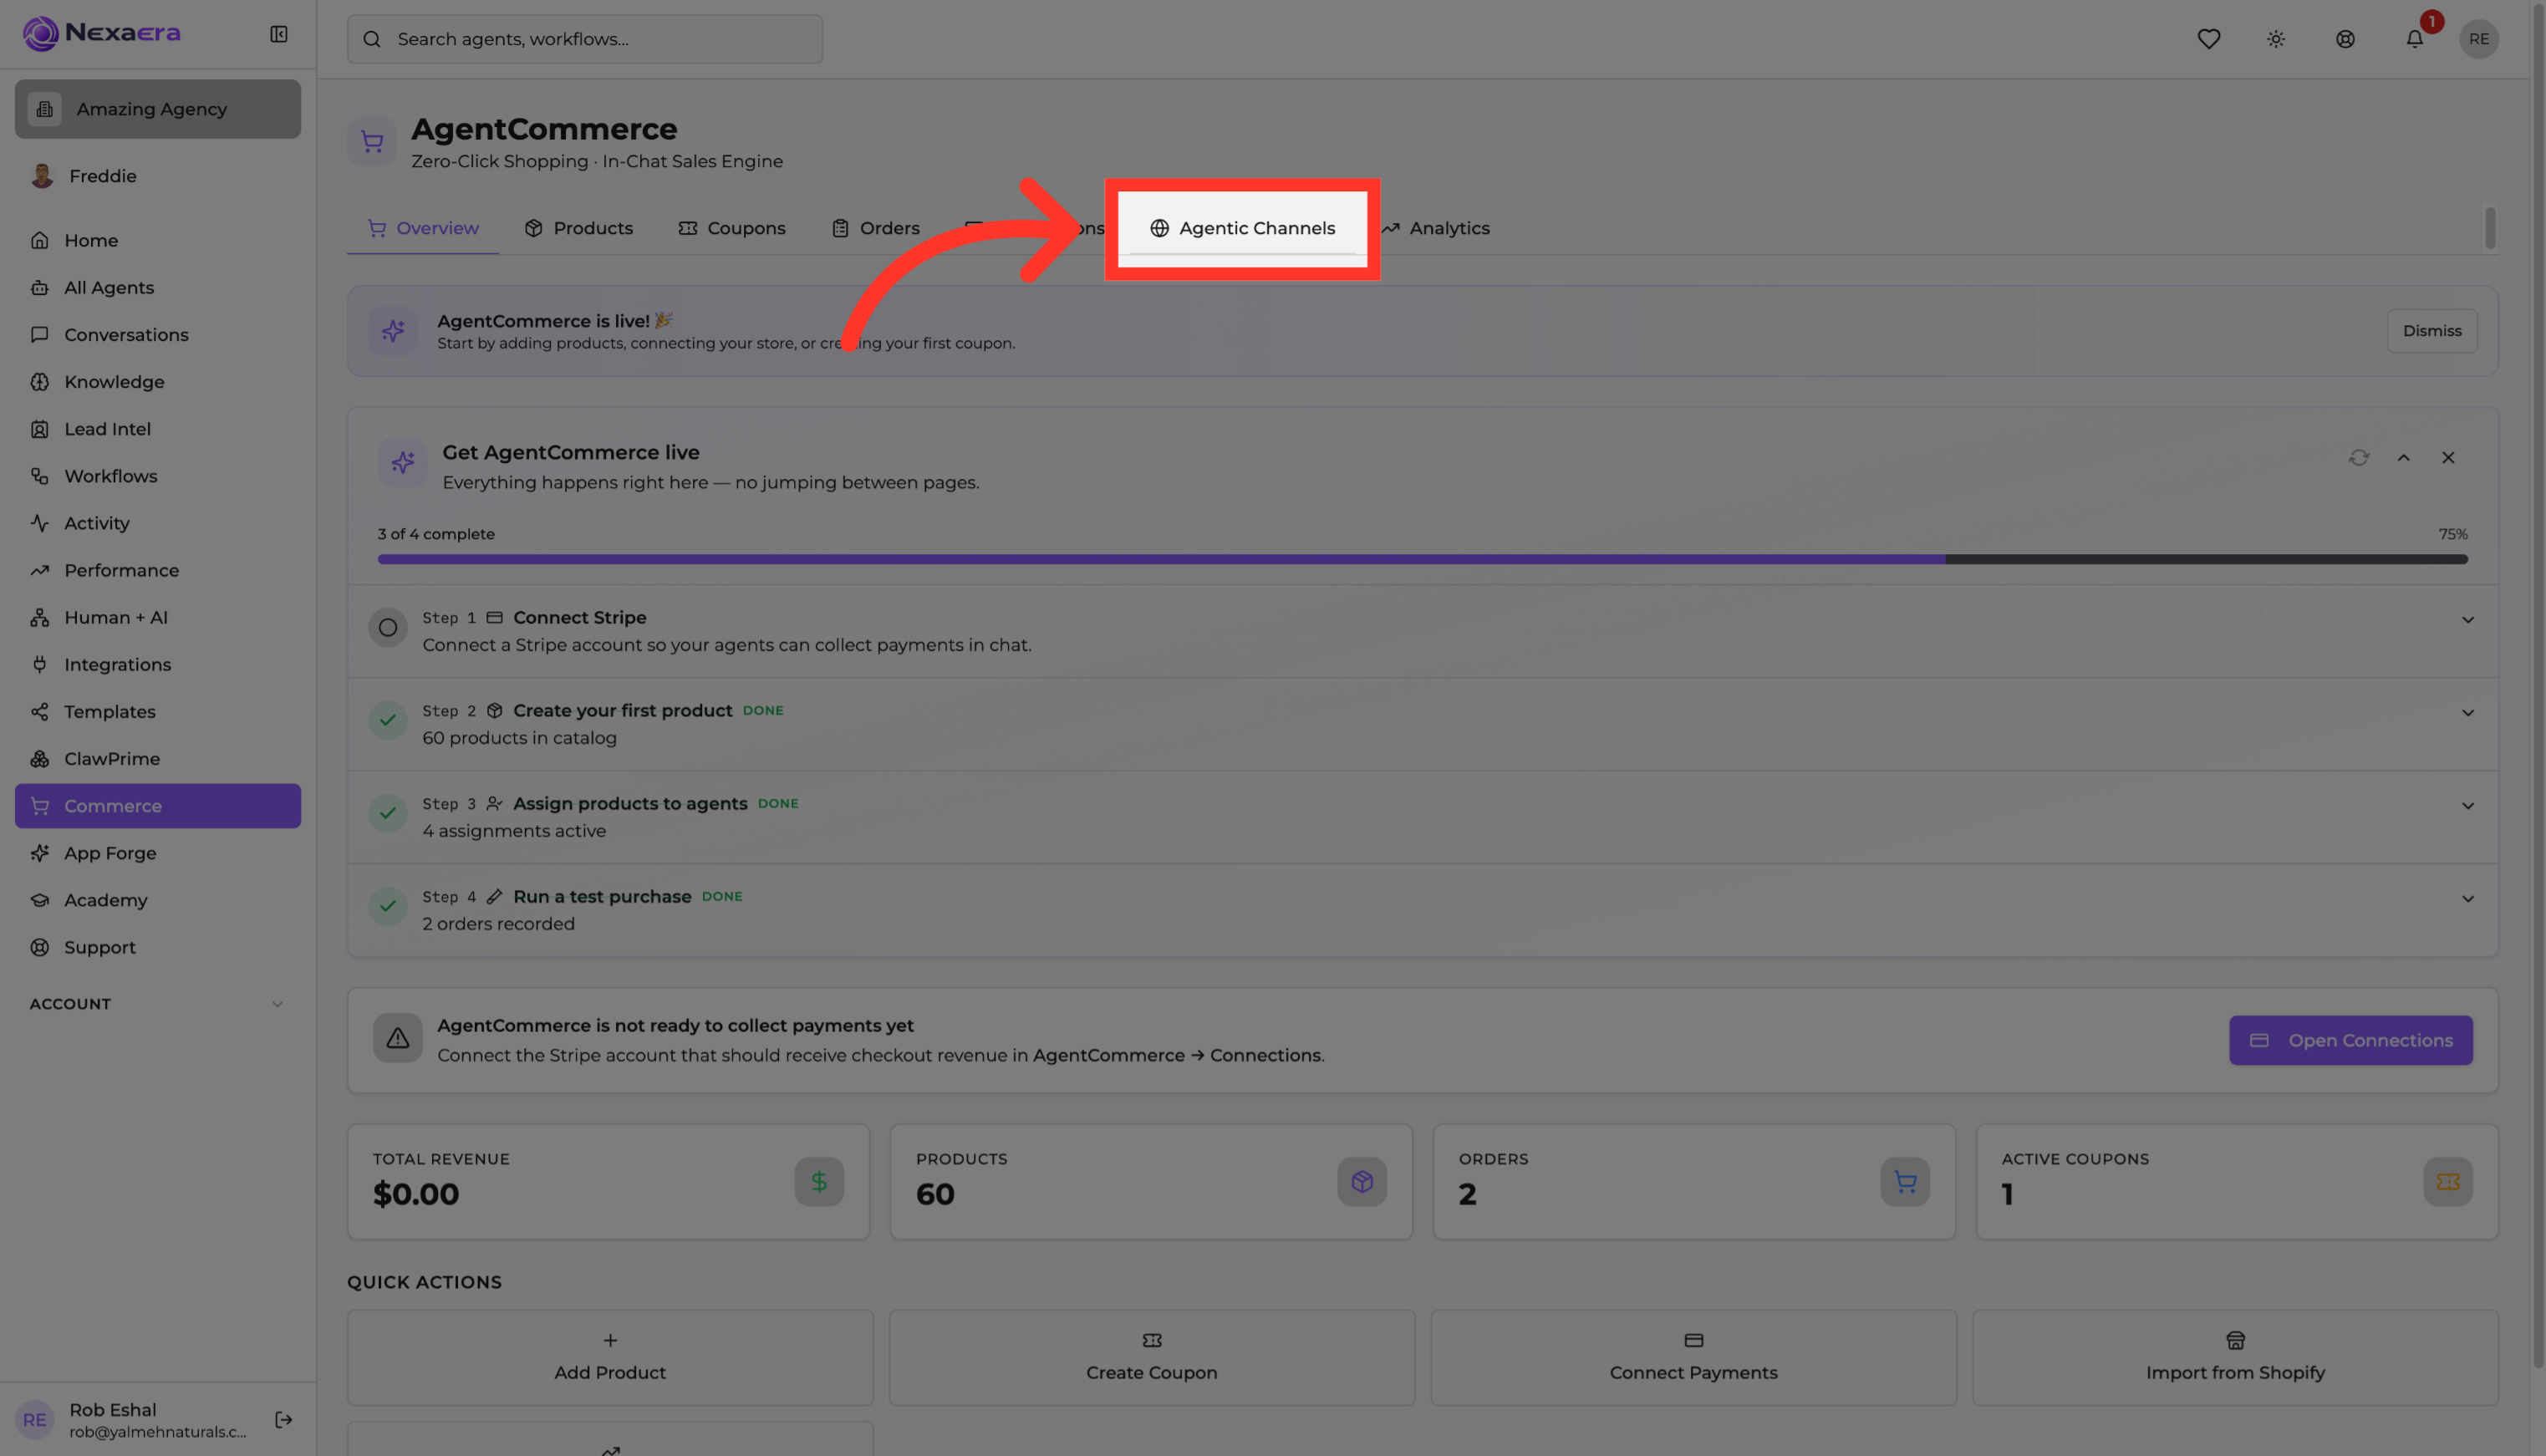
4. Switch to Agent View
There are two ways to see this page. Click "Switch to Agent view" to see your store the way an outside AI agent sees it — the products, the feed, and the checkout.

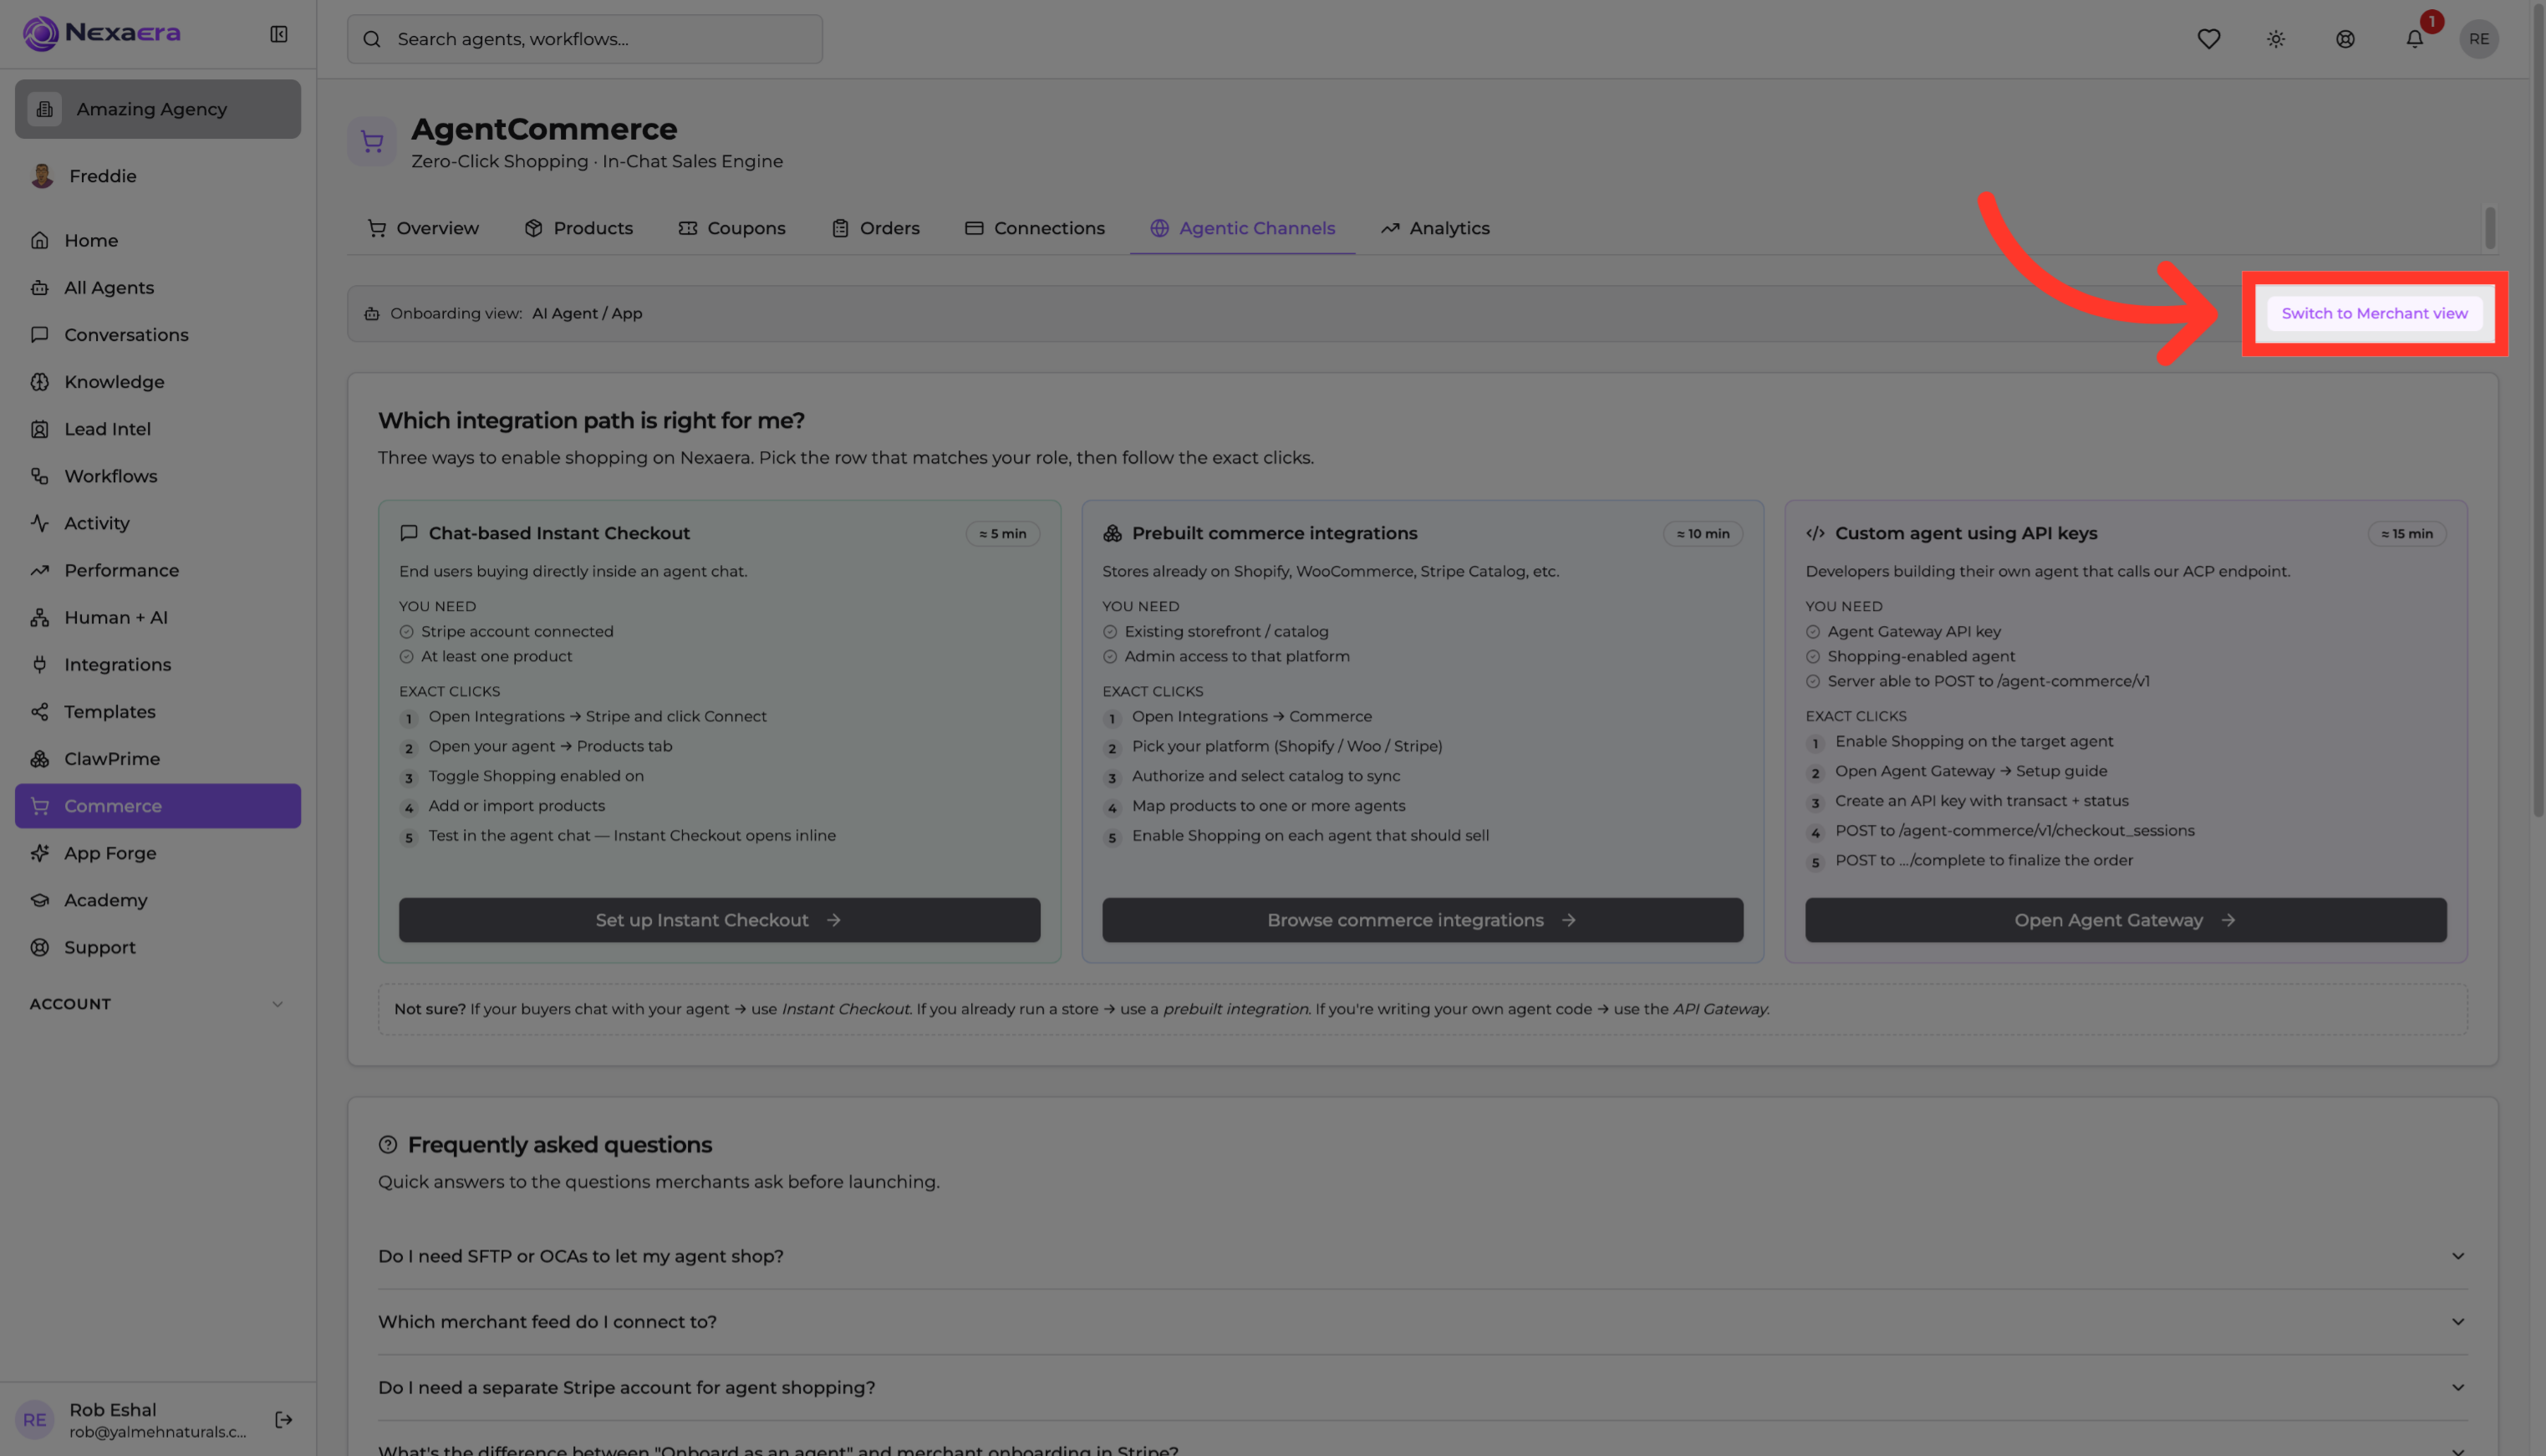
5. Switch to Merchant View
Click "Switch to Merchant view" to flip back to your own controls. This is where you manage the settings behind the scenes.
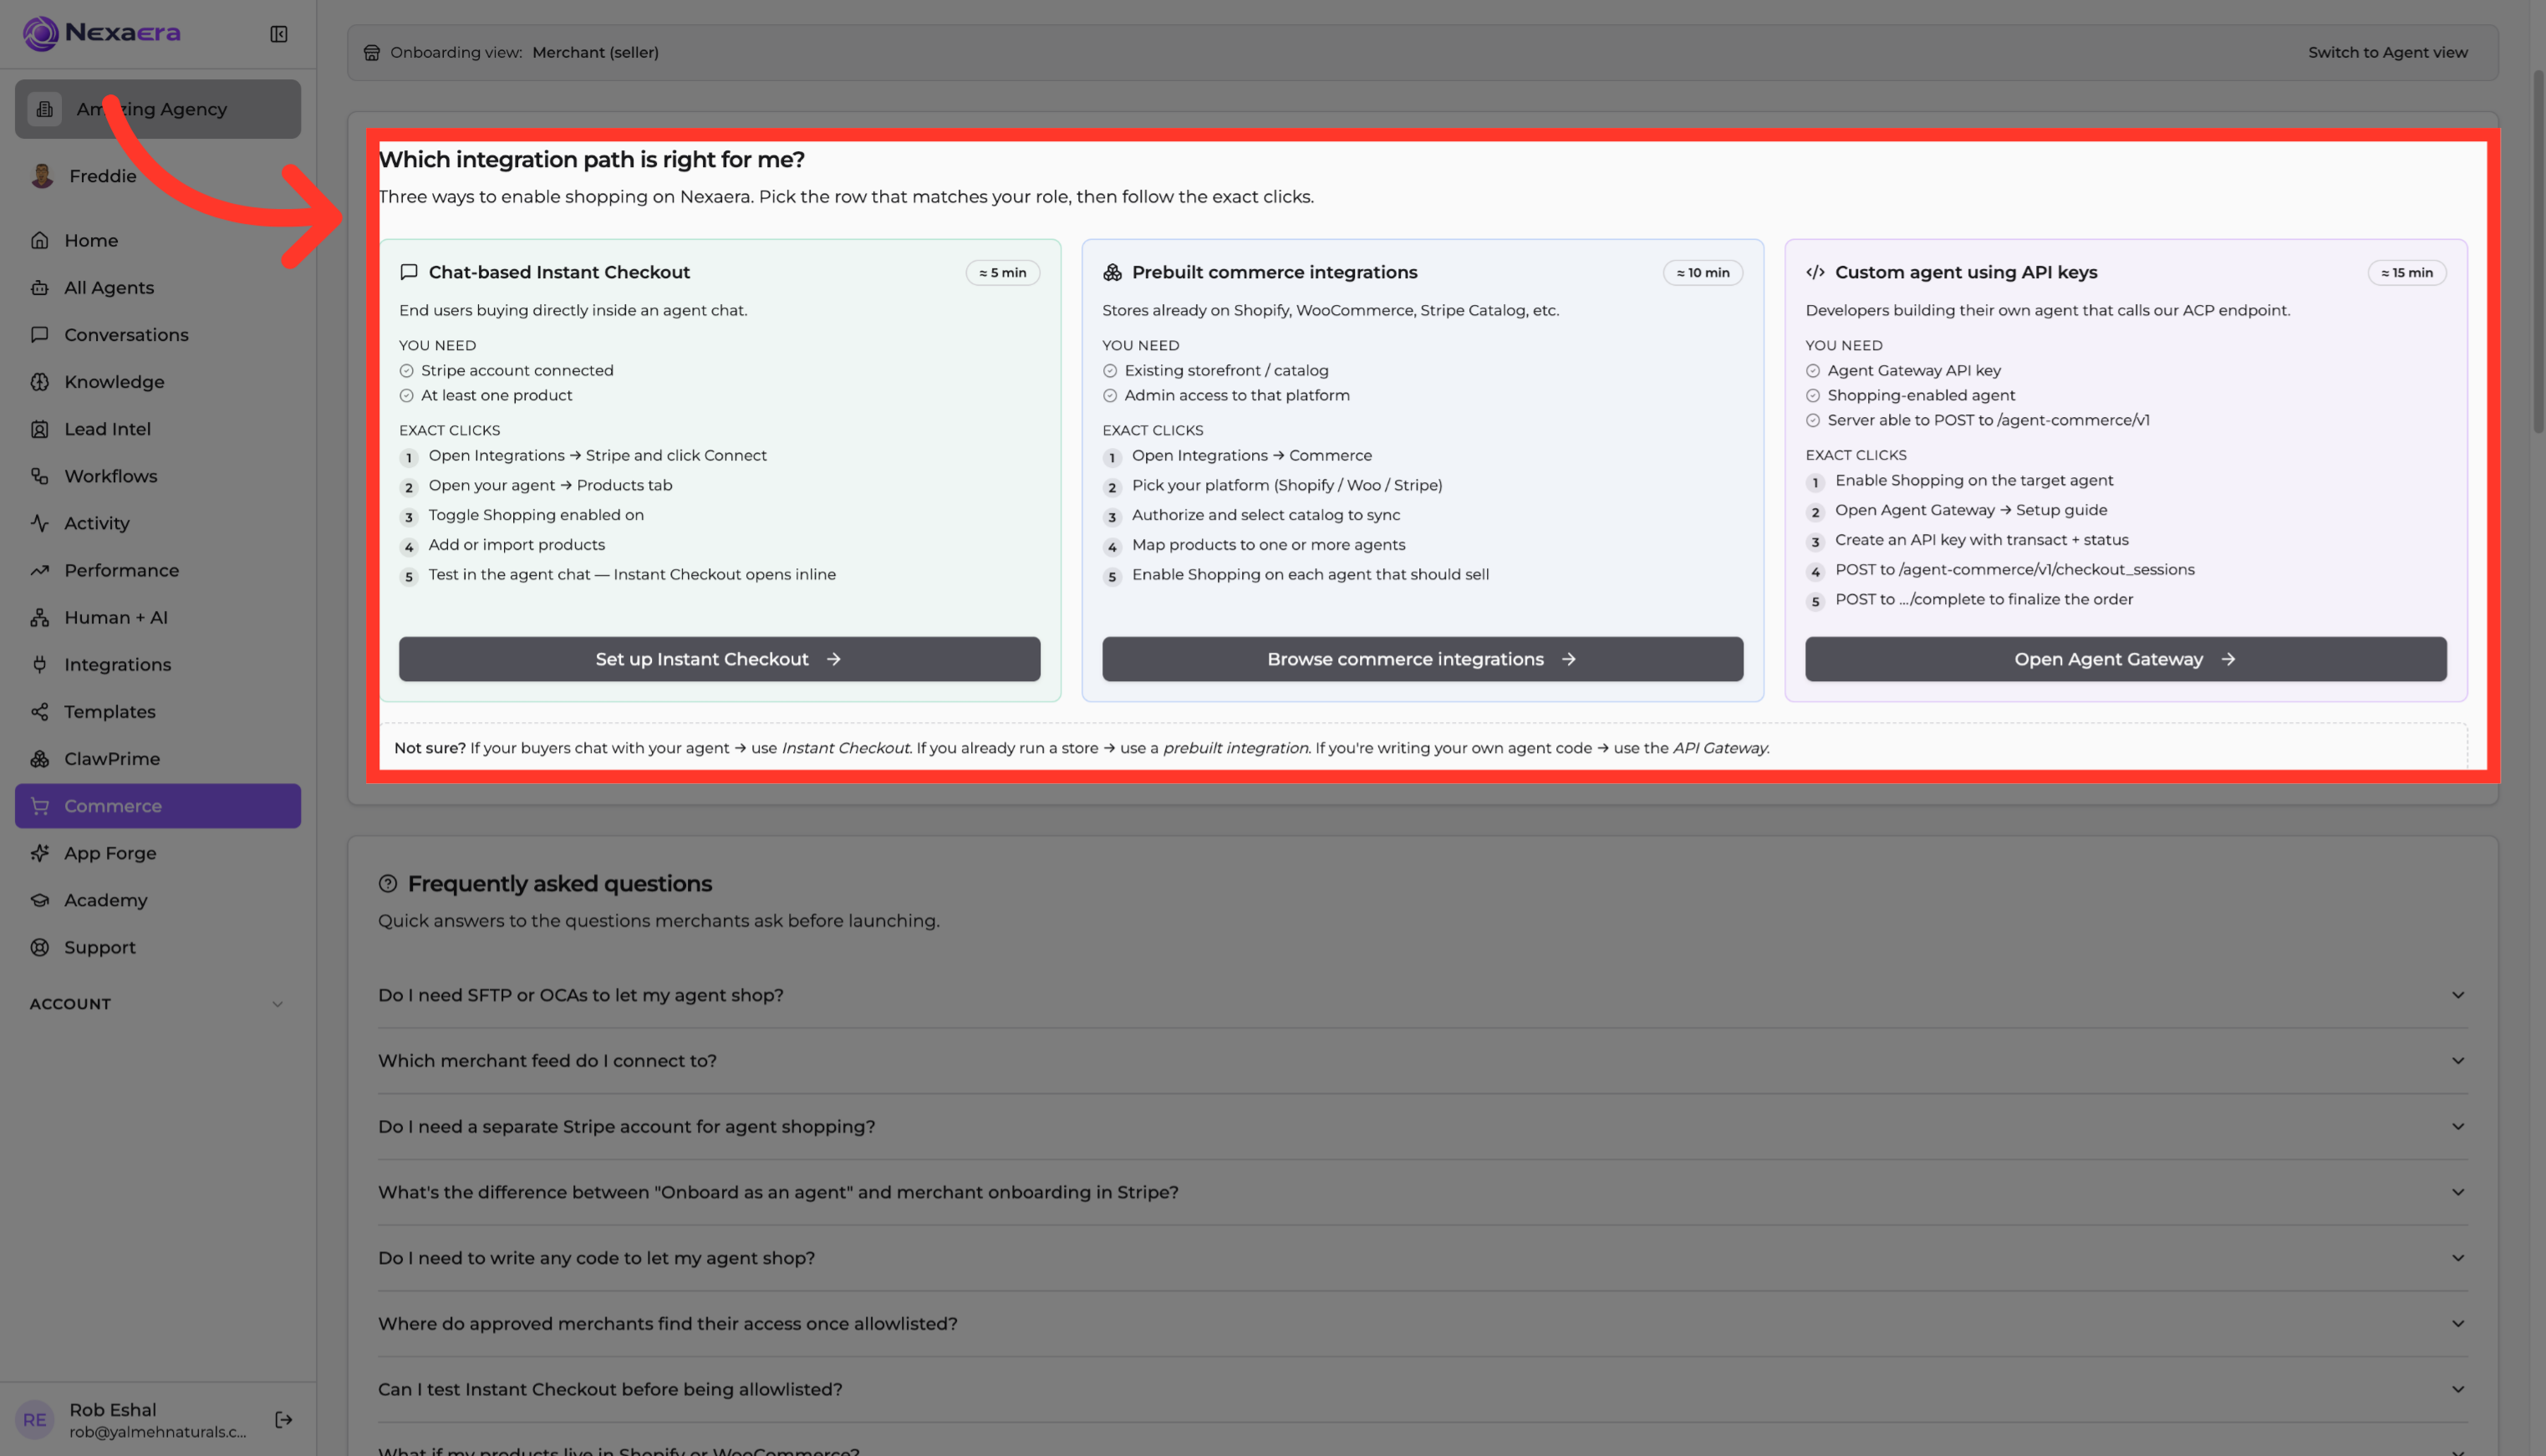
6. Know more about your integration.
Take a moment to read the integration overview here. It explains what Agentic Channels does and how your products reach outside AI agents.
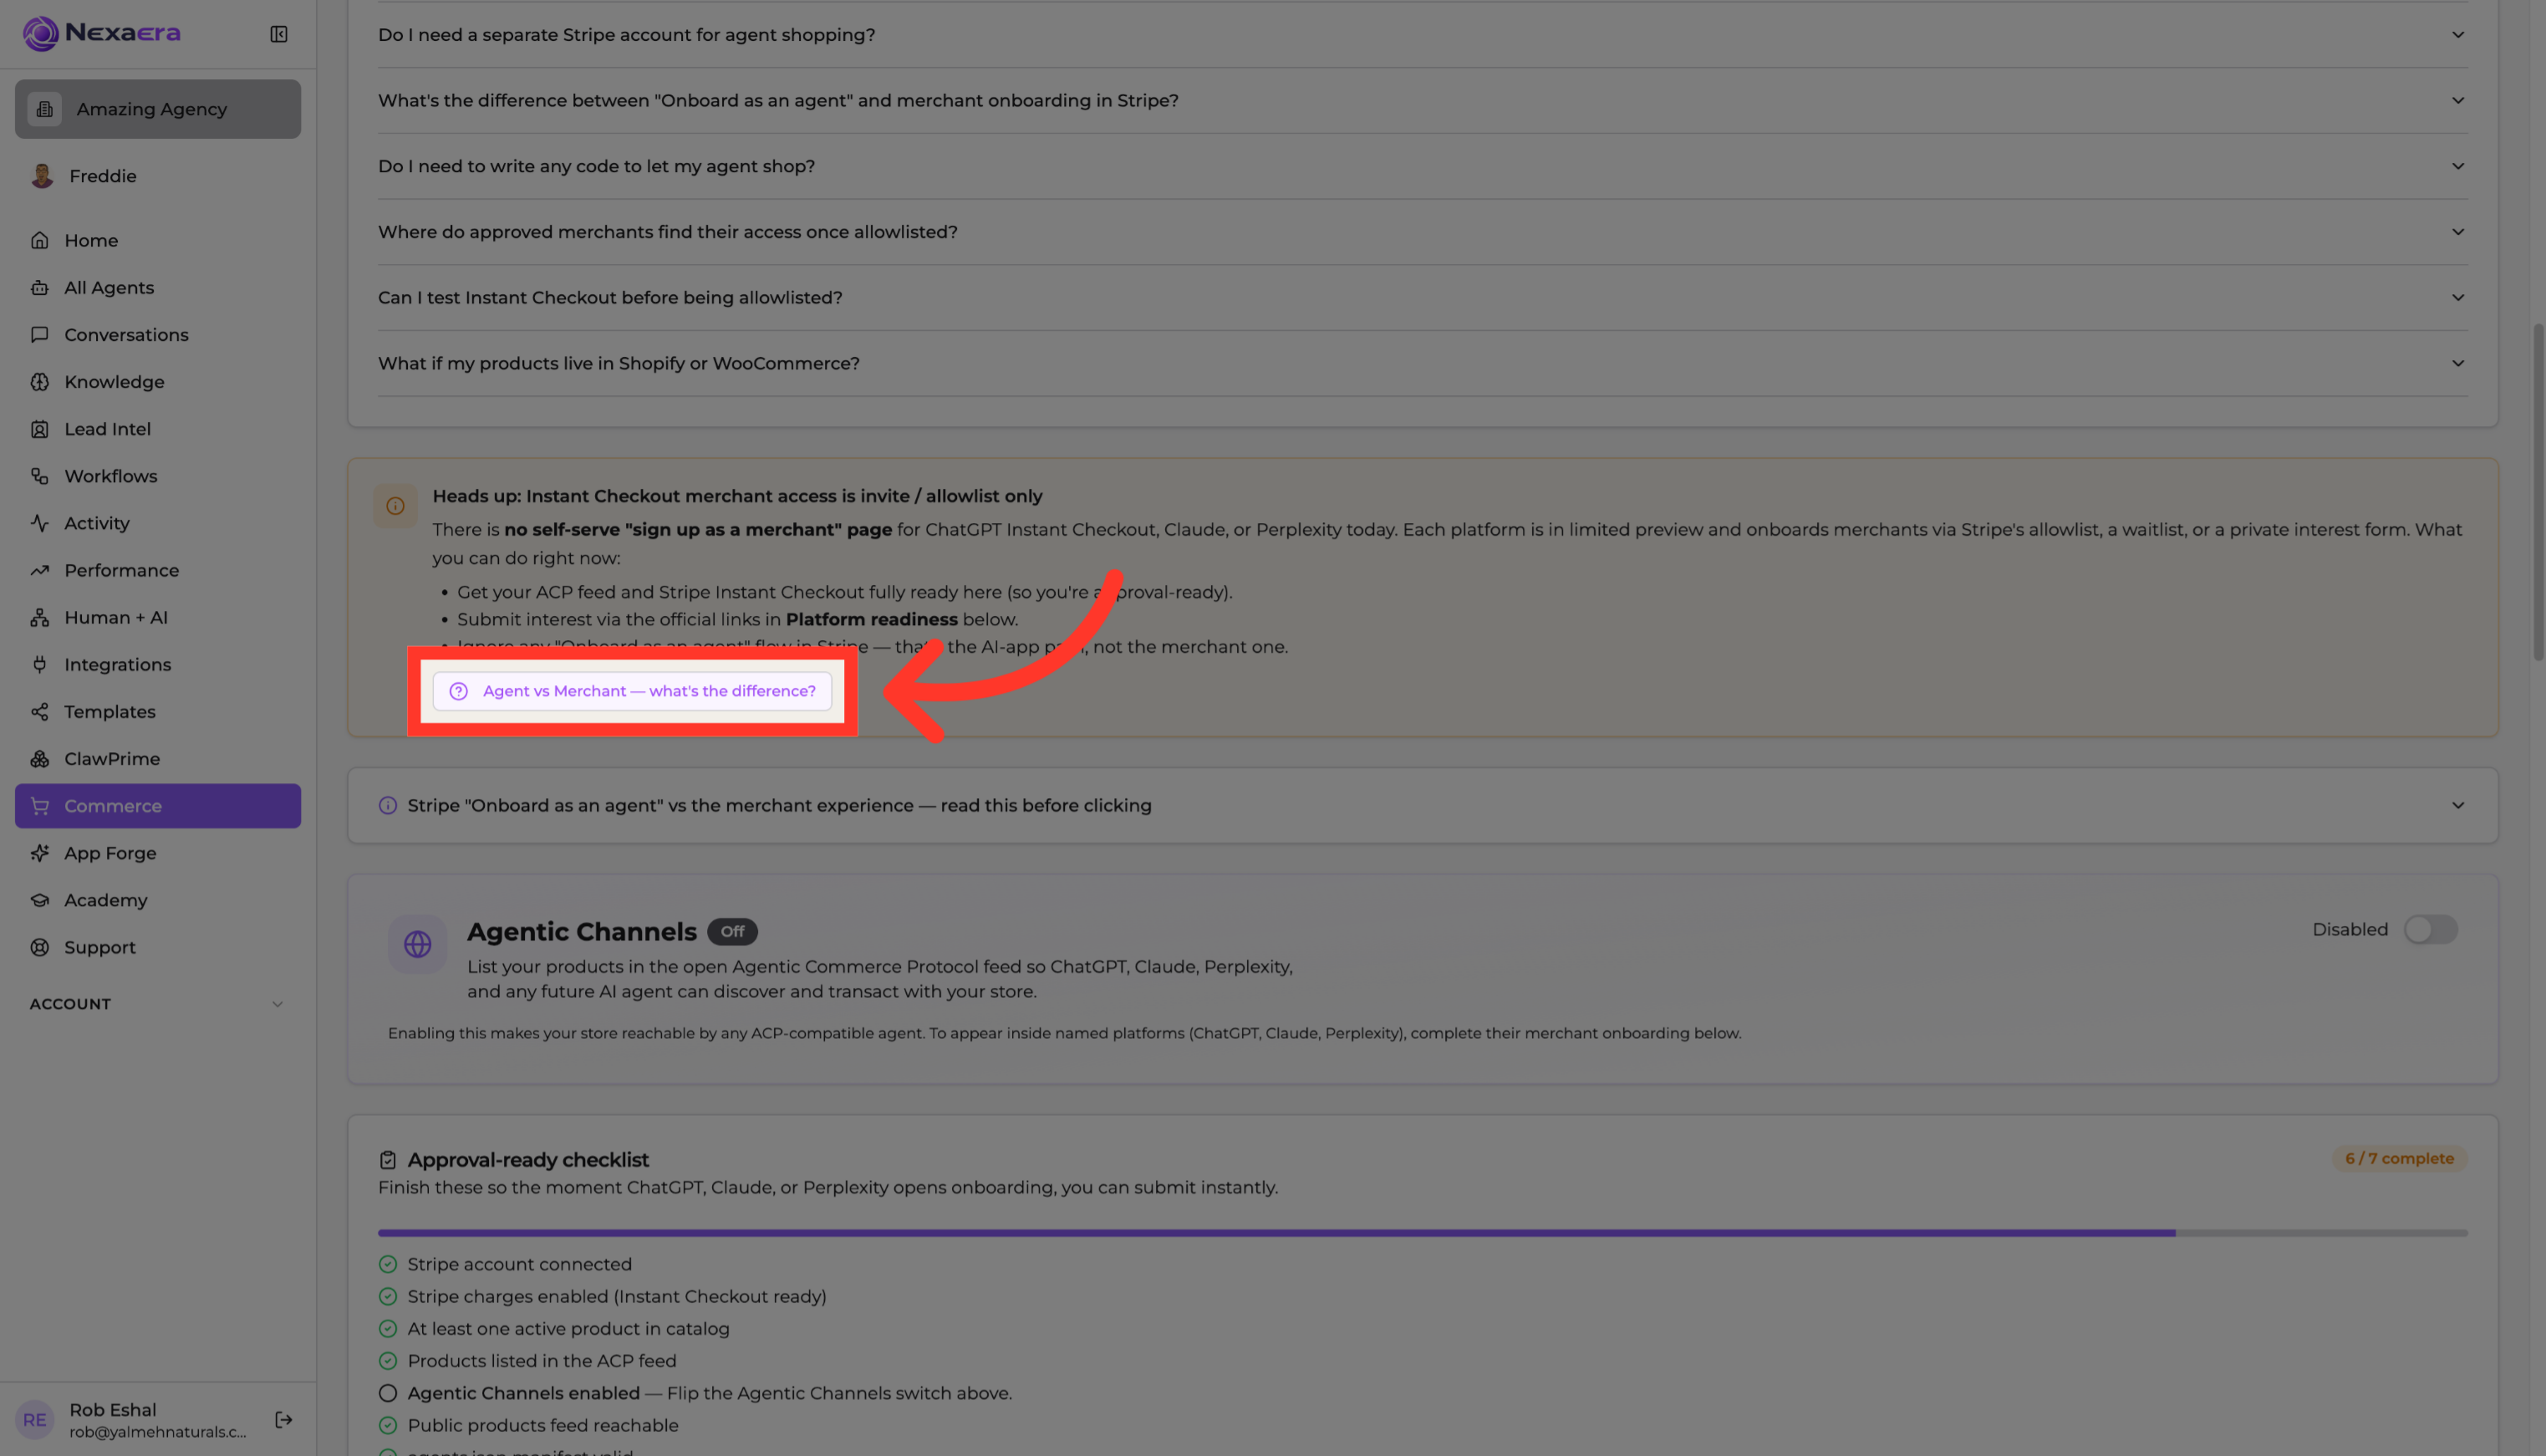
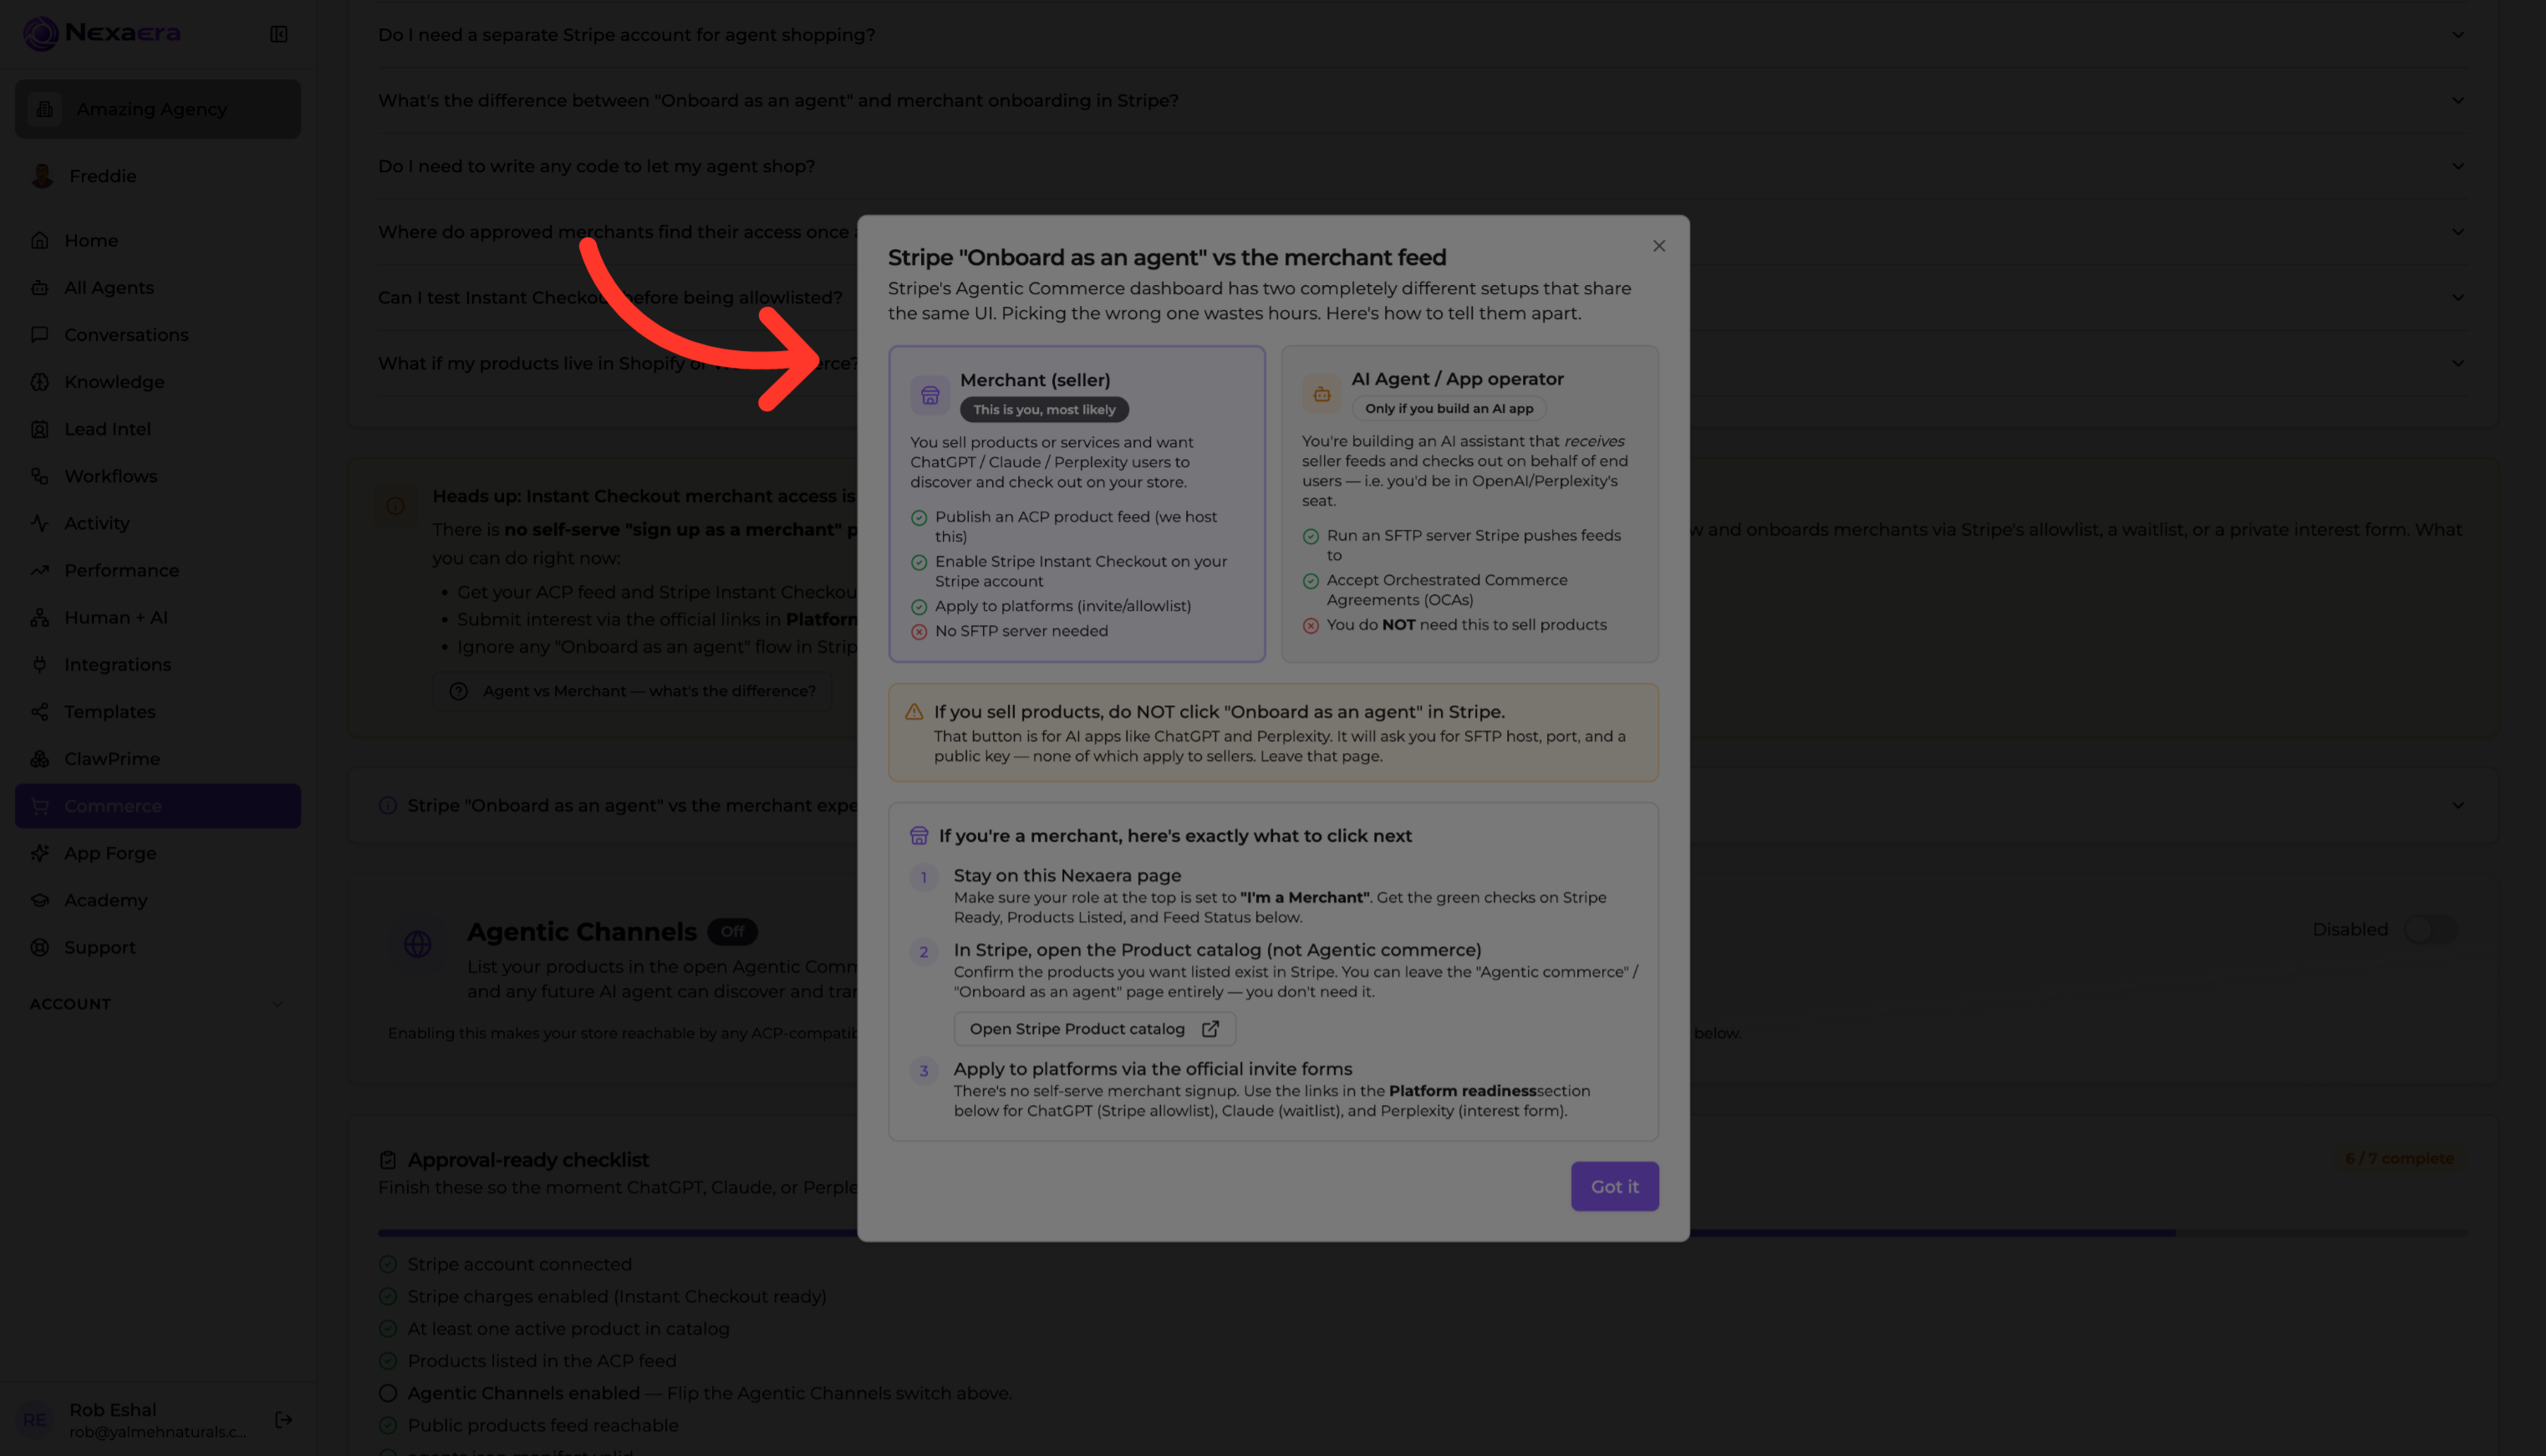
7. Understand Agent vs Merchant
If the two roles feel fuzzy, click "Agent versus Merchant — what's the difference?" It breaks down exactly what each side does.
8. Know more about Merchant VS Agent
In short: the merchant — that's you — owns the products and gets paid. The agent is the outside AI that finds your products and brings you the buyer. Two roles, one smooth sale.
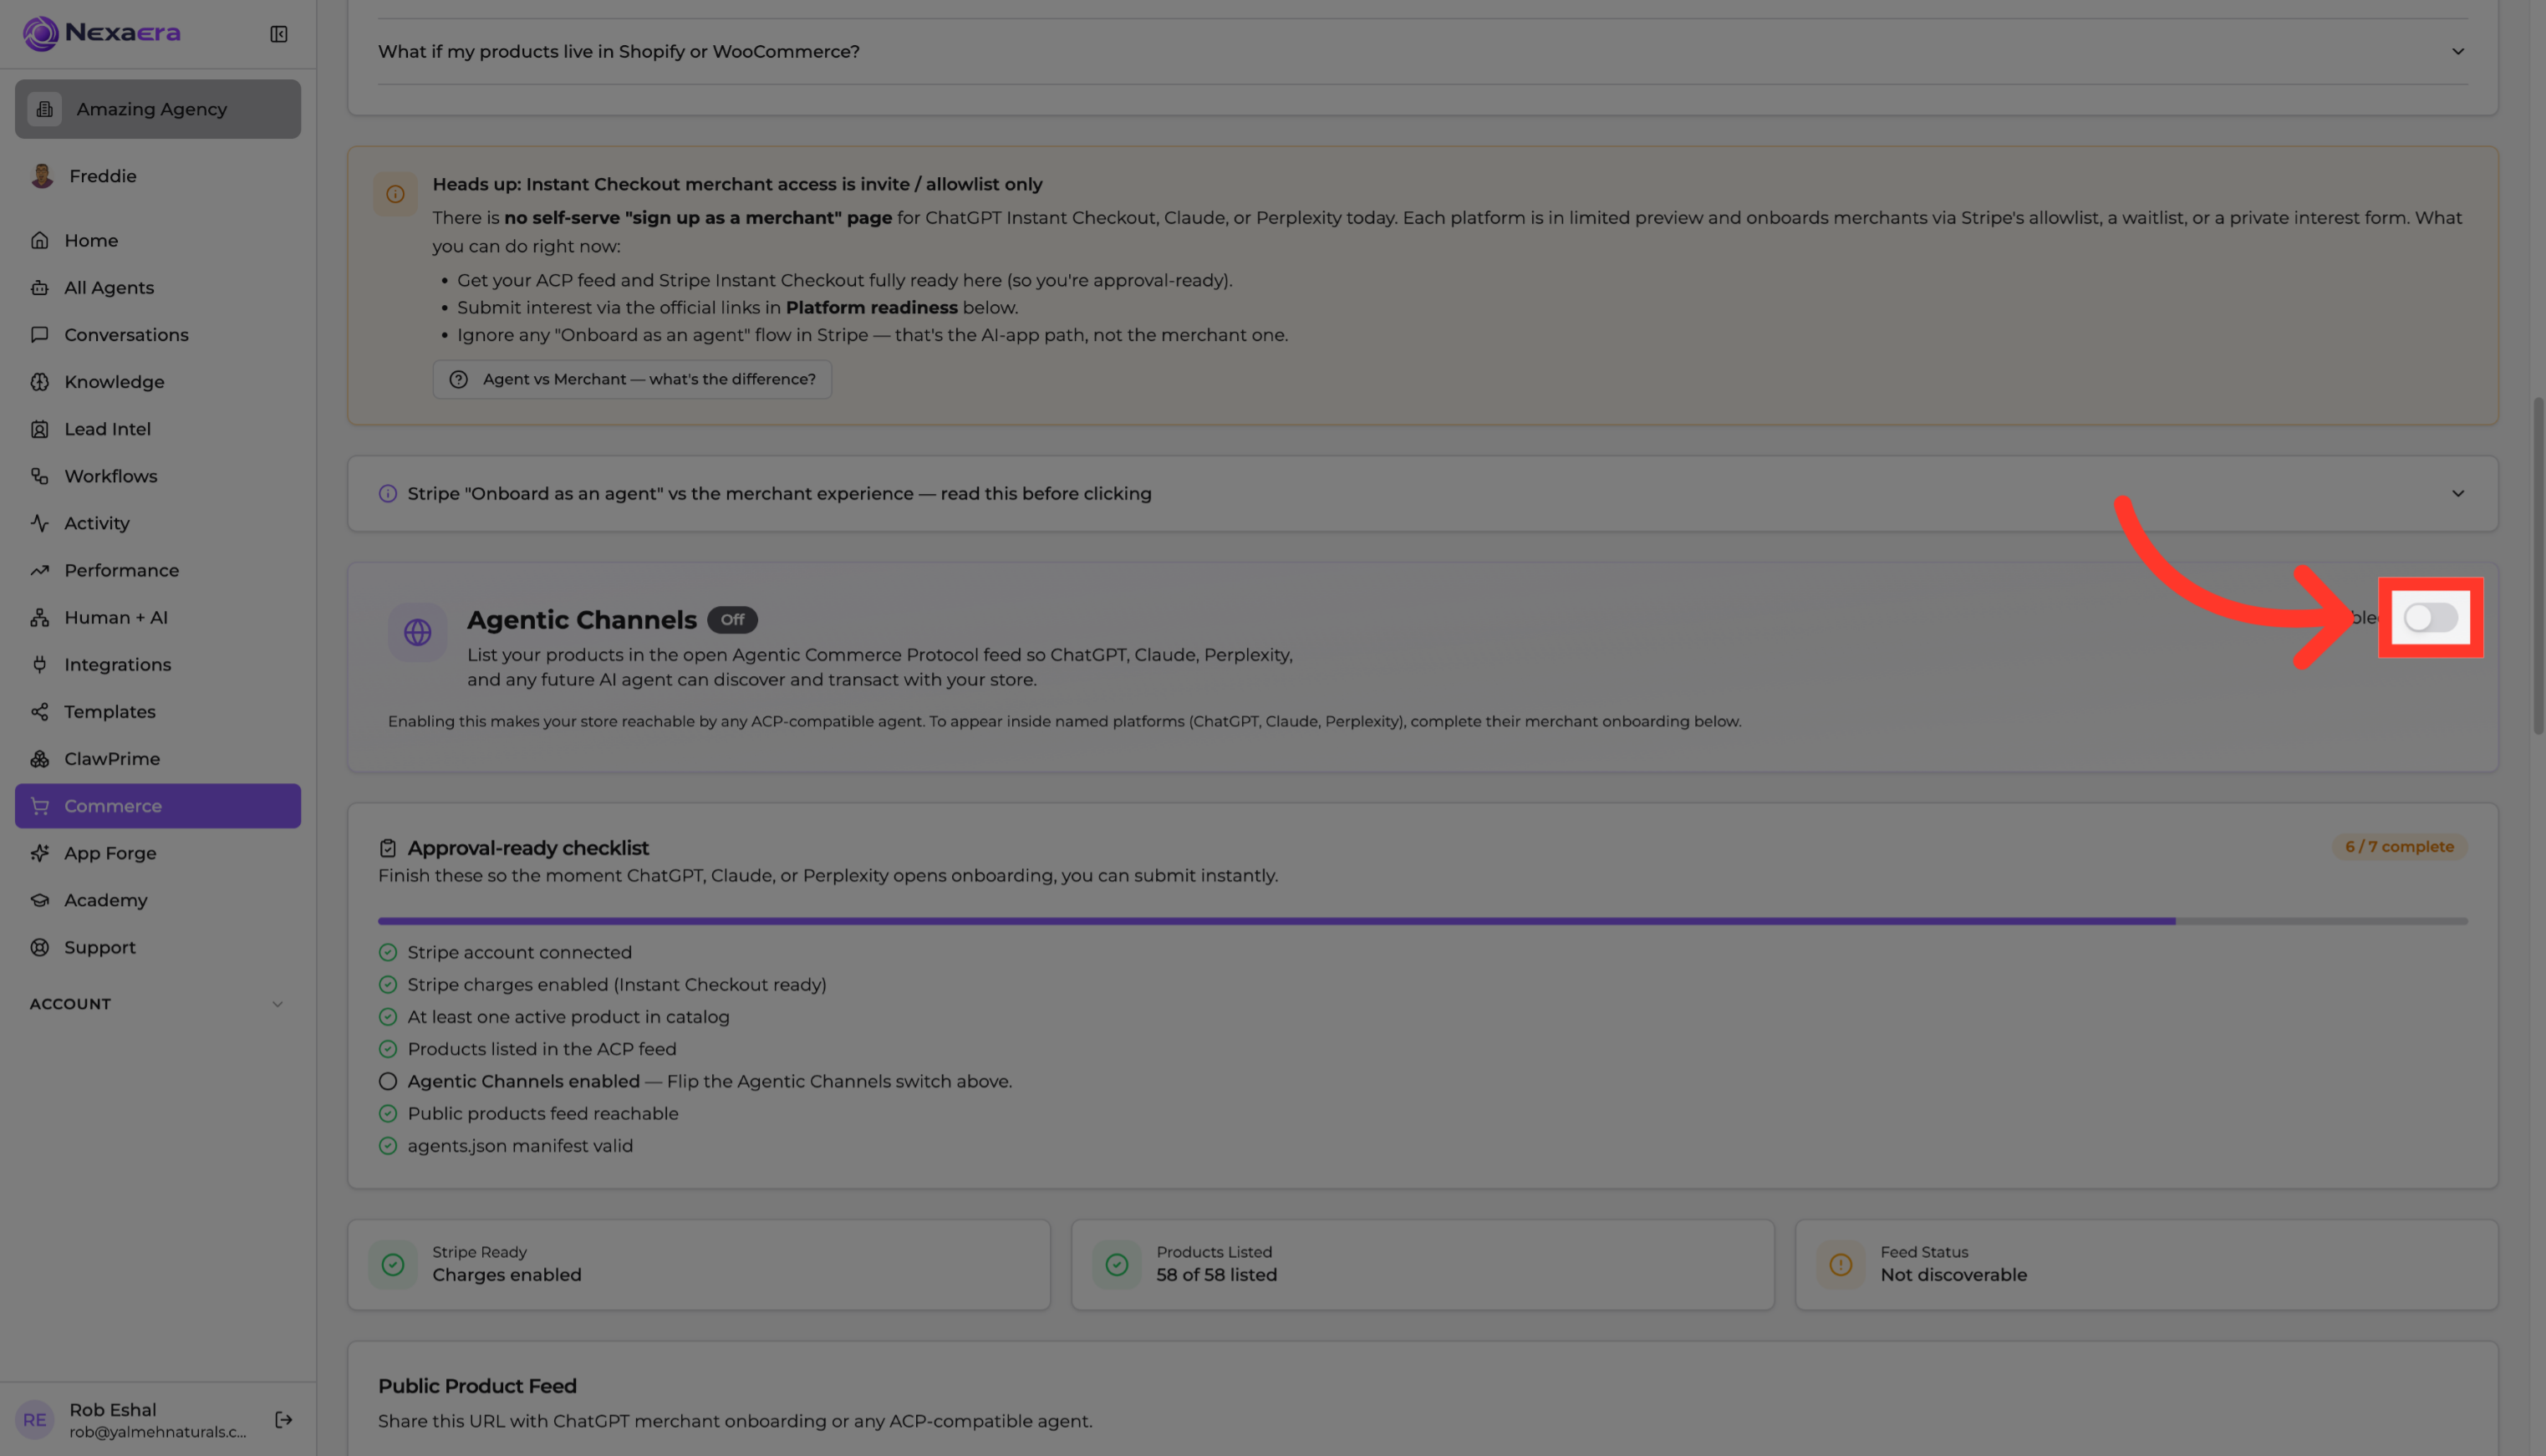
9. Turn On Agentic Channels
Now the key step. Flip the switch to "On" to enable your Agentic Commerce Protocol feed. This publishes your products so AI agents can actually find them.
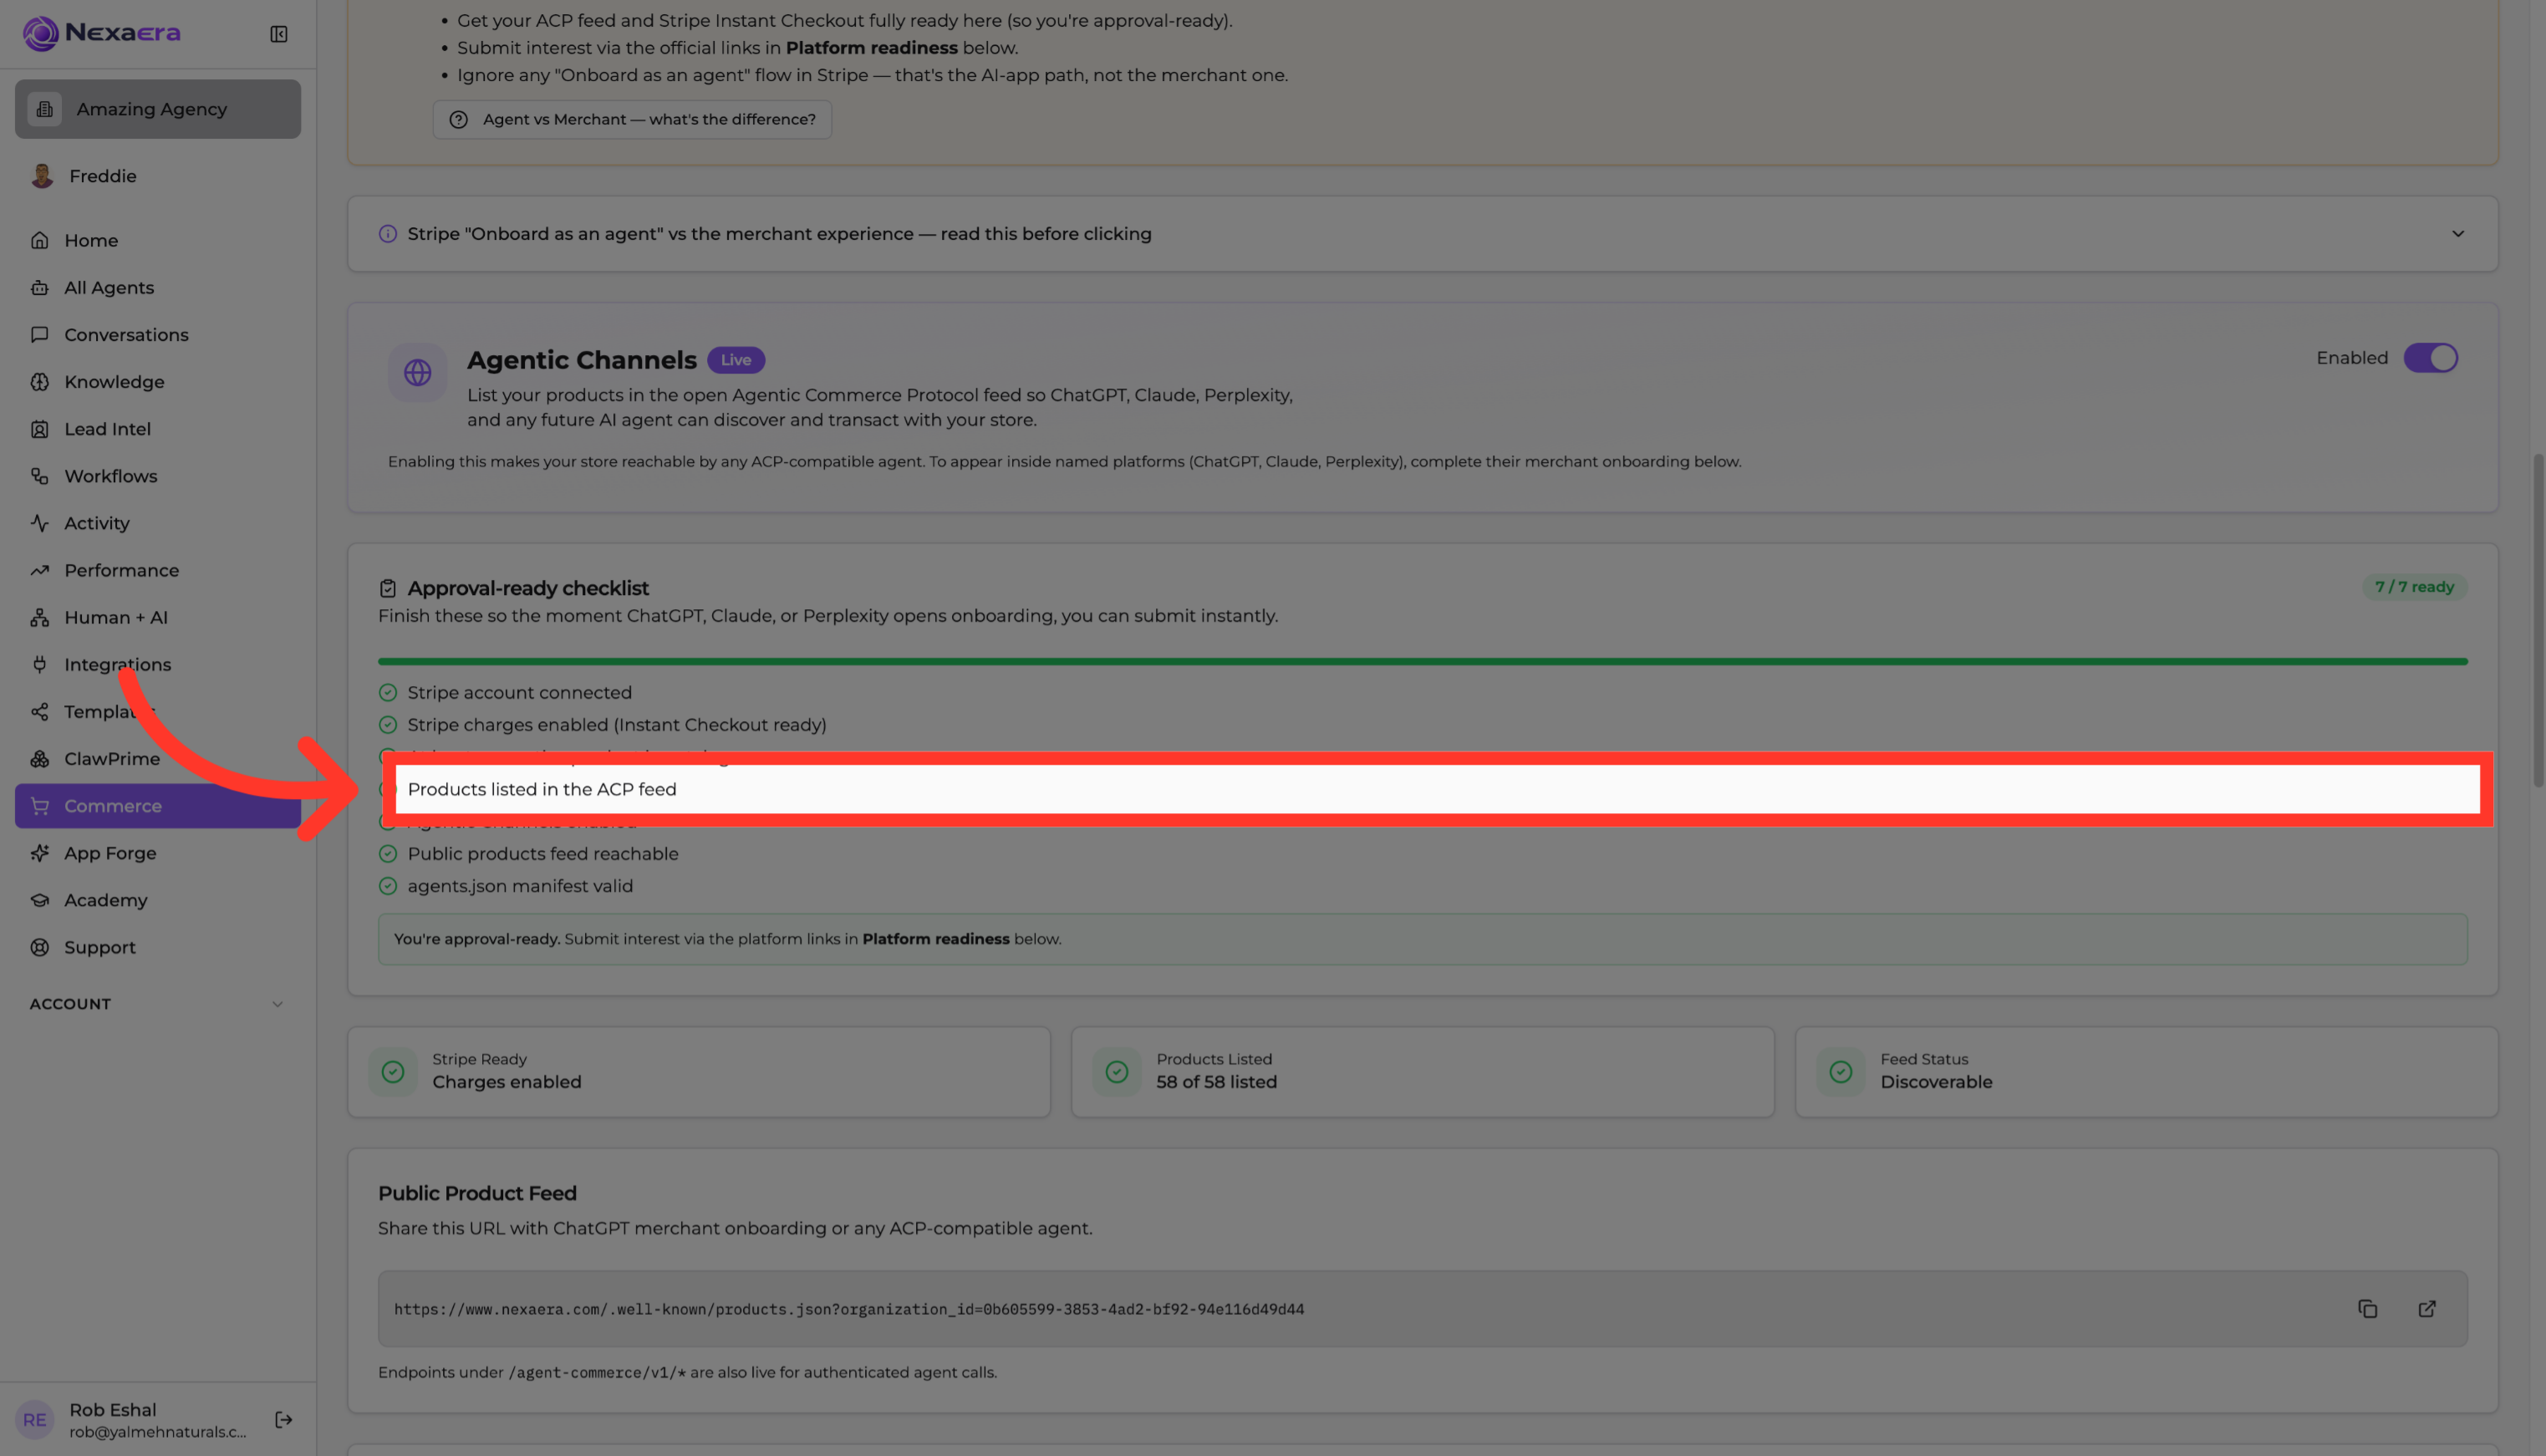
10. View Listed Products
Click "Products listed in the feed" to see exactly which items are now available to AI agents. This is your live, agent-facing catalog.
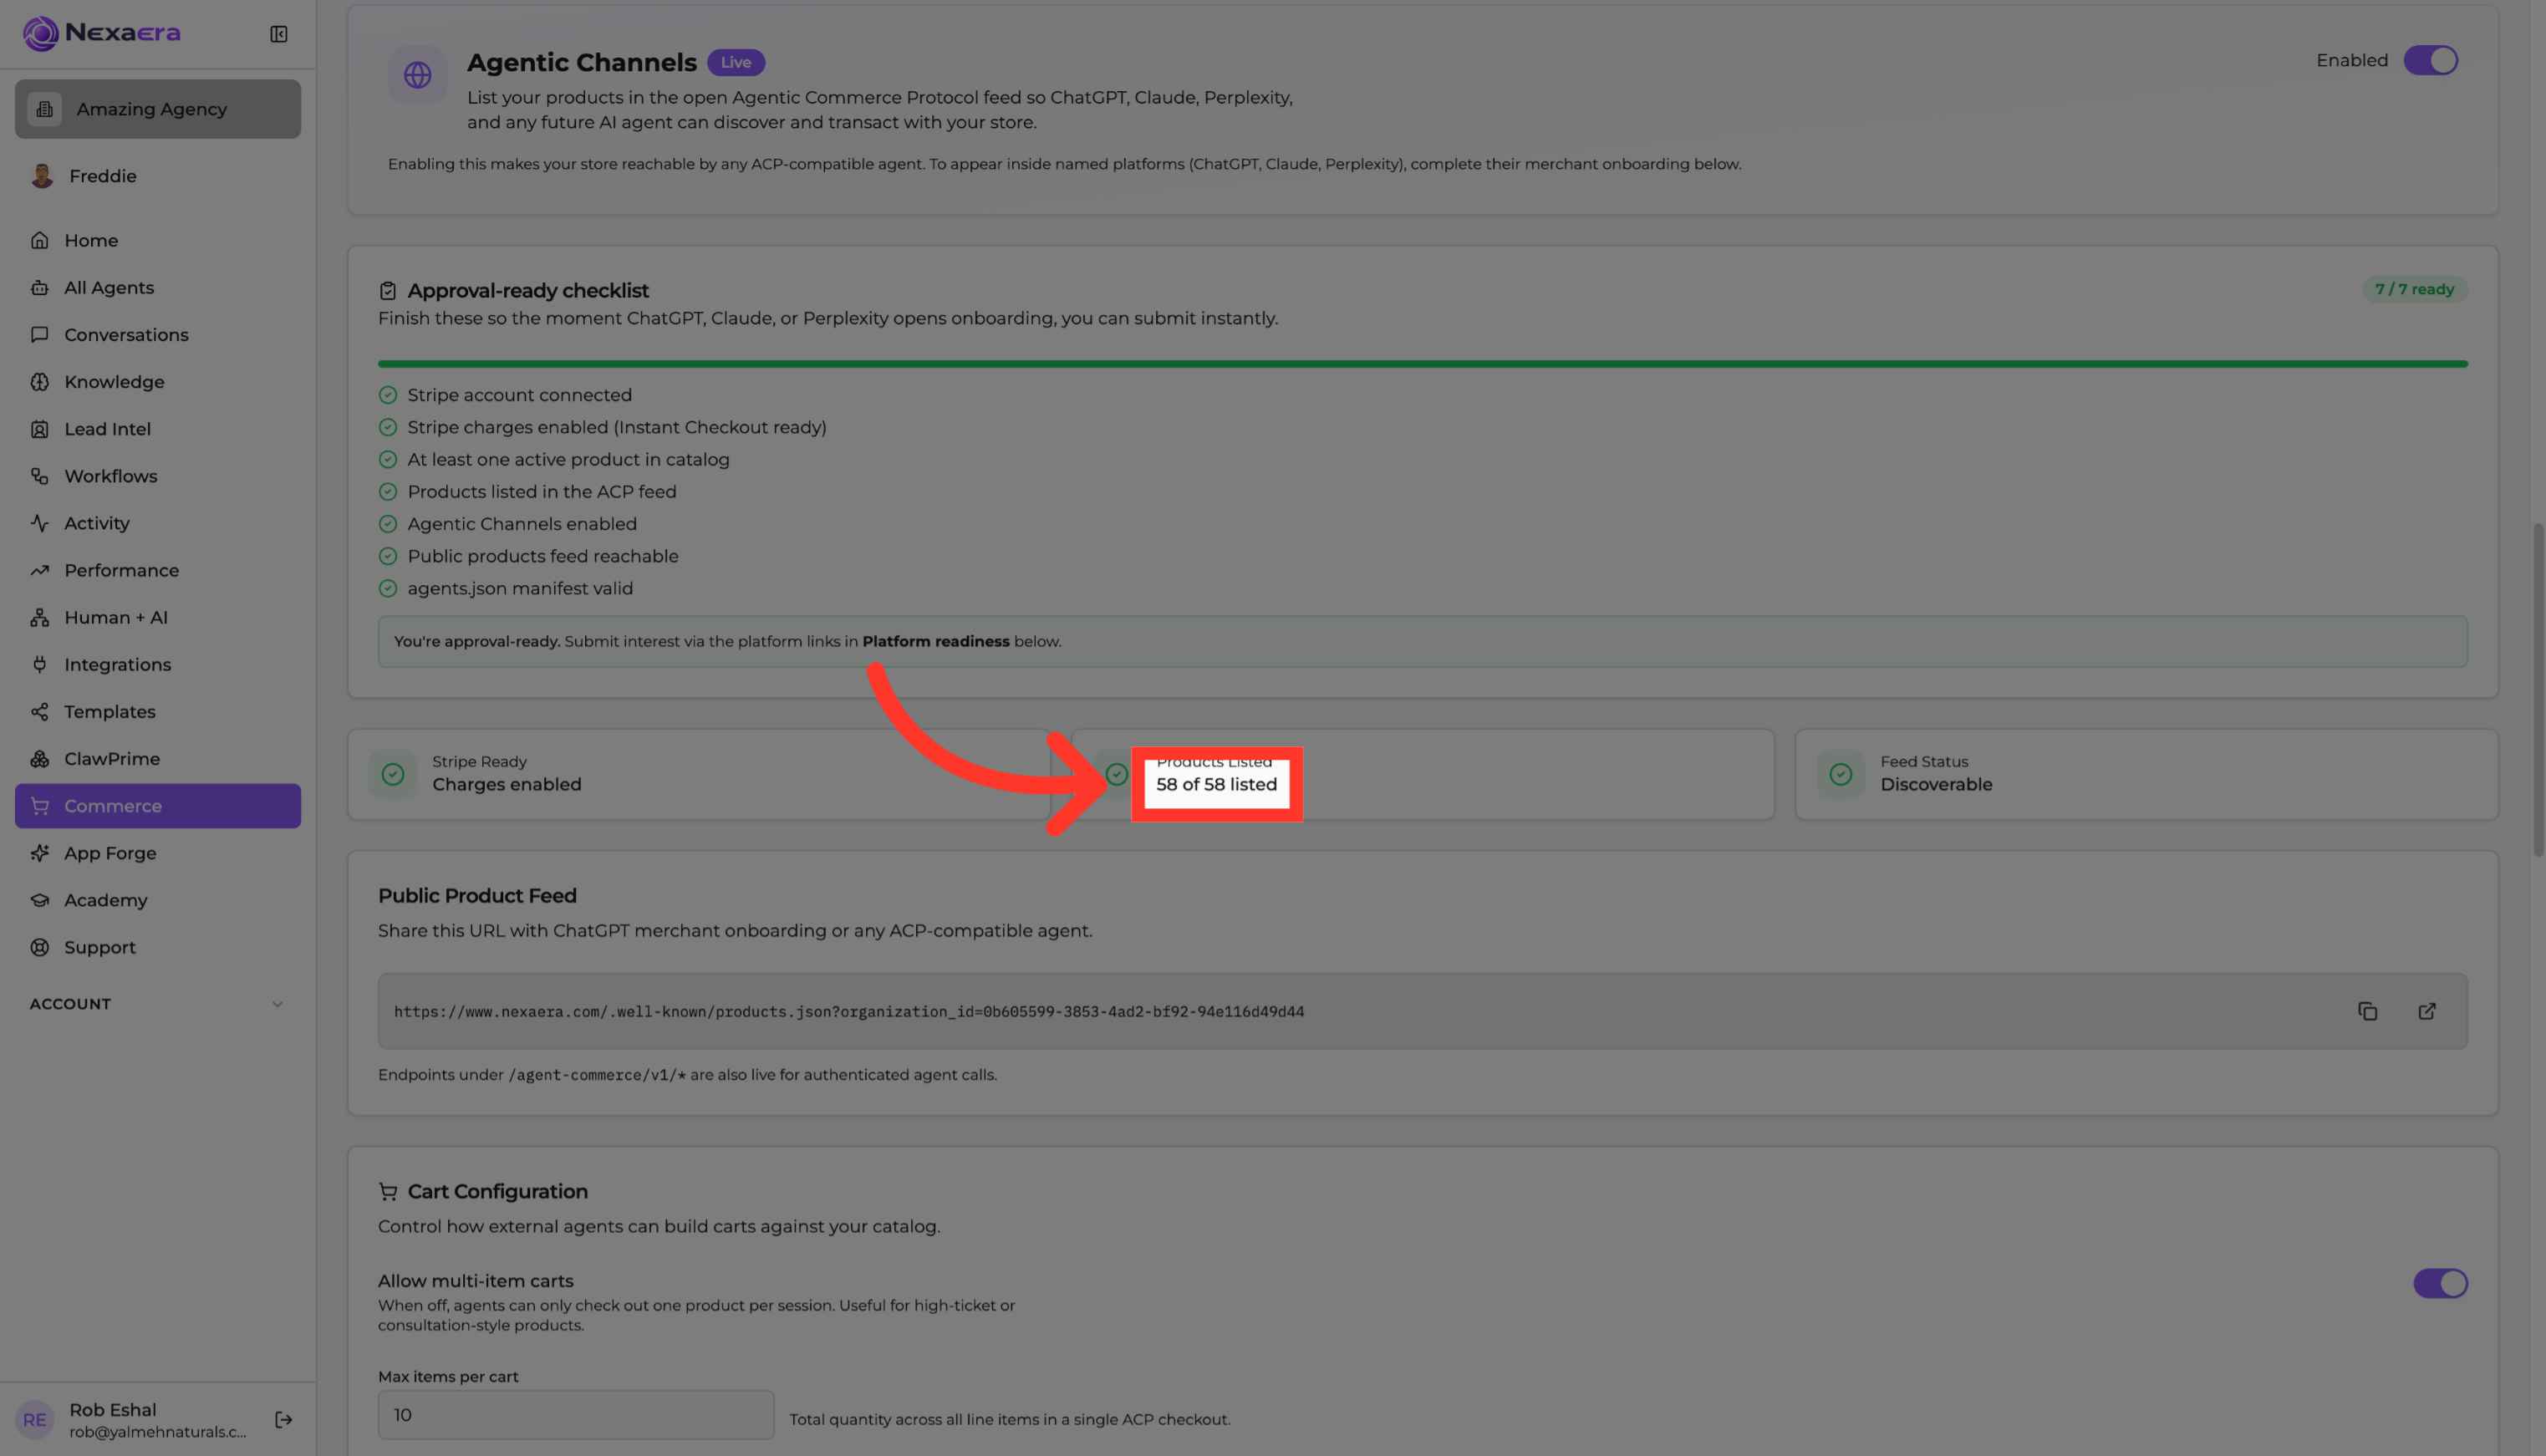
11. Check Stripe Readiness
Look for the "Stripe Ready" indicator. When it says charges are enabled, your payments are good to go — agents can complete real purchases.
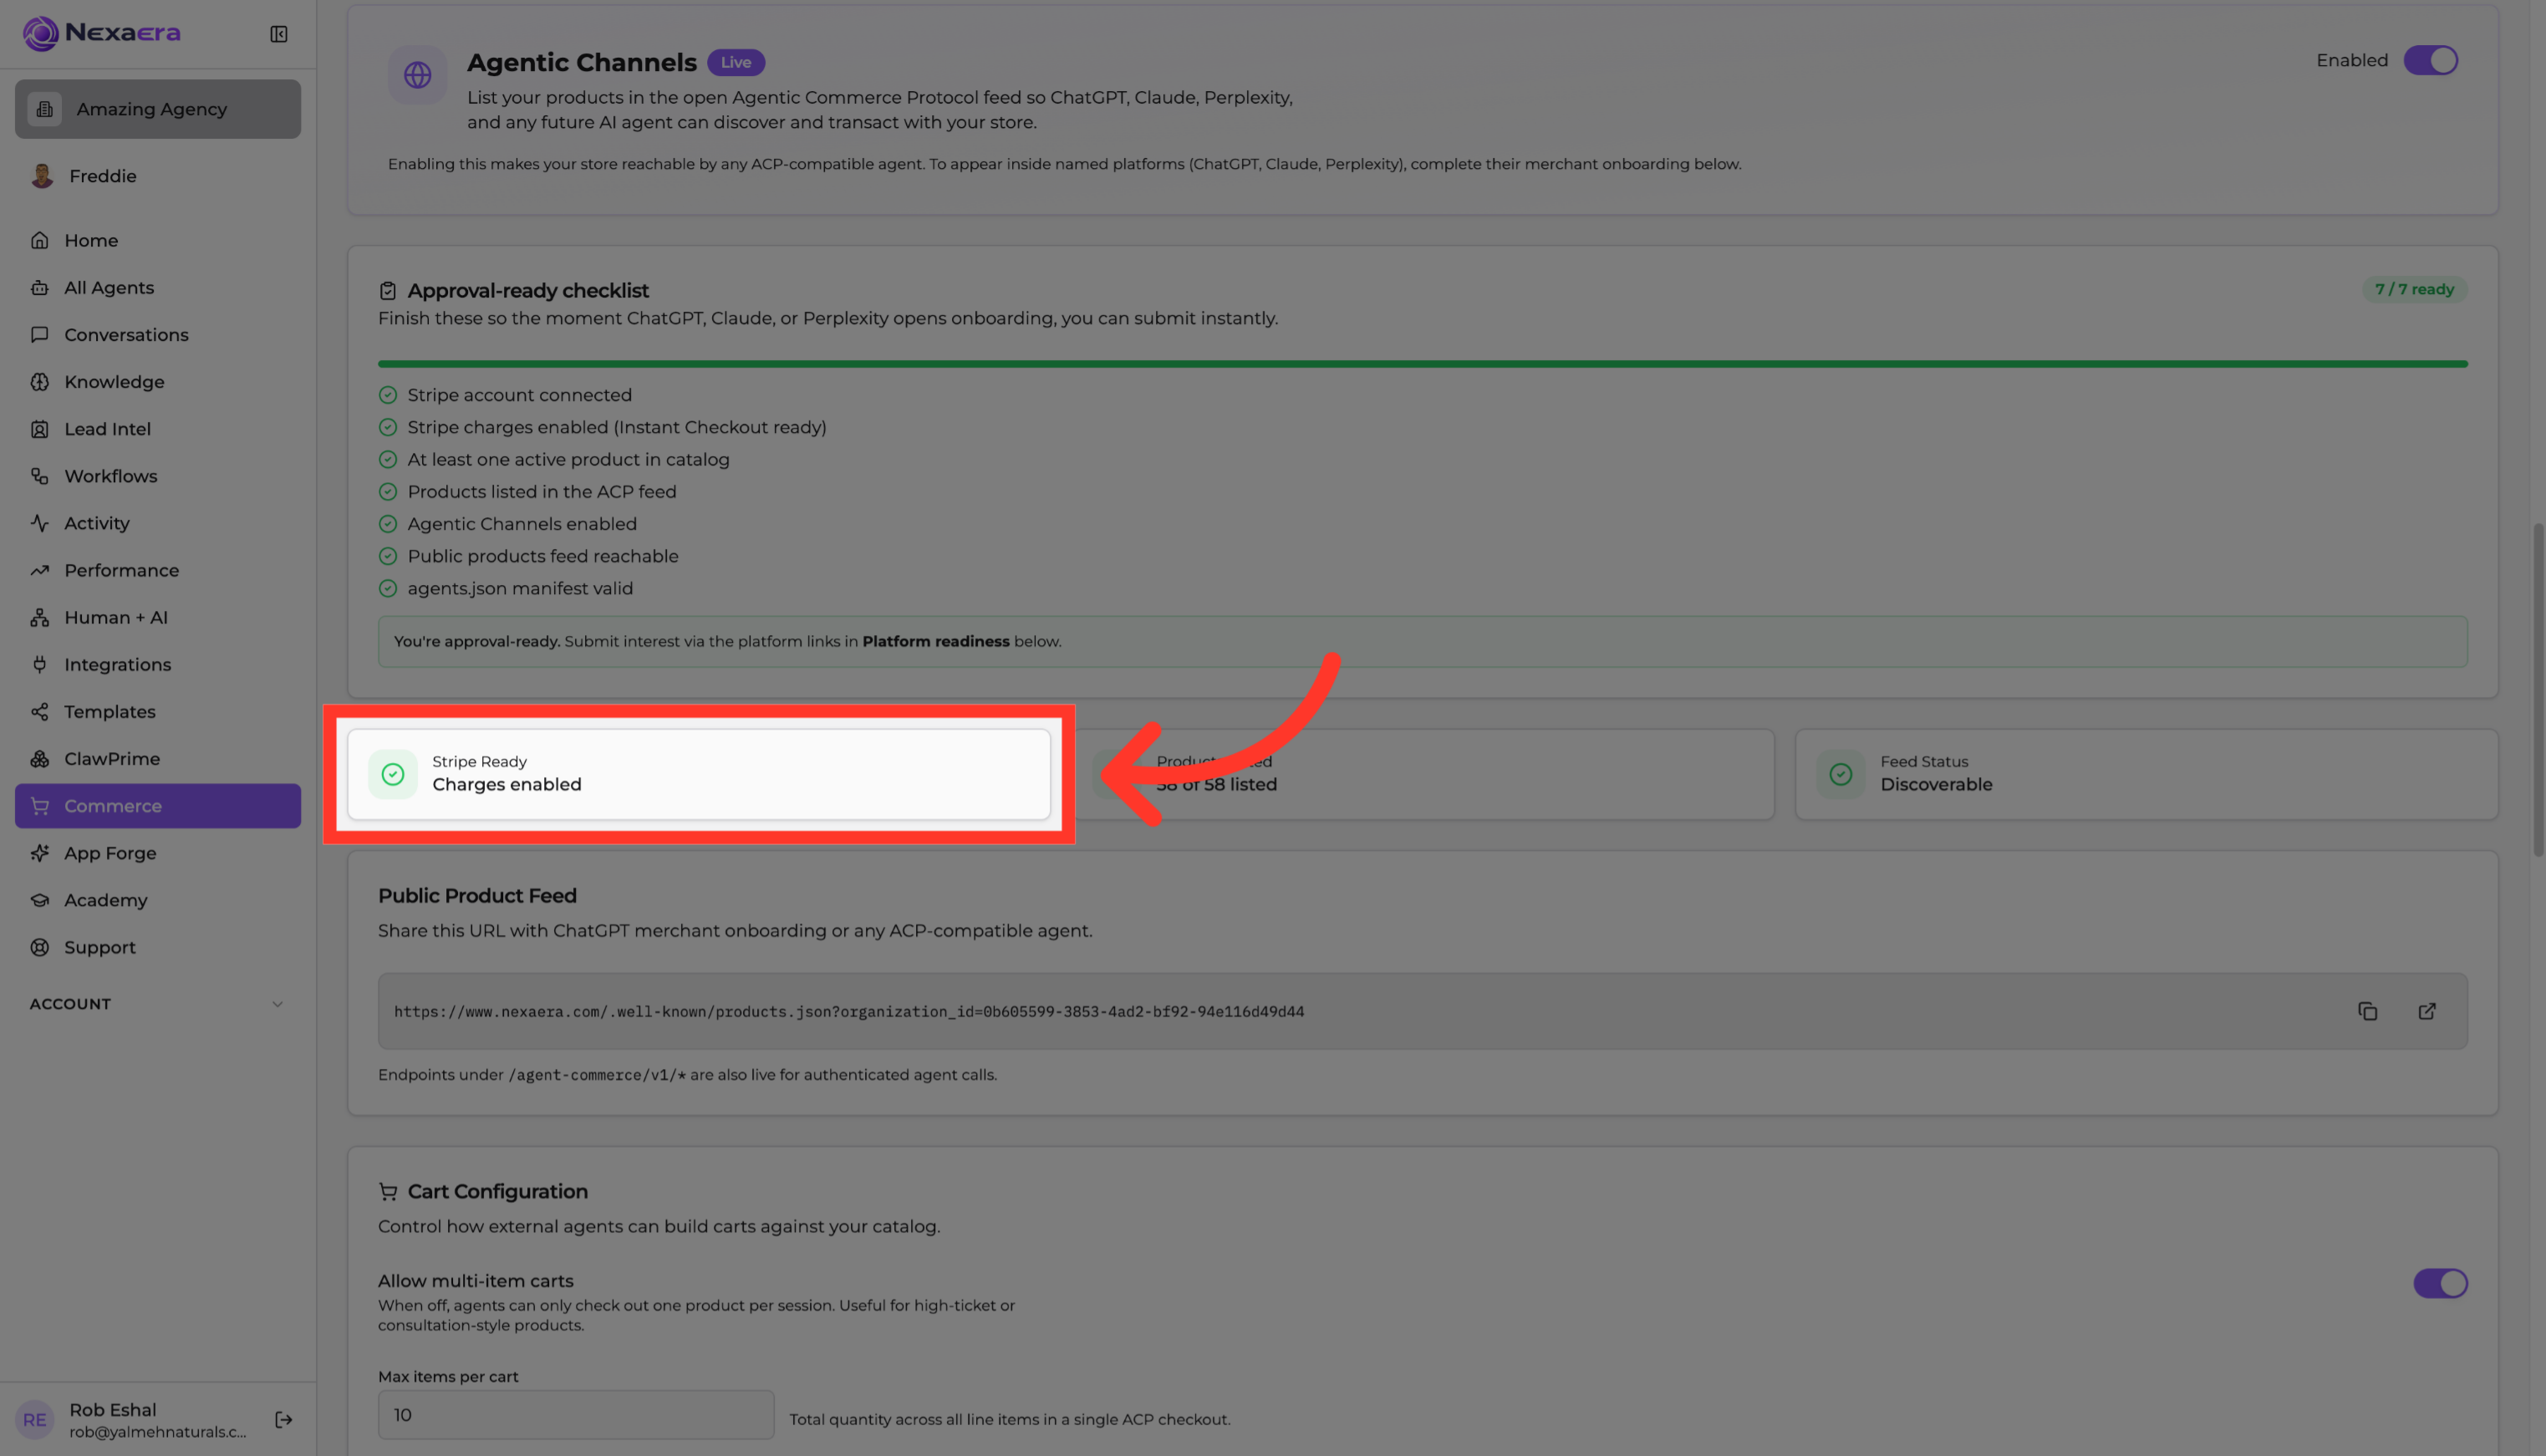
12. Confirm Product Count
Next to that, you'll see a count — something like "fifty-eight of fifty-eight listed." When both numbers match, every product made it into the feed.
13. Review Feed Status
Check the "Feed Status" to confirm your feed is live and healthy. This is your at-a-glance sign that everything's working.

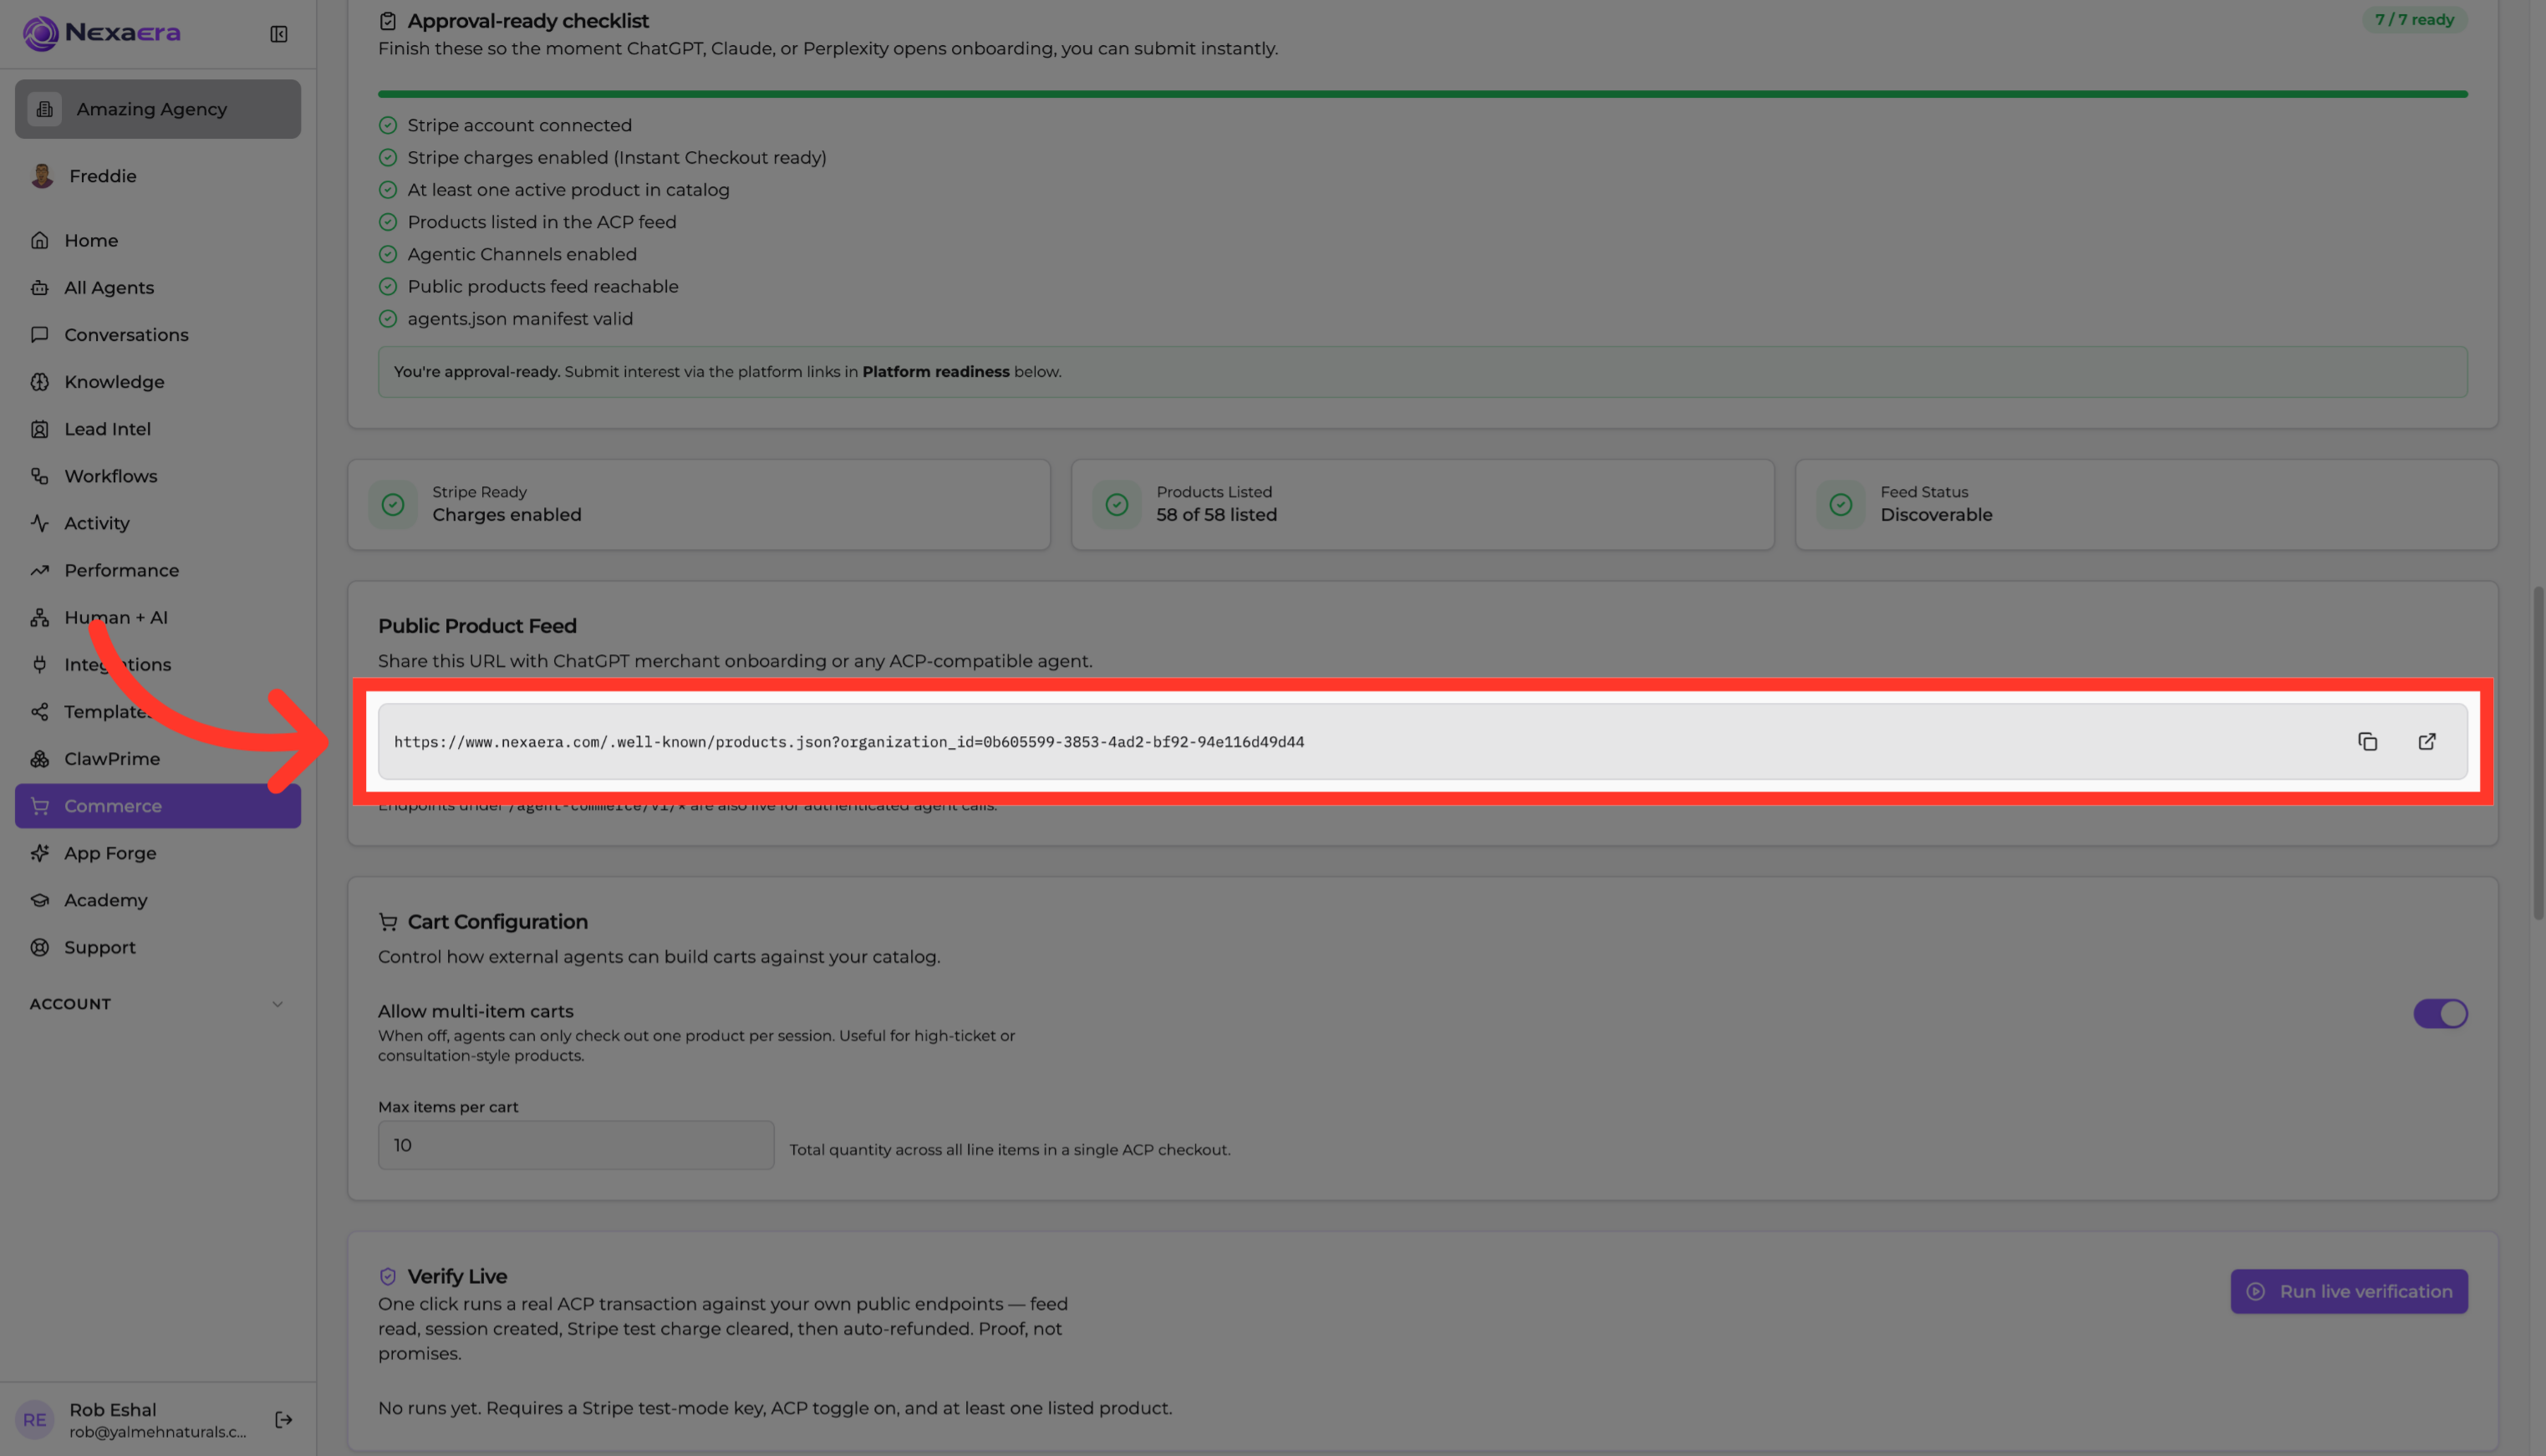
14. Access Product Feed URL
Here's your public product feed — a special web address ending in "products dot j-son." This is the link AI agents read to see your catalog. You can open it to view the raw feed.
15. Open Feed Details
Click into the feed details for a closer look. You'll see the technical specifics of what's being published to agents.

16. View Additional Feed Info
There's a bit more info here worth a glance — extra details about how your feed is set up and served.

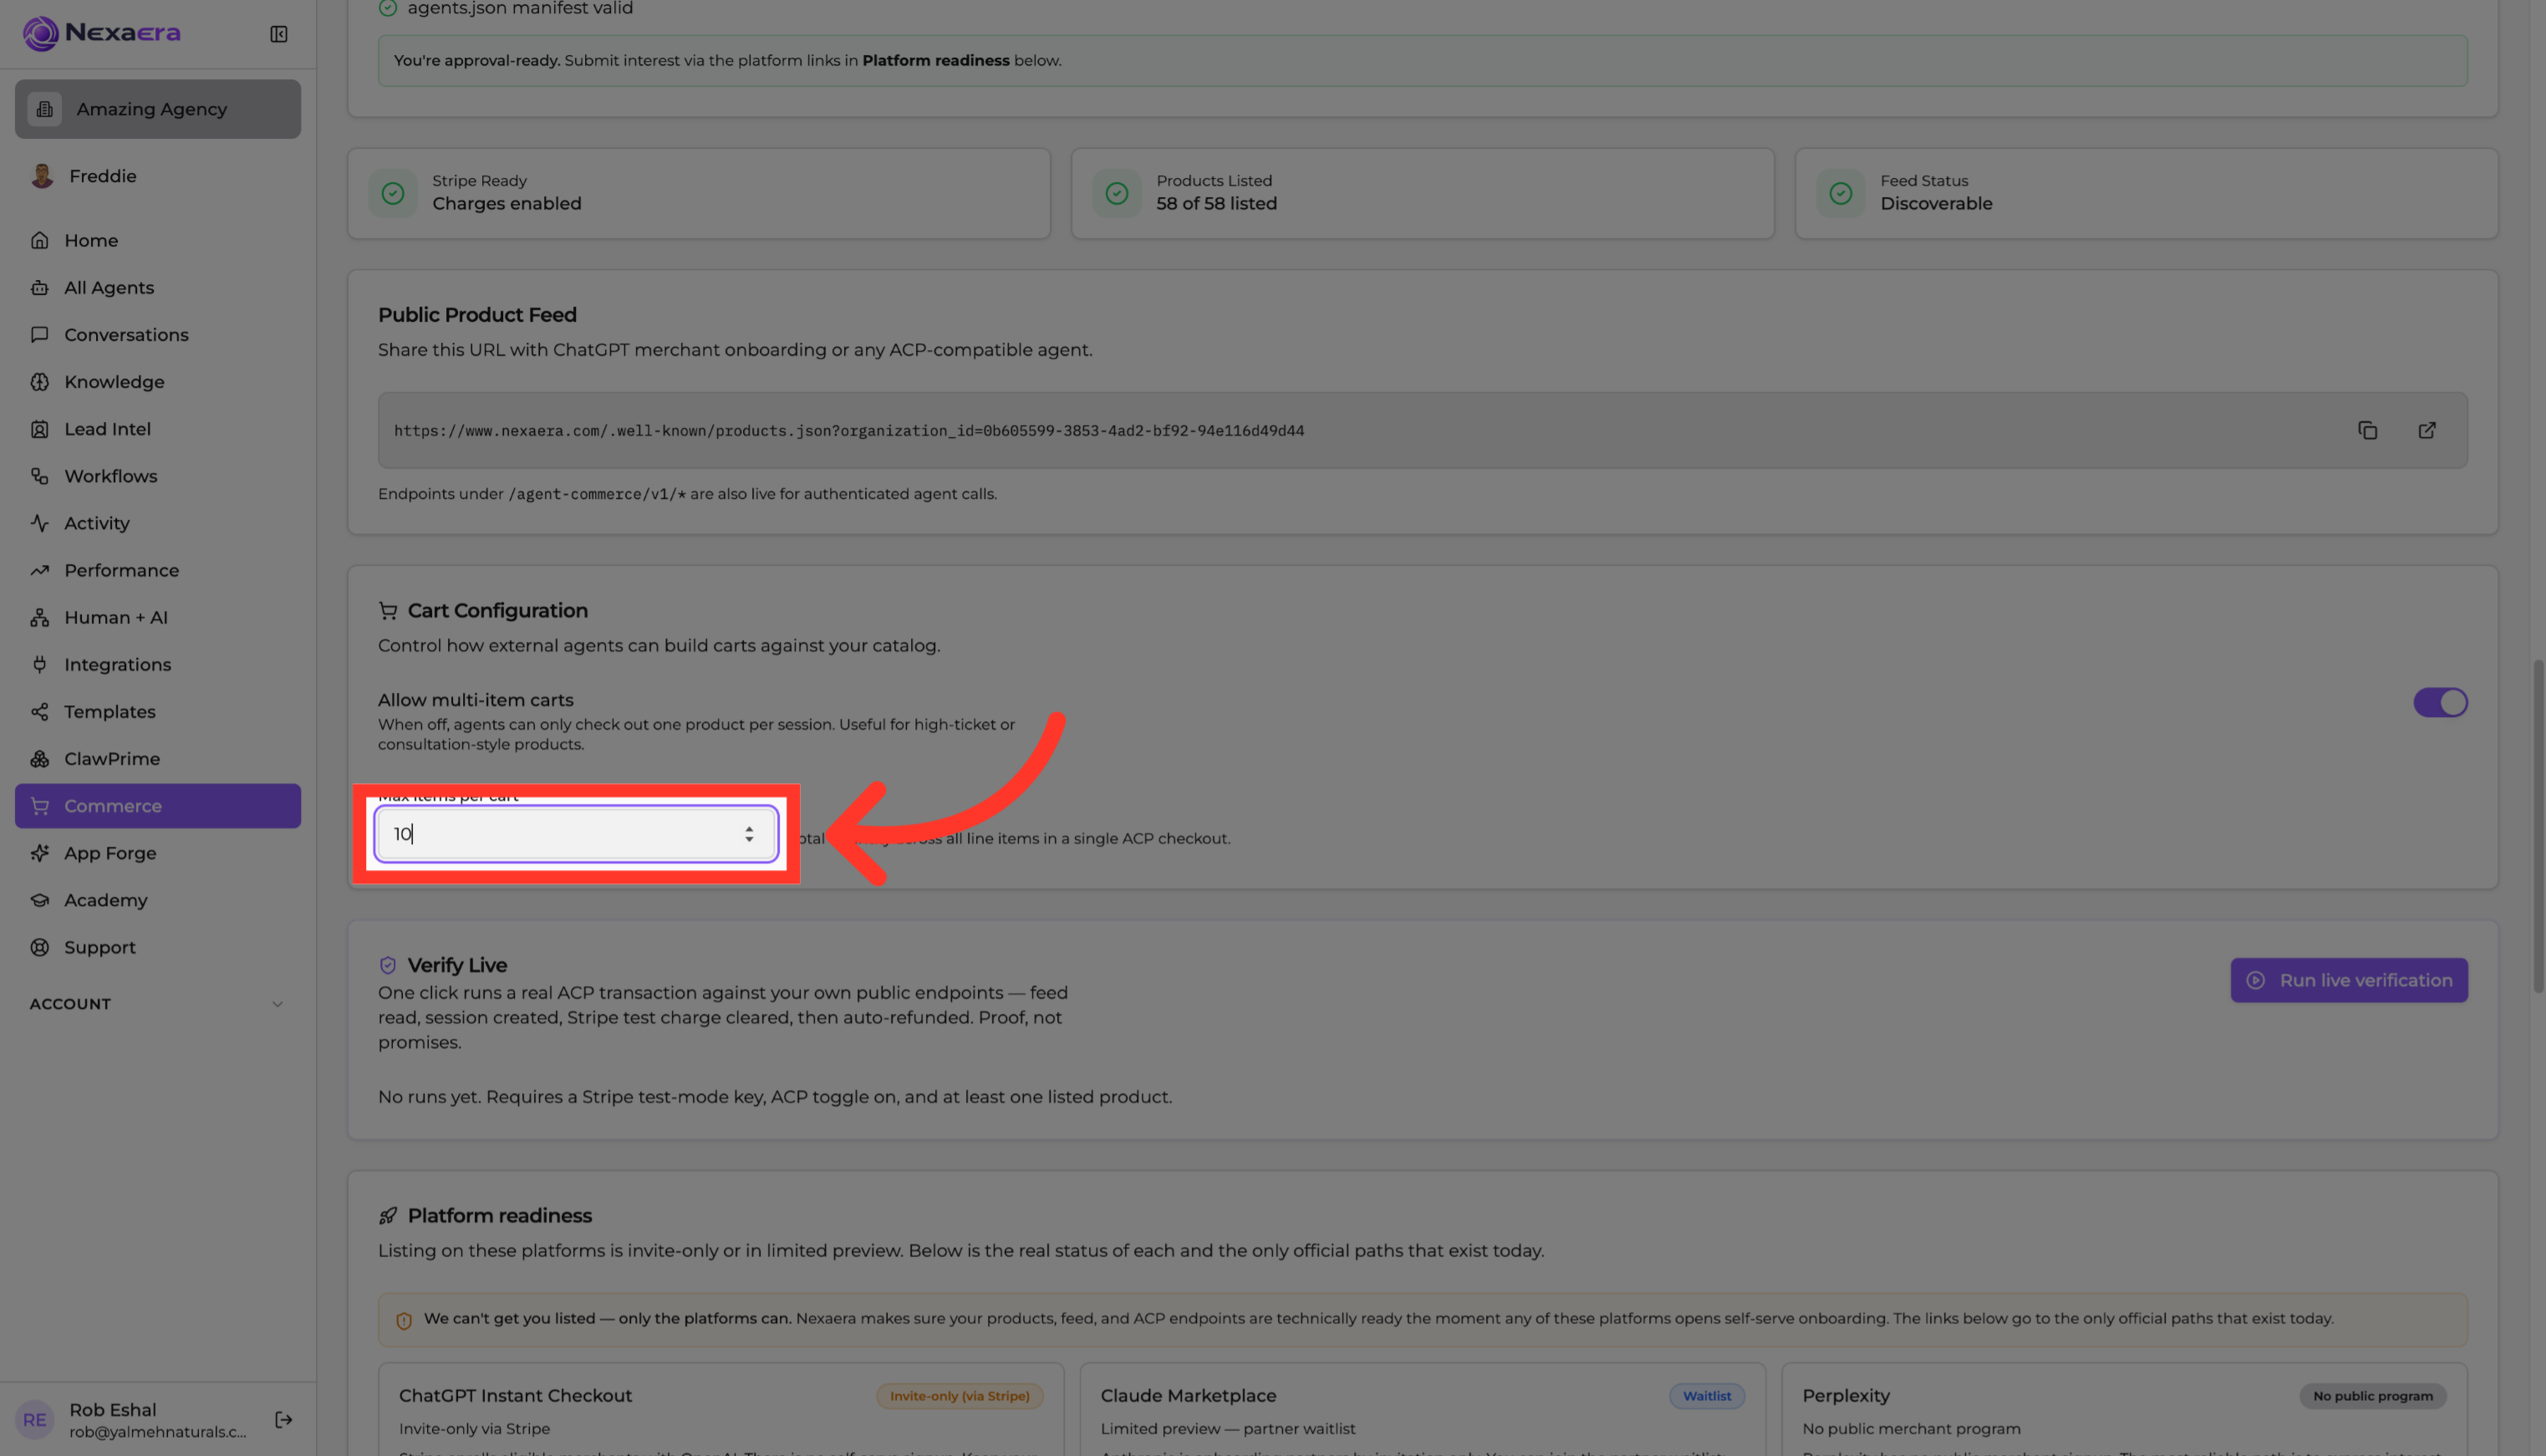
17. Adjust Cart Item Limit
You can also cap how much lands in a single order. Set "Max items per cart" to control the maximum number of products an agent can add per purchase.
18. Understand Live Verification
Before you run it, here's what "Verify Live" does. In one click, it runs a real test transaction against your own endpoints — reading the feed, creating a session, clearing a Stripe test charge, then auto-refunding it. Proof, not promises.

19. Run Live Verification
Now go ahead and click "Run live verification." This fires off that real-time test and confirms your whole commerce integration is working, end to end.

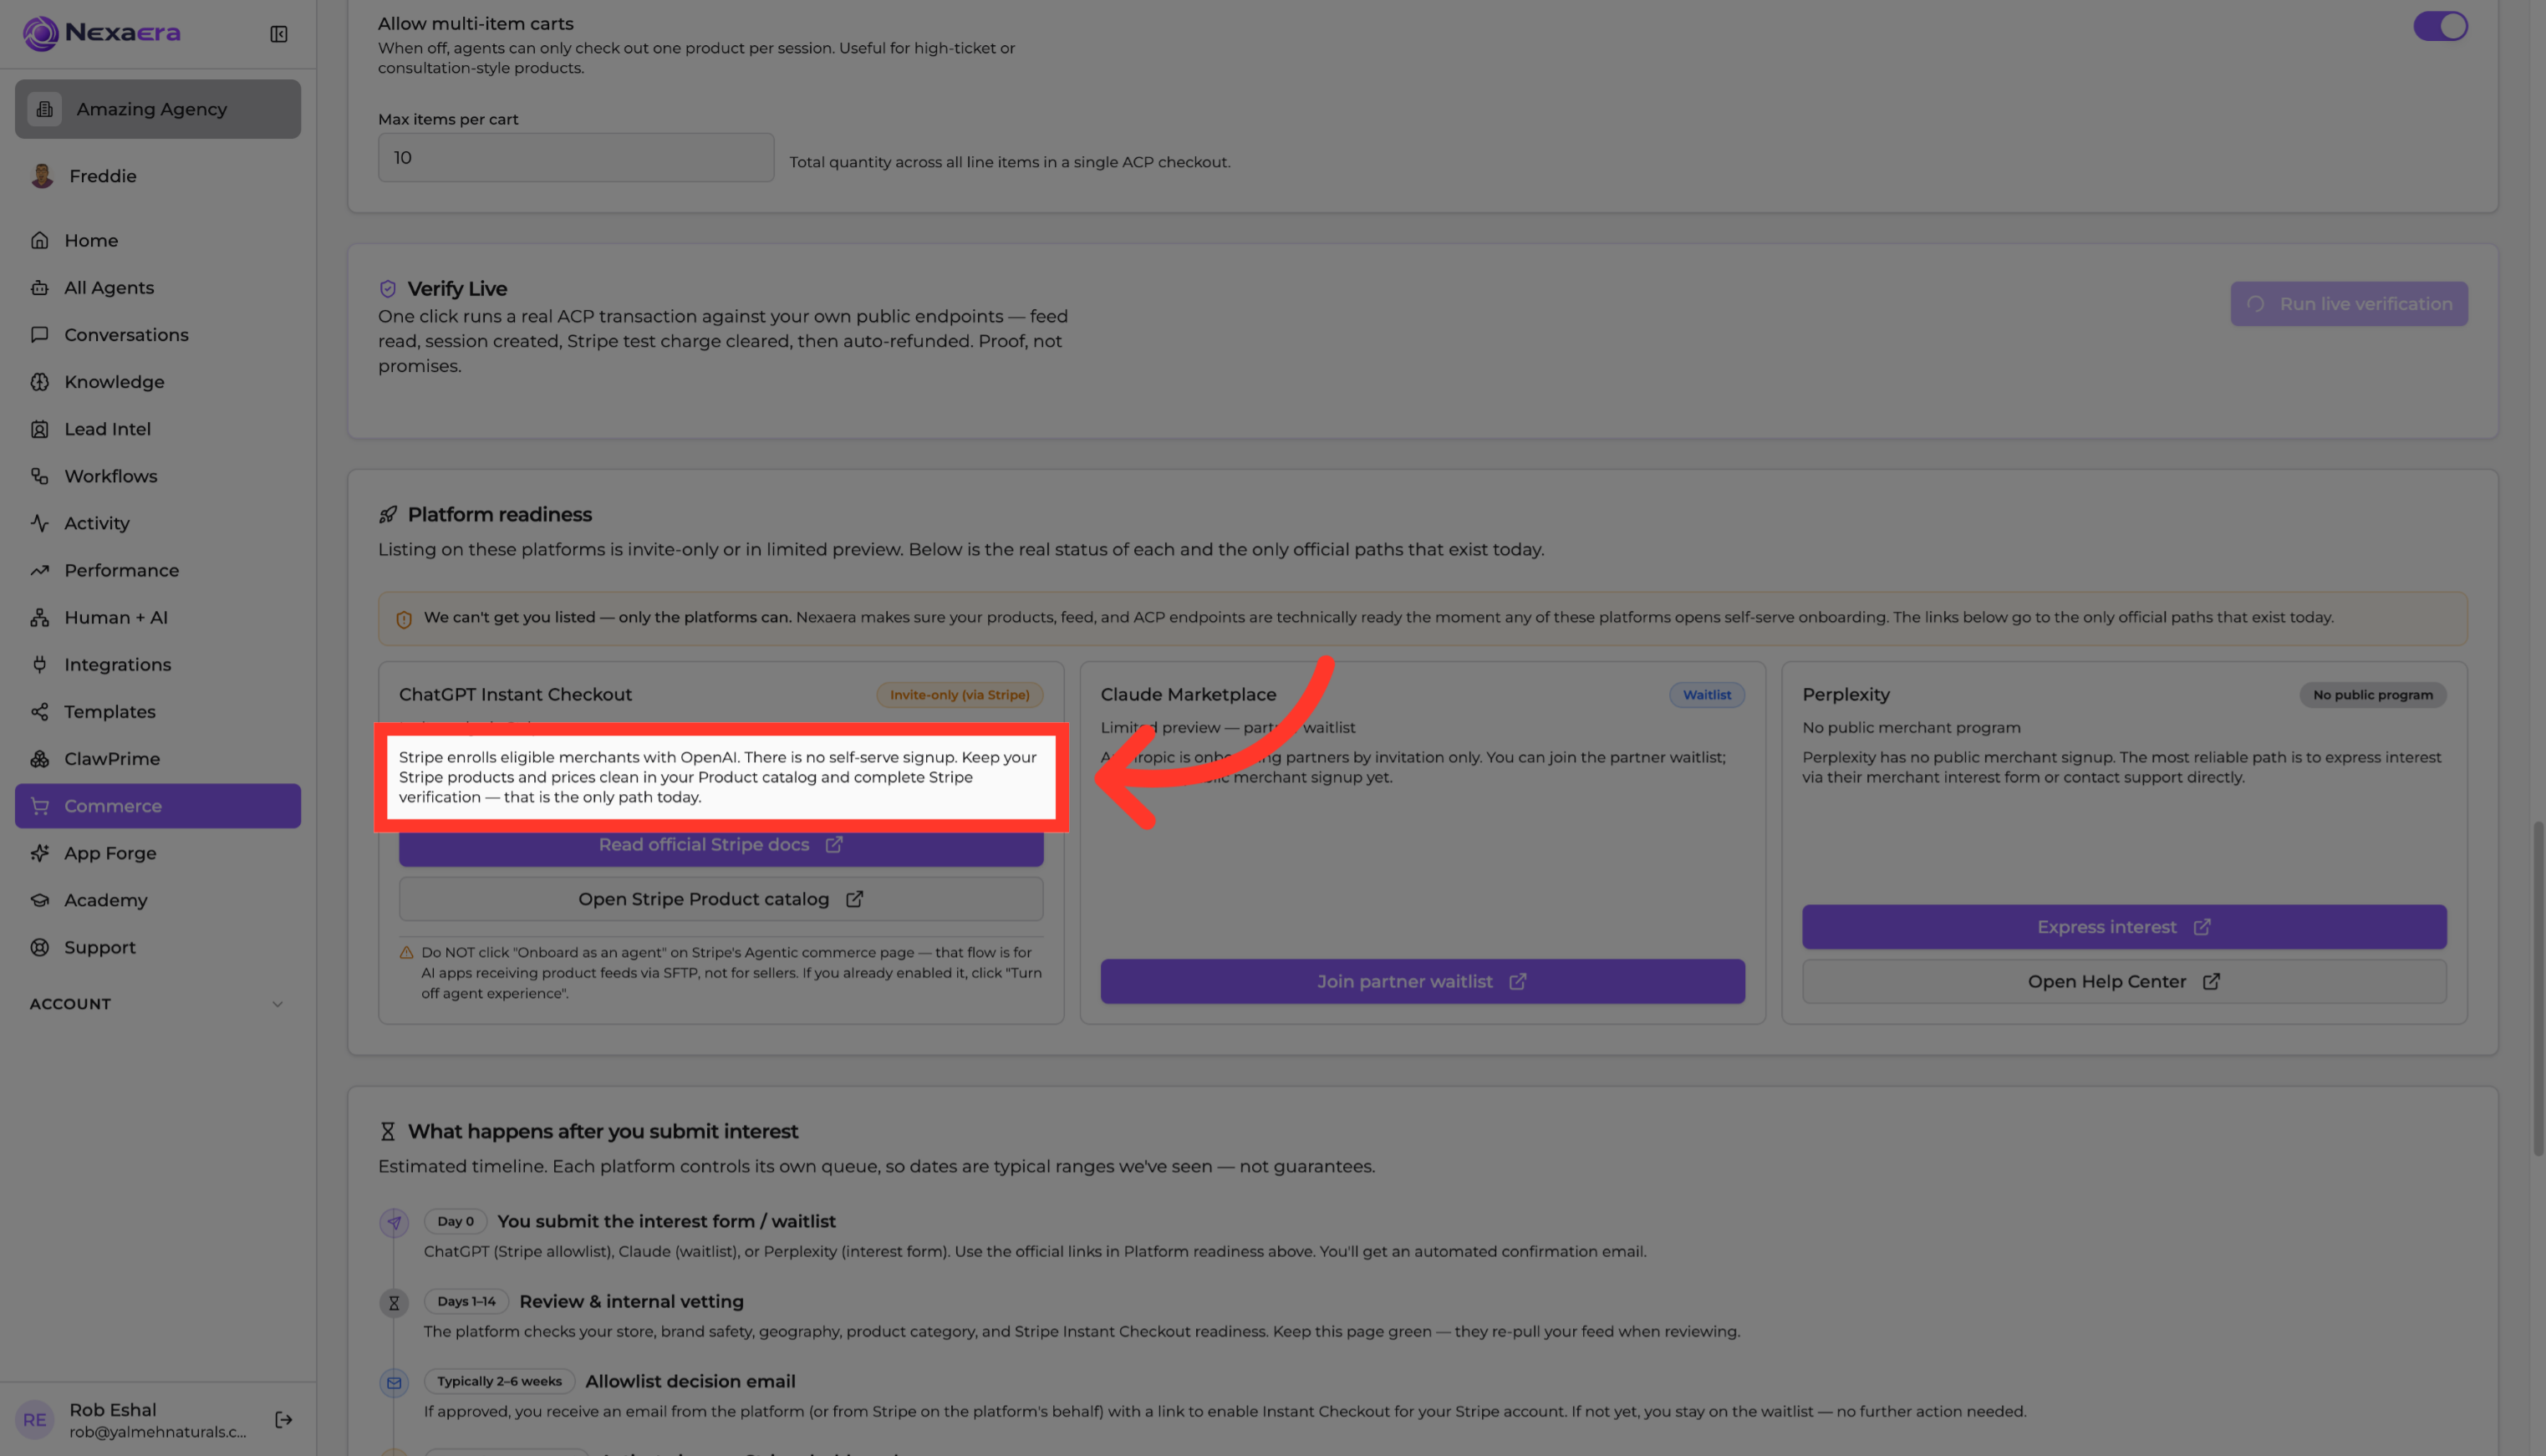
20. Review Stripe Enrollment
Scroll down to the platform requirements. For ChatGPT, Stripe enrolls eligible merchants with OpenAI — there's no self-serve signup. Your job is to keep your Stripe products and prices clean and finish Stripe verification.
21. Check Anthropic Onboarding
Next is Anthropic. Right now they're onboarding partners by invitation only. You can join the partner waitlist, but there's no public merchant signup just yet.

22. Learn Perplexity Signup
Then there's Perplexity. They also have no public merchant signup. Your best bet is to express interest through their merchant interest form, or reach out to their support directly.

23. Note Activation Timeline
Keep your expectations realistic on timing. Once you're activated, you typically go live in the platform within about twenty-four to seventy-two hours.

24. Run System Checks
Click "Run checks" to run a quick set of diagnostics. It confirms everything on your end is configured correctly and ready for agent traffic.
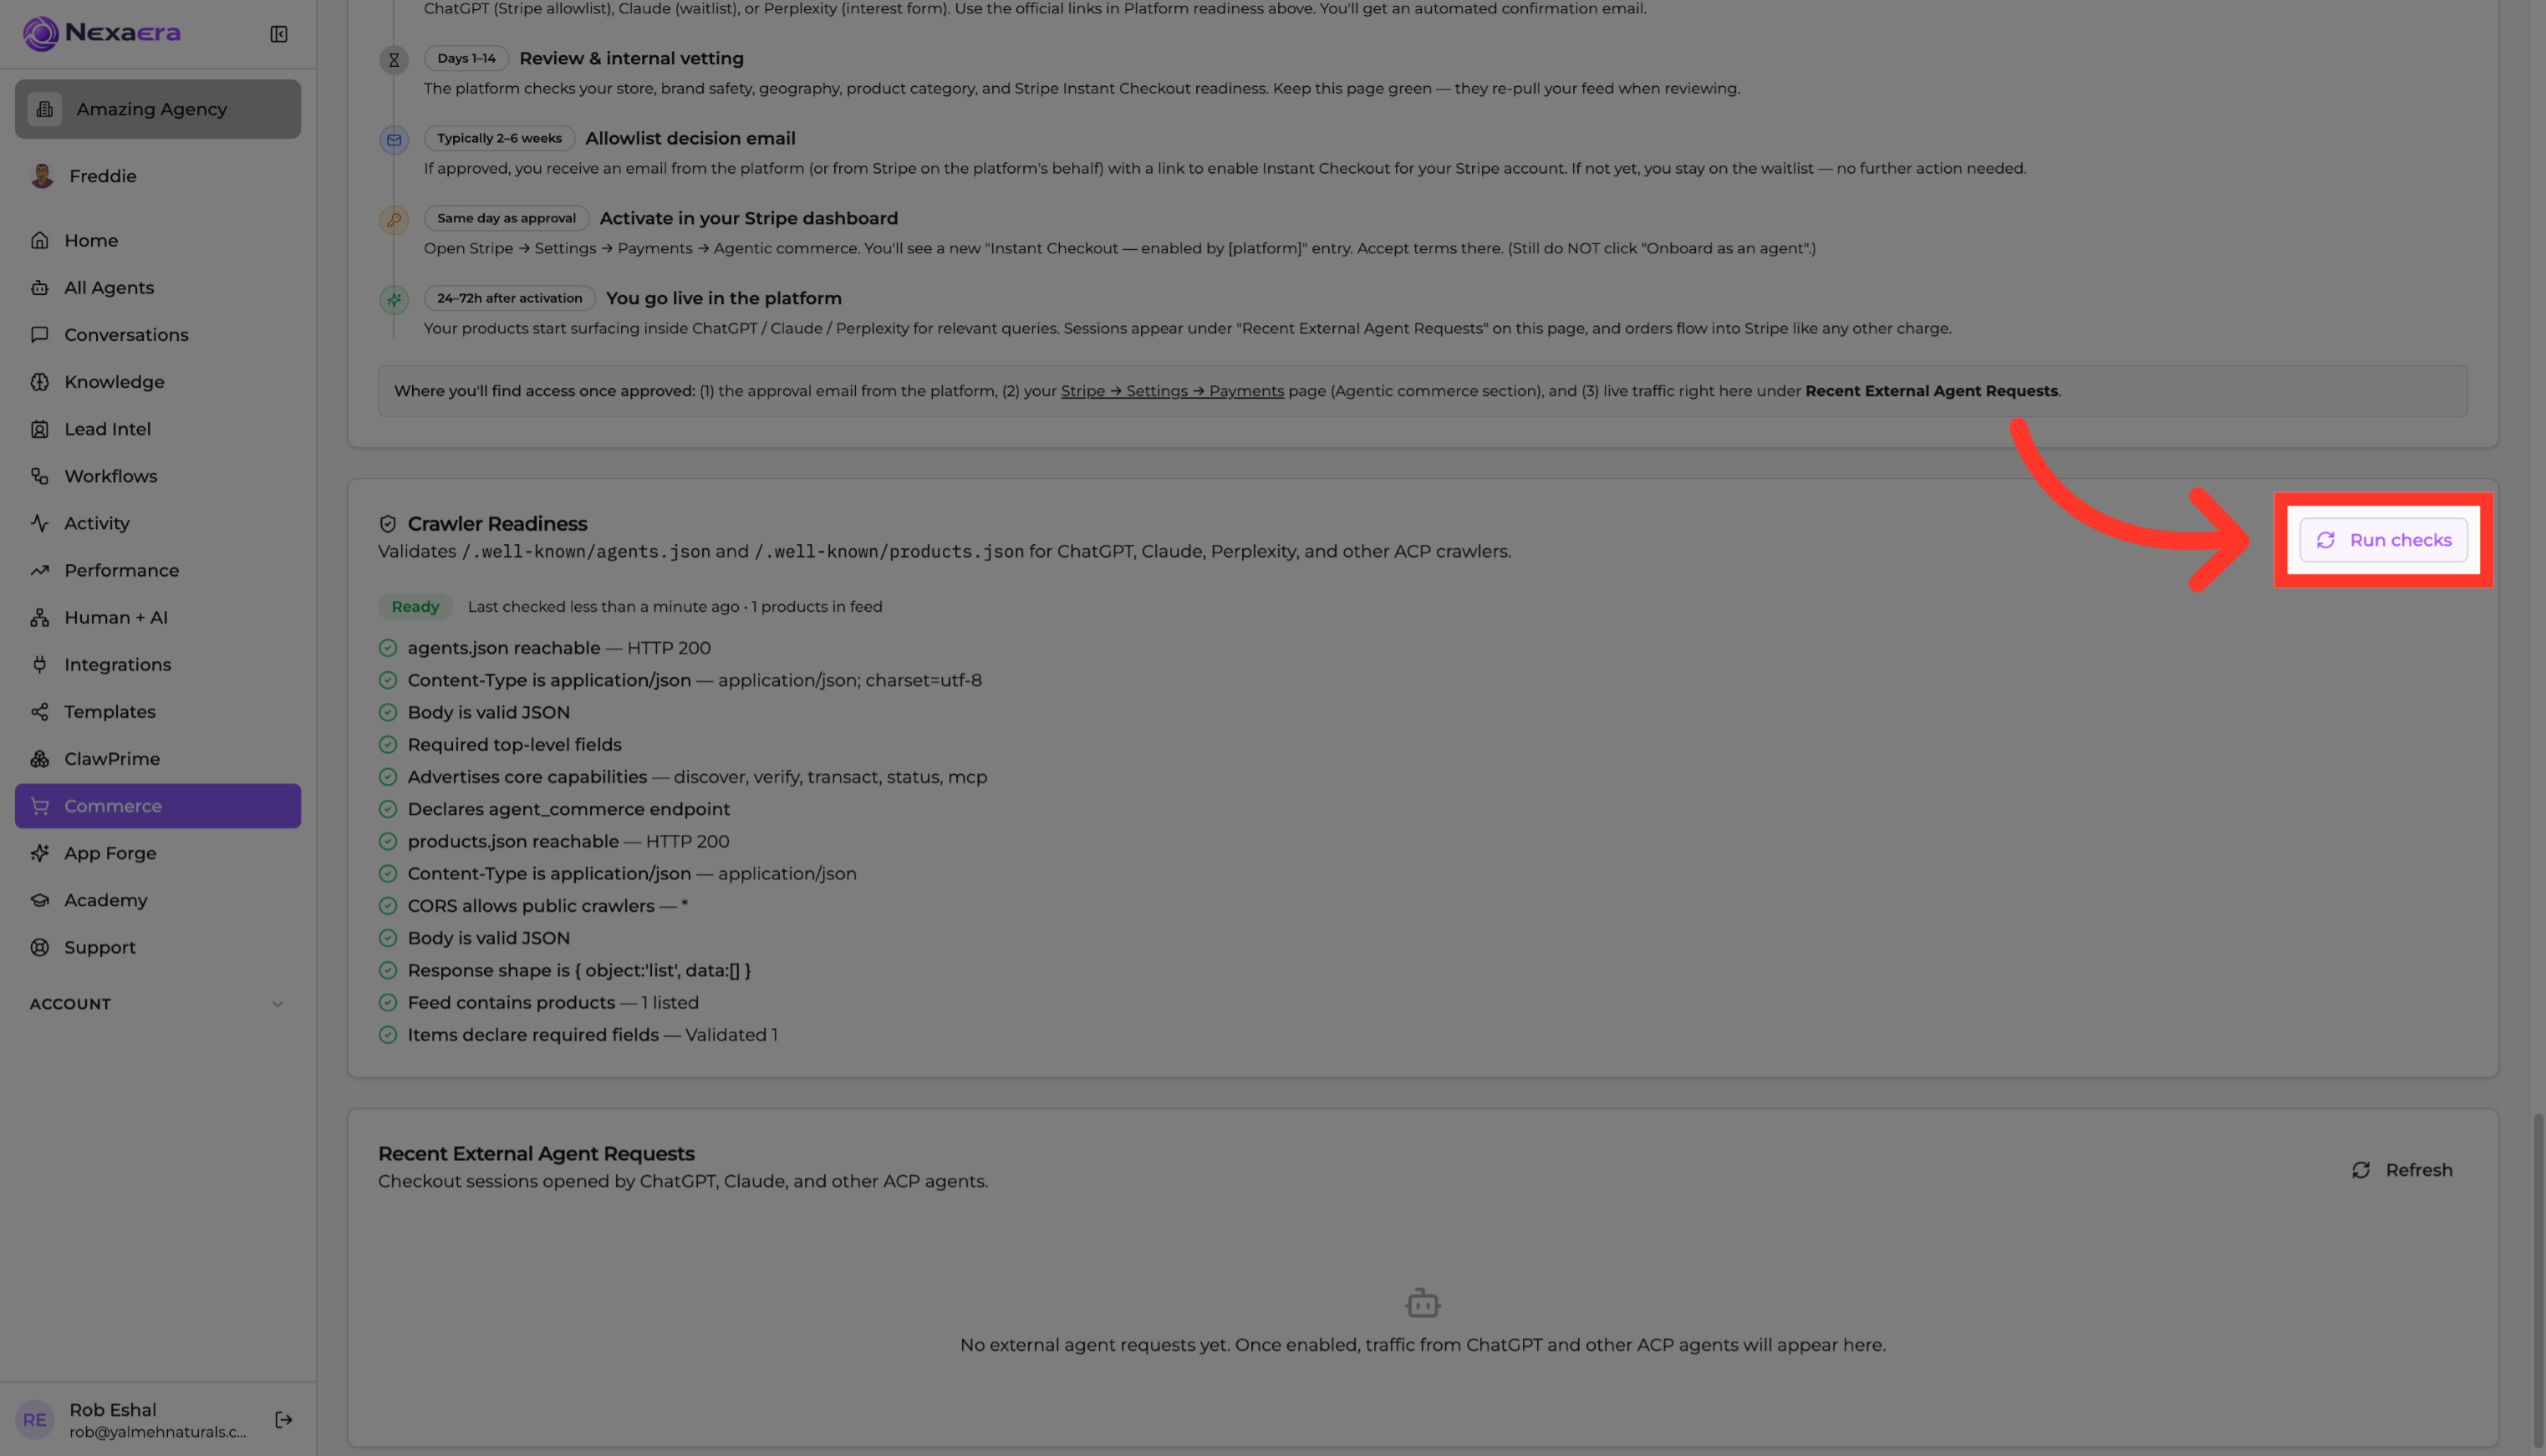
25. Monitor Agent Requests
Finally, this is where you'll watch it all happen. Once you're enabled, requests from ChatGPT and other AI agents show up right here. For now it's quiet — but this is your live traffic feed.

And that's Agentic Channels, fully set up! Your products are published, verified end to end, and ready for AI agents to discover and buy. Get onboarded with the platforms, then watch the requests roll in. See you in the next one.
Still need help? Ask the team