Configure Agent Verification And Security In NexaEra.
"Trust and control — that's what this tab is all about. You can earn a verified badge on your public chat page, decide exactly who can talk to your agent, protect yourself from abuse, and set the rules for when a real human steps in. In this walkthrough, I'll take you through the whole Security tab, top to bottom."
Written By Fred Yalmeh
Last updated About 2 months ago
Go to www.nexaera.com
1. Introduction
"Here's what you'll be able to do by the end: verify your identity for a trust badge, set your agent's visibility and rate limits, add a disclaimer and info banner, and configure human support handover. Let's get into it."

2. Access All Agents Section
"Start by clicking 'All Agents' in the left menu. This opens the list of every agent in your workspace."

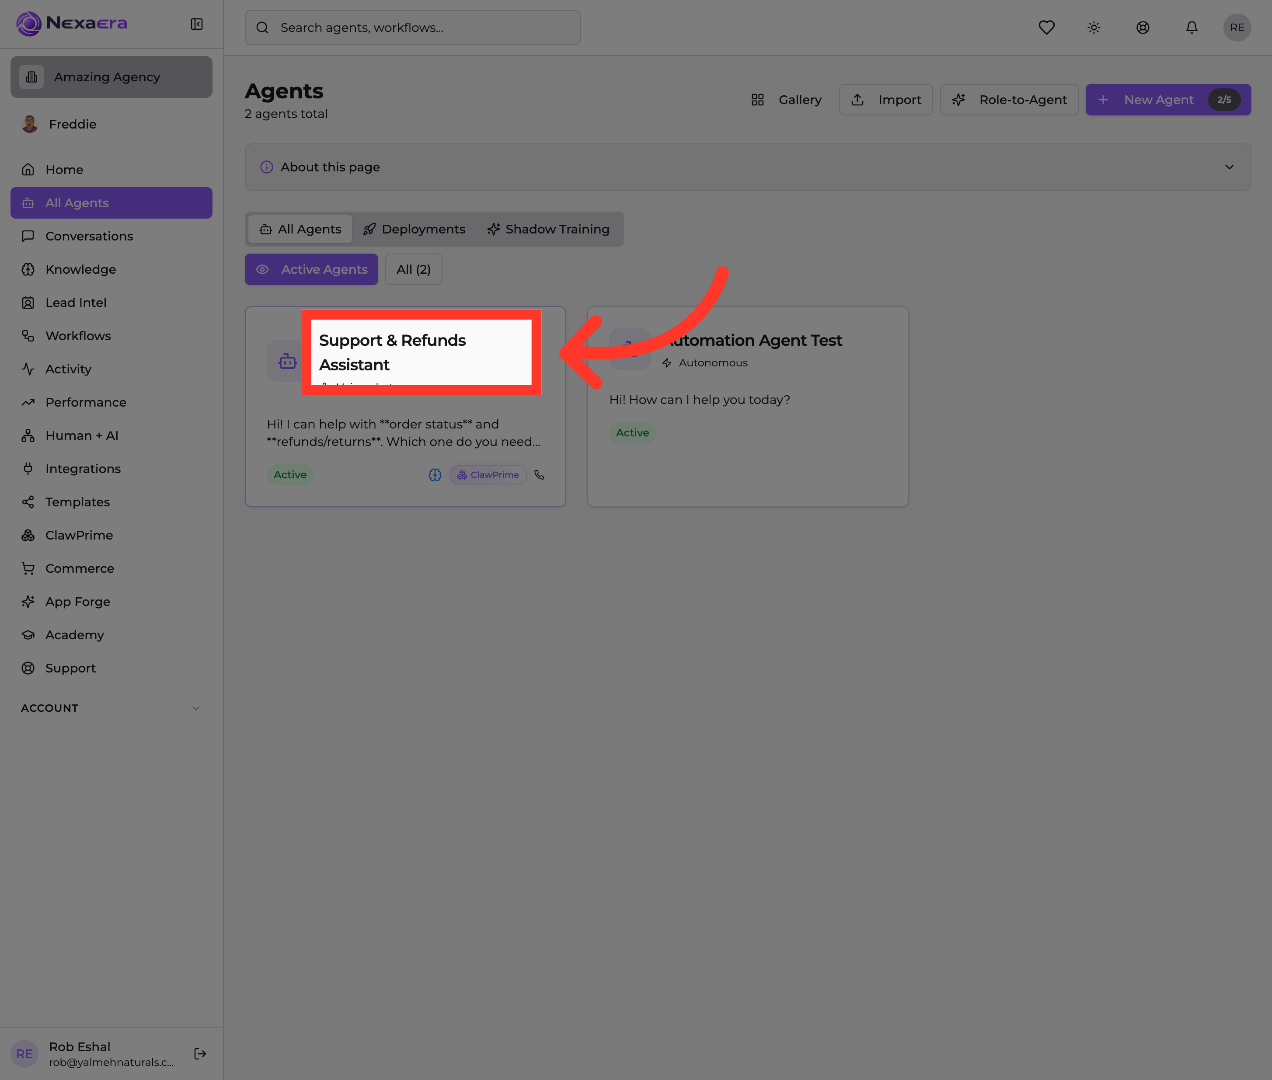
3. Open Support & Refunds Assistant
"Click the agent you want to work on — here it's the Support & Refunds Assistant. Pick an existing agent, or create a new one if you're starting fresh."
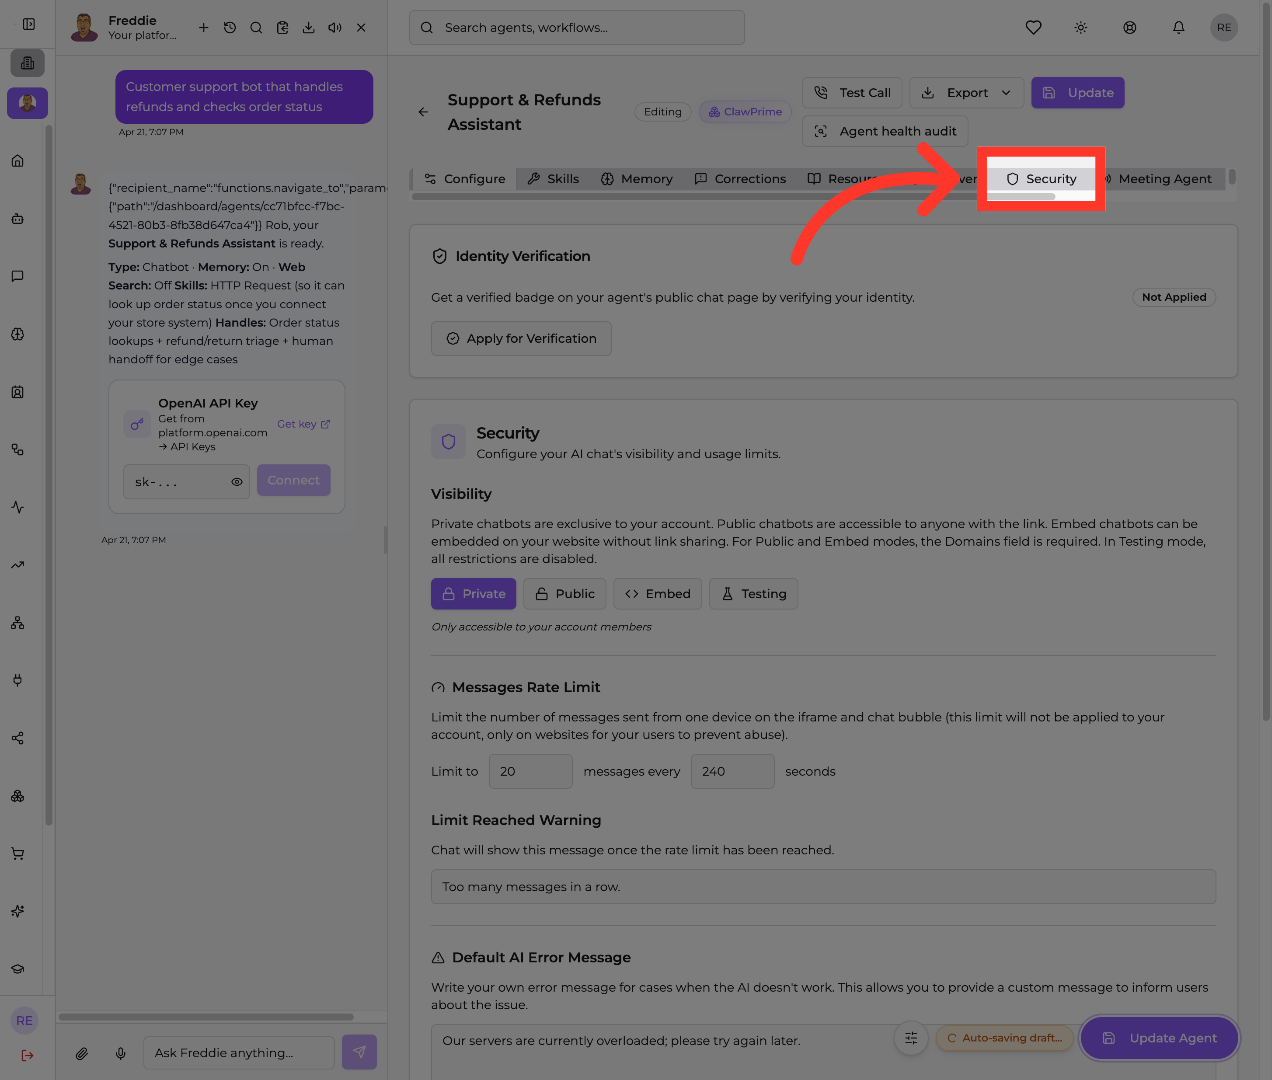
4. Navigate to Security Settings
"Along the top of the agent editor, click the 'Security' tab. This is where you control your agent's visibility, usage limits, and safety settings — plus identity verification right at the top."
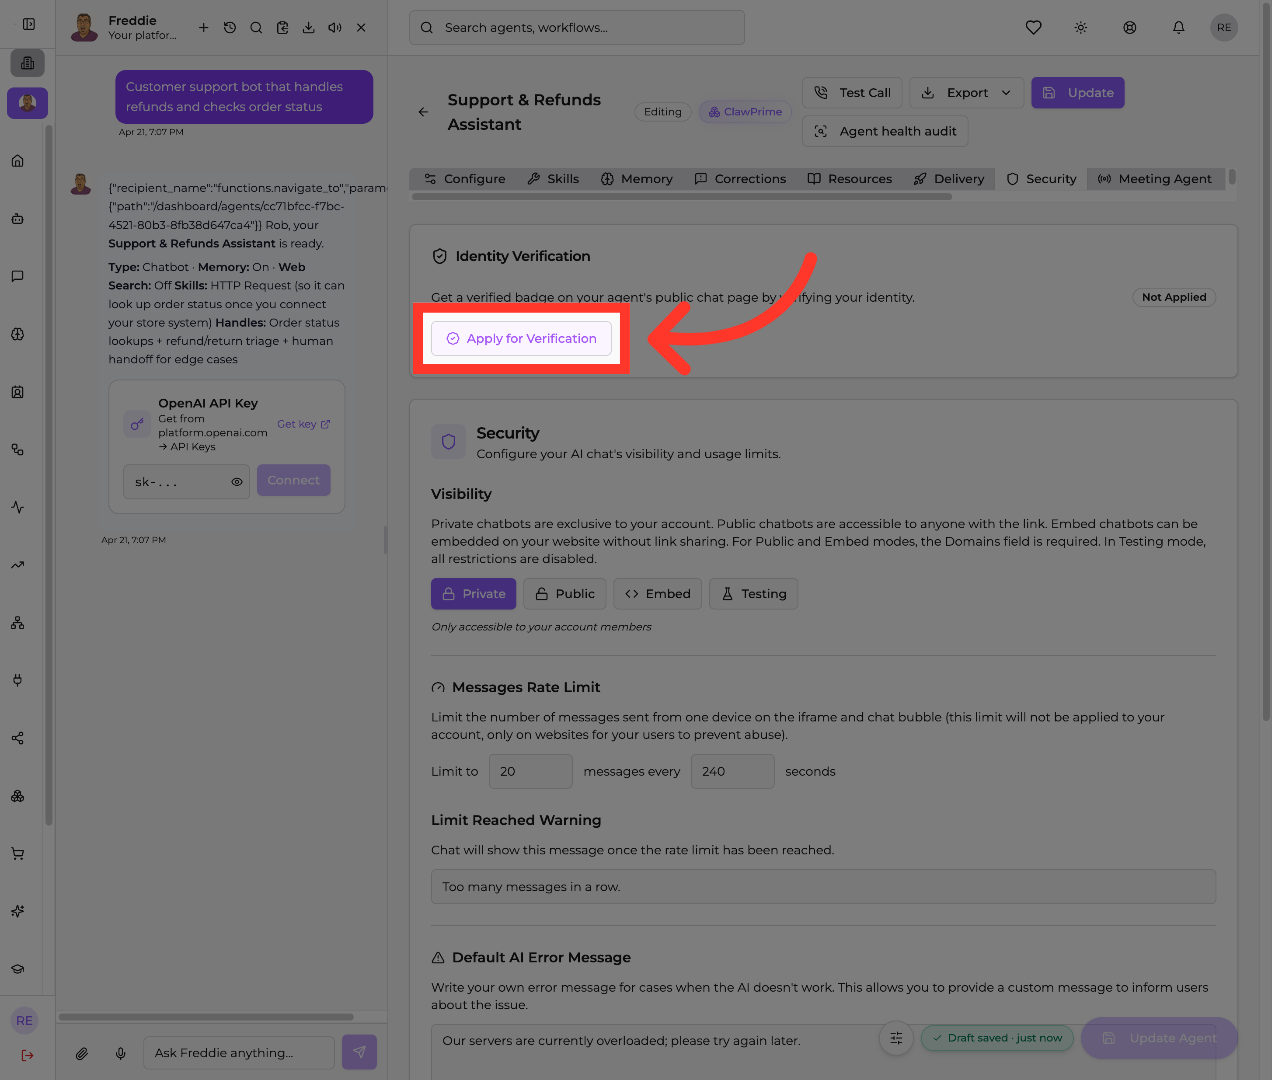
5. View Verification Badge Info
"First up is Identity Verification. Verifying your identity earns your agent a verified badge on its public chat page — a simple trust signal that tells visitors your agent is legitimate. Right now you'll see it marked 'Not Applied.'"

6. Start Verification Application
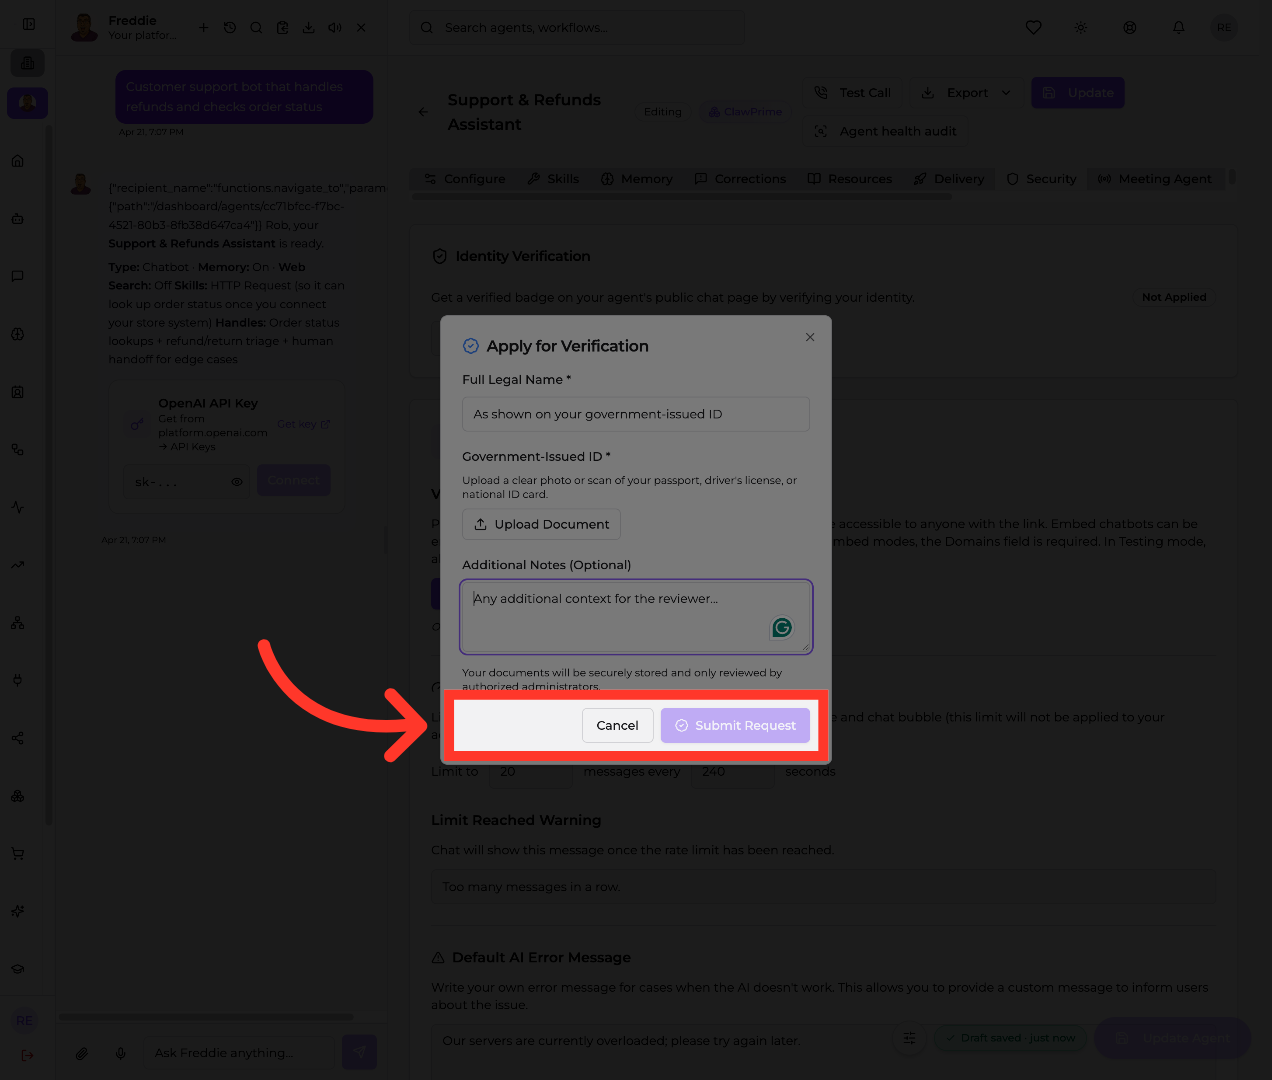
"Click 'Apply for Verification' to get started. A short form opens where you'll submit your details for review."
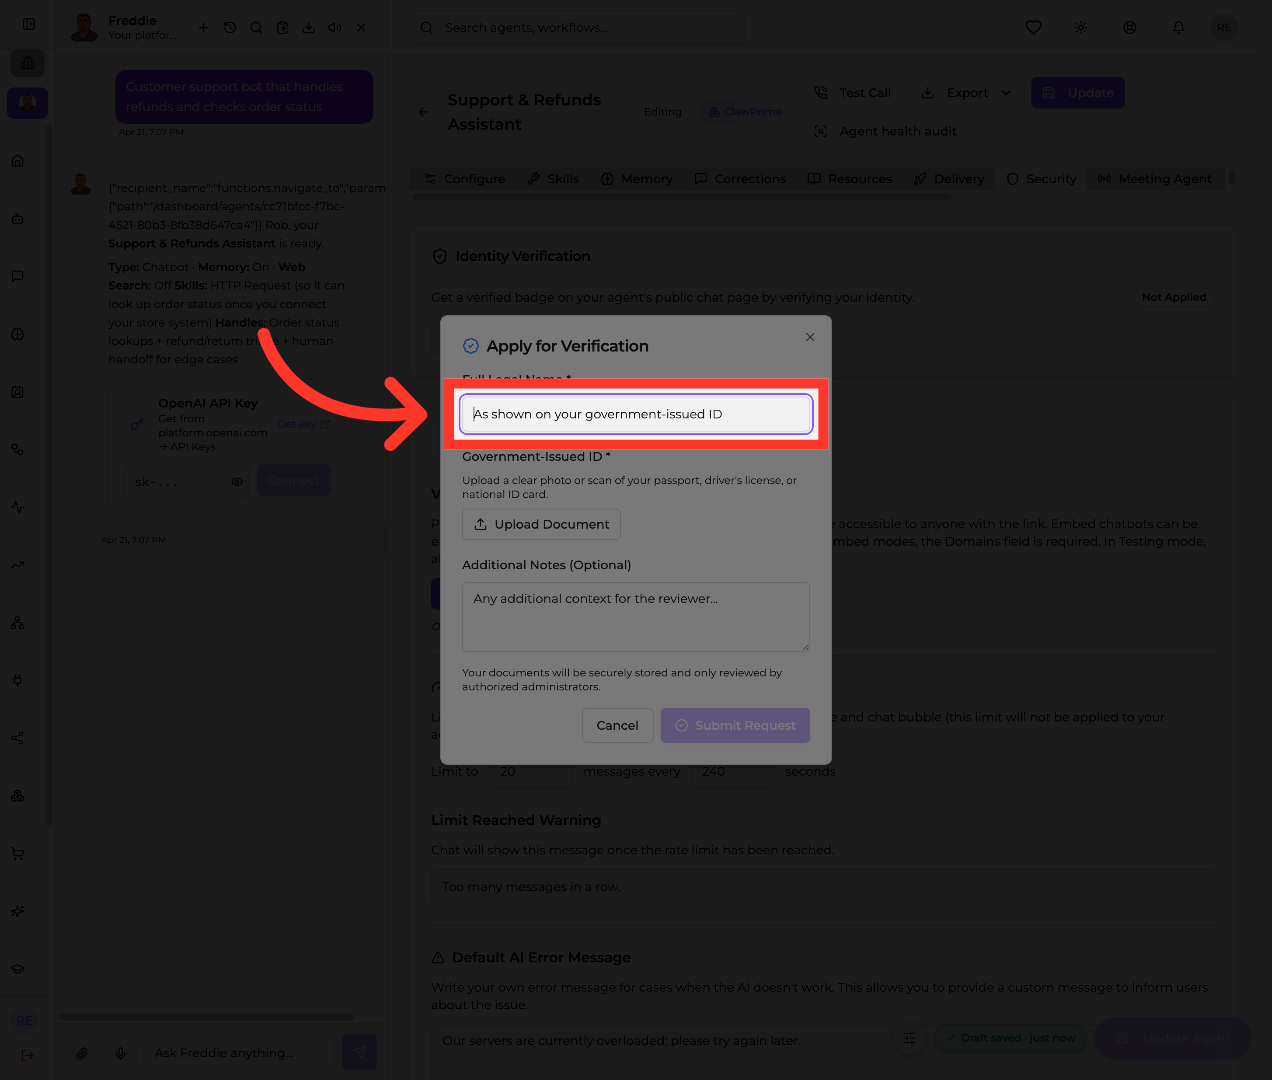
7. Select ID Verification Option
"In the form, click the first field and type your full legal name — exactly as it appears on your government-issued ID. If it doesn't match, your application will get held up, so double-check the spelling."
8. Upload Verification Document
"Next, click 'Upload Document' and add a clear photo or scan of your passport, driver's license, or national ID card. Make sure the whole document is visible and easy to read."

9. Add Reviewer Context
"There's also an optional notes box. Click 'Any additional context for the reviewer' and add anything that might help — your business details, or an explanation if your name appears differently anywhere. Your documents are stored securely and reviewed only by authorized administrators."

10. Cancel or Submit Verification
"When everything's filled in, click 'Submit Request' to send it off for review. Not ready yet? Click Cancel — nothing is saved and you can come back to it any time."
11. Select Public Visibility
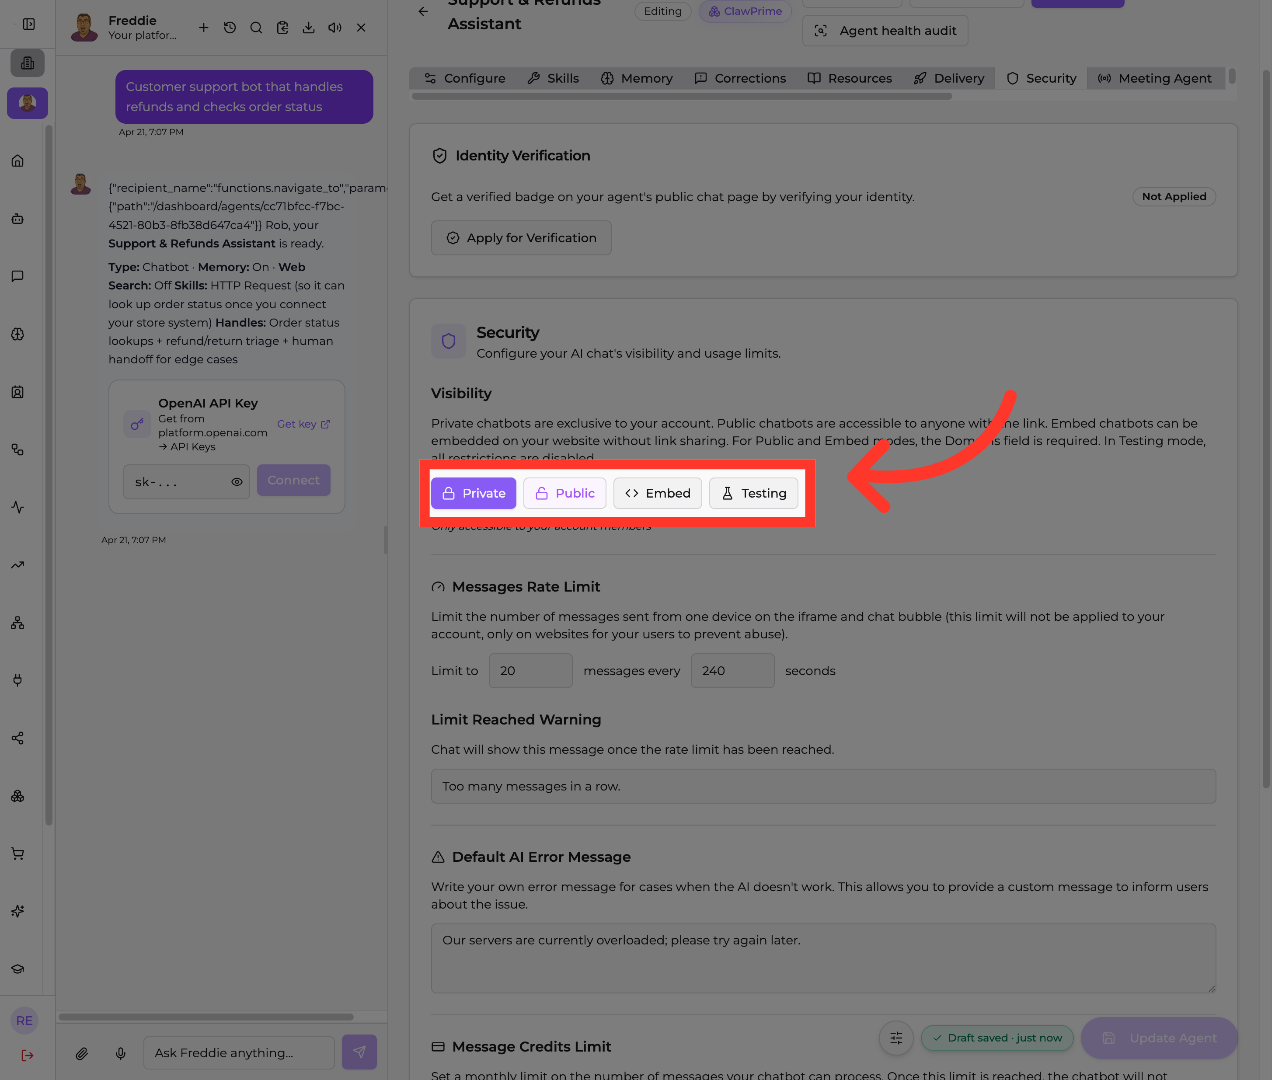
"Now let's set who can reach your agent. Under Visibility, you've got four options. 'Private' keeps it to your account members only. 'Public' means anyone with the link can chat. 'Embed' lets it live on your website without link sharing. And 'Testing' removes all restrictions while you experiment. For Public and Embed, you'll also need to fill in the Domains field."
12. Select 20 Items Display
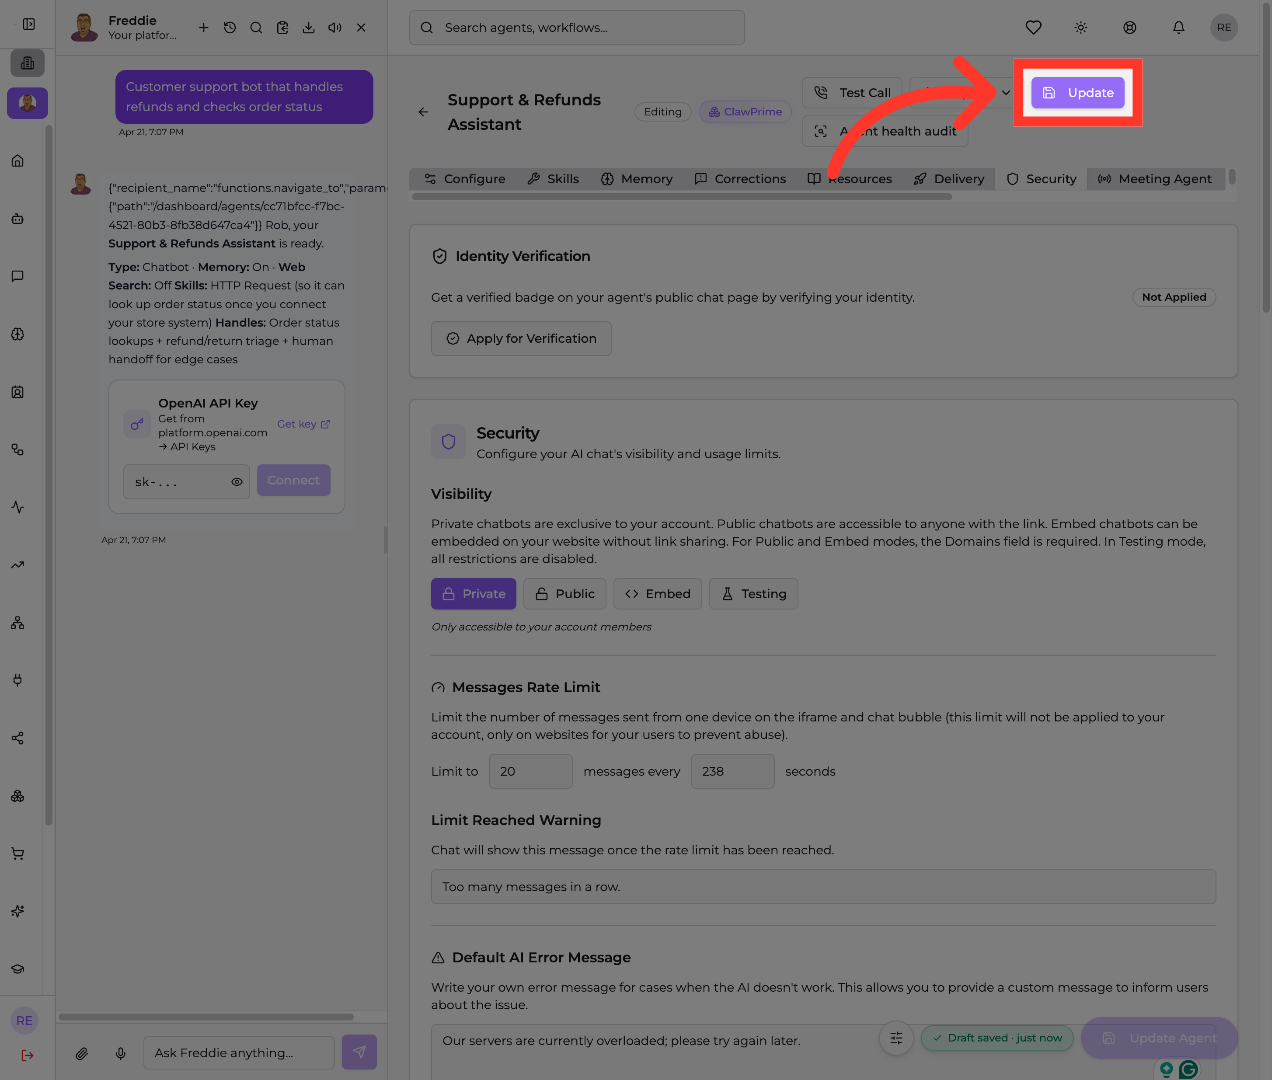
"Scroll to 'Messages Rate Limit.' This caps how many messages a single device can send through the iframe or chat bubble — your main defense against abuse. Set 'Limit to' 20 messages every 240 seconds, or adjust to whatever suits your traffic. Note this only applies on your websites, not your own account."

13. Select Message Limit Warning
"Just below, click the 'Limit Reached Warning' box. This is the message someone sees when they hit that cap. Something like 'Too many messages in a row' works — keep it friendly, not scolding."

14. Select Server Overload Message
"Next, click the 'Default AI Error Message' field. This is your fallback when the AI doesn't respond properly. Write something reassuring like 'Our servers are currently overloaded; please try again later' so visitors aren't left staring at a broken chat."

15. Set Negative Value Option
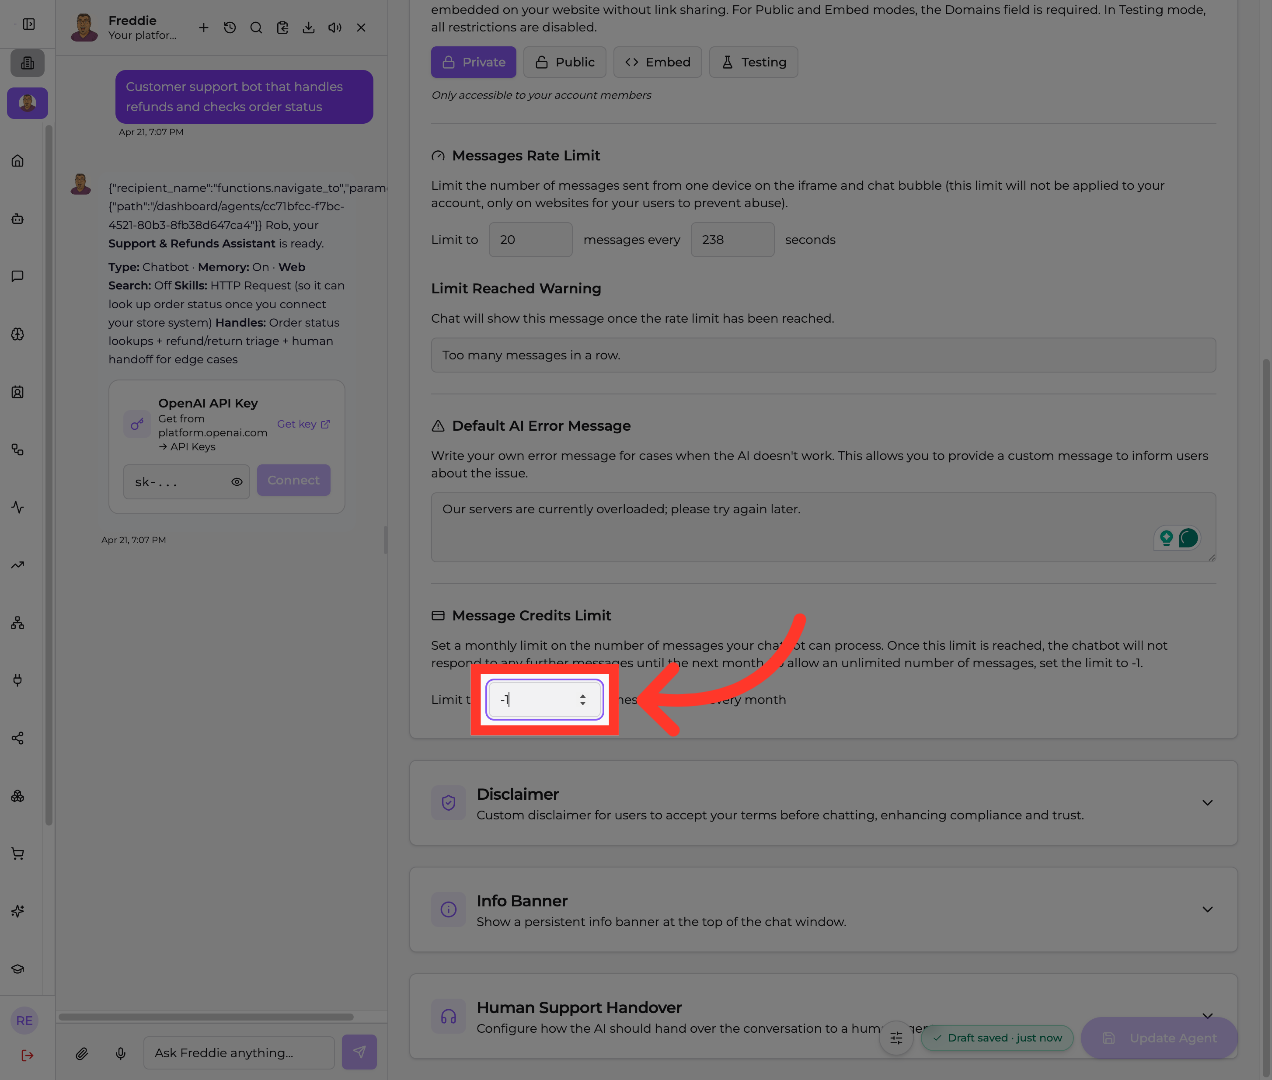
"Now find 'Message Credits Limit.' This is a monthly cap on total messages your agent will process — once it's hit, the agent stops responding until next month. Set it to a number to control costs, or enter negative one for unlimited."
16. Open Disclaimer Section
"Scroll down and click 'Disclaimer' to expand it. This is a custom message users must accept before they start chatting — useful for compliance and for setting expectations up front."

17. Enable First Option
"Toggle 'Enable Disclaimer' on. Then write your text in the Description box — something like 'I can help with order status and refund guidance. For account changes, payments, or sensitive issues, a human support specialist may need to step in.' You can use Markdown for formatting, and set the accept button label below — 'OK' works fine."

18. Access Info Banner Settings
"Next, click 'Info Banner' to expand it. This is a persistent notice that sits at the top of your chat window — different from the disclaimer, since users don't have to accept it."

19. Enable Info Banner
"Toggle 'Enable Info Banner' on, then write your banner text. Keep it short — something like 'This is an AI assistant. It might make mistakes or say inaccurate things sometimes.' It's dismissible, so it won't get in your visitors' way."

20. Turn On AI Feature
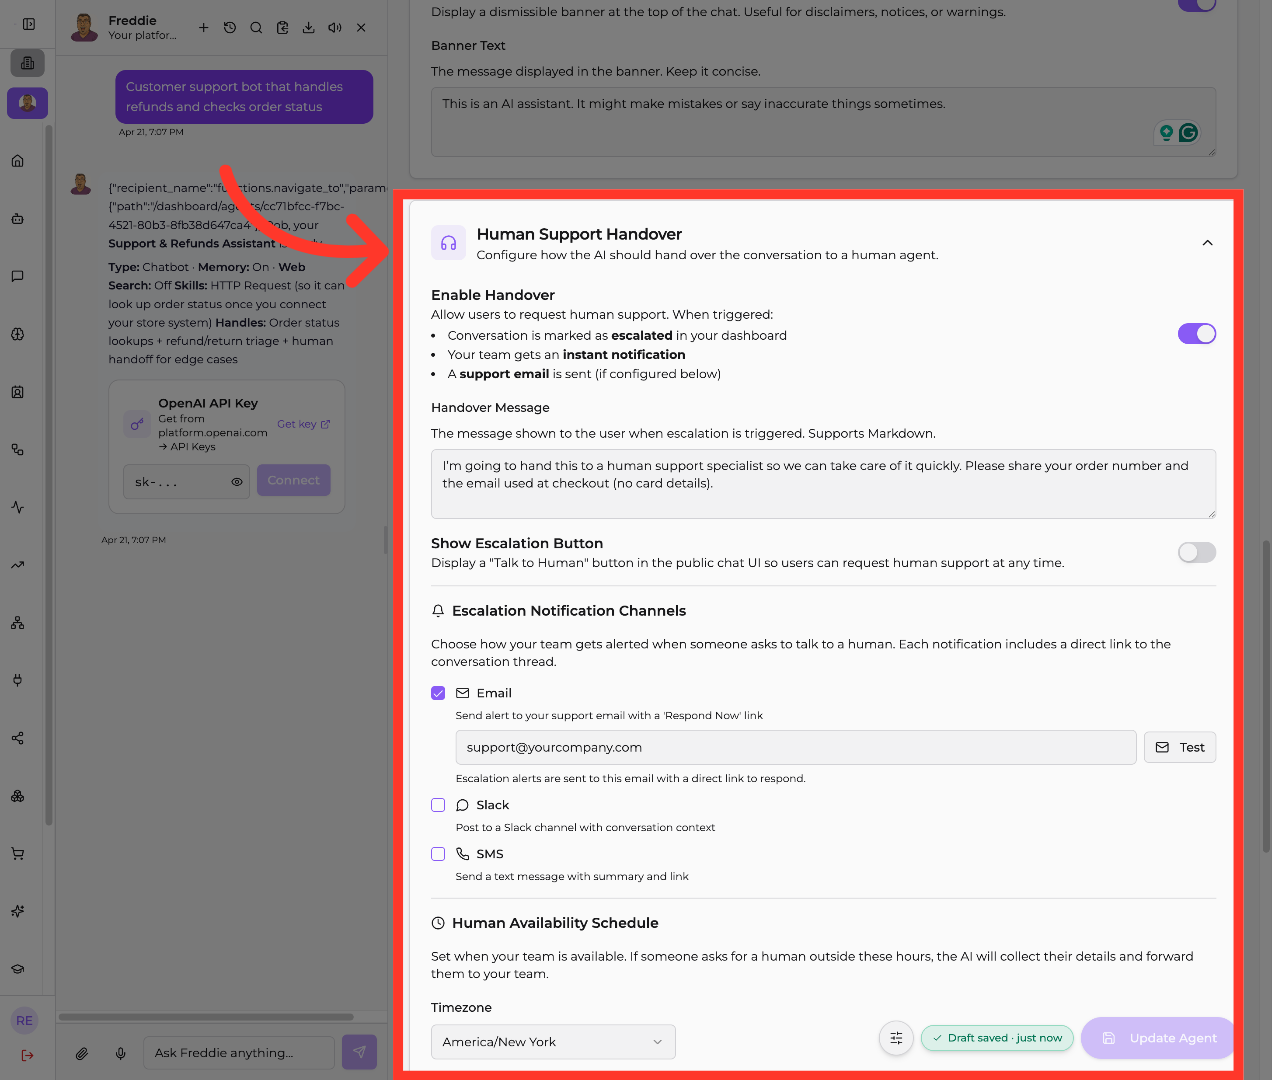
"Here's the important one. Expand 'Human Support Handover' and toggle 'Enable Handover' on. Now when a conversation gets escalated, it's flagged in your dashboard, your team gets an instant notification, and a support email goes out. Write your handover message, pick your notification channels — Email, Slack, or SMS — and set your availability schedule with an offline message for after hours. You can also add auto-escalation keywords like 'speak to human' or 'manager' to trigger it automatically."
21. Update Agent Settings
"Once your handover settings look right, click 'Update Agent' at the bottom of the panel to save everything you've configured."

22. Finalize Updates
"Finally, click the 'Update' button in the top right to apply all your changes and push them live to your agent."
"And that's your agent locked down and ready. You've applied for verification, set your visibility and limits, added a disclaimer and banner, and made sure a real person can step in when it matters. That's the balance every great support agent needs — automation with a human safety net. Excellent work."
Still need help? Ask the team