Create And Manage API Keys In OpenRouter Settings
OpenRouter is a single doorway to a huge catalog of models. Connect one key, and your platform can reach all of them. As we go, you'll set a name, an optional spending limit, and an expiration date — so you stay in full control of how the key is used. And like every platform, OpenRouter shows you the key only once, so we'll copy it the moment it appears.
Written By Fred Yalmeh
Last updated 2 months ago
Go to openrouter.ai
1. Introduction
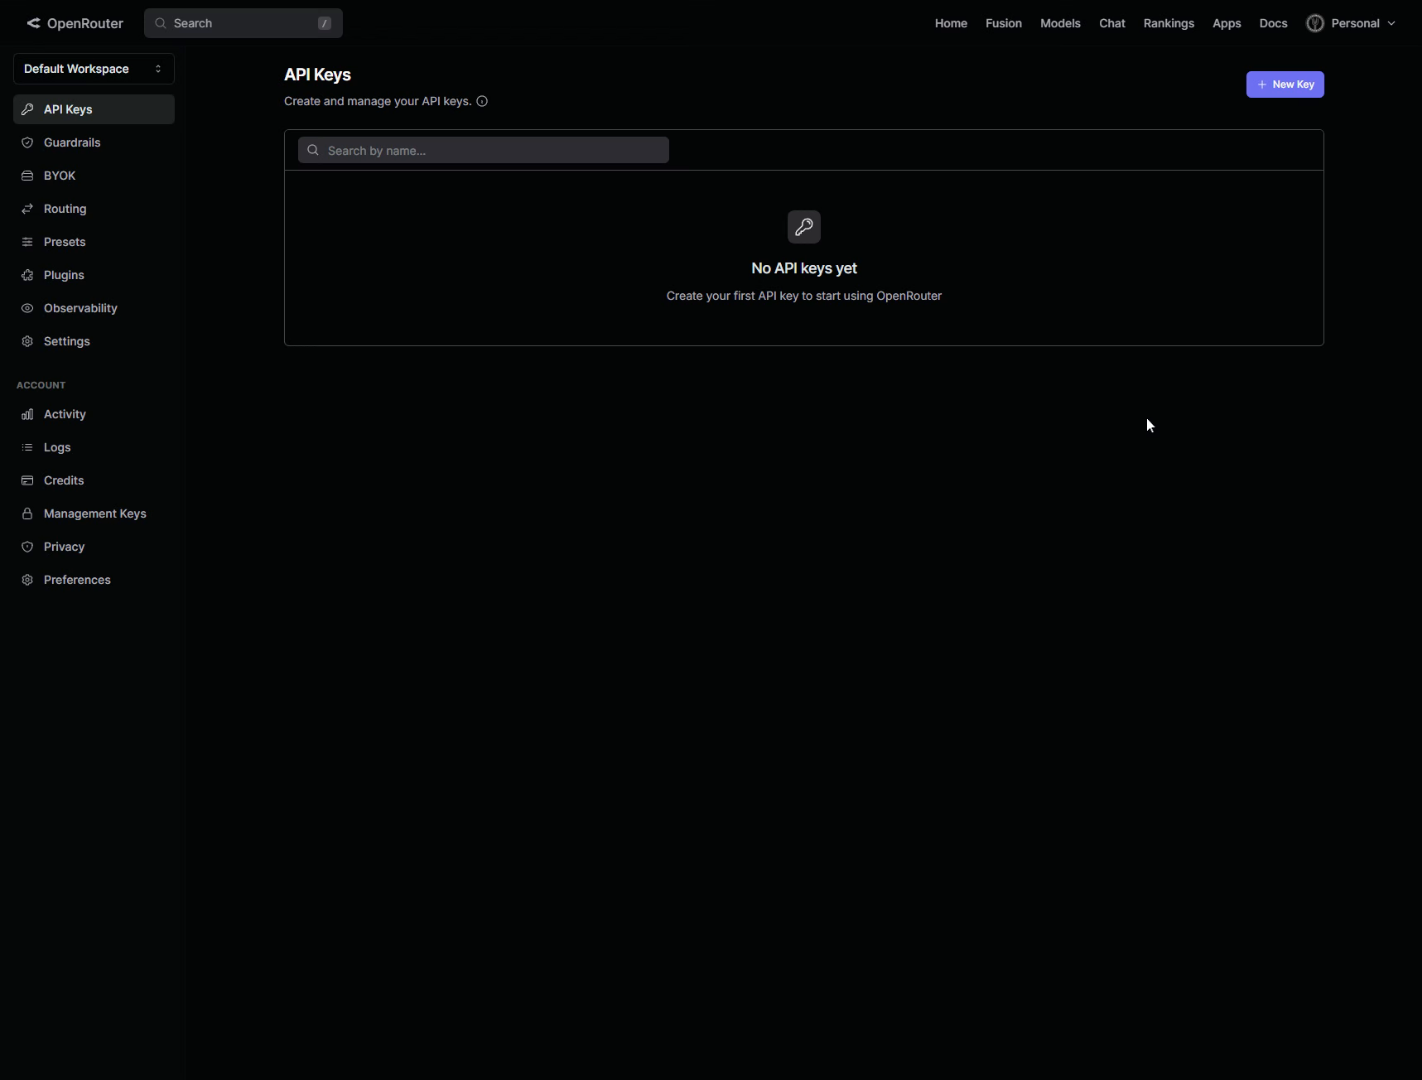
Let's start by heading to openrouter.ai and signing in. This drops you right into your account.
2. Access Default Workspace
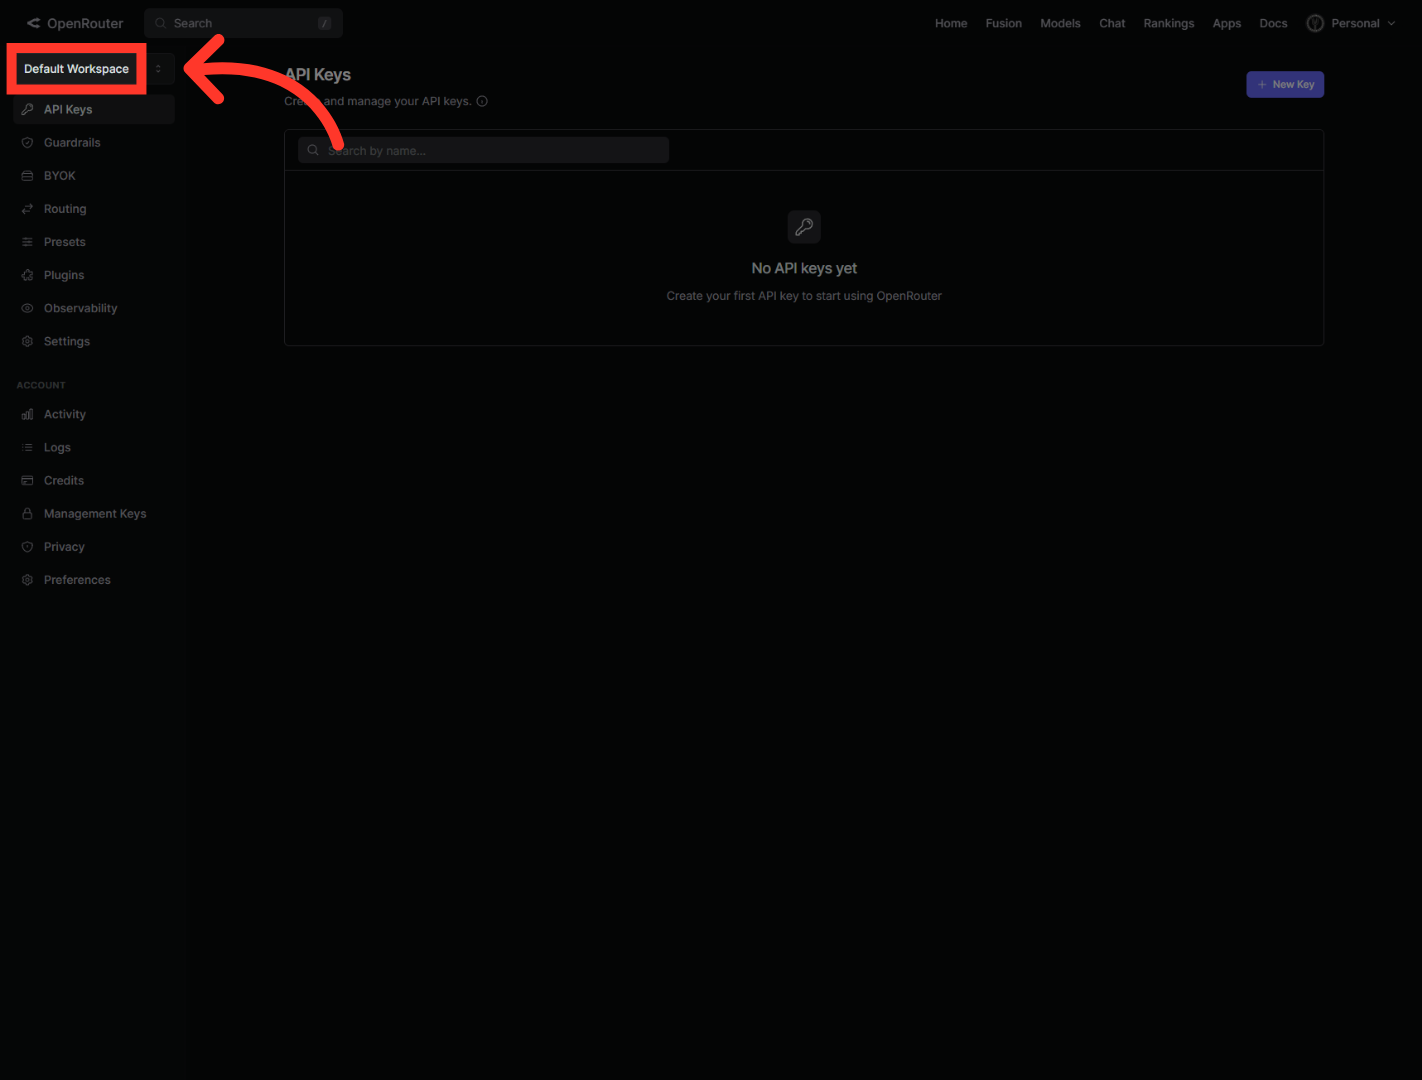
Before anything else, look at the top of the left sidebar and check your workspace. Click the workspace selector and make sure you're in the right one. This matters more than it looks — your new key gets created inside the workspace you pick here, and that's also where its usage gets billed. If you only have one, you'll just see "Default Workspace," and you're good to go.
3. Open API Keys Section
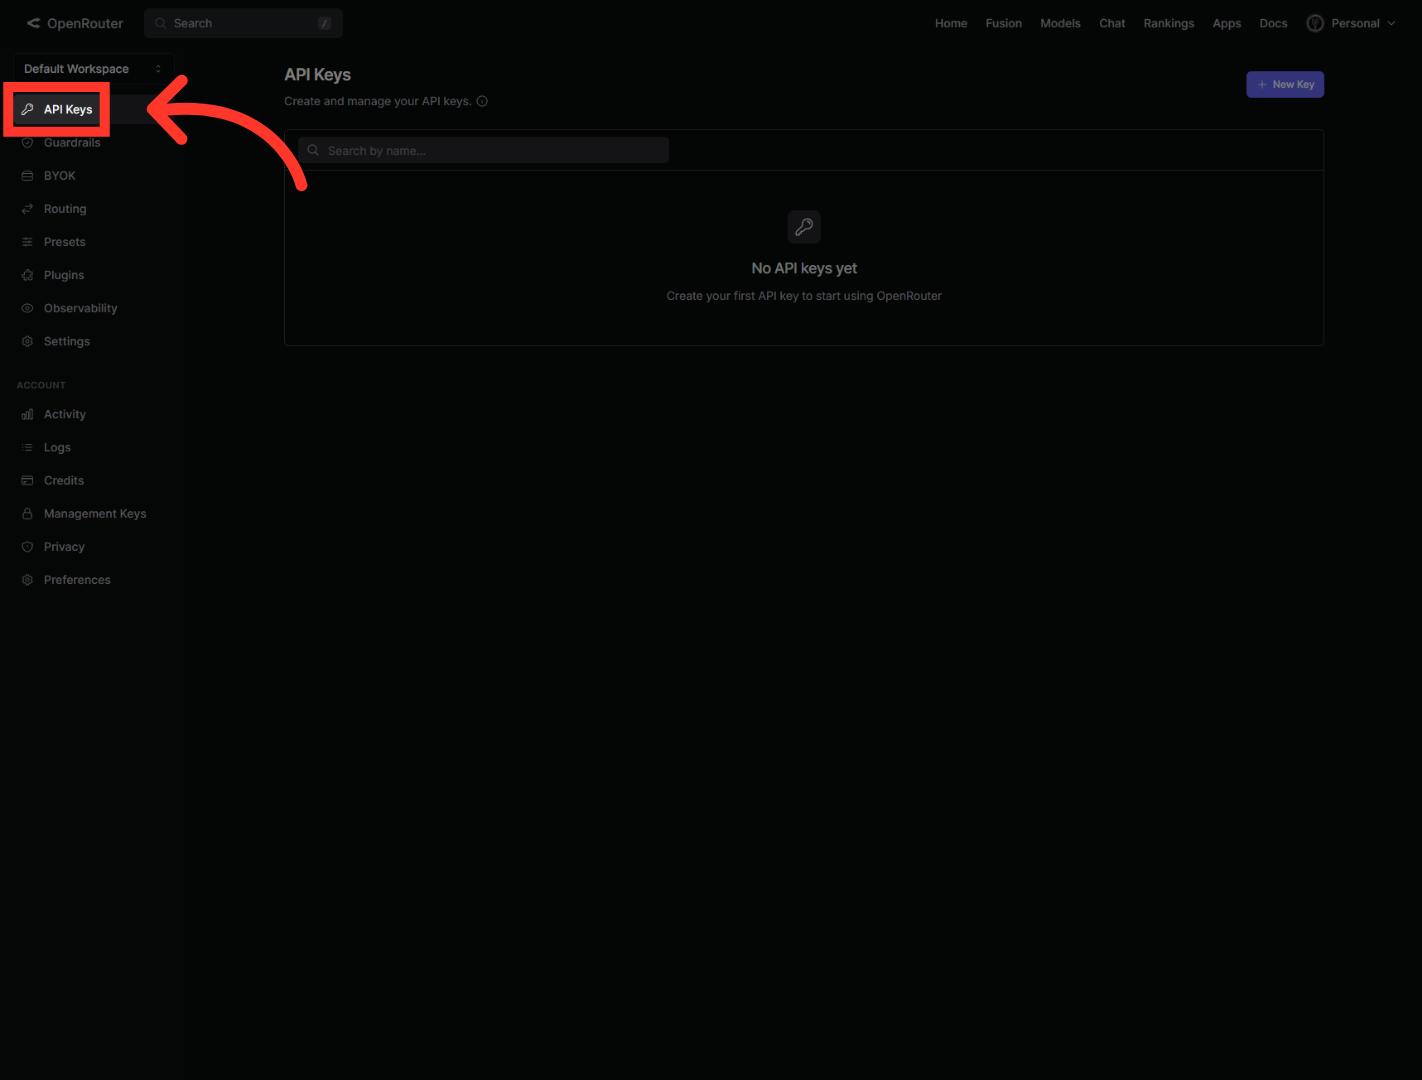
Now, in the left sidebar, click "API Keys." This is where you'll view and manage every key tied to that workspace.
4. Initiate New API Key Creation
In the top-right corner, click "New Key." A small dialog will open where we'll fill in the details.

5. Select Name Field
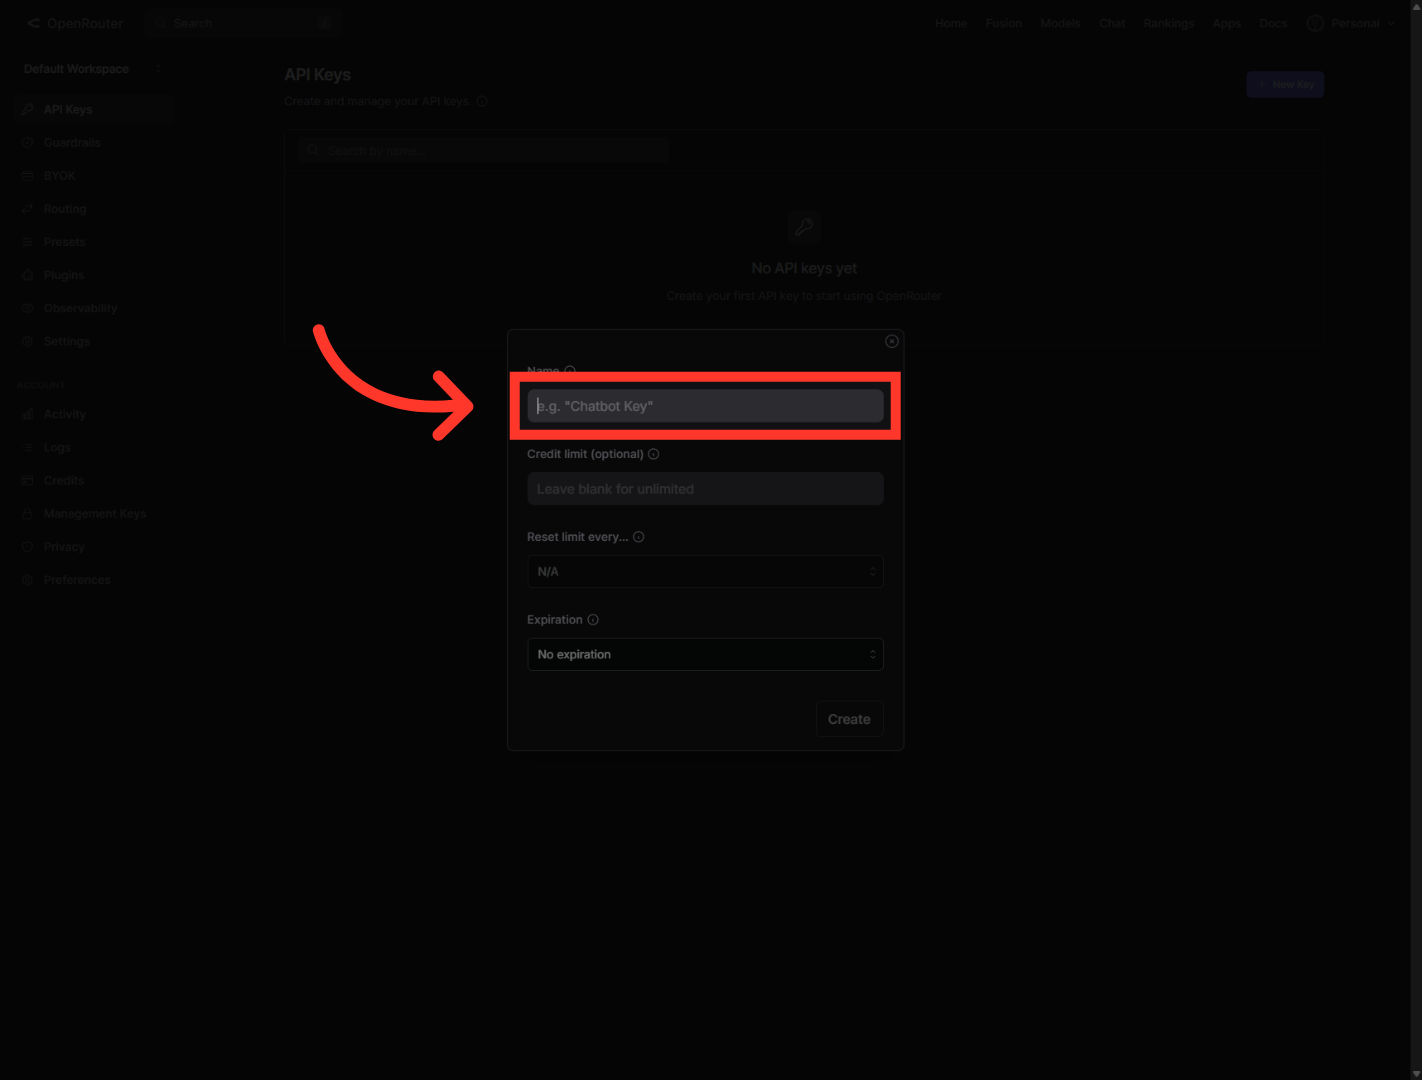
First, click the "Name" field and give your key a label you'll recognize later — something like the name of the platform you're connecting it to. This is just for your own reference, so pick something clear.
6. Access Credit Limit Option
Next is the credit limit, and this one's worth your attention. If you leave it blank, the key has unlimited spending. But if you'd like a safety cap — say you only ever want this key to spend twenty dollars — just type that amount here.
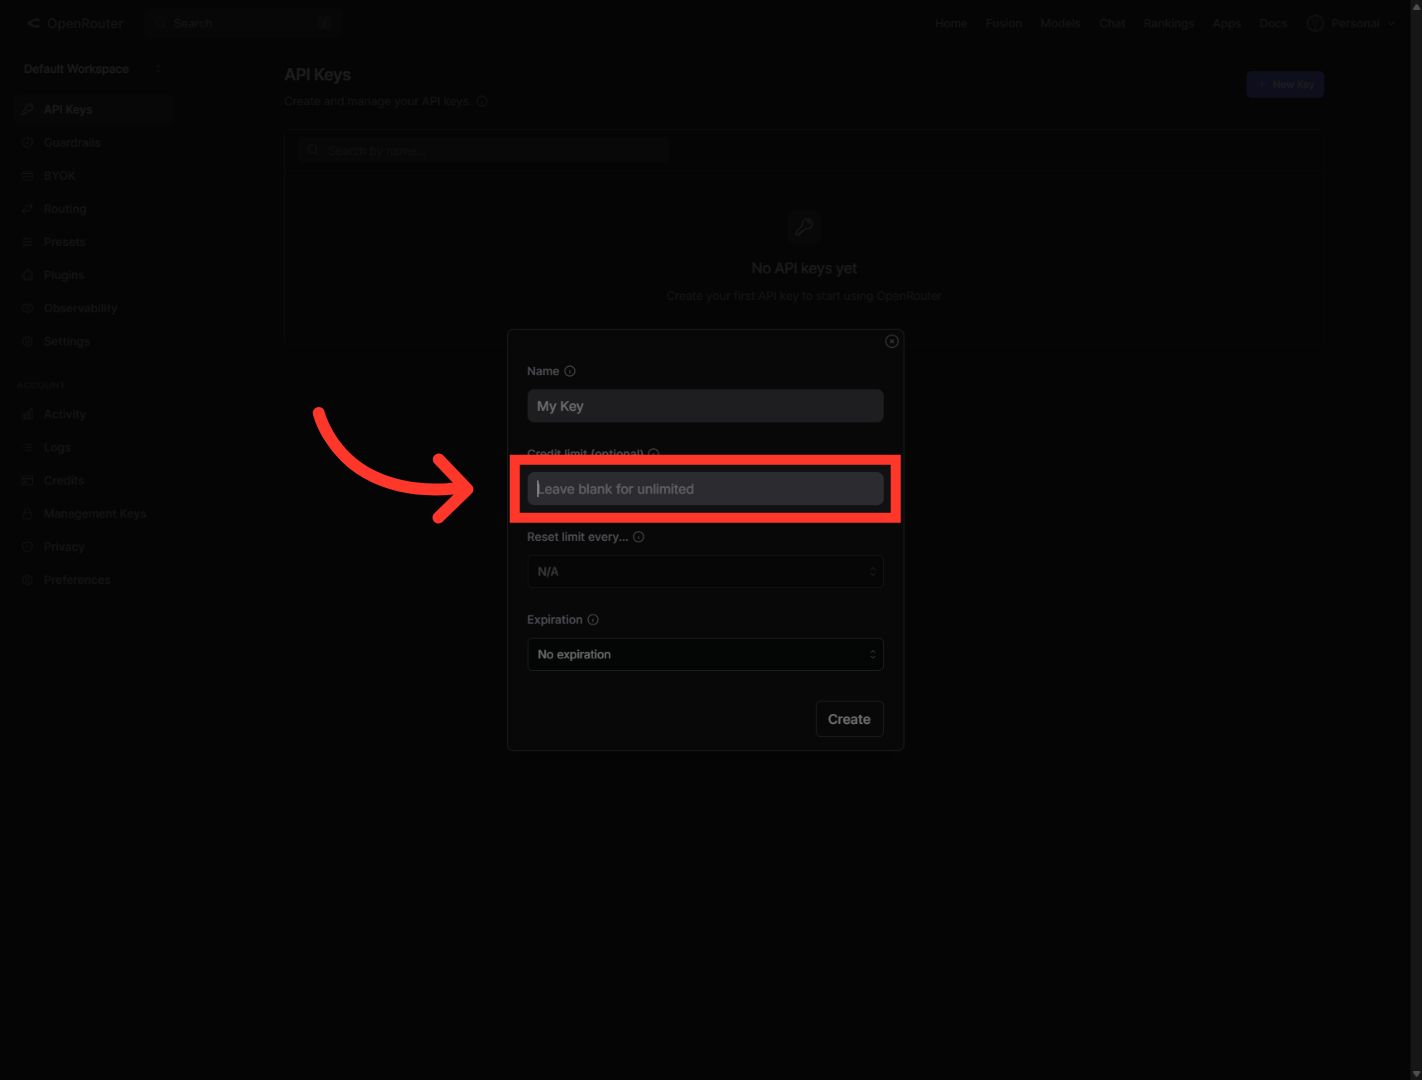
7. Review Key Settings Panel
Before you create anything, take a quick second to review the whole panel. Check your name, your credit limit, and the "reset limit" option — which controls whether your spending cap refreshes on a schedule. For most setups, leaving "reset" as is works perfectly.

8. Open Expiration Settings
Now click the "Expiration" dropdown. This controls when the key automatically stops working. You can pick a date for extra security, but for most setups, leaving it on "No expiration" is totally fine — your key will just keep working until you decide to remove it.

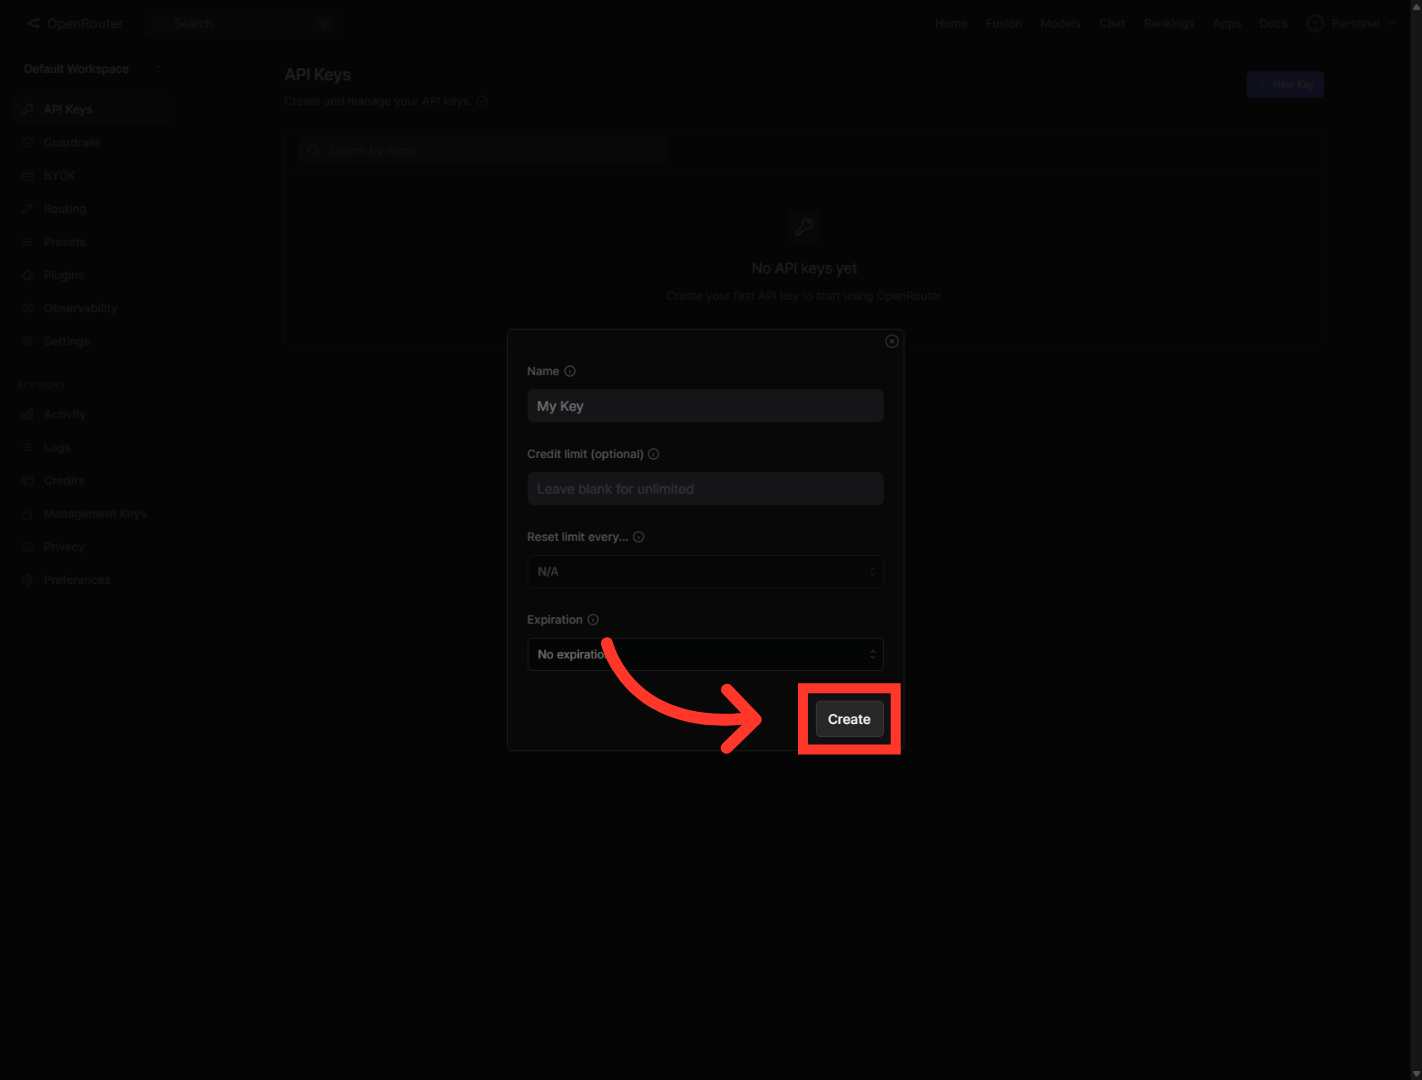
9. Create API Key
Everything look good? Click "Create." OpenRouter will generate your key right away.
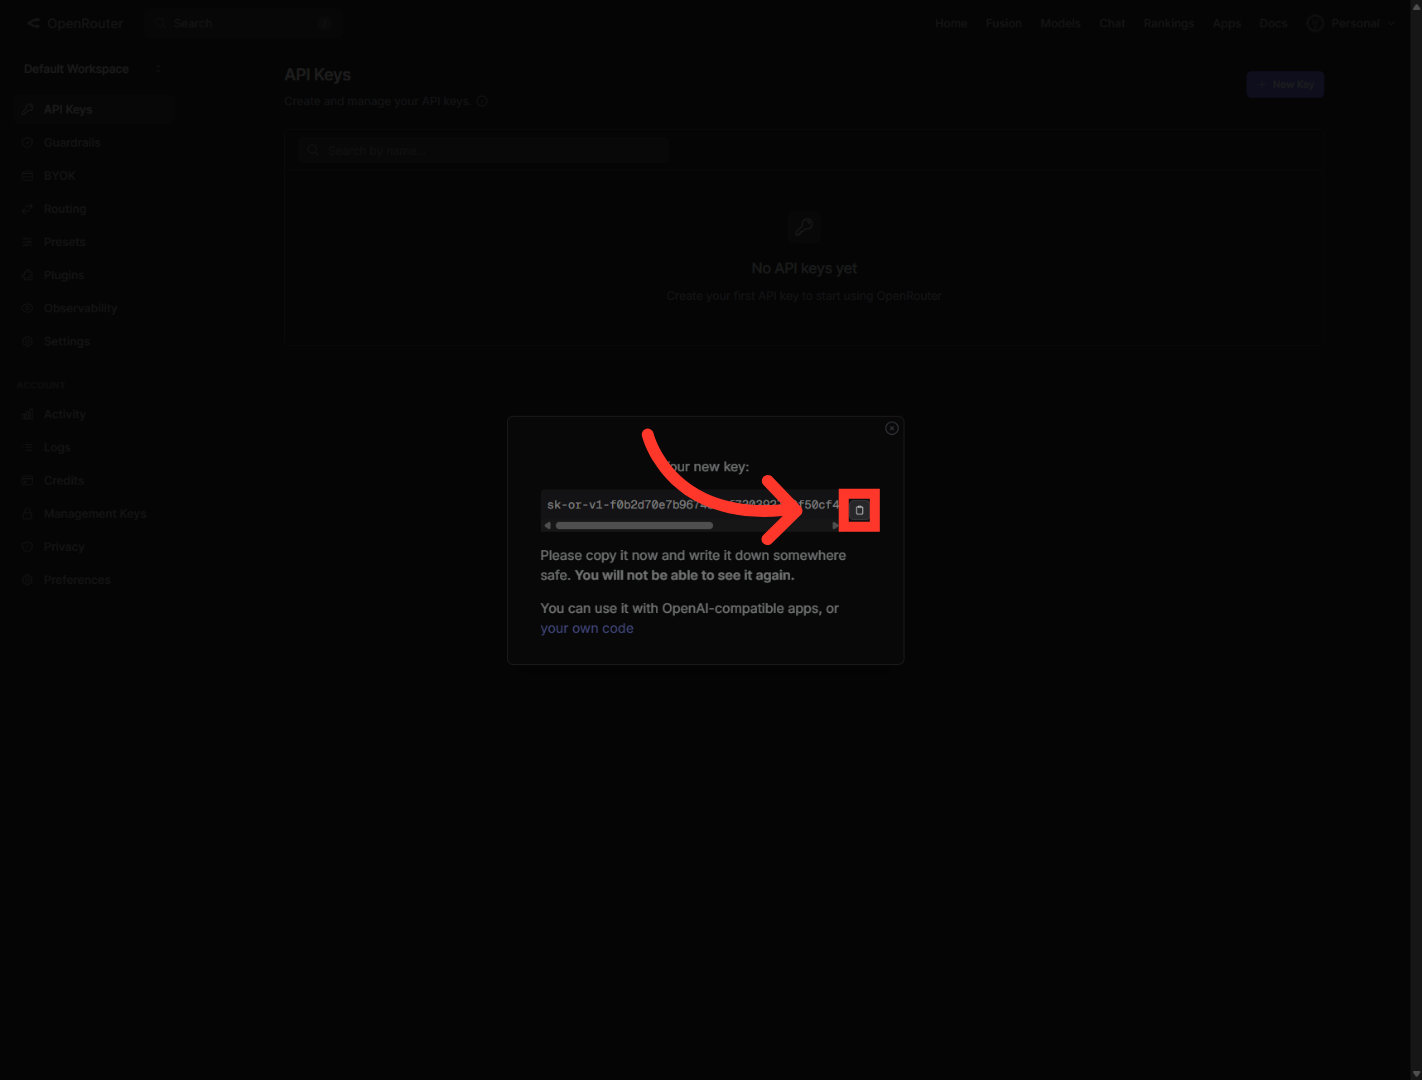
10. Complete API Key Setup
This is the most important moment. Your brand-new key is shown here, and read that warning carefully — you will not be able to see it again once this window closes. So right now, before anything else, click the copy icon to grab it.
And that's it — your OpenRouter key is created, configured, and copied. Head back to wherever you're connecting it, paste it into the API key field, and save. With one key, your agent now has its pick of dozens of models. See you in the next one.
Still need help? Ask the team