Configure API Integration In Smallest.ai
"Smallest.ai gives you text-to-speech, speech-to-text, voice cloning, and full voice agents — all in one platform. Your API key is what tells Smallest that requests are coming from you. Once you have it, you can use it in any app or workflow that talks to the Smallest API."
Written By Fred Yalmeh
Last updated 2 months ago
Go to app.smallest.ai
1. Switch To Smallest.ai
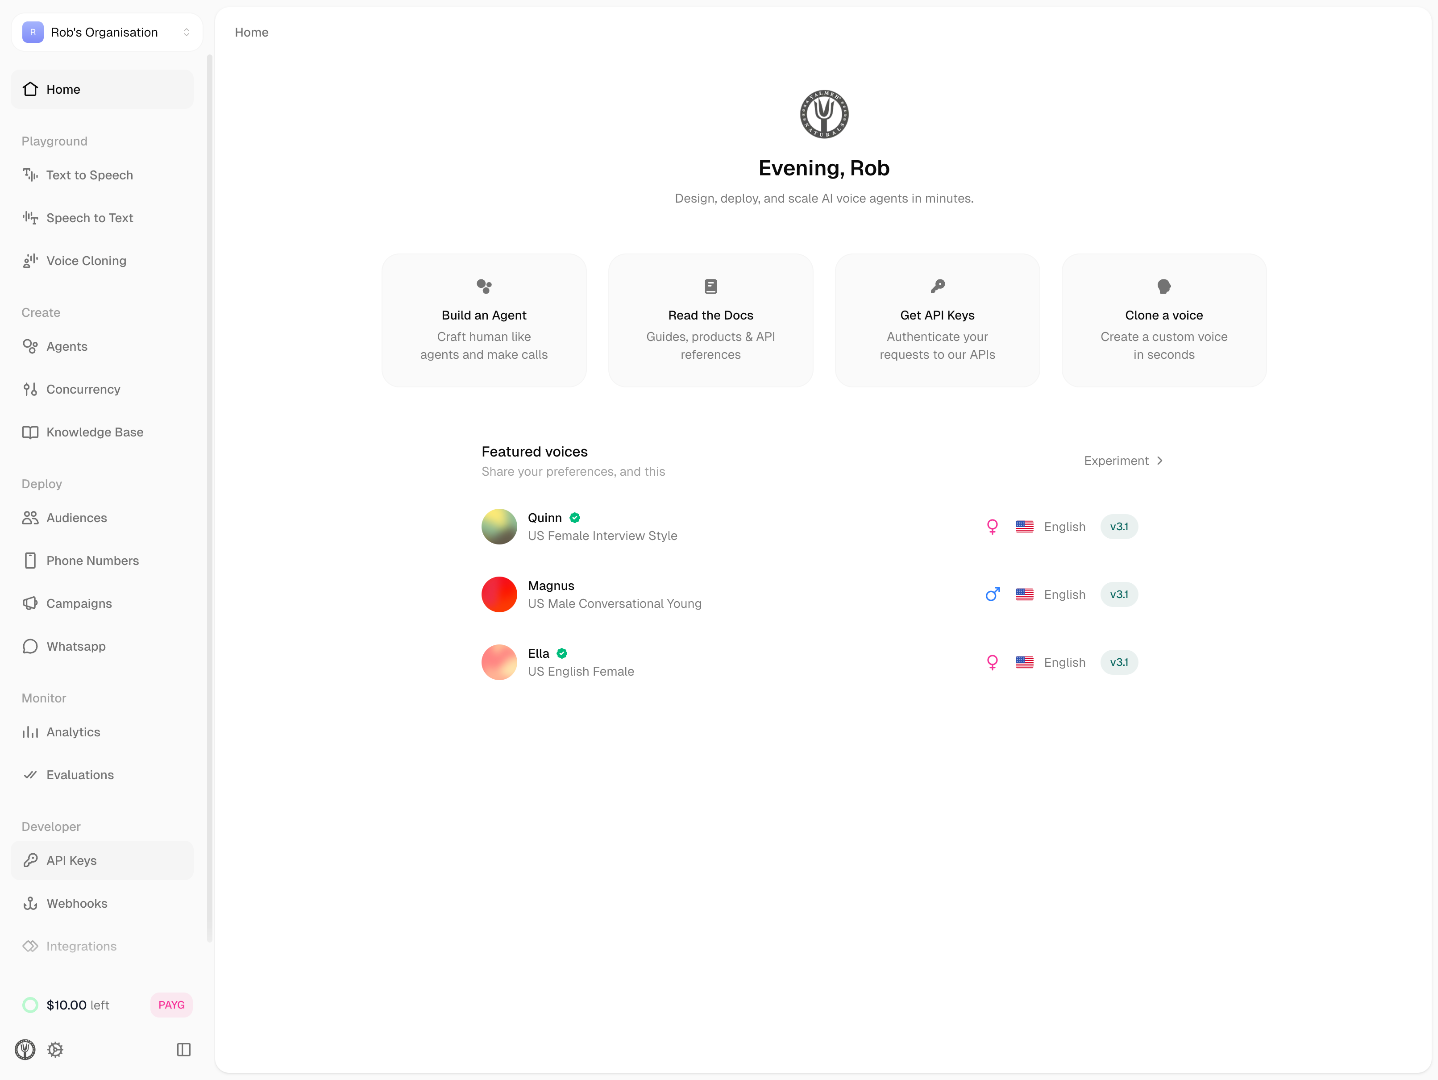
"First, head over to app.smallest.ai and sign in to your account. You'll land on the Home dashboard — this is your home base for everything voice-related."
2. Navigate To API Keys
"Look at the left sidebar and scroll down to the 'Developer' section. Click 'API Keys.' This is where Smallest lets you create and manage every key on your account."

3. Create New API Key
"In the top-right corner, you'll see a green button that says 'Create API Key.' Go ahead and click it — that opens a small popup where we'll set things up."

4. Select API Name Field
"A small popup opens asking you to name your key. Click the 'API Name' field and type in something descriptive — I'll just use 'My Voice Key' here. Six months from now, when you're staring at a list of keys, you'll be glad you labeled it."

5. Confirm API Key Creation
"Once you're happy with the name, hit 'Create API Key' to finalize it. Smallest generates your key on the spot."

6. Copy API Key
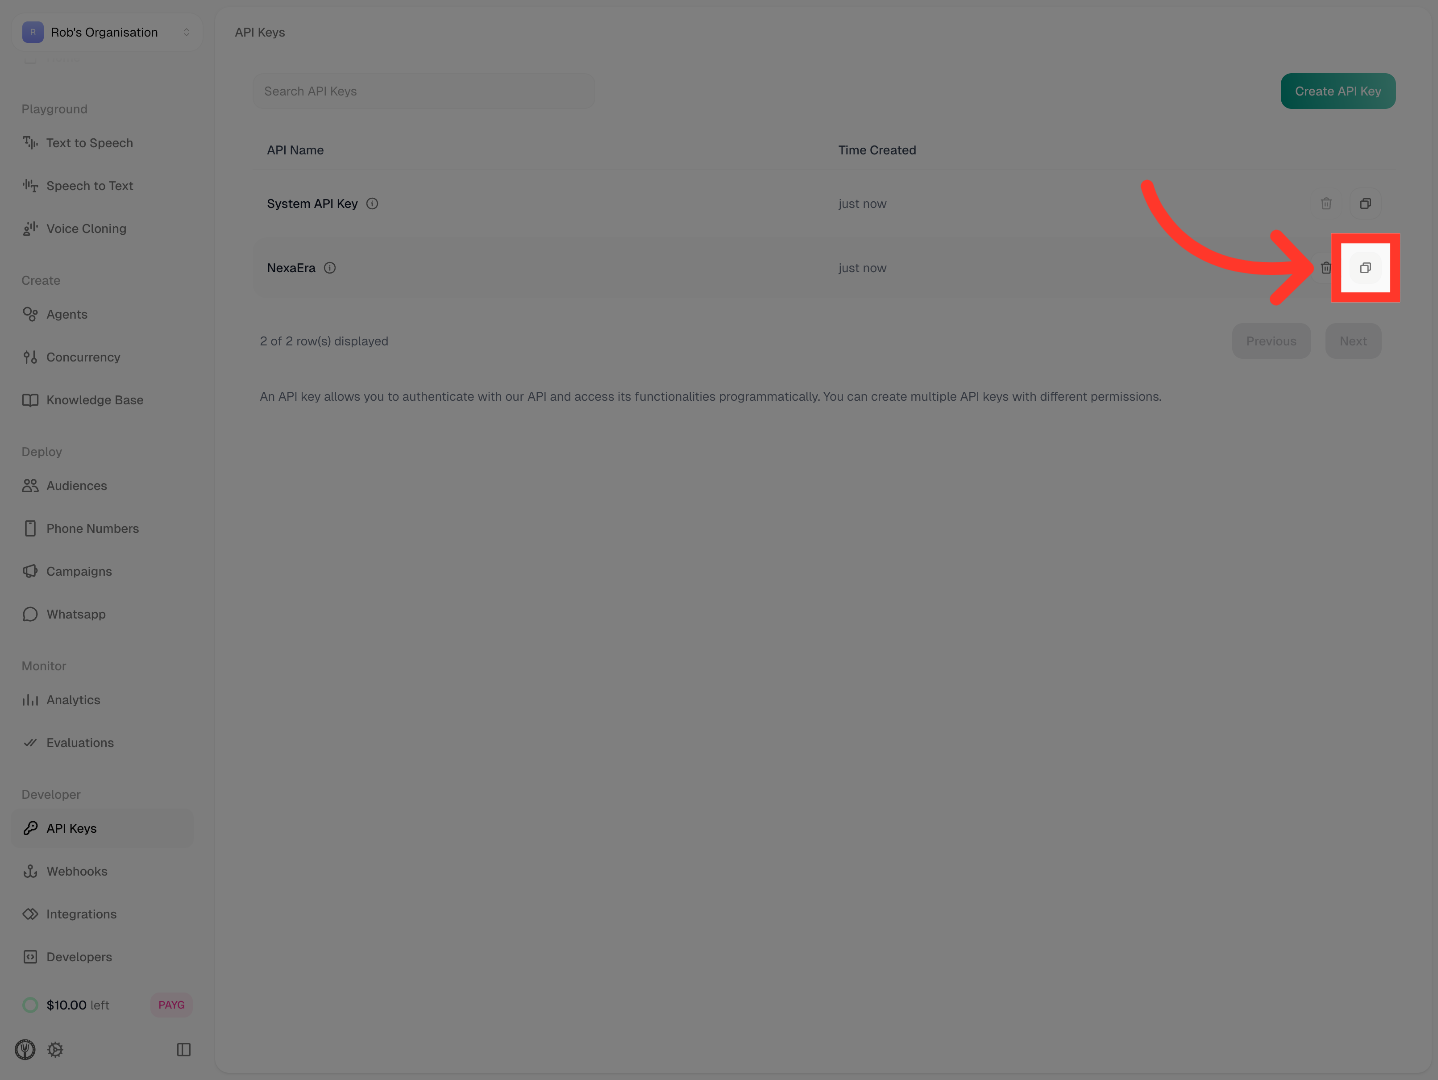
"And you're done — your new key is now sitting right there in the list. Click the copy icon on the far right of the row to grab the full key, and paste it somewhere safe right away — a password manager is perfect."
"And that's a wrap — you've created your Smallest.ai API key, copied it, and saved it somewhere safe. You're ready to start building with their voice agents and TTS engine. Happy shipping, and I'll catch you in the next one."
Still need help? Ask the team