Create And Configure Personal Access Tokens In Airtable
Here's the key idea. A personal access token is your credential for the Airtable API, and the powerful part is scopes. Scopes let you grant only the permissions the token actually needs, nothing more. That's the safe way to do it. One heads-up before we start: Airtable shows your token only once, so copying it at the end is the most important moment in this whole video.
Written By Fred Yalmeh
Last updated 2 months ago
Go to airtable.com
1. Introduction
First, head to airtable dot com and sign in. You'll land on your Home dashboard. This is where your bases and workspaces live, but the token settings are tucked away in your account menu, so let's go open that.

2. Open Airtable Interface
Look to the top right corner and click your profile icon. That opens your account menu, where all your personal settings are gathered.

3. Access Builder Hub
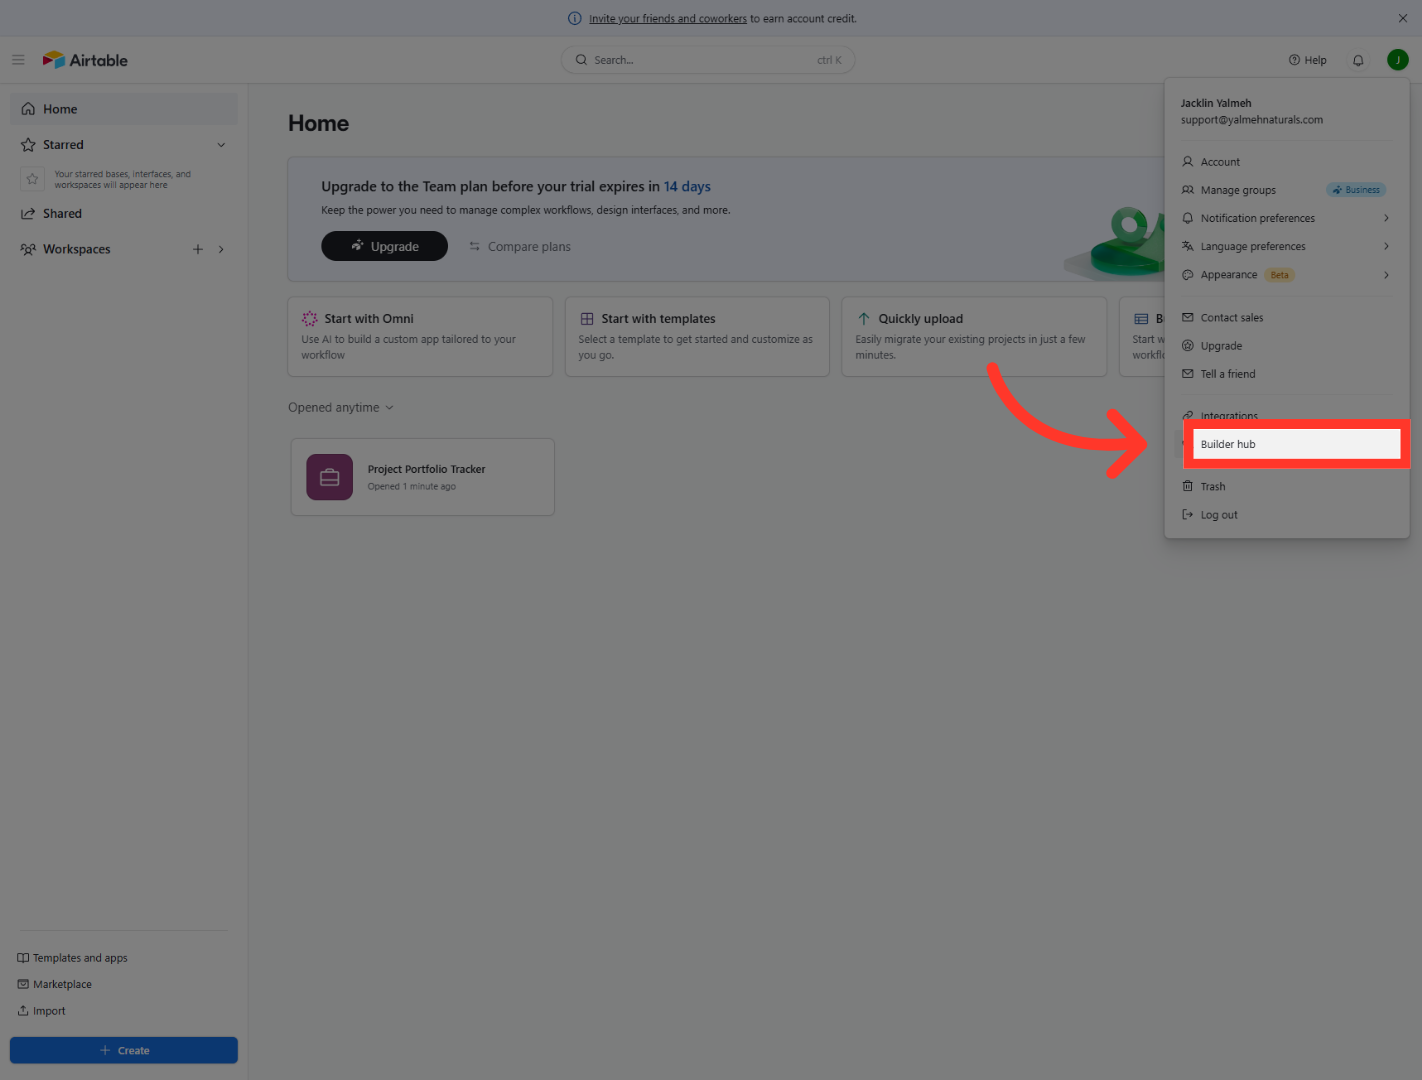
In that dropdown, click "Builder hub." This is Airtable's home for developer tools, and it's where your tokens are created and managed.
4. Open Personal Access Tokens
In the Builder Hub menu, under "Developers," click "Personal access tokens." If you haven't made one yet, you'll see a message saying you have none. That's totally normal, and we're about to fix it.

5. Initiate Token Creation
Click the "Create token" button to get started. That opens the form where we'll name the token and choose its permissions.

6. Name Your Token
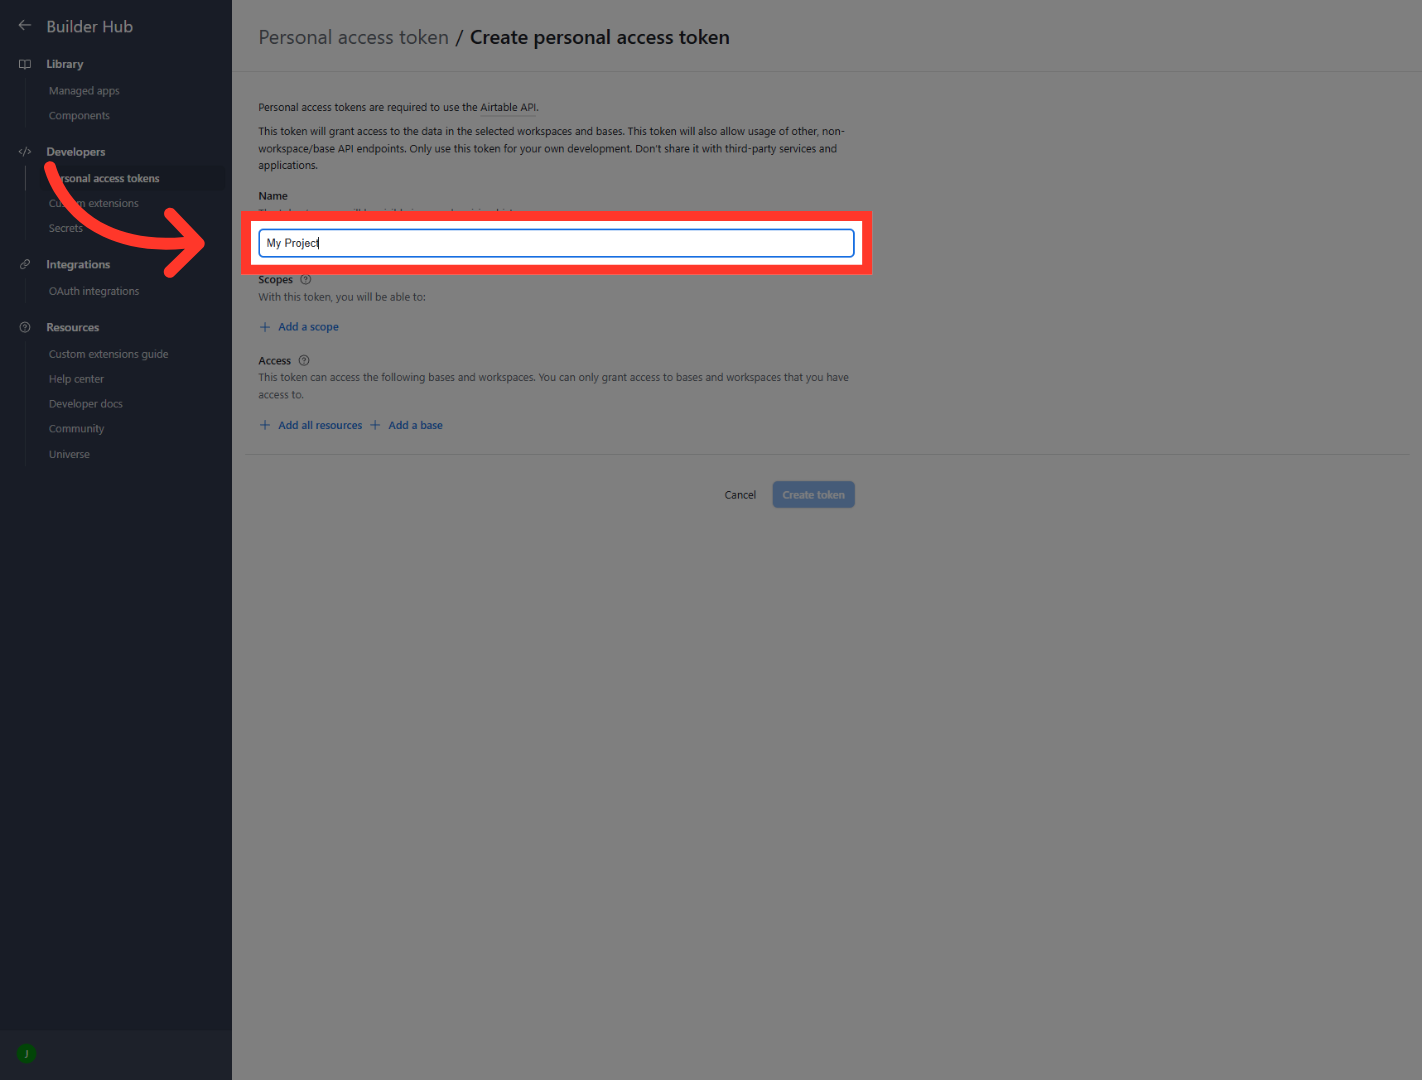
First, give your token a name in the "Name" field. Pick something descriptive, like the name of the project it's for. A clear name makes it easy to recognize later when you're looking at a list of tokens.
7. Add First Scope
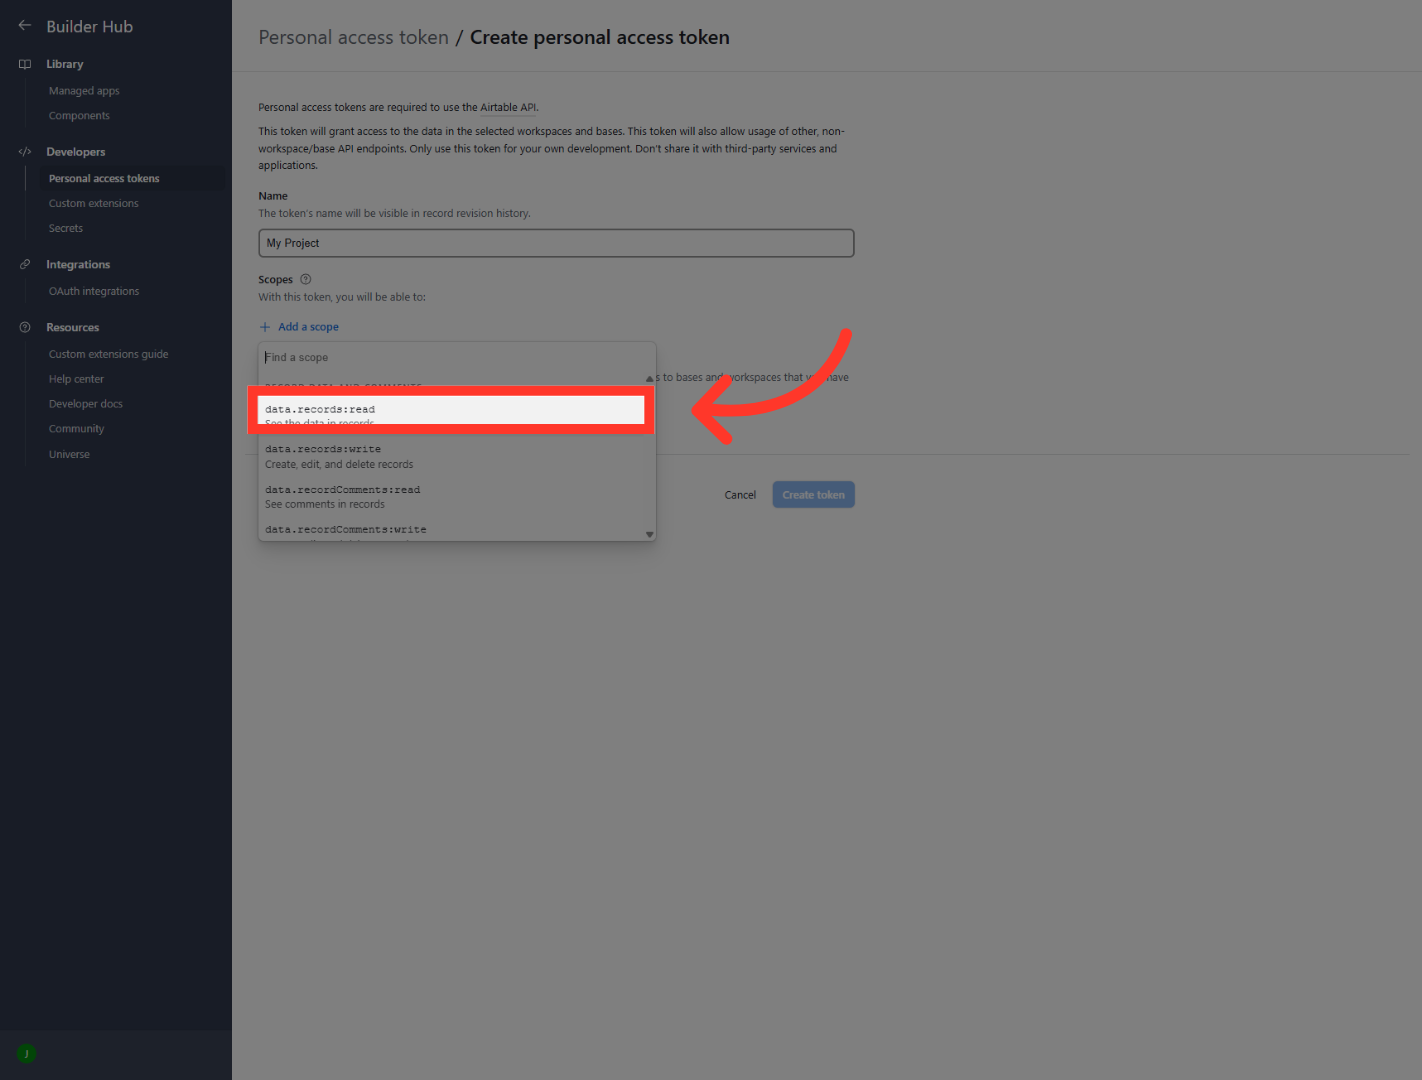
Now for the important part, scopes. Under the "Scopes" heading, click "Add a scope." This opens a searchable list of every permission you can grant. We'll pick just the ones we need.

8. Select Read Records Scope
From the list, click "data.records:read." This lets the token read the data inside your records, which is the most common thing you'll want it to do.
9. Select View Metadata Scope
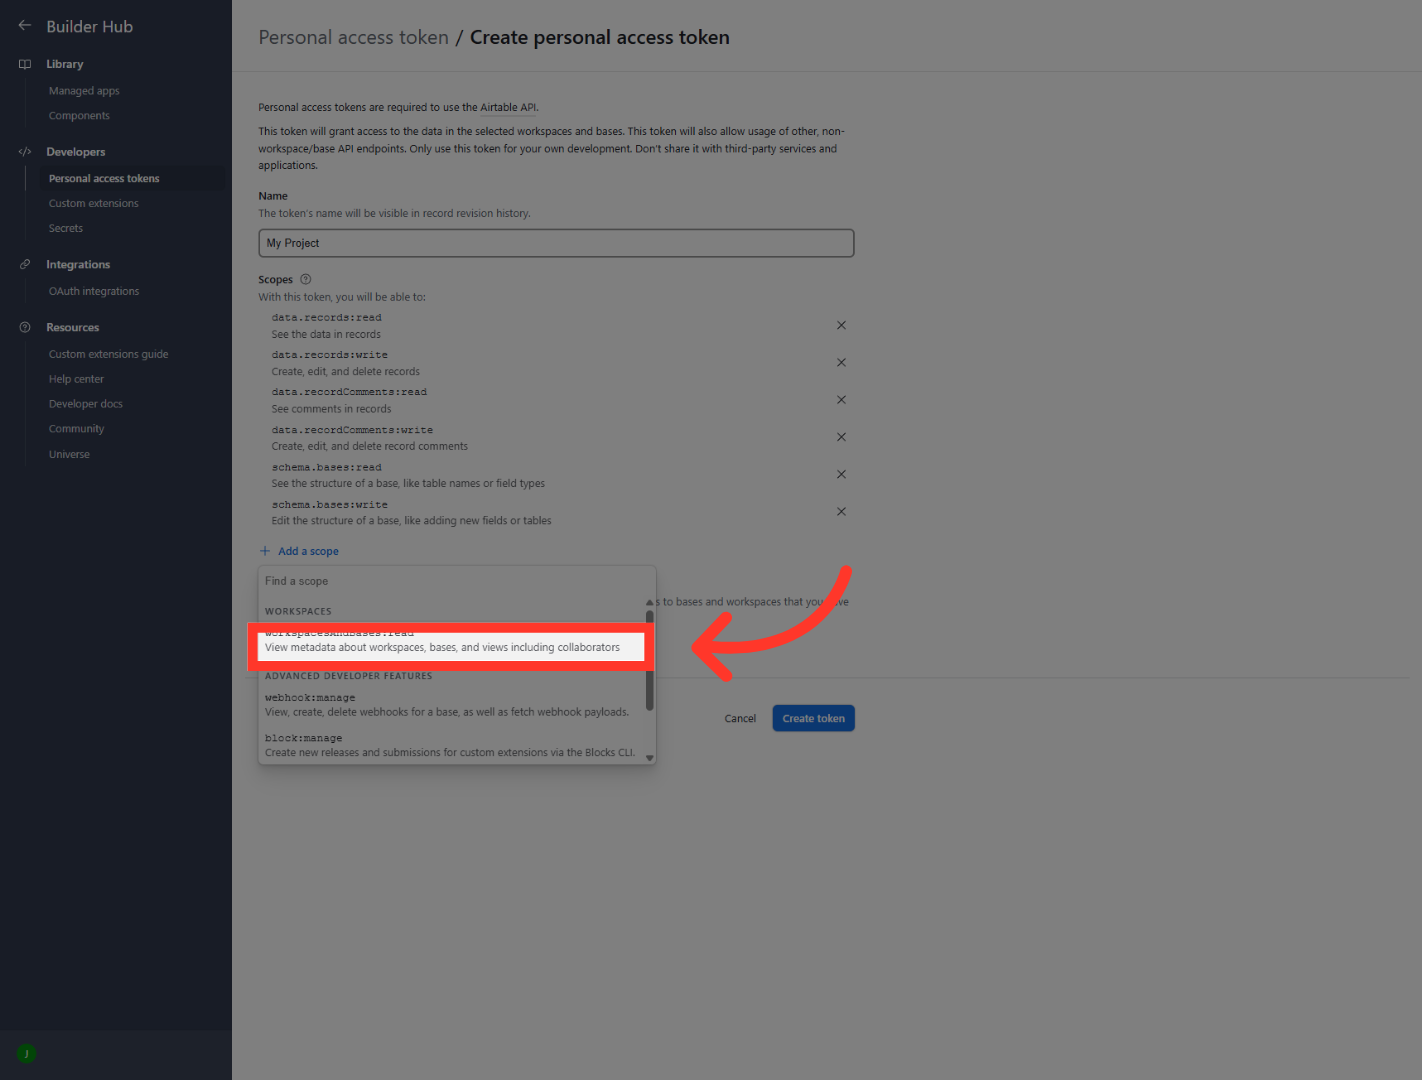
Open the scope picker again and choose "View metadata about workspaces, bases, and views including collaborators." This lets the token see the structure of your account, like which bases and views exist and who's collaborating on them.
10. Select Read User Email Scope
One more. Add "user.email:read." This simply lets the token read your account's email address, which some integrations ask for to identify you.

11. Create The Token
With your name set and your scopes added, click the "Create token" button at the bottom. Airtable generates your token right away.

12. Access Token Details
Here's the big moment. Read that warning carefully. This token will only be shown once. So click the copy icon next to it right now, and paste it somewhere safe like a password manager. If you lose it, there's no getting it back. You'd have to create a brand new one.
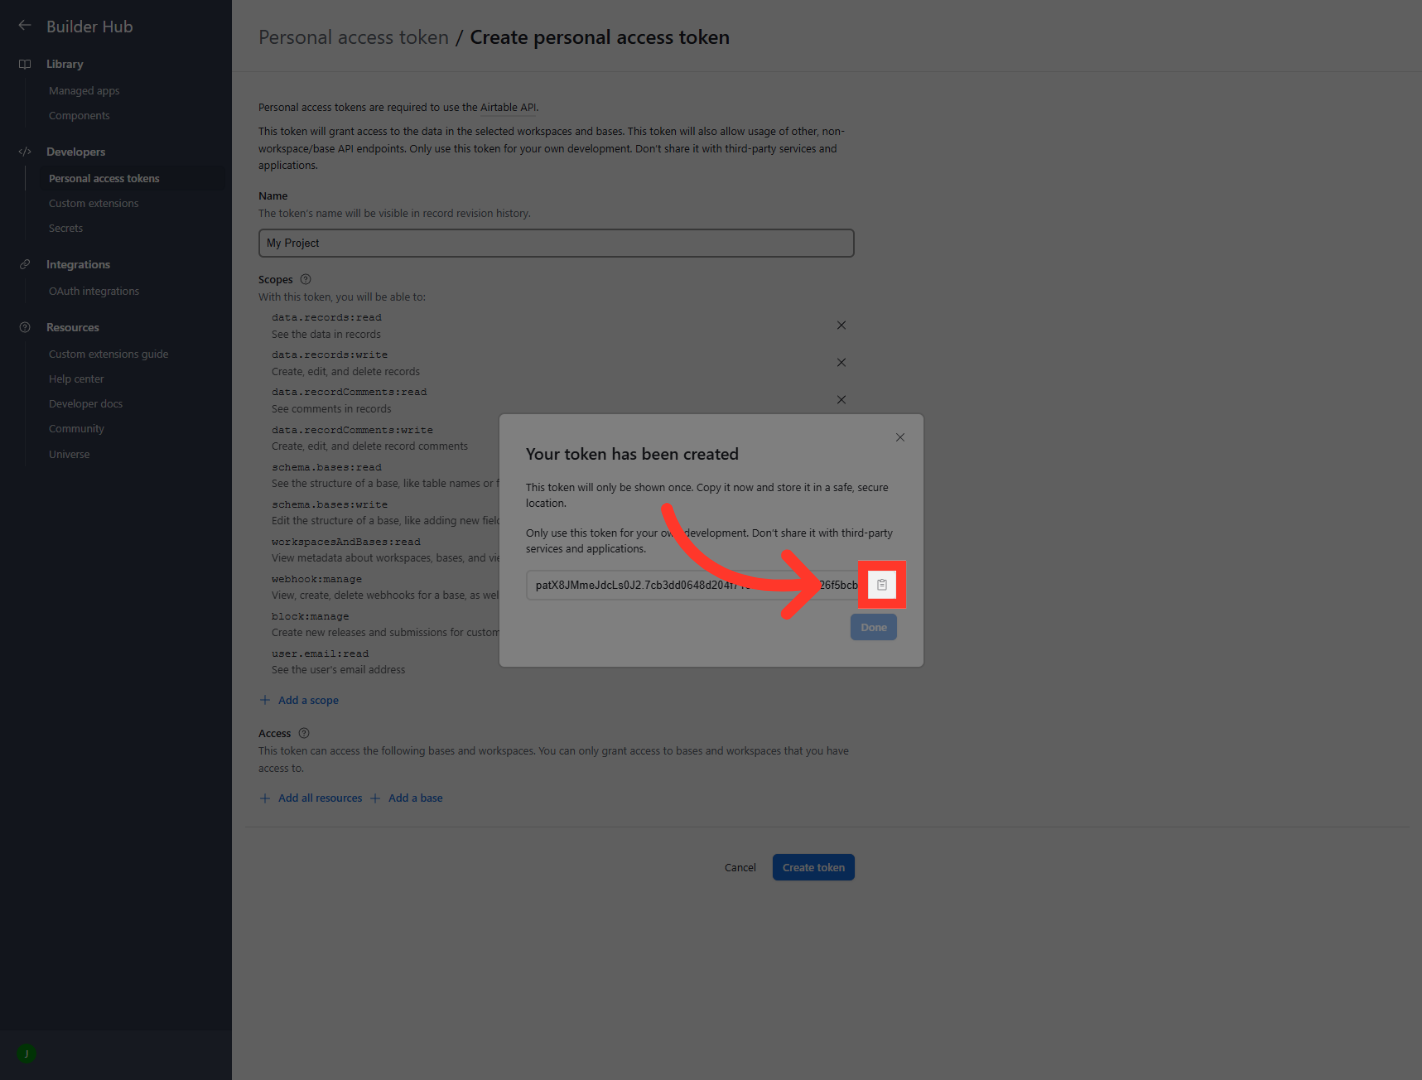
13. Complete Token Setup
Once your token is safely saved, click "Done" to close out. And that's it, your scoped personal access token is ready to use.

And there you have it. You created a personal access token, gave it exactly the permissions it needs, and copied it somewhere safe. You're all set to start working with the Airtable API on your own terms. Happy building, and I'll catch you in the next one.
Still need help? Ask the team