Configure Private API Integration In Business Hub
Want to connect Business Hub to an outside app or automation? You'll do it with a private API integration. Think of it as a secure key that lets your software access your account data, with exactly the permissions you choose to grant. In this guide, we'll create that integration from start to finish, pick its permissions, and copy the key for use. Let's head to app.businesshub.tools and get started.
Written By Fred Yalmeh
Last updated 2 months ago
Go to app.businesshub.tools
1. Introduction
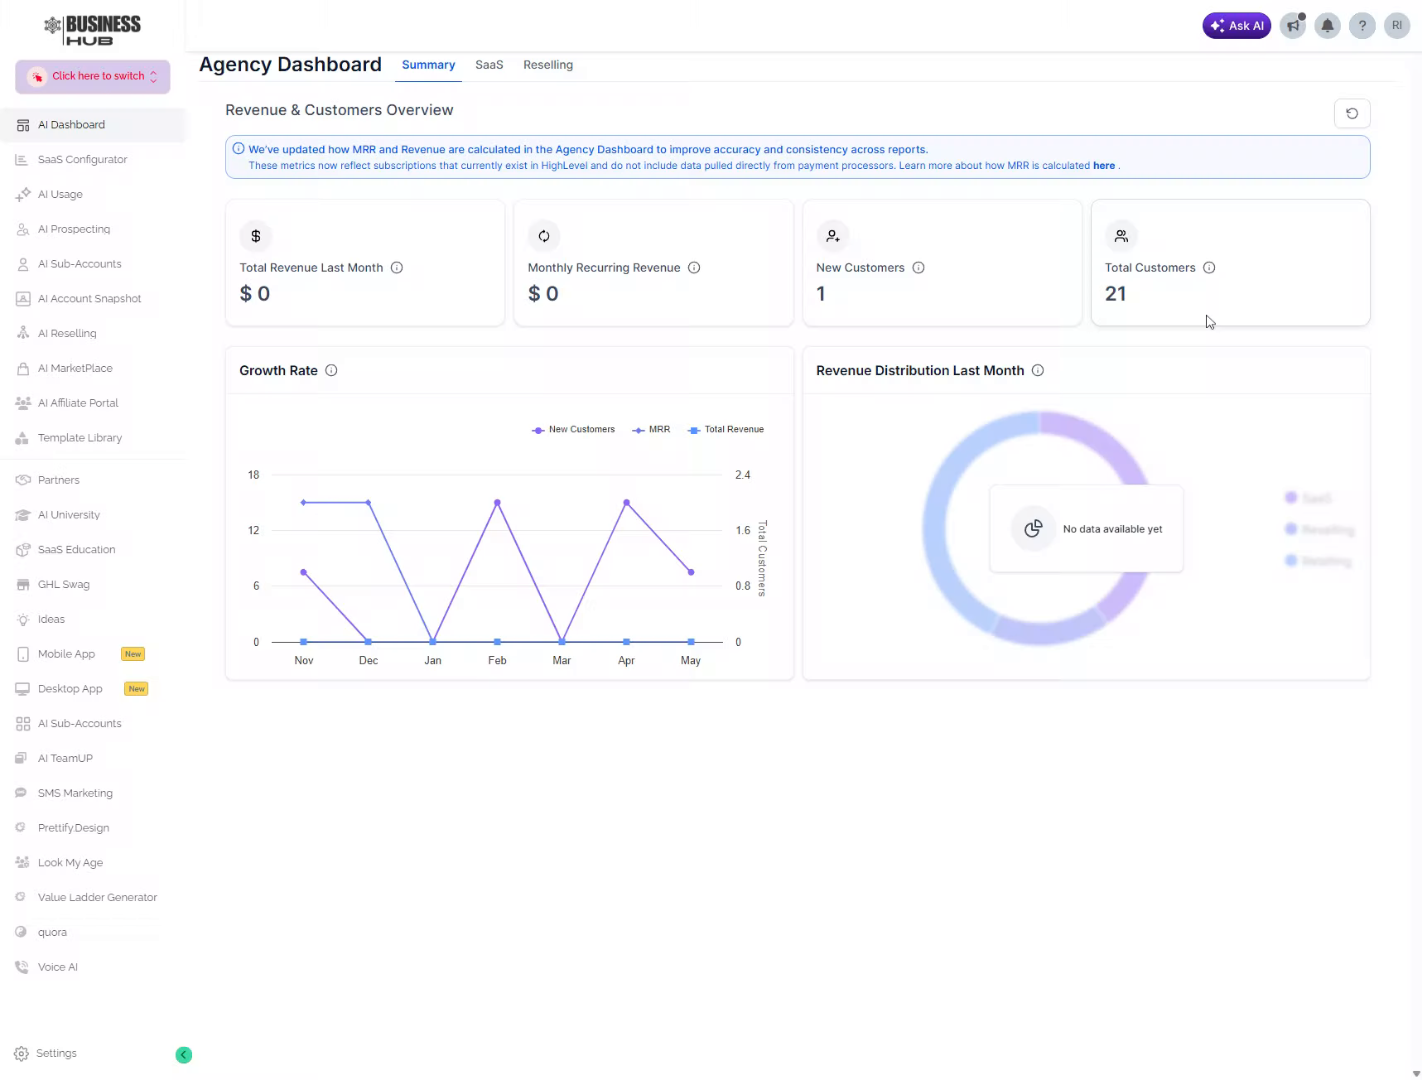
Once you sign in, you'll land on your dashboard. Over the next several steps, you'll create and configure an integration that can securely access your account data. To begin, look down at the bottom of the left sidebar.
2. Access Settings Menu
At the bottom of the sidebar, click "Settings." This opens the configuration options for your account, where all your integration and security controls live.

3. Open API Keys Section
In the Settings menu, click "API Keys." This is where you manage your API credentials and integrations.

4. Initiate Private Integration Creation
You'll notice a message that API keys have moved — secure access now happens through Private Integrations. Click the green "Create Private Integration" button to get started.

5. View Private Integrations
This brings you to the Private Integrations page. Here you can see any integrations already linked to your account, along with when they were created and who set them up.

6. Start New Integration Setup
To set up a fresh one, click "Create New Integration" in the top-right corner. This opens the setup form where you'll name the integration and choose its permissions.

7. Select Integration Name Field
The setup opens on the Basic info tab. Click into the "Enter name" field and type a clear name for your integration, something like "My Key," so you can easily recognize it later. You can also add a short description if you'd like, though that's optional.

8. Proceed To Next Step
With your name in place, click "Next" to move on to the Scopes tab, where you'll set the permissions.

9. Navigate Through Setup Options
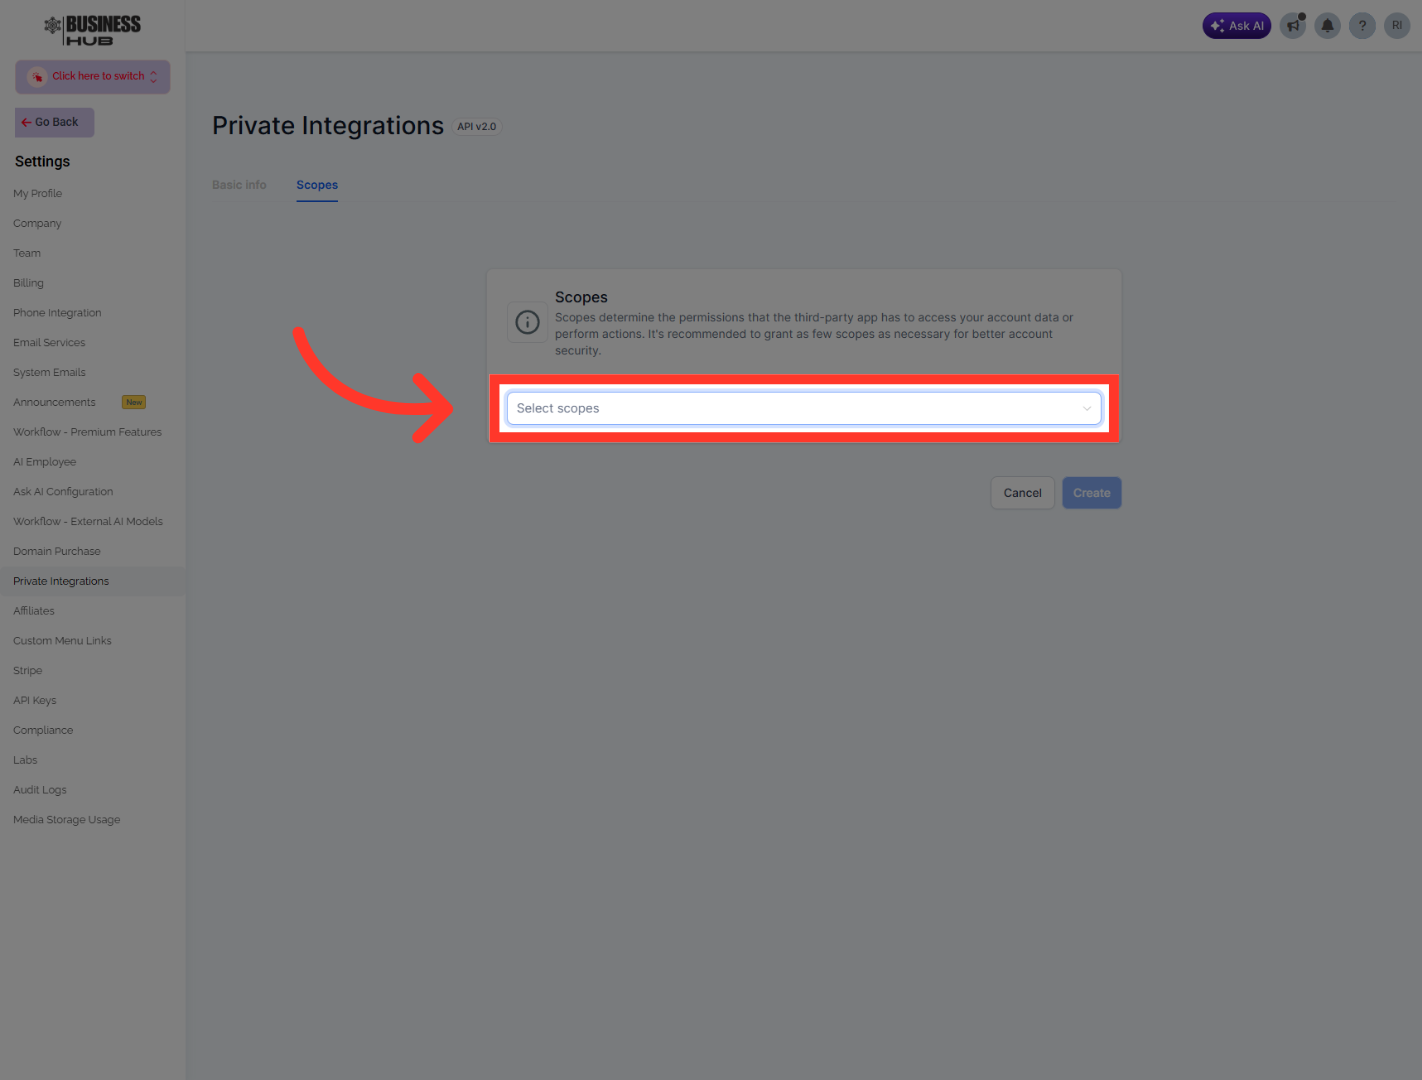
Now you're on the Scopes tab. Scopes are simply the permissions your integration will have — what it's allowed to see and do in your account. Click the "Select scopes" dropdown and choose the permissions this key needs. You can turn on everything at once with "Select all," or check just the specific ones you want.
10. Create Integration
Your chosen permissions appear as tags so you can review them at a glance. When everything looks right, click "Create" to finalize your private API integration.

11. Confirm Integration Setup
A security prompt appears, reminding you that you've included sensitive scopes. This is just confirming you meant to grant that level of access. If you're sure, click "Confirm" to approve and save your settings.

12. Copy API Key
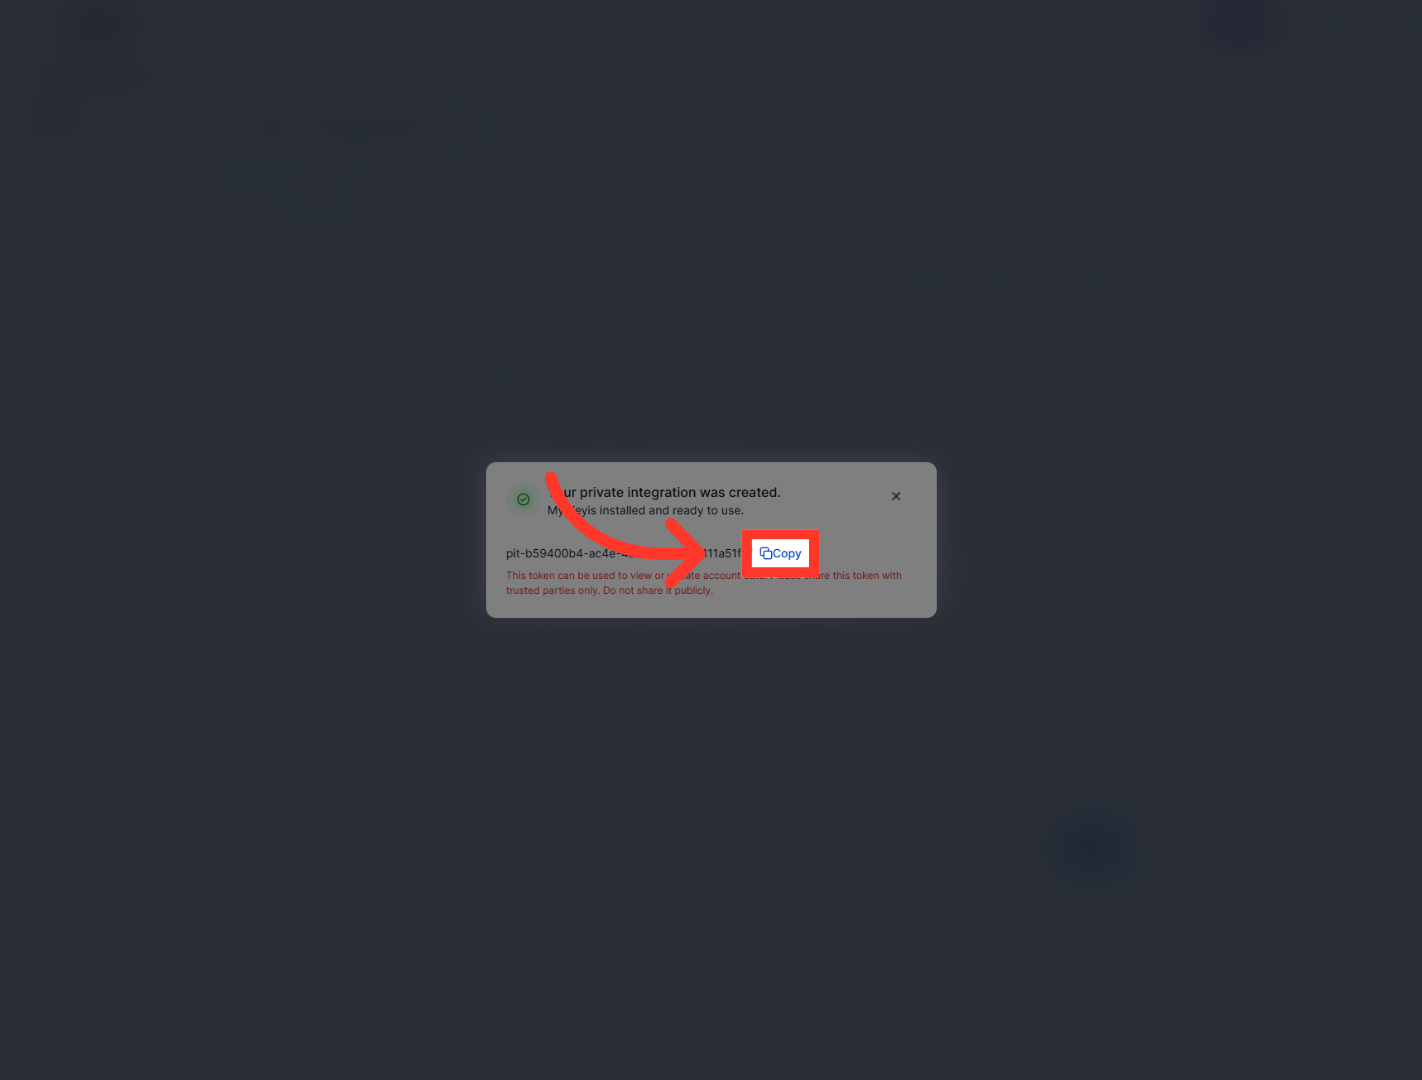
Your integration is created, and your new key appears here. Click "Copy" to grab it, then paste it somewhere safe right away, like a password manager or your project's environment variables. This key can view and update your account data, so share it only with sources you trust.
13. Complete Integration Process
Once your key is safely copied and stored, click the close button to finish up and return to the dashboard. Your new integration is now live.

And that's it. You've configured a private API integration in Business Hub, and it's ready to securely access your account data. From here, you can explore more integration settings or check the Business Hub API documentation for deeper customization. Thanks for watching, and I'll catch you in the next video.
Still need help? Ask the team