Create And Configure API Keys In Resend Application
Want to send emails from your own app, automation, or AI agent through Resend? You'll need an API key — and in about a minute and a half, I'll walk you through creating one and setting its permissions. Quick context: an API key is like a secure password that lets your software send email through Resend on your behalf. You also get to choose how much it's allowed to do, so you stay in control. Let's log in and set one up.
Written By Fred Yalmeh
Last updated 2 months ago
Go to resend.com
1. Introduction
Start by signing in over at resend.com. Once you're in, you'll land on your Emails dashboard, with your main menu down the left side. That sidebar is where we're headed next.

2. Access API Keys Section
In that left menu, click "API keys." This opens the page where you manage all your keys — and where we'll create a fresh one.

3. Initiate API Key Creation
If this is your first key, you'll see a mostly empty page. Click "Create API key" to get started. A small window will slide open where you'll set everything up.

4. Open Access Permissions
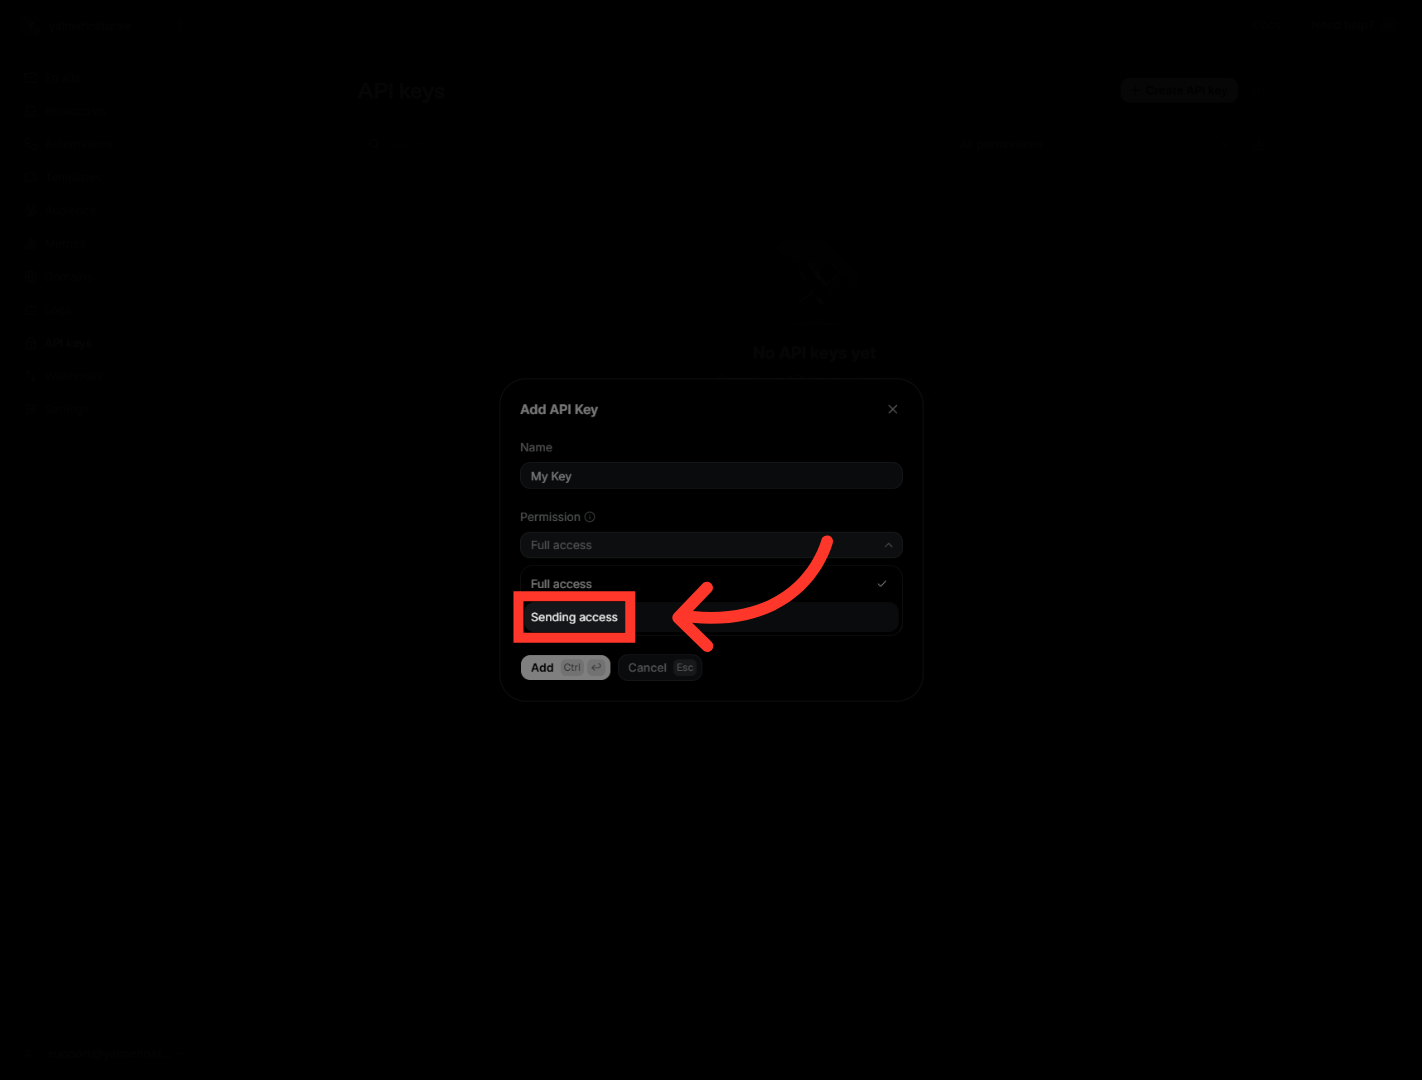
First, give your key a name in the Name field — something that reminds you what it's for. Then click the Permission dropdown to open it. You'll see a couple of choices for how much access this key should have.
5. Grant Full Access
Now pick your access level. "Full access" lets the key do everything, while "Sending access" limits it to just sending emails. For this setup we'll choose Full access, but pick whichever matches what your integration actually needs.

6. Add Access Permissions
You can leave the domain set to all domains for now. When everything looks right, click "Add" to create the key. Resend generates it instantly and shows it to you.

7. Review API Key Details
Here's your new key. Click the copy icon to grab it, and paste it straight into whatever tool you're connecting. If you want to see it first, the eye icon reveals it. Store it somewhere safe right now, like a password manager — because this is the one and only time Resend will show it to you.

8. Complete API Key Setup
Once you've safely copied and stored your key, click "Done" to close the window and finish up. Your new key now shows in your list, ready to use.

And that's it. You've created an API key in Resend, set its access level, and copied it somewhere safe. You're now ready to authenticate and send emails through Resend's API from your own apps and automations. Thanks for watching, and I'll catch you in the next one.
Still need help? Ask the team